setup
mode
Figure 12
pHcalibration
NOTE: We recommend that you perform at least a
2-point calibration using buffers that bracket (one above
and one below) the expected sample range. You can
perform a 1-point calibration, but make sure that the
buffer value is close to the sample value you are measur-
ing. Select pH 4, 7, or 10 buffers in pouches or bottles
from the OAKTON standard buffer solutions.
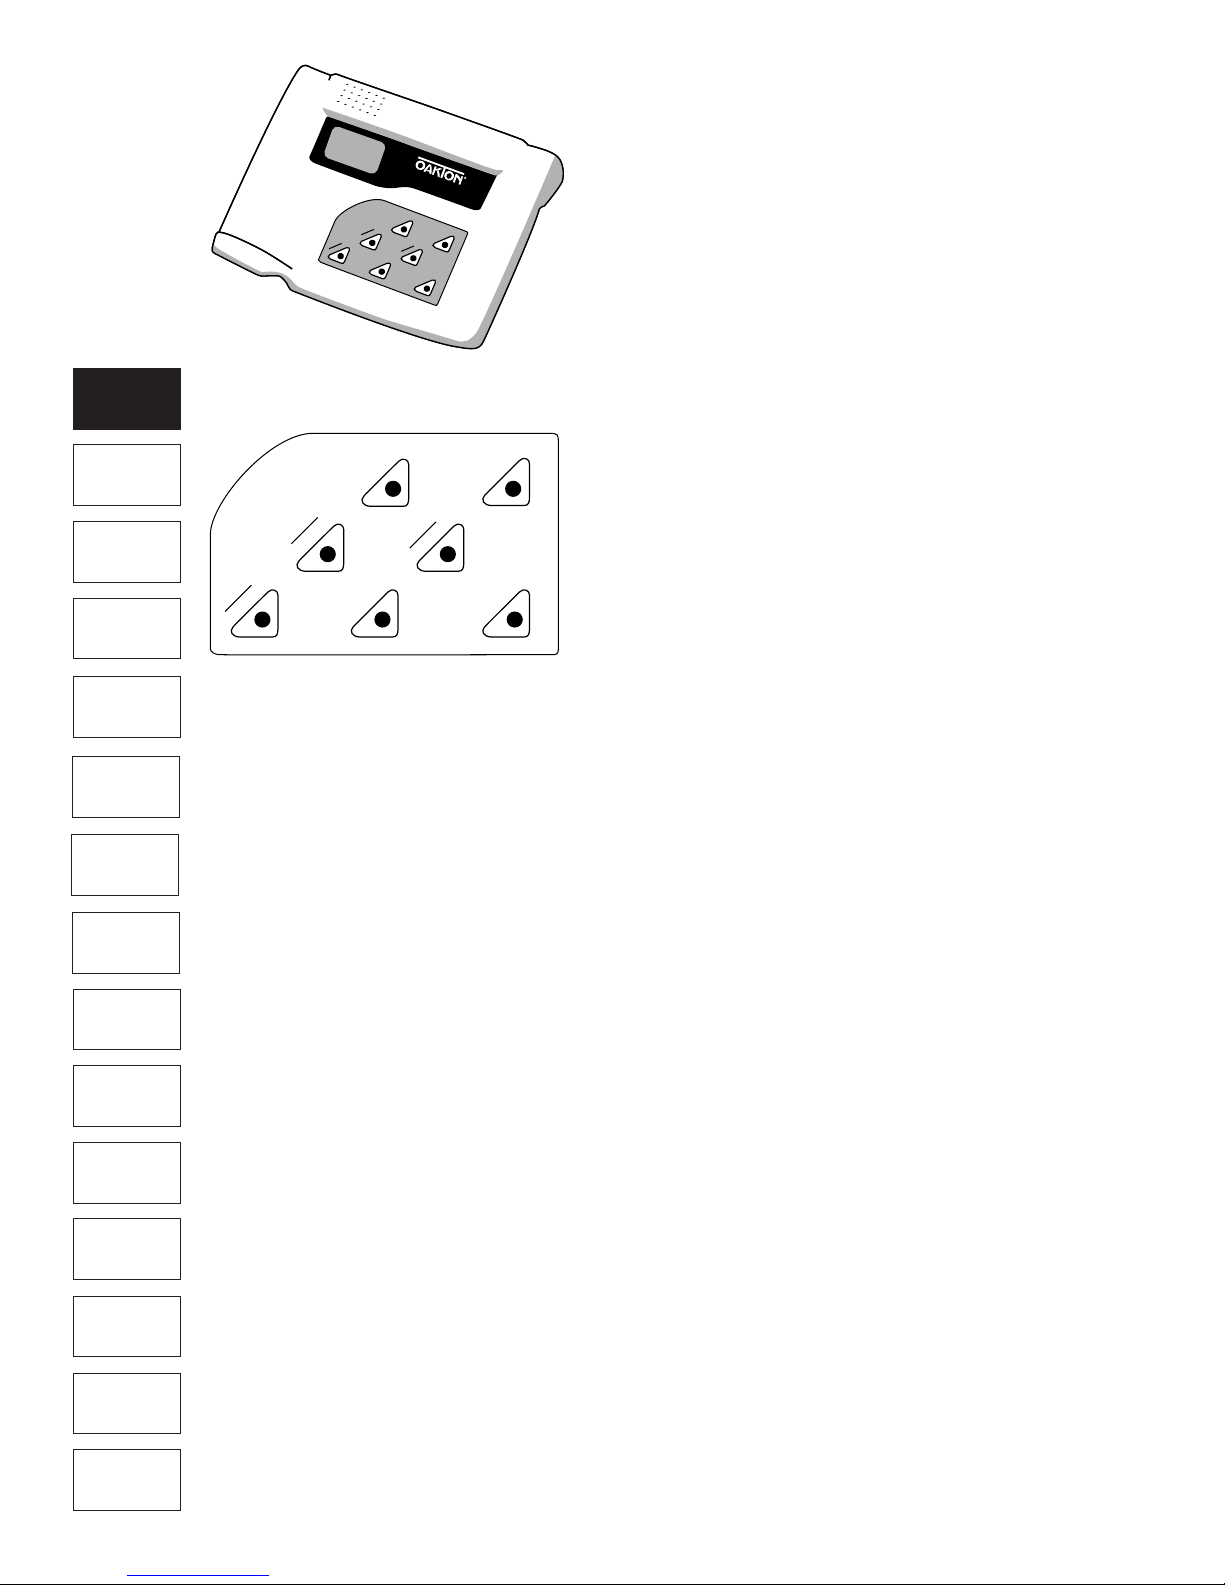
1. Press the ON/OFF key. All the LCD segments display
for a few seconds. The LCD switches to the last mode
the meter was turned OFF in when powered down
from the key pad. —See Figure 11
The customized LCD display will indicate the following:
Display Remarks
MEAS Measurement mode is selected.
pH Unit of measurement
°C Unit of temperature measurement
ATC Automatic Temperature Compensation
(if temperature probe or ”All-in-One“ probe
is connected)
pHCalibration
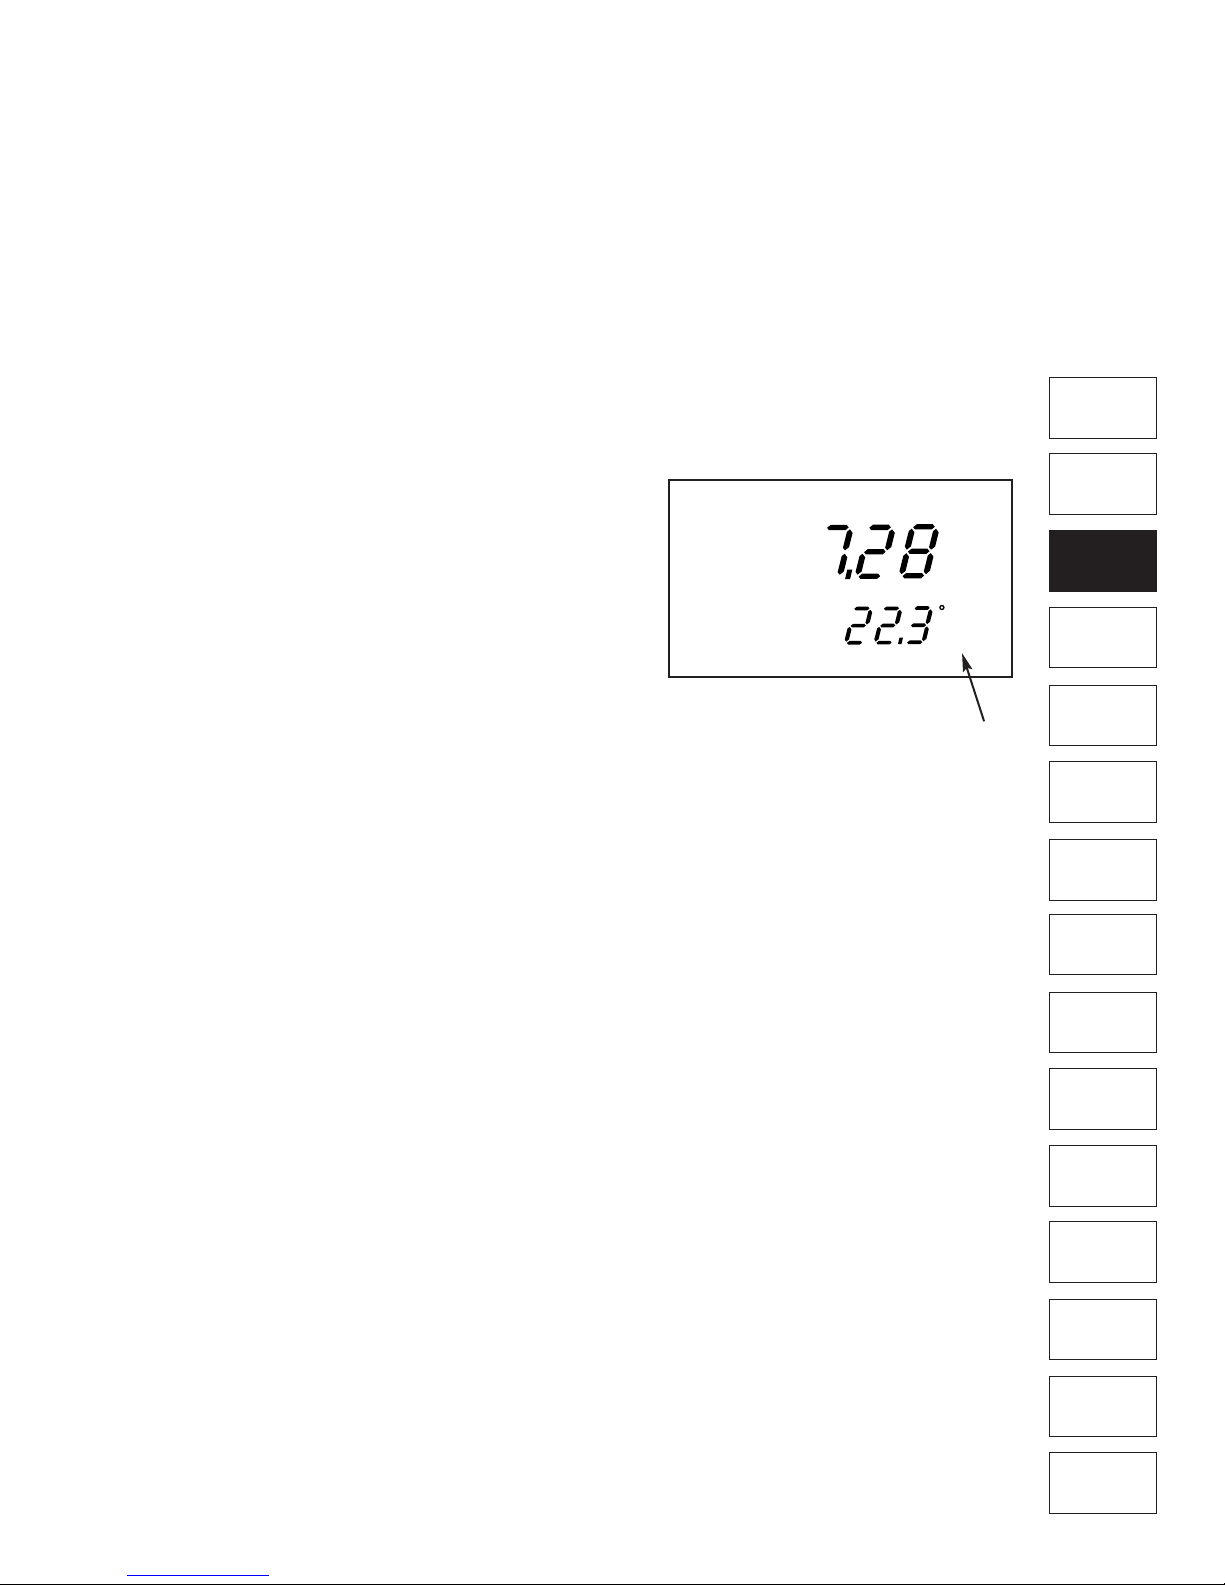
1. Make sure the meter is ON and if necessary, press the
MODE key to select pH mode. The pH indicator
appears in the upper right hand corner of the display.
—See Figure 11.
2. Rinse the electrode in deionized water or rinse solution.
If using the ATC function with a separate temperature
probe, rinse the temperature probe as well. DO NOT
WIPE THE pH OR TEMPERATURE PROBES DRY!
Wiping the probes causes static, and will create calibra-
tion and measurement instability.
3. Select the pH buffer and pour some into a CLEAN
container.
4. Dip the probe into the calibration buffer. The end of the
probe must be completely immersed into the sample.
Stir the probe gently to create a homogeneous sample.
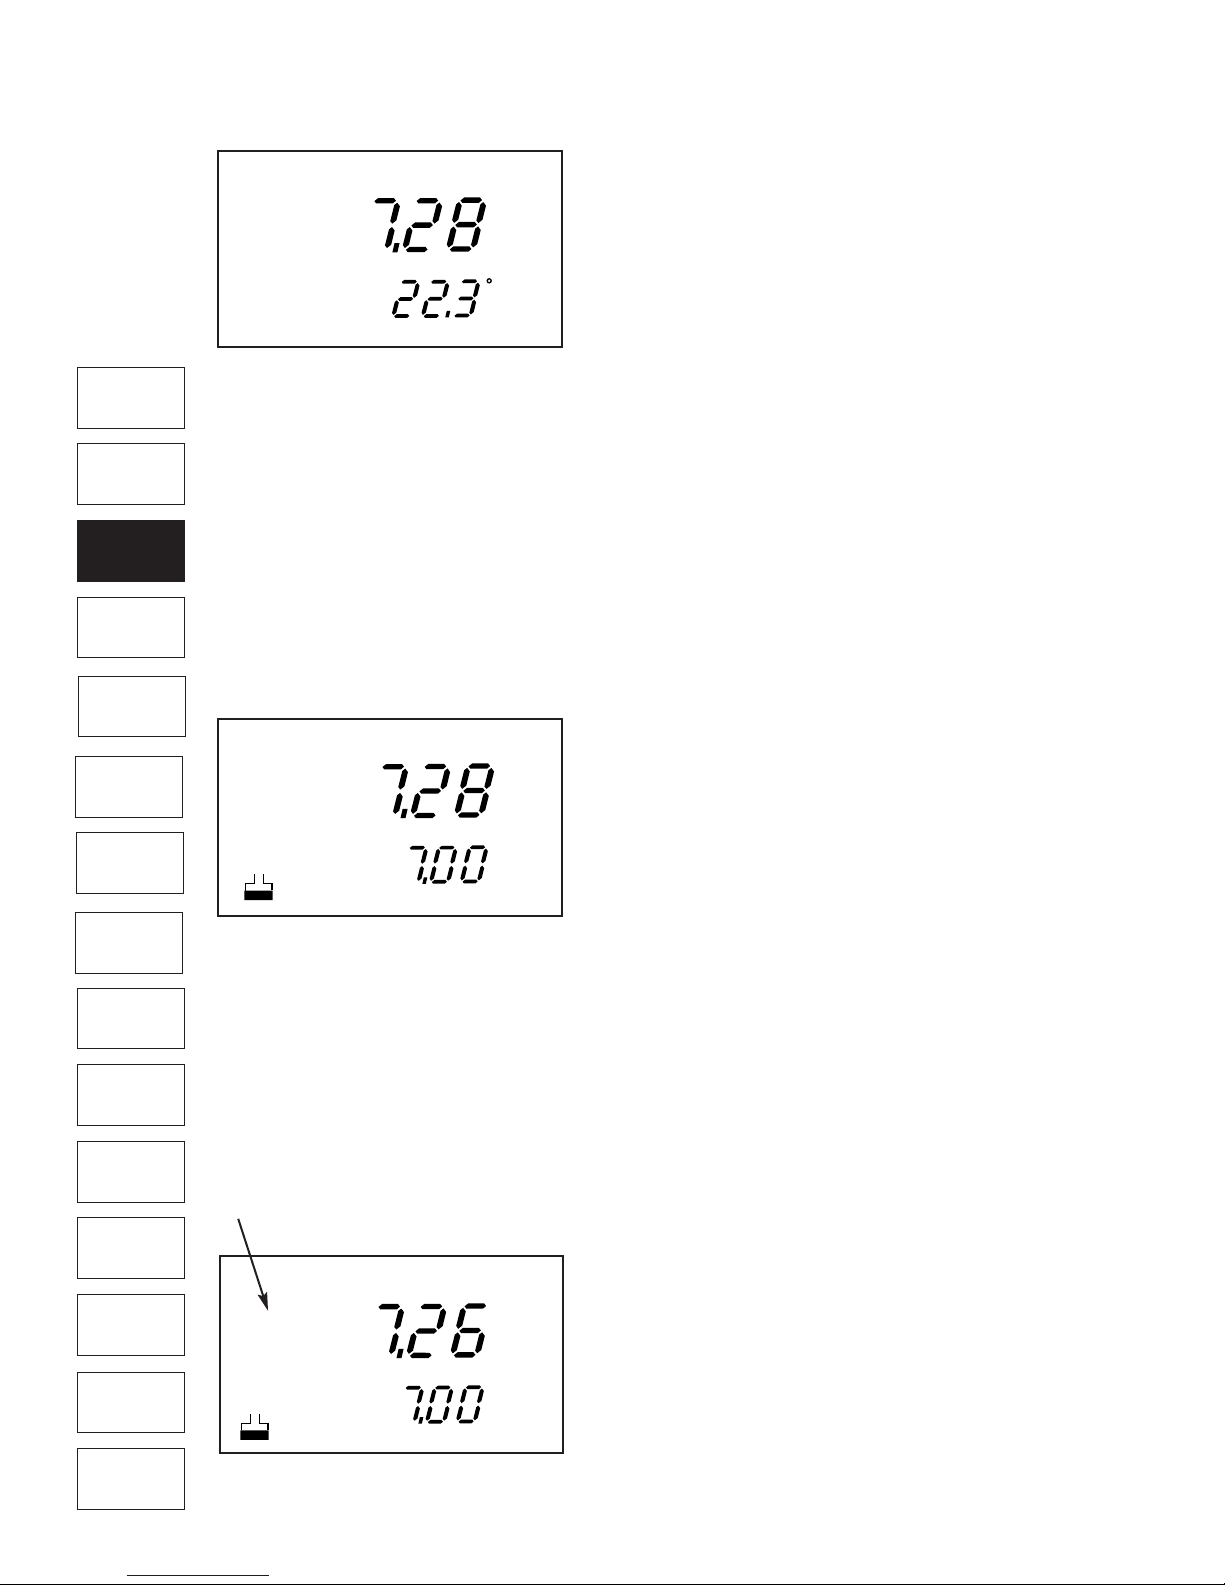
5. Press CAL/MEAS to enter the pH calibration mode.
The CAL indicator appears. The primary display will
show the measured reading while the smaller
secondary display will indicate the pH standard buffer
solution. —See Figure 12.
The meter automatically recognizes the buffers in the set
you have selected in the SETUP mode (see page 23 for
instructions on how to select buffer sets): USA (4.01,
7.00 or 10.01) or NIST (4.01, 6.86, or 9.18) buffers.
7. Wait for the measured pH value to stabilize (when the
READY indicator displays in the left hand corner)
—See Figure 13.