manuals.online logo
Brands
  1. Home
  2. •
  3. Brands
  4. •
  5. Oakton
  6. •
  7. Measuring Instrument
  8. •
  9. Oakton PH200 User manual

Oakton PH200 User manual

For any questions regarding this product, please contact your local agency,
or inquire from the following website.
http://www.4oakton.com/
CODE:M003857-3200839729-GZ0000590175
December, 2019
Oakton Instruments
Phone number: (1)888-462-5866
625 E. Bunker Ct. Vernon Hills, IL. 60061, USA
E-mail: [email protected]
Gel-filled pH Electrode (35660-54 / 35660-56)
Instruction Manual
This manual describes the operation of the gel-filled pH
electrode, 35660-54/35660-56. Be sure to read this manual
carefully, before using the electrode.
Conformable standards
Authorised representative in EU
Cole-Parmer UK
9 Orion Court, Ambuscade Road
Colmworth Business Park
St Neots
Cambridgeshire
PE19 8YX, United Kingdom
Phone: +44-(0)1480-272279
Fax: +44-(0)1480-212111
Caution on use
Safety precautions
Points of concern
Do not give an excessive shock to the electrode.
Cracked or chapped electrode can not be used.Replace
such electrode with a new one.
Do not wet the connector with water or sample and do
not touch the connector with wet fingers. If it is wet
measured value might be erroneous.
If the dirt on the responsive glass membrane or liquid
junction can not be removed by pure water, clean them
with the other way referring to the Maintenance.(Refer to
“ Maintenance ” (page 2).)
Avoid continuous measurement soaking in the strong
acidic or alkaline solution concentrated more than 0.01
mol/L. These solution may reduce the performance and
the lifetime of the electrode.
Do not to use the electrode in a solution in which
hydrofluoric acid (HF) is contained. Glassware will
corrode in the HF solution.
Avoid sudden temperature change over 50 °C on the
electrode. The body of the electrode might be deformed
or the glassware might be cracked.
Solid particles of silver chloride might be observed
floating in the inner solution of the responsive glass
membrane. This is not a problem and this will not affect
performances of the electrode.
Do not use the electrode in any place where operation
temperature is out of the specified range.
Do not swing the electrode like a pendulum, and do not
pull up the electrode by the lead wire. Also, avoid
This equipment conforms to the following standards:
RoHS: EN50581
9. Monitoring and control instruments
CAUTION
Chemical solution
If the internal material comes in contact with the hands or skin,
wash immediately with water.
Glass fragments
Glass fragments can cause injury.
The tip of the electrode are made of glass.
Be careful not to break them.
hanging the electrode or the pH meter by the lead wire.
It may be a cause of breaking wires.
When disposing of the product, follow the related laws
and/or regulations of your country for disposal of the
product.
Packaged contents
Specifications and parts description
Part name
Specifications
Note
Body material is plastic. Do not use organic solvents (such as
acetone or toluene).
Name Q’ty
Electrode 1 pc
Instruction manual (this book) 1 booklet
Electrode model 35660-54, 35660-56
Measurement range pH 0 to 14
Operation temperature range 0°C to 80°C
Storage temperature range 0°C to 50°C
Internal electrode Silver/silver chloride
Reference electrode system Double junction
Reference electrode internal
electrolyte Polymer-gel, 3.3 mol/L KCl
Liquid junction material Porous sintered polyethylene
Wetted material Glass, butyl rubber, polycarbonate,
polyethylene
Electrode length 150 mm
Ext. diam. of wetted part 16 mm
Liquid junction height Approximately 15 mm
(from the tip of electrode)
Cable length 10D: 1 m 20D: 2 m
Connector BNC/Mini plug
Temperature probe NTC
Maximum dipping depth 1 m
Zero point pH7.0
Responsive glass
membrane
Liquid junction
Protective cap
Body
Cap Lead
Connector cover
Electrode connector
Temperature connector
Guard tube
2
Preparations
Connecting to pH meter
1. Insert the electrode connector into the connector port
sleeve on the meter, after aligning with the pin. Do not
insert the connector unless it is aligned properly with the
connector port.
2. Press the electrode connector into the connector port on
the meter, while turning the connector to the right.
3. Slide the connector cover over the connector. Then,
push the cover in straight until it comes in light contact
with the meter case.
Do not turn the cover.
4. Insert the temperature connector into the jack on the
meter. Insert the connector firmly, until the O-ring on the
connector can no longer be seen.
Note
Be sure to install the temperature connector. If not, accurate
measurement cannot be performed.
Measurement (calibration)
Note
White crystal powder of KCl may appear around on the end of
the protective cap after long time storage. The powder may not
be a cause of trouble for measuring pH, and wash them with
pure water.
1. Remove the protective cap.
2. Clean the electrode with pure water (or deionized water)
and wipe it with filter paper or tissue paper, prior to every
immersion into the standard or sample solution.
3. When there are air bubbles inside the responsive glass
membrane, shake the electrode lightly to remove
bubbles.
4. Immerse the responsive glass membrane and the liquid
junction in the sample solution completely.
C1
T1
T2
C2
①
②
③
④
Protective cap
5. Shake the electrode in the sample solution lightly to
remove bubbles. If bubbles remain on the electrode
surface, accurate measurement cannot be performed.
Note
The time for submerged measurement within 1 m of the
depth is limited in 30 minutes.
For the calibration and the measurement of the pH meter,
refer to the instruction manual of the pH meter.
Maintenance
Note
Do not use organic solvents (such as acetone or
tetrahydrofuran) as cleaning solutions. Using such chemicals
may damage the body of the electrode or cause a decline in
performance.
Dirt on the responsive glass membrane or the liquid junction
by the test solution may cause a decline in electrode
response and sensitivity or measurement error. If the
electrode is very dirty and cannot be washed clean using
pure water (or deionized water), perform cleaning as follows.
Cleaning of electrode
1. The responsive glass membrane can be cleaned by
wiping it with cotton gauze containing cleansing agent.
The liquid junction can be cleaned by applying it with
cotton gauze containing cleansing agent. (- 30 minutes)
2. Rinse the electrode with pure water (or deionized water)
completely.
3. Immerse the liquid junction completely into 3.33 mol/L
KCl solution for approximately 30 minutes before use.
Note
Do not apply excessive force to the glass membrane on
wiping.
Be sure to perform calibration prior to measurement after
cleaning the electrode.
Type of dirt Cleansing agent
General Diluted neutral cleansing agent
Oil Alcohol, or diluted neutral cleansing agent
Inorganic substance Hydrochloric acid approximately 1 mol/L
3
Storage
1. Clean the electrode well with pure water (or deionized
water) to remove sample completely and wipe it with
filter paper or tissue paper.
2. Add enough pure water (or deionized water) to soak the
sponge in the protective cap, and then discard the
residual water.
3. Attach the protective cap.
Note
Do not dry the responsive glass membrane and the liquid
junction. If they are dry, immerse the electrode into 3.33
mol/L KCl solution for approximately one day. After these
procedures, perform calibration. If calibration cannot be
performed correctly, replace the electrode.
Keep the liquid junction away from the water for storage.
Otherwise, the electrode life span will be shortened.
Avoid storing the electrode in hot and humid locations.
Store the electrode indoors, out of direct sunlight.
For accurate measurement
For accurate measurement, refer to the items below.
In reference to the instruction of the pH meter, perform
temperature compensation manually or automatically.
Temperature of the standard solution and the sample
solution should be the same.
Rinse the electrode with the sample solution before
measurement.
Perform calibration before measurement.
If measurement is performed every day, perform
calibration once or more a day.
Protective cap

This manual suits for next models

2

Other Oakton Measuring Instrument manuals

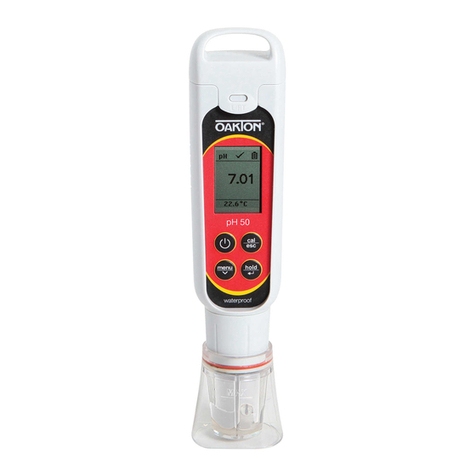
Oakton PH550 User manual

Oakton

Oakton PH550 User manual

Oakton ECTester11 User manual

Oakton

Oakton ECTester11 User manual

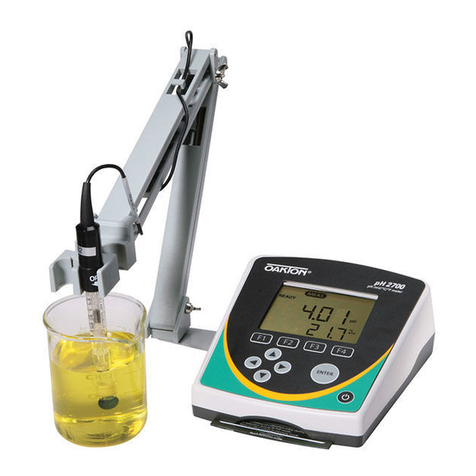
Oakton Bench 2700 Series User manual

Oakton

Oakton Bench 2700 Series User manual

Oakton PC 300 User manual

Oakton

Oakton PC 300 User manual

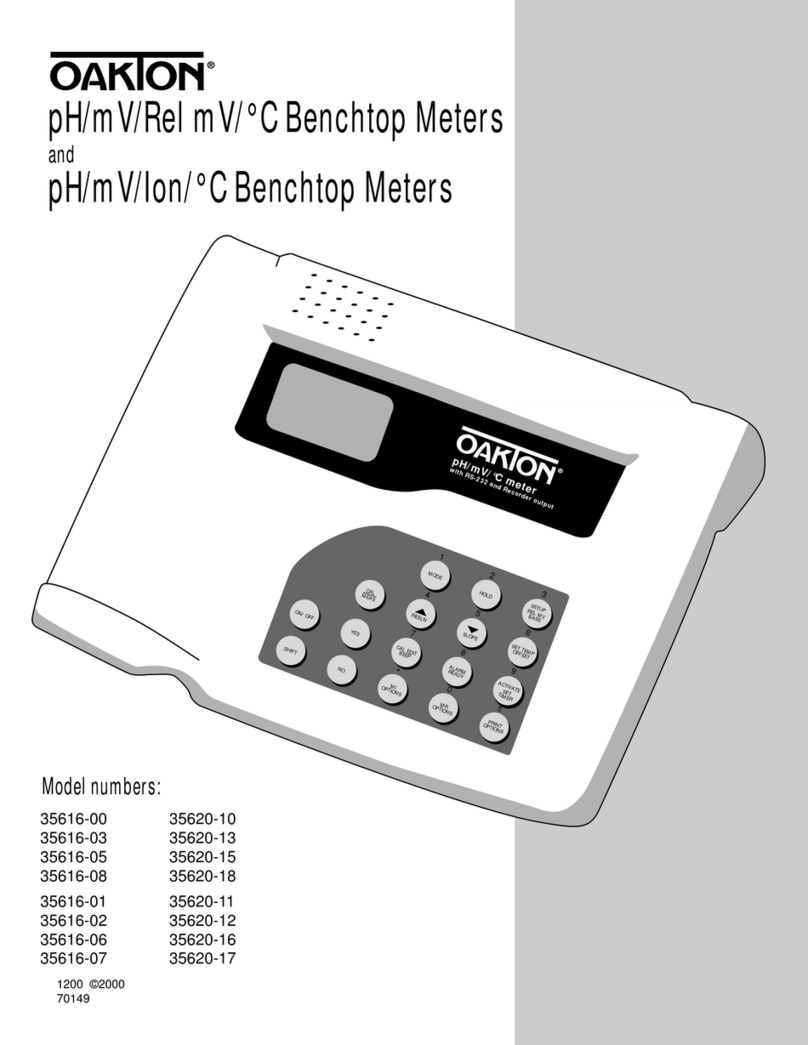
Oakton 35616-00 User manual

Oakton

Oakton 35616-00 User manual

Oakton 35700-00 User manual

Oakton

Oakton 35700-00 User manual

Oakton PC 700 User manual

Oakton

Oakton PC 700 User manual

Oakton WD-35427-10 User manual

Oakton

Oakton WD-35427-10 User manual

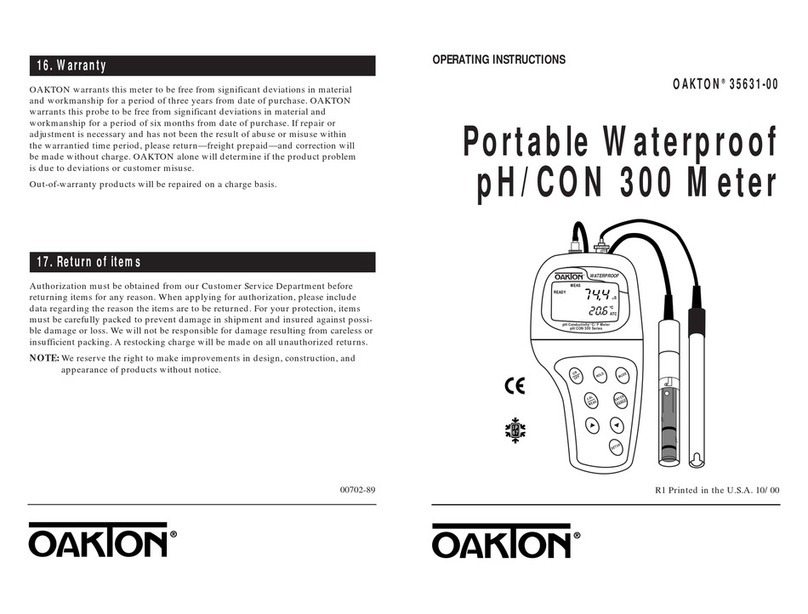
Oakton 35631-00 User manual

Oakton

Oakton 35631-00 User manual

Oakton CON 6 User manual

Oakton

Oakton CON 6 User manual

Oakton PD 300 User manual

Oakton

Oakton PD 300 User manual

Oakton PCD 650 User manual

Oakton

Oakton PCD 650 User manual

Oakton 700 Series User manual

Oakton

Oakton 700 Series User manual

Oakton WD-35606-00, WD-35606-05 User manual

Oakton

Oakton WD-35606-00, WD-35606-05 User manual

Oakton pH 5+ User manual

Oakton

Oakton pH 5+ User manual

Oakton 450 Series User manual

Oakton

Oakton 450 Series User manual

Oakton 450 Series User manual

Oakton

Oakton 450 Series User manual

Oakton 35630-00 User manual

Oakton

Oakton 35630-00 User manual

Oakton pH 610 User manual

Oakton

Oakton pH 610 User manual

Oakton 150 Series User manual

Oakton

Oakton 150 Series User manual

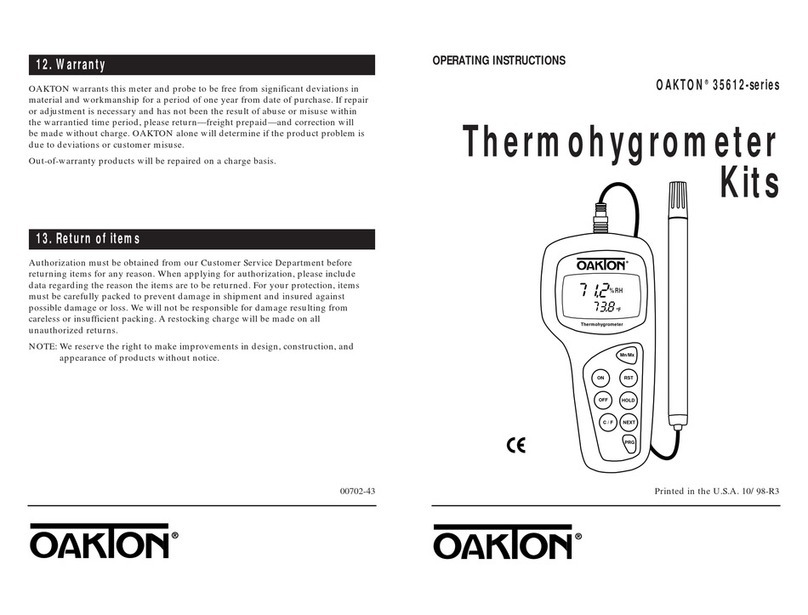
Oakton 35612-series User manual

Oakton

Oakton 35612-series User manual

Oakton pH 310 User manual

Oakton

Oakton pH 310 User manual

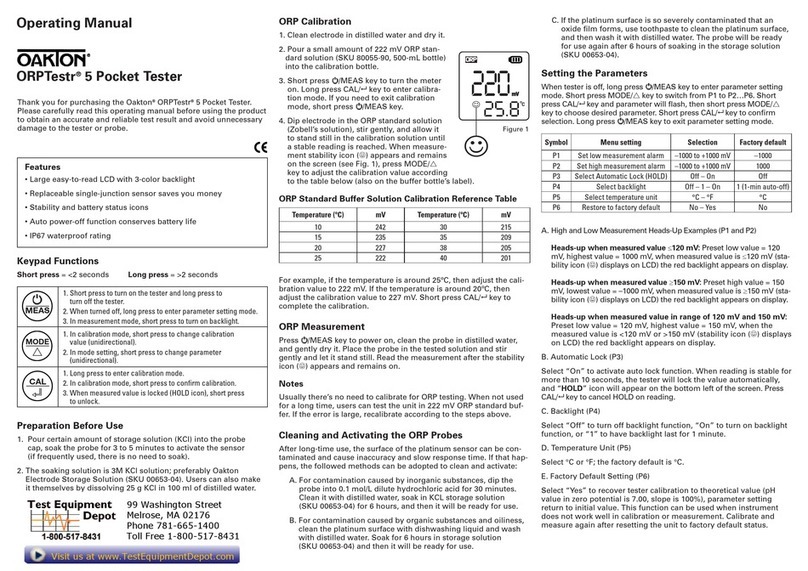
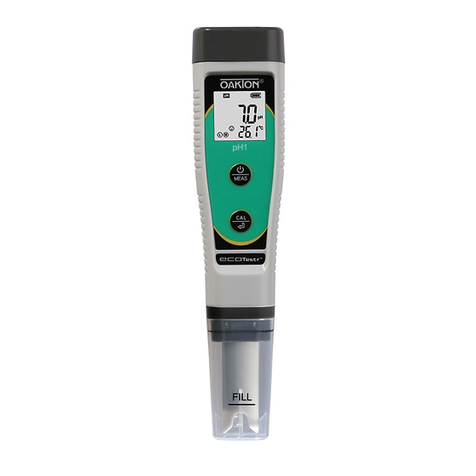
Oakton EcoTestr pH1 User manual

Oakton

Oakton EcoTestr pH1 User manual

Oakton Ion 510 Series User manual

Oakton

Oakton Ion 510 Series User manual

Popular Measuring Instrument manuals by other brands

Doris Schmithals Messwerkzeuge WP 201 066ECO user manual

Doris Schmithals Messwerkzeuge

Doris Schmithals Messwerkzeuge WP 201 066ECO user manual

CEMB N200 Use and maintenance instruction manual

CEMB

CEMB N200 Use and maintenance instruction manual

finder 7M.38.8.400.0112 user manual

finder

finder 7M.38.8.400.0112 user manual

BASETech BTTH-1014 operating instructions

BASETech

BASETech BTTH-1014 operating instructions

Michell Instruments Easidew Online user manual

Michell Instruments

Michell Instruments Easidew Online user manual

Brouwland pH110 manual

Brouwland

Brouwland pH110 manual

Tractel dynafor LLZS Series Operating and maintenance instructions

Tractel

Tractel dynafor LLZS Series Operating and maintenance instructions

Diablo 5000B Getting started manual

Diablo

Diablo 5000B Getting started manual

Nissei TX-1202 user manual

Nissei

Nissei TX-1202 user manual

DOLD IP 5883 Installation / monitoring technique

DOLD

DOLD IP 5883 Installation / monitoring technique

twintex TI512 Operation manual

twintex

twintex TI512 Operation manual

DataCan 109684 user manual

DataCan

DataCan 109684 user manual

UEi C75 instruction manual

UEi

UEi C75 instruction manual

Ecotech Serinus 30 instruction manual

Ecotech

Ecotech Serinus 30 instruction manual

PROPOINT 8319683 user manual

PROPOINT

PROPOINT 8319683 user manual

ProAir FGP Series manual

ProAir

ProAir FGP Series manual

Delta-T Devices WET150 Kit quick start guide

Delta-T Devices

Delta-T Devices WET150 Kit quick start guide

red lion PAXLPT manual

red lion

red lion PAXLPT manual

manuals.online logo
manuals.online logoBrands
  • About & Mission
  • Contact us
  • Privacy Policy
  • Terms and Conditions

Copyright 2025 Manuals.Online. All Rights Reserved.