manuals.online logo
Brands
  1. Home
  2. •
  3. Brands
  4. •
  5. Oakton
  6. •
  7. Test Equipment
  8. •
  9. Oakton pHTestr 1 Technical manual

Oakton pHTestr 1 Technical manual

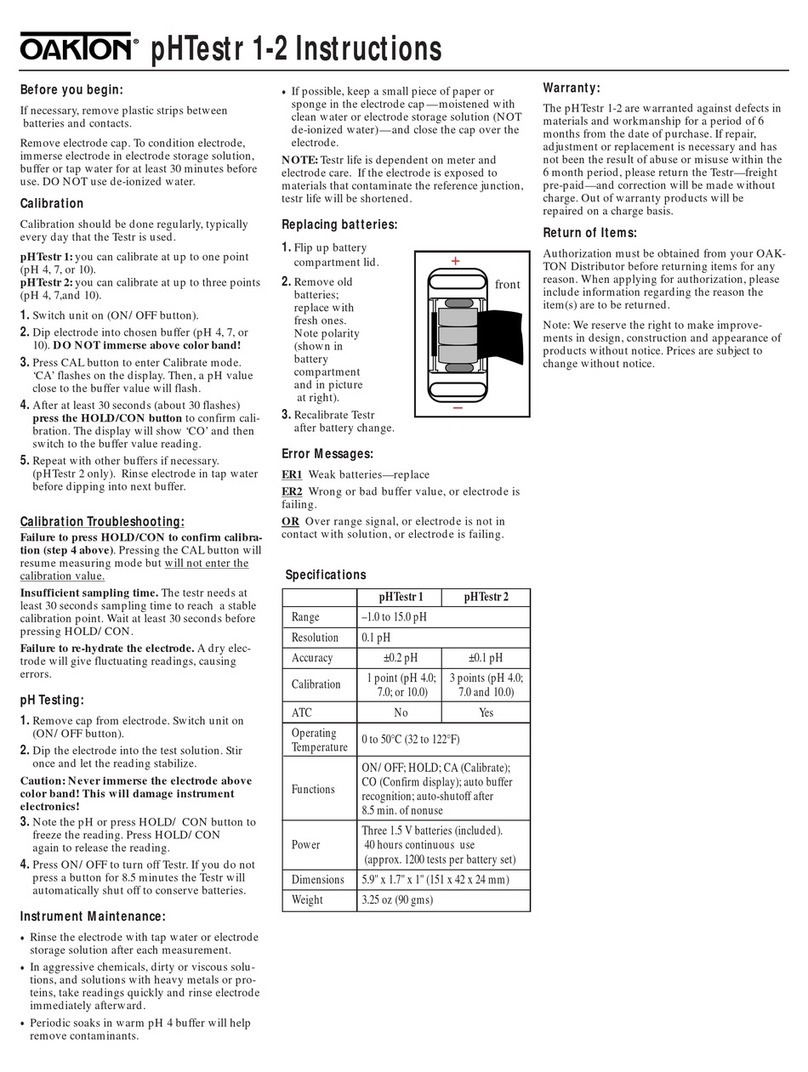
ER1 Batteries are low and
need replacing
ER2
Wrong or bad buffer
value (out of range) or
the electrode is failing.
Check buffers or replace
electrode.
Over range signal from
voltage on a solution, the
electrode is not contacting
OR the solution, or the
electrode is failing. Check
solution or replace
electrode.
Waterproof pHTestr 1 and 2
Instruction Card
IMPORTANT: Please read
completely before using the
Waterproof pHTestr 1 and 2.
File this card for future reference.
Before you Begin:
Remove the cap from the bottom
of the Testr to expose the electrode
bulb and reference junction. DO
NOT BE ALARMED if white
crystals are present on the cap
or electrode assembly. This is
normal and will dissolve during the
conditioning pre-soak. For
the conditioning pre-soak, pour a
small amount (about 1” deep) of
electrode storage solution, pH 4
buffer or tap water into a small cup
and soak the electrode for at least 30
minutes. If the electrode dries out
between uses, re-condition by using
this soaking procedure.
Calibration:
Calibration is necessary and should
be done regularly, typically every
day that the Testr is used. Some
applications will need less frequent
calibrations but this can only be
determined by trial and error.
Calibrating Waterproof pHTestr 1:
1. Turn the Testr on by pressing the
ON/OFF button.
2. Dip 1/2 to 1" of the electrode into
a pH 7.0 buffer for general pur-
pose use, into pH 4.0 if your tests
will be in acidic solutions, or into
a pH 10 buffer if your tests will be
in alkaline (or basic) solutions. If
the tests will be in solutions closer
to pH 7.0 than pH 4.0 or 10.0,
even though acidic or basic, use
pH 7 buffer for calibration.
3. Press the CAL button to enter the
Calibrate (CA) mode. A ‘CA’ will
flash on the display and then a
pH value close to the pH buffer
value will flash repeatedly.
4. After at least 30 seconds (about 30
flashes) press the HOLD/CON
button to confirm the calibration.
The display will show ‘CON’ and
Waterproof Waterproof
pHTestr 1 pHTestr 2
Range –1.0 to 15.0 pH
Resolution 0.1 pH
Accuracy ±0.2 pH ±0.1 pH
Calibration At either pH 4.0; pH 4.0; 7.0
7.0; or 10.0 and 10.0
Automatic
Temperature No Yes
Compensation
Auto-Buffer Yes
Recognition
Operating 0 to 50ºC (32 to 122ºF)
Temperature ON/OFF, HOLD, CA(Calibrate)
Functions and CO (Confirm display);
Auto-off after 8.5 min. after
last operation
Three 1.5 V alkaline batteries
(included). 24 hours continuous
Power use (approx. 720 tests per
battery set)
6.5”L x 1.5”Dia. (165 x 38mm)
Dimensions unit only; 8.5” x 2.4” x 2.5”
(216 x 61 x 64mm) boxed
Weight 3.25oz./90g unit only;
4.5oz./125g boxed
Specifications:
Warranty:
The waterproof pHTestr 1 and water-
proof pHTestr 2 are warranted against
defects in materials and workmanship
for a period of 6 months from the date of
purchase. If repair, adjustment or
replacement is necessary and has not
been the result of abuse or misuse within
the 6 month period, please return the
Testr—freight pre-paid—and correction
will be made without charge. Out of
warranty products will be repaired on a
charge basis.
Return of Items:
Authorization must be obtained from
your OAKTON Distributor before
returning items for any reason. When
applying for authorization, please
include information regarding the reason
the item(s) are to be returned.
Note: We reserve the right to make
improvements in design, construction
and appearance of products without
notice. Prices are subject to change with-
out notice.
156
35624-02, -22 Printed in U.S.A. 1097-R3
1. Remove the Old Electrode
For older testrs with 2 slots only
2. Replace the Electrode
Small O-Ring (hidden)
Rotate collar away from you
Rubber
Gripper
Band
Older testers
may have only
two slots. In this
case, break off the
two small tabs using
a needle-nose pliers.
Ribbed Collar
Large O-Ring
Large Tab
Small
Tab
Insert Electrode
Replacement
Electrode
3. Tighten the Ribbed Collar
Rubber Gripper Band
Rotate collar towards you
Self-Diagnostic Messages
806-31
switch back to a pH reading of the
buffer. Rinse the electrode with
de-ionized water or tap water.
Calibrating Waterproof pHTestr 2:
1. Turn the Testr on by pressing the
ON/OFF button.
2. Dip 1/2 to 1” of the electrode into
a pH 7.0 buffer.
3. Press the CAL button to enter the
Calibrate (CA) mode. A ‘CA’ will
flash on the display and then a
pH value close to the pH buffer
value will flash repeatedly.
4. After at least 30 seconds (about 30
flashes) press the HOLD/CON
button to confirm the pH 7.0 cali-
bration. The display will show
‘CO’ and switch back to a pH
reading of the pH 7.0 buffer.
Rinse the electrode with de-ionized
water or tap water. No further cali-
bration is needed if all measure-
ments are expected to be between
pH 6 and 8 for general purpose use.
Repeat the calibration using pH 4.0
buffer if readings below pH 6 are
expected, and repeat the calibration
using pH 10.0 buffer if readings
above pH 8 are expected. Perform
three calibrations for maximum
accuracy throughout the entire
range.
Possible Problems with
Calibration:
The most common problem is fail-
ing to press the HOLD/CON button
to enter the calibration. Pressing the
CAL button instead will stop the
flashing and resume measuring
mode but will not enter the calibra-
tion; the meter will not show the
buffer value or measure accurately.
Another problem is failing to allow
the Testr to sample the pH buffer for
at least 30 seconds prior to pressing
the HOLD/CON button confirming
the calibration. If the Testr does not
get a long enough exposure to the
buffer, a stable calibration point will
not be reached and small errors can
occur.
The last common problem is a fail-
ure to re-hydrate the electrode after
it has dried out and before attempt-
ing a calibration. A dry electrode
will give fluctuating readings while
it re-hydrates in a buffer, causing
errors.
pH Testing:
1. Remove cap from the electrode
assembly and press the ON/OFF
button to turn the Testr on.
2. Dip the electrode 1/2 to 1" into
the test solution. Stir once and let
the reading stabilize.
3. Note the pH or press HOLD/
CON button to freeze the reading.
Press HOLD/CON again to
release the reading.
4. Press ON/OFF to turn off Testr. If
you do not press a button for 8.5
minutes the Testr will automati-
cally shut off to conserve batteries.
Maintenance:
Rinse the electrode with de-ionized
or tap water after each measurement
to extend its useful life. In aggres-
sive chemicals, dirty or viscous solu-
tions, and solutions with heavy
metals or proteins, take readings
quickly and rinse electrode immedi-
ately afterward. Periodic soaks in
warm pH 4 buffer will help remove
any contaminants that may ruin
electrodes. If possible keep a small
piece of paper or sponge in the elec-
trode cap—moistened with clean
water or electrode storage solution
(NOT DE-IONIZED WATER)—and
close the cap over the electrode.
The useful life of a Testr is entirely
dependent on the care the electrode
and meter get. BUT it must be
expected that in applications where
the electrode is exposed to materials
that contaminate the electrode refer-
ence junction, electrode life will
be shortened. This is not a defect
in the electrode but a NORMAL
EVENT. When you are ready for a
new electrode, see “Electrode
Replacement” on page four.
Changing the batteries:
Under the cap with the lanyard loop
is the battery compartment. WITH
DRY HANDS firmly grip the cap
and the testr body. Twist the cap
counter clockwise (see illustration,
pg. 5). The cap must be on tight to
ensure water tightness and will
require effort to loosen, but this can
be done routinely if twisted slowly
while maintaining a firm grip.
Remove batteries and replace with
new ones noting the polarity.
Replace the cap and tighten until all
the black O-ring is under the cap
and the lanyard loop is lined up
with the face plate.
Electrode Replacement:
One of the benefits of selecting the
Waterproof pHTestr is that you can
now replace the electrode module
when needed and keep the meter
portion of the Testr. When the Testr
fails to calibrate, gives fluctuating
readings in buffers, or shows
error messages ‘E2’ or ‘OR’ in a
buffer, and the procedures in the
Maintenance section on panel 3 do
not help, you need to change the
electrode. See diagrams on panel 5
for further instructions.
1. WITH DRY HANDS firmly grip
the ribbed collar of the tester with
the electrode facing you and
slowly twist counter clockwise.
Slow, steady twisting, along with
a firm grip, will loosen the collar.
2. Unscrew the ribbed electrode
module collar completely and
SAVE IT! Save the O-ring in the
collar also. Pull the electrode
module straight out from the bot-
tom of the Testr.
3. Align the four tabs on the new
module so they match the four
slots on the testr. (see diagram 2
on page 5).
NOTE: Older testers may have only
two slots. In this case, break off the
two small tabs using a needle-nose
pliers (see diagram 3 on page 5)
4. GENTLY push the module
onto the bottom end to fully seat
it in position. Put the smaller
O-ring all the way into the ribbed
collar. Then push the collar on
over the module and thread it
into place by firmly twisting it
clockwise until the larger O-ring
that is close to the face plate dis-
appears under the ribbed elec-
trode module collar.
32 4

This manual suits for next models

1

Other Oakton Test Equipment manuals

Oakton WD-35634-06 User manual

Oakton

Oakton WD-35634-06 User manual

Oakton TDS 1 User manual

Oakton

Oakton TDS 1 User manual

Oakton pHTestr 1 User manual

Oakton

Oakton pHTestr 1 User manual

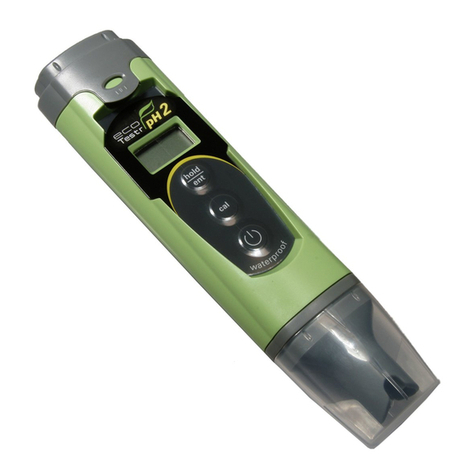
Oakton EcoTestr pH 2 User manual

Oakton

Oakton EcoTestr pH 2 User manual

Oakton CTSTestr 5 User manual

Oakton

Oakton CTSTestr 5 User manual

Oakton CTS5 User manual

Oakton

Oakton CTS5 User manual

Oakton Eutech Instruments TDSTestr11+ User manual

Oakton

Oakton Eutech Instruments TDSTestr11+ User manual

Oakton pHTestr 20 User manual

Oakton

Oakton pHTestr 20 User manual

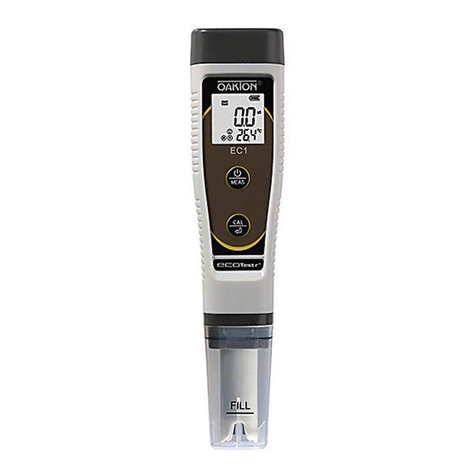
Oakton EcoTestr EC1 User manual

Oakton

Oakton EcoTestr EC1 User manual

Oakton WD-35662-35 User manual

Oakton

Oakton WD-35662-35 User manual

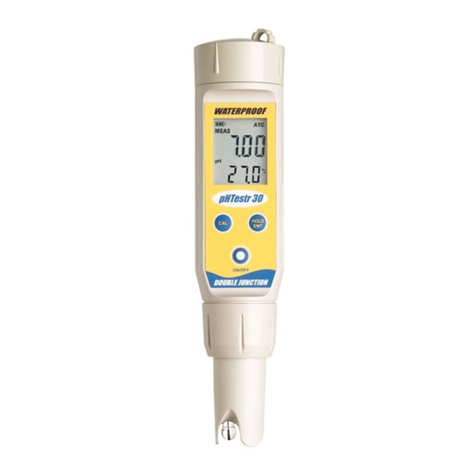
Oakton pHTestr 30 User manual

Oakton

Oakton pHTestr 30 User manual

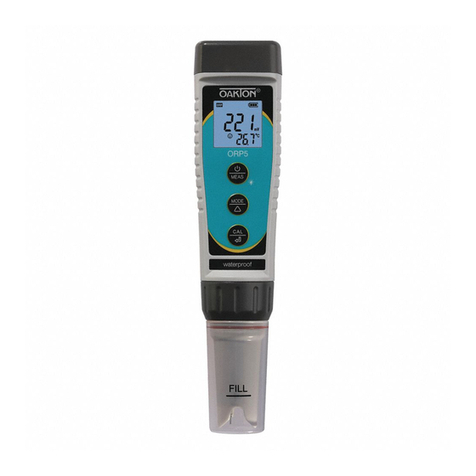
Oakton ORP5 User manual

Oakton

Oakton ORP5 User manual

Oakton pHTestr 30 User manual

Oakton

Oakton pHTestr 30 User manual

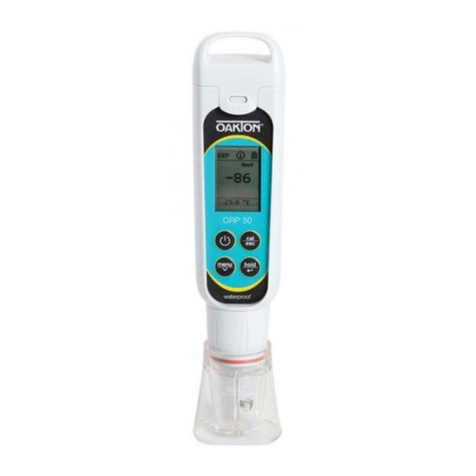
Oakton ORPTestr 50 User manual

Oakton

Oakton ORPTestr 50 User manual

Oakton ORPTestr 30 User manual

Oakton

Oakton ORPTestr 30 User manual

Oakton EC1 User manual

Oakton

Oakton EC1 User manual

Oakton EcoTestr CTS1 User manual

Oakton

Oakton EcoTestr CTS1 User manual

Oakton pH 5+ User manual

Oakton

Oakton pH 5+ User manual

Oakton PCTSTestr 50 User manual

Oakton

Oakton PCTSTestr 50 User manual

Oakton CTSTestr 50 User manual

Oakton

Oakton CTSTestr 50 User manual

Oakton ORPTestr10 User manual

Oakton

Oakton ORPTestr10 User manual

Oakton TempTestr 35628-00 User manual

Oakton

Oakton TempTestr 35628-00 User manual

Oakton pHTestr 30 User manual

Oakton

Oakton pHTestr 30 User manual

Oakton Salt 1 User manual

Oakton

Oakton Salt 1 User manual

Popular Test Equipment manuals by other brands

Testboy Testavit Schuki 3 LCD operating instructions

Testboy

Testboy Testavit Schuki 3 LCD operating instructions

JB INDUSTRIES F6-BOOST operating manual

JB INDUSTRIES

JB INDUSTRIES F6-BOOST operating manual

MARTINDALE ET4000 instruction manual

MARTINDALE

MARTINDALE ET4000 instruction manual

Tenma 72-6802 user manual

Tenma

Tenma 72-6802 user manual

Vents VUT 600 PW EC user manual

Vents

Vents VUT 600 PW EC user manual

Optibelt TT 3 Technical manual

Optibelt

Optibelt TT 3 Technical manual

MSD 89973 installation instructions

MSD

MSD 89973 installation instructions

HMS NV1002 user guide

HMS

HMS NV1002 user guide

MARTINDALE TEK402 instruction manual

MARTINDALE

MARTINDALE TEK402 instruction manual

Alcoscan AL3100 user manual

Alcoscan

Alcoscan AL3100 user manual

REED R2810 instruction manual

REED

REED R2810 instruction manual

SSF TL-SSF-TESTK-1 quick start guide

SSF

SSF TL-SSF-TESTK-1 quick start guide

Rigol MSO8000 Series Service guide

Rigol

Rigol MSO8000 Series Service guide

Agilent Technologies InfiniiVision 6000 Series user guide

Agilent Technologies

Agilent Technologies InfiniiVision 6000 Series user guide

BDI S100 STINGER quick start guide

BDI

BDI S100 STINGER quick start guide

DATREND Systems ES601-US operating manual

DATREND Systems

DATREND Systems ES601-US operating manual

SANBlaze SBExpress-RM4 quick start

SANBlaze

SANBlaze SBExpress-RM4 quick start

BGS technic BGS 62646 instruction manual

BGS technic

BGS technic BGS 62646 instruction manual

manuals.online logo
manuals.online logoBrands
  • About & Mission
  • Contact us
  • Privacy Policy
  • Terms and Conditions

Copyright 2025 Manuals.Online. All Rights Reserved.