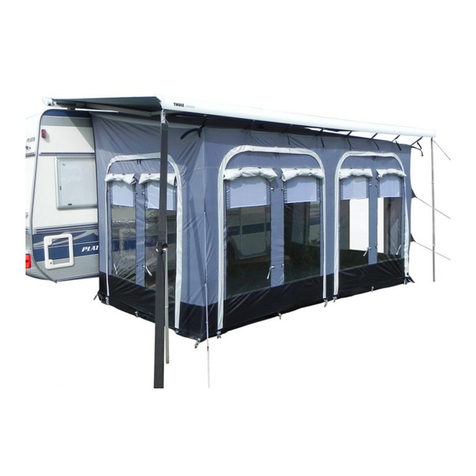
AMALFI
OPBOUWINSTRUCTIE • PITCHING INSTRUCTION • AUFBAUANLEITUNG
1. Haal de tent uit de verpakking en s huif de to htstrook en wielflap in de aravan rail aan de
onderkant. Hieermee bepaalt u de uiteindelijke lo atie van de tent.
Take the tent out of the bag and attach the draft skirt and wheel cover.
This determines the definite location of the tent.
2. S huif de pees van de tent door de aravan rail en zorg ervoor dat de tent op de juiste plek
komt te hangen.
Slide the kador from the tent through the caravan rail and make sure that the tent
is hanging on the right location.
3. Zet de s huimranden aan de a hterkant vast met een haring en zorg ervoor dat deze strak
tegen de aravanwand komen te zitten. De s huimranden moeten re ht naar beneden
gespannen worden.
Peg out the foam strips at the back. Make sure that the foam strips press against
the caravan wall for a tight fit. The strips must be alligned perfectly straight.
4. Klik de stokken in elkaar. Er zijn twee stalen staanders en een glasfiber stang. S huif de
glasfiberstang door de stoksleuf die aan de voorzijde van de tent op het dak gestikt zit en
klik de stokuiteinden in de kunststof hoekstukken die op het dak zitten.
Connect the poles. There are two steel upright poles and a fiberglass pole. Slide the
fiberglass pole through the pole sleeve that can be found at the front of the tent on
the roof and locate the pole ends in the plastic connectors that are attached on the
flysheet.
1. 2. 2. 3.
4. 4. 4. 5.
5. S huif beide stalen stokken door de stoksleuven die aan de zijkant gestikt zitten en klik ze
aan de bovenzijde in de kunststof hoekstukken. Zet de onderkant van de stalen stokken op
de metalen pinnen die onderaan de zwarte spanband zitten.
Slide both steel poles through the pole sleeves that are located on the side of the
tent. Connect the top of the poles in the plastic connectors. Place the metal pins
that can be found at the bottom of the tent on the black strap inside the pole ends.

