3
Vor Montagebeginn Transportverpackung entfernen
und die Lieferung auf Vollständigkeit, Richtigkeit
und Qualität überprüfen. Der Beutel mit Montage-
material befindet sich in dem jeweiligen Karton der
jeweiligen Artikel. In der Montageanleitung werden
alle alternativen bzw. optionalen Ausstattungsvari-
anten dargestellt. Die für Sie gültigen Ausführungen
entnehmen Sie bitte den entsprechenden Liefer-
unterlagen.
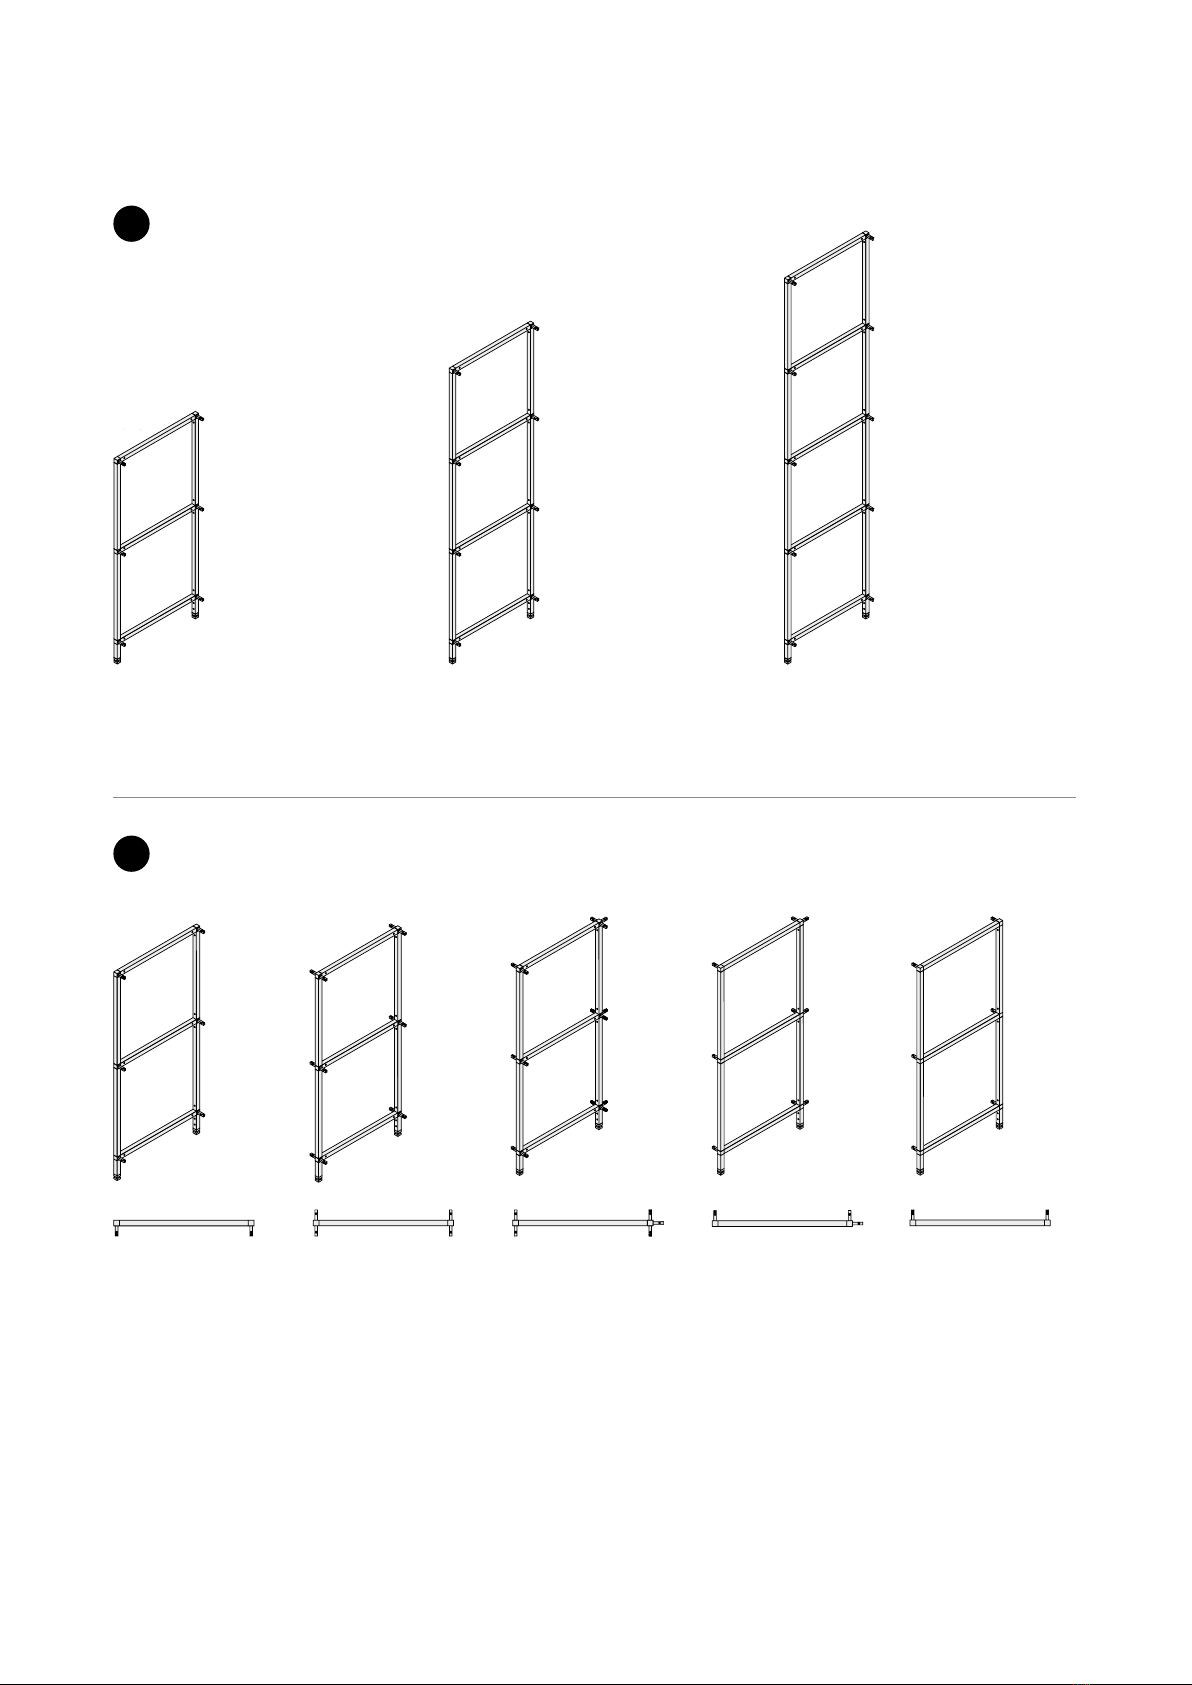
Wand und Bodenbefestigung
Bis 250 cm Kombinations-Breite sind die 2. Außen-
seiten mit Wand- oder Bodenbefestigungen not-
wendig.
Über 250 cm Kombinations-Breite sind für jede
weiter 250 cm eine zusätzliche Wand- oder Bo-
denbefestigungen an einem Verkettungsrahmen
notwendig (max. 250 cm Abstand zwischen den
Befestigungen).
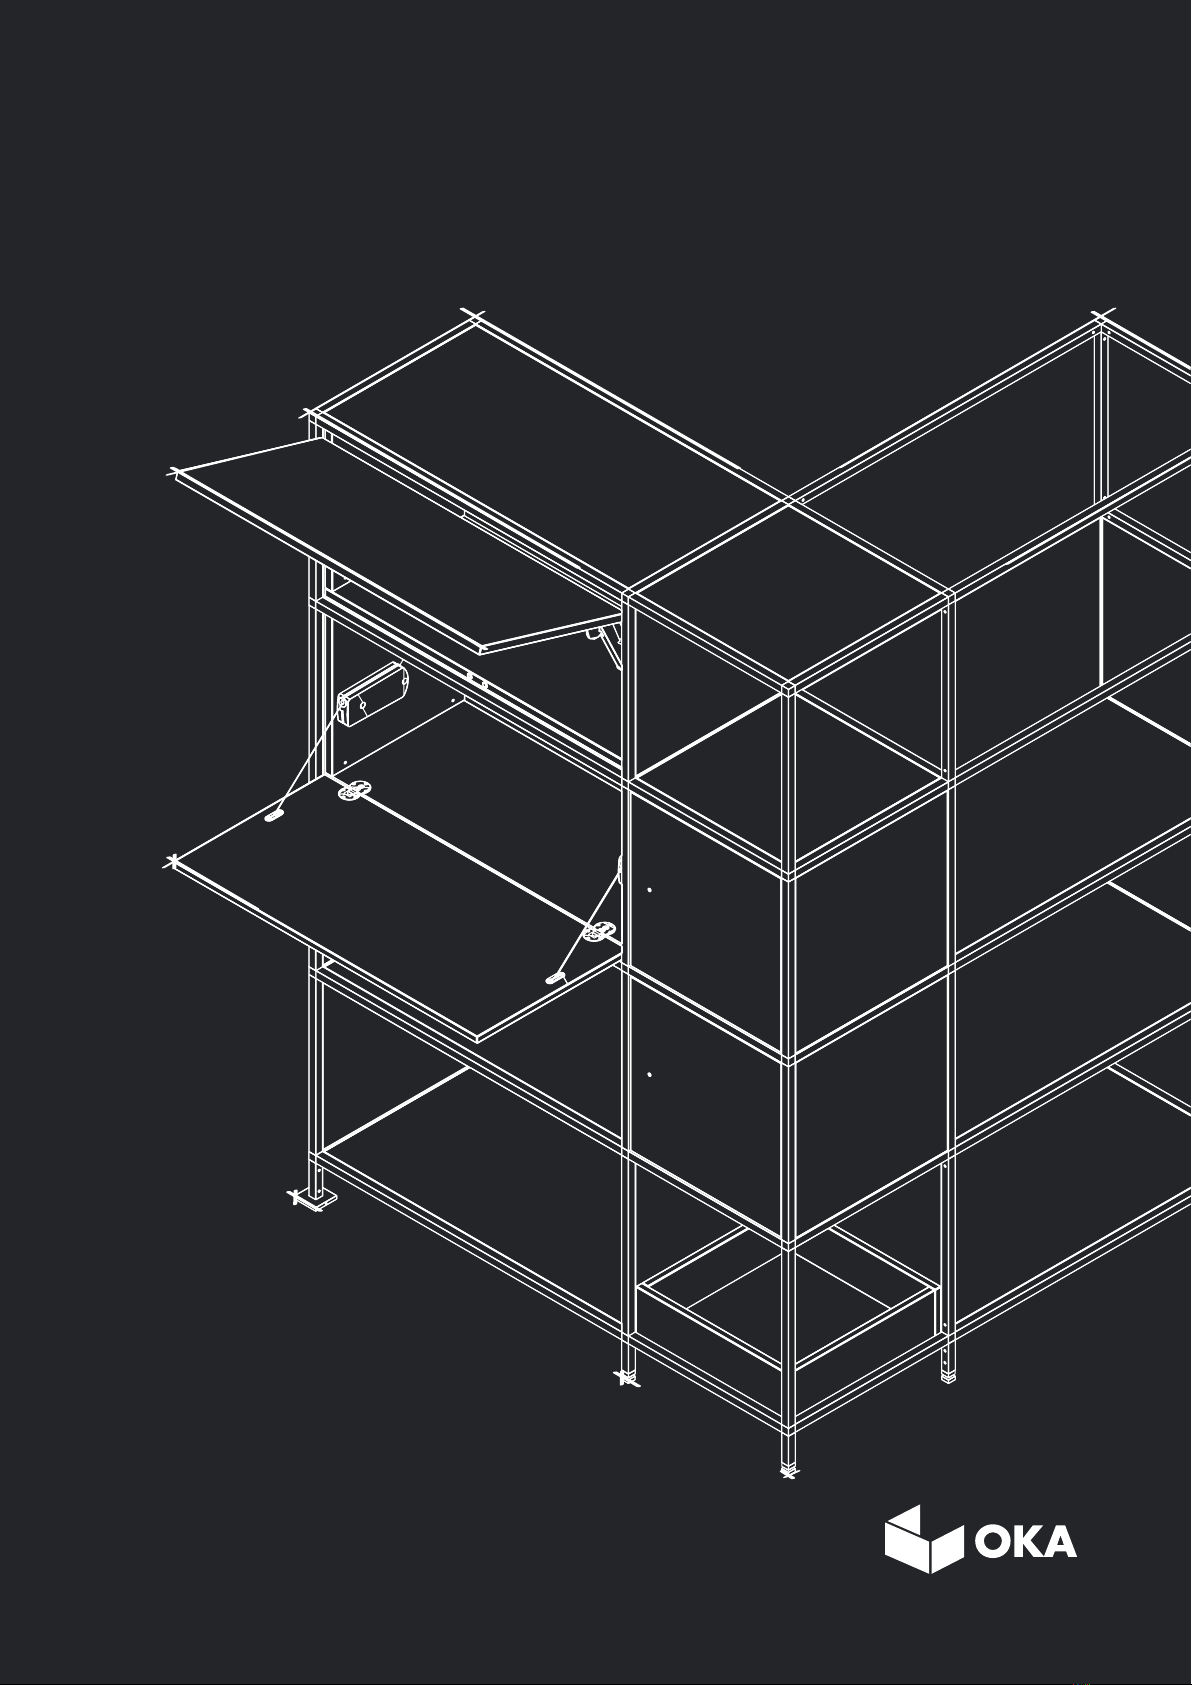
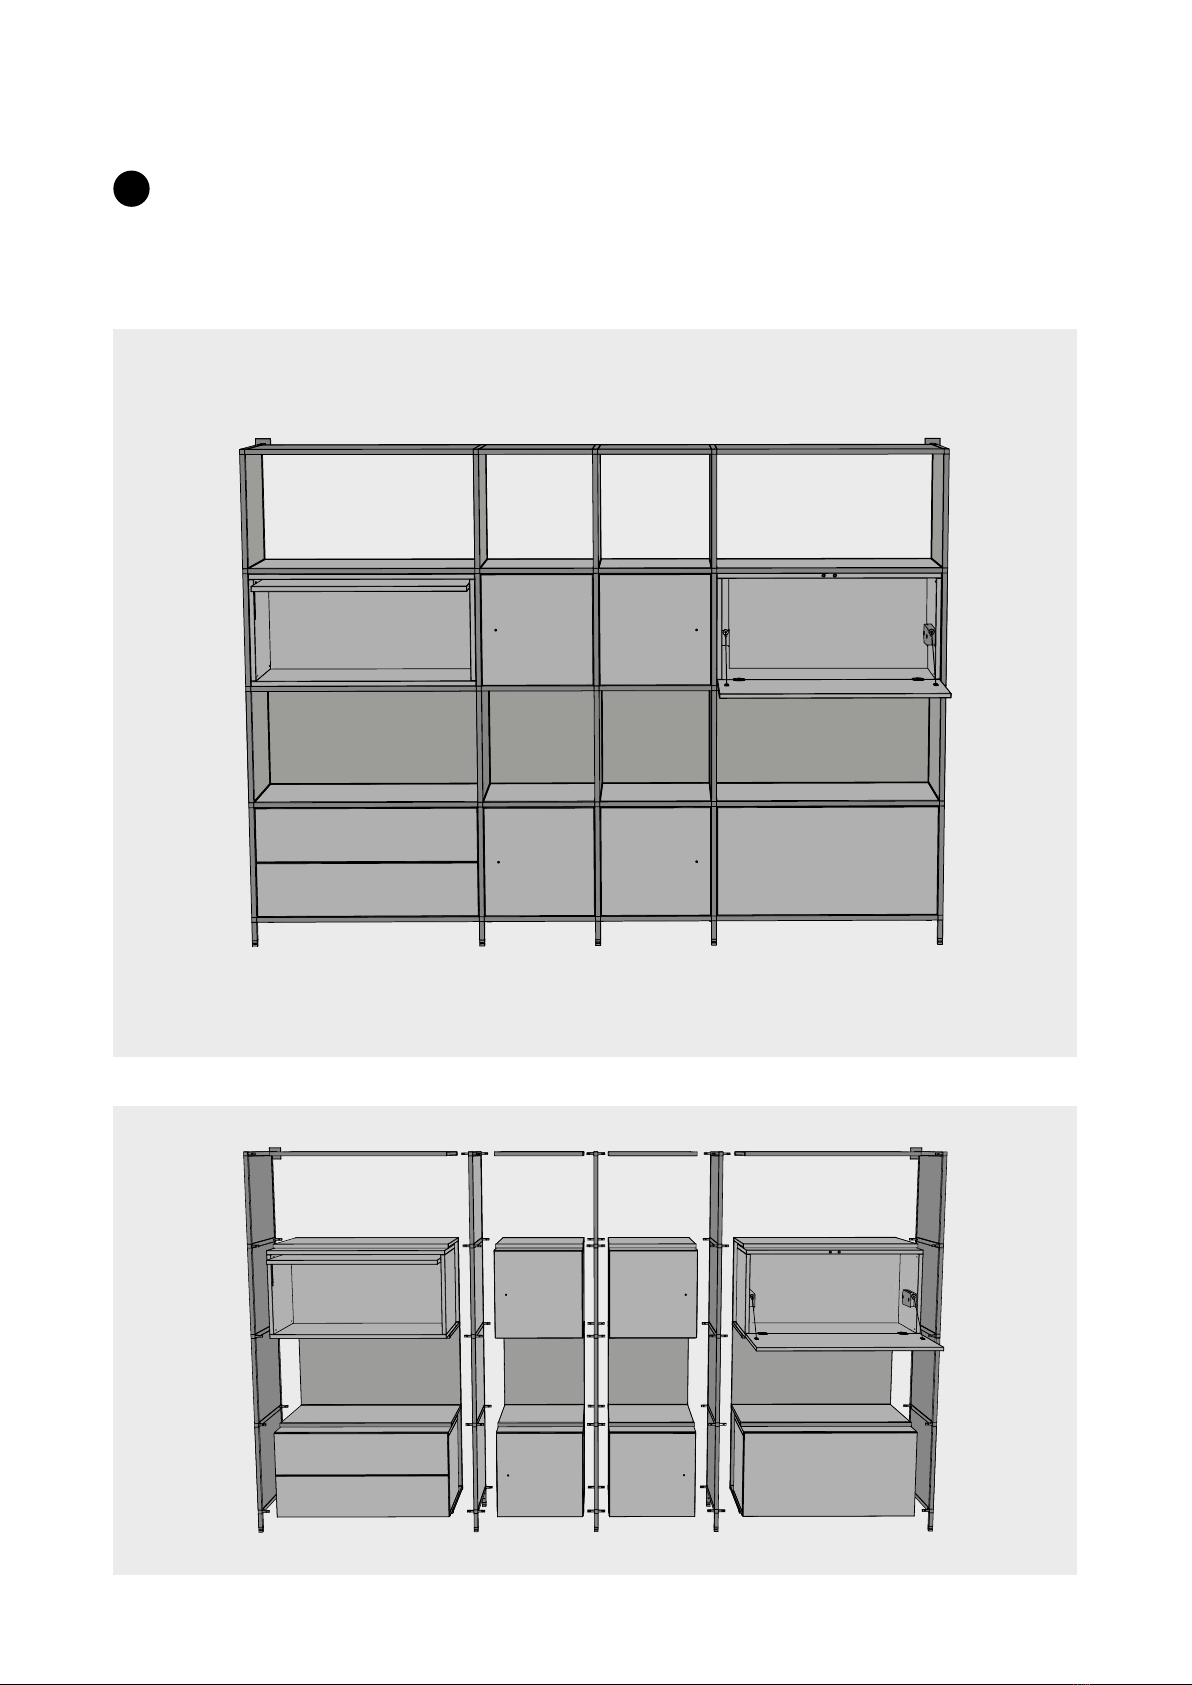
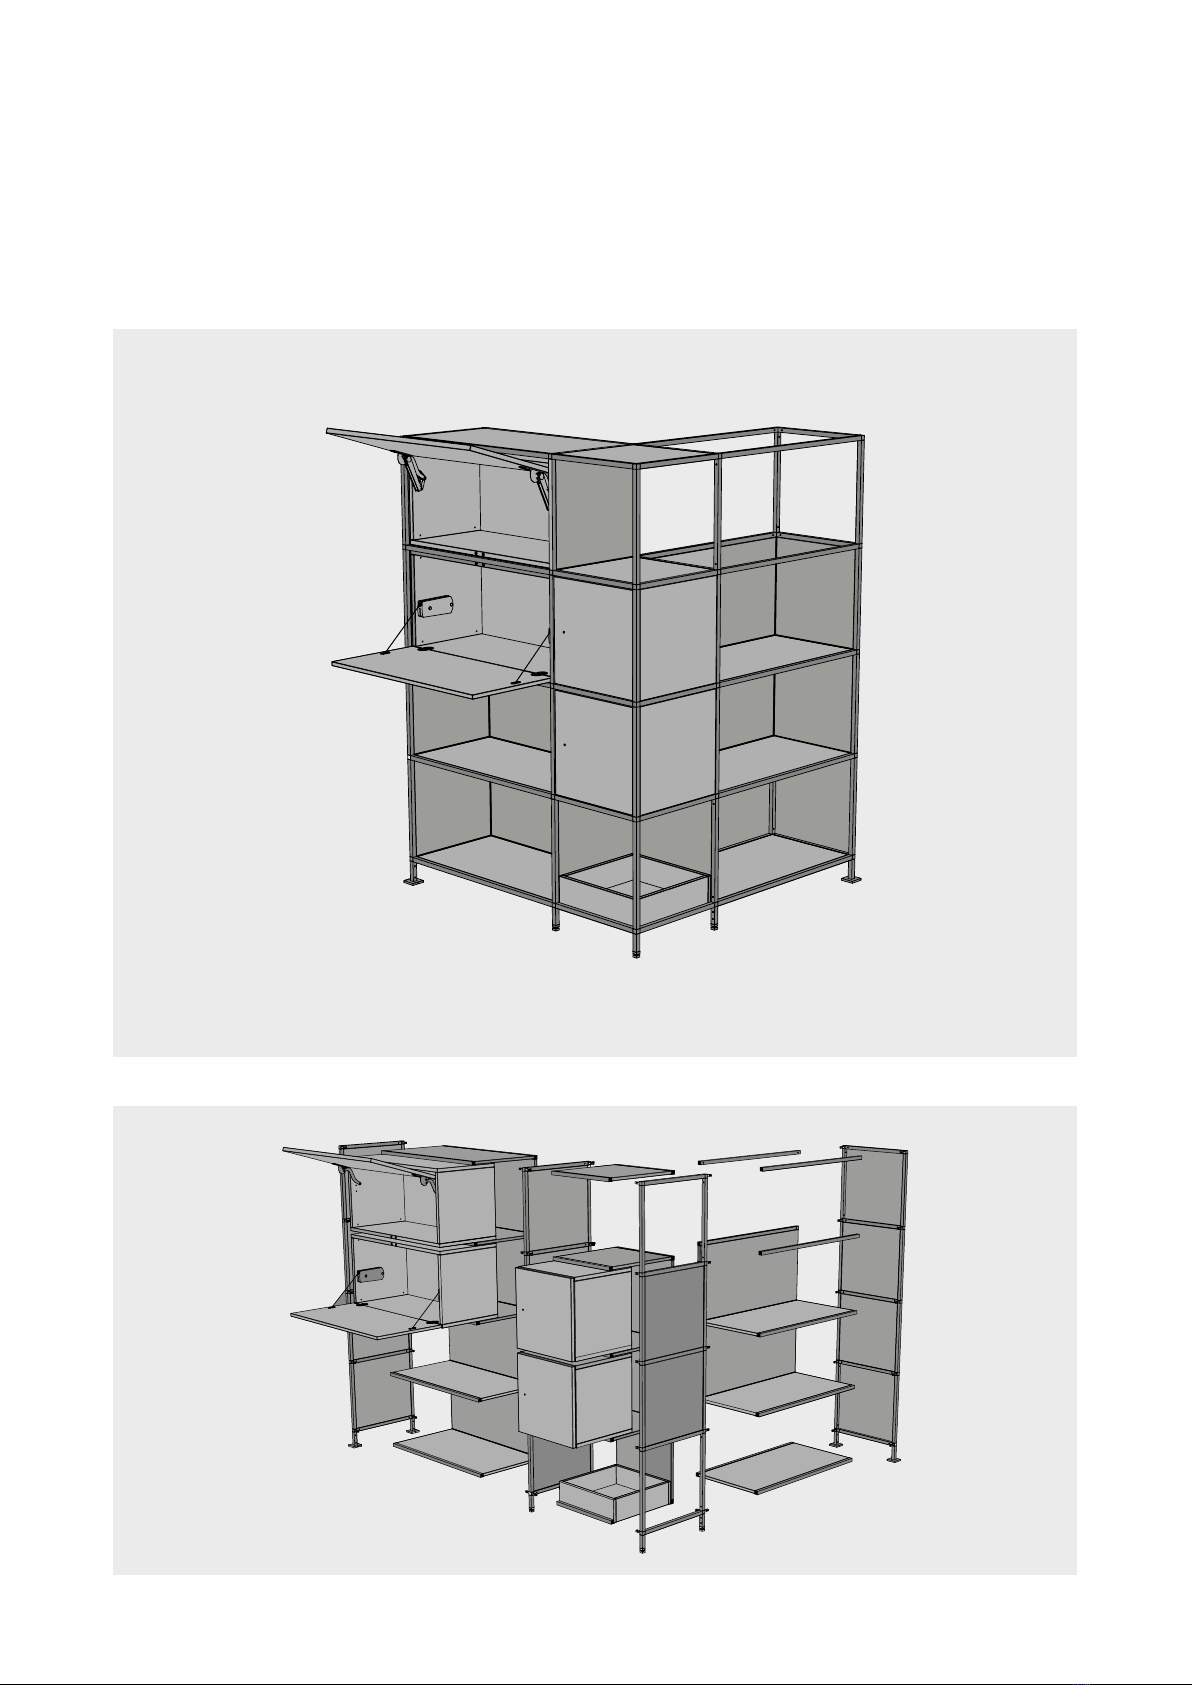
Planung und Aufbau
Die Planung im PCon-Planner gewährleistet eine
stabile und standfeste Konfiguration. Regale müs-
sen entsprechend der Planung aufgebaut werden.
Ein abweichender Aufbau geschieht auf eige-
Before starting the assembly, remove the transport
packaging and check the delivery for completeness,
correctness and quality. The bag with mounting ma-
terial is in the respective box of the respective article.
All alternative or optional equipment variants are
shown in the assembly instructions. Please refer to
the relevant delivery documents to see which versi-
ons apply to you.
Wall and floor mounting
Up to a width of 250 cm, the 2nd outer side with wall
or floor attachments is required.
Above 250 cm combination width one additional wall
or floor attachments on a linking frame is necessary
for each further 250 cm (max. 250 cm distance bet-
ween the fixings).
Planning and construction
Planning in PCon-Planner ensures a stable configura-
tion. Shelves must be set up according to the plan.
Any other construction is at your own risk
General information
Safety instructions
1. Allgemeine Hinweise
2. Sicherheitshinweise