Oki MJ-1108 User manual

© 2013 Oki Data Corporation. All rights reserved MJ-1108 with KN-2550
45686246EE
1 / 25
MJ-1108 with KN-2550
UIM13004000 Ver00 F
SET-UP GUIDE
Warnings and Cautionary Points
• The unpacking and setup procedure shall be done by a qualified service technician.
• Be sure to unplug the power cable of the equipment before installing and setting up the product.
• Install the equipment near an outlet. Be sure to wire the power cable securely so as to unplug it easily and not
to trip over it.
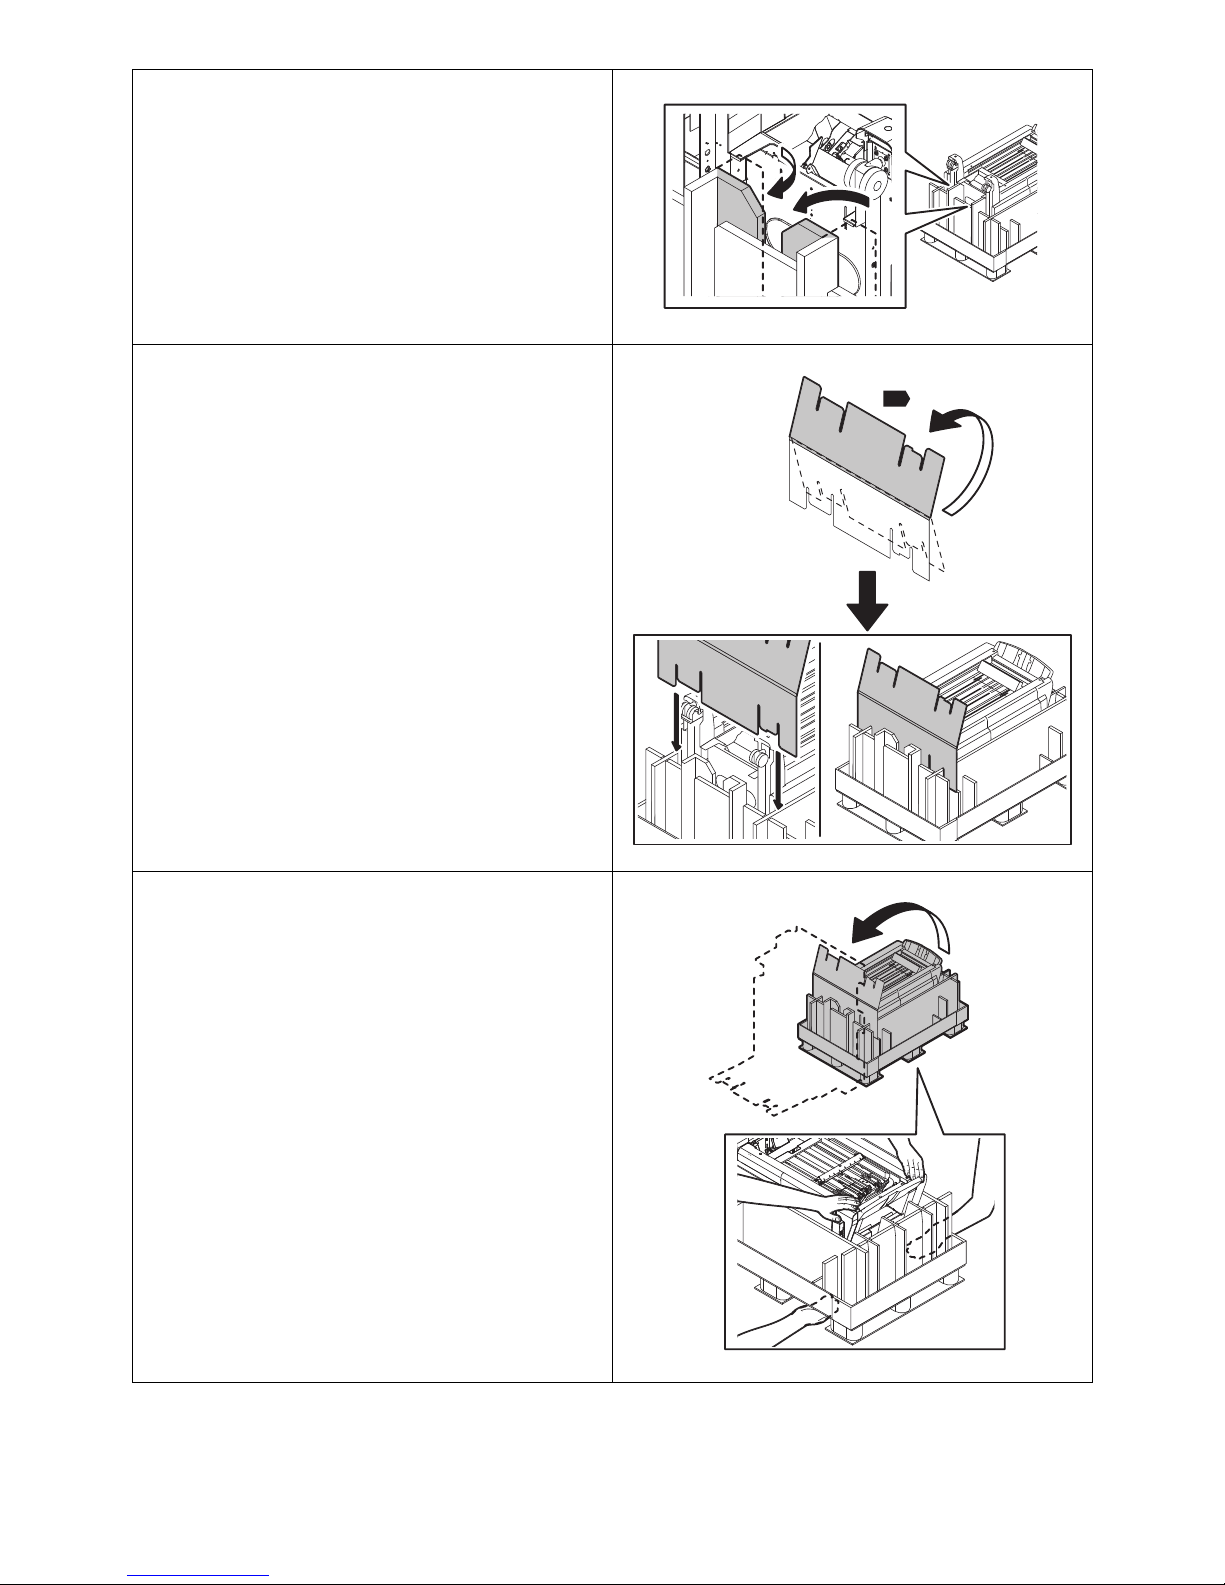
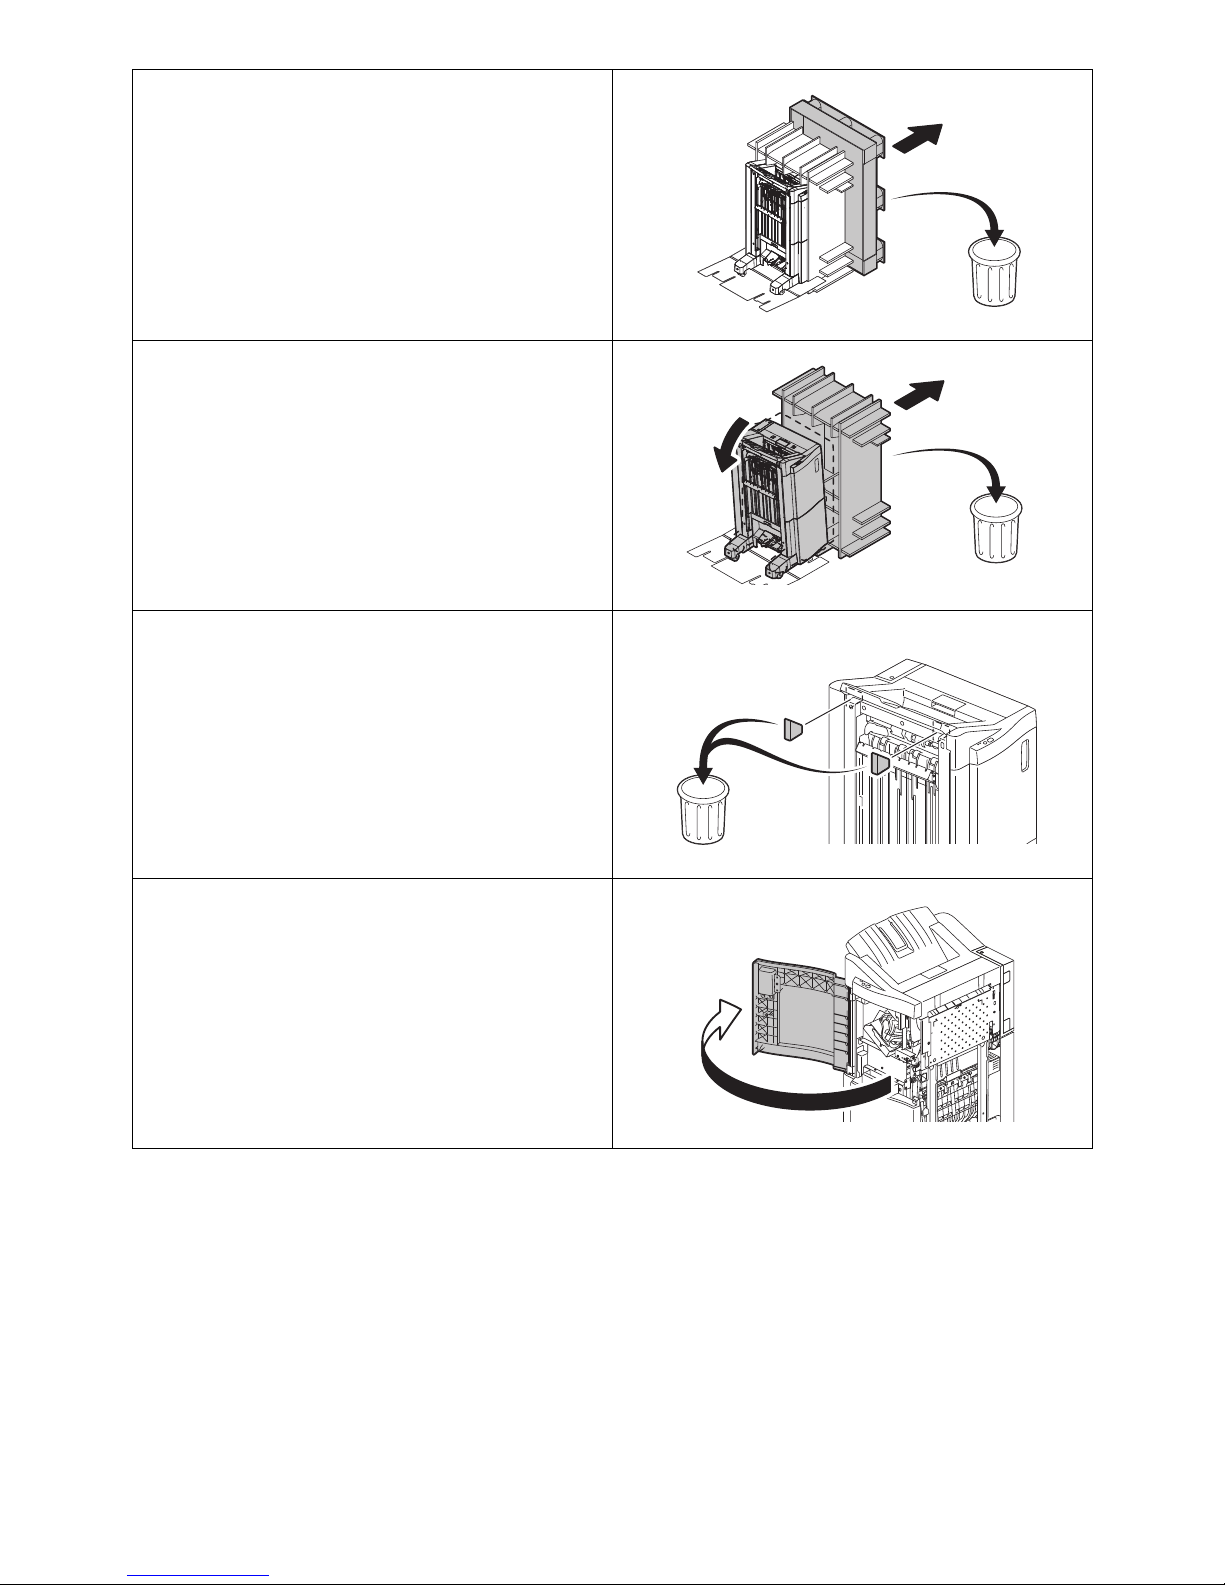
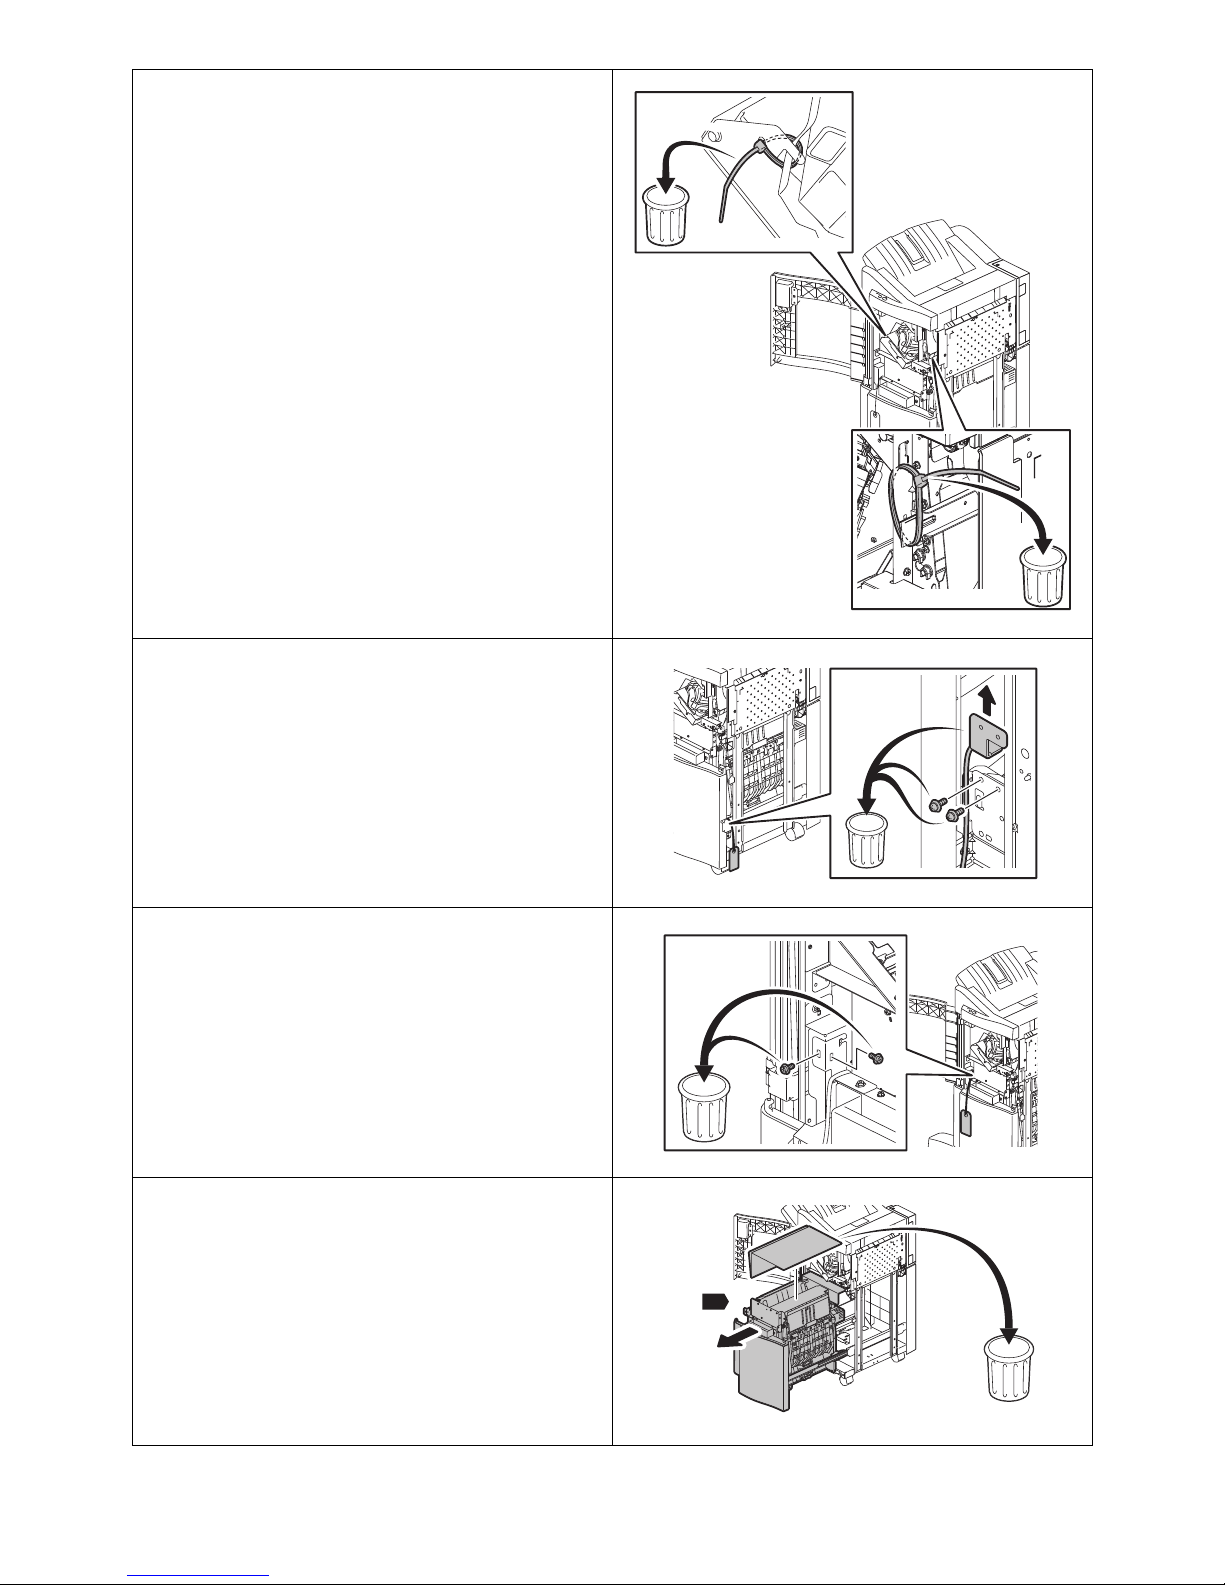
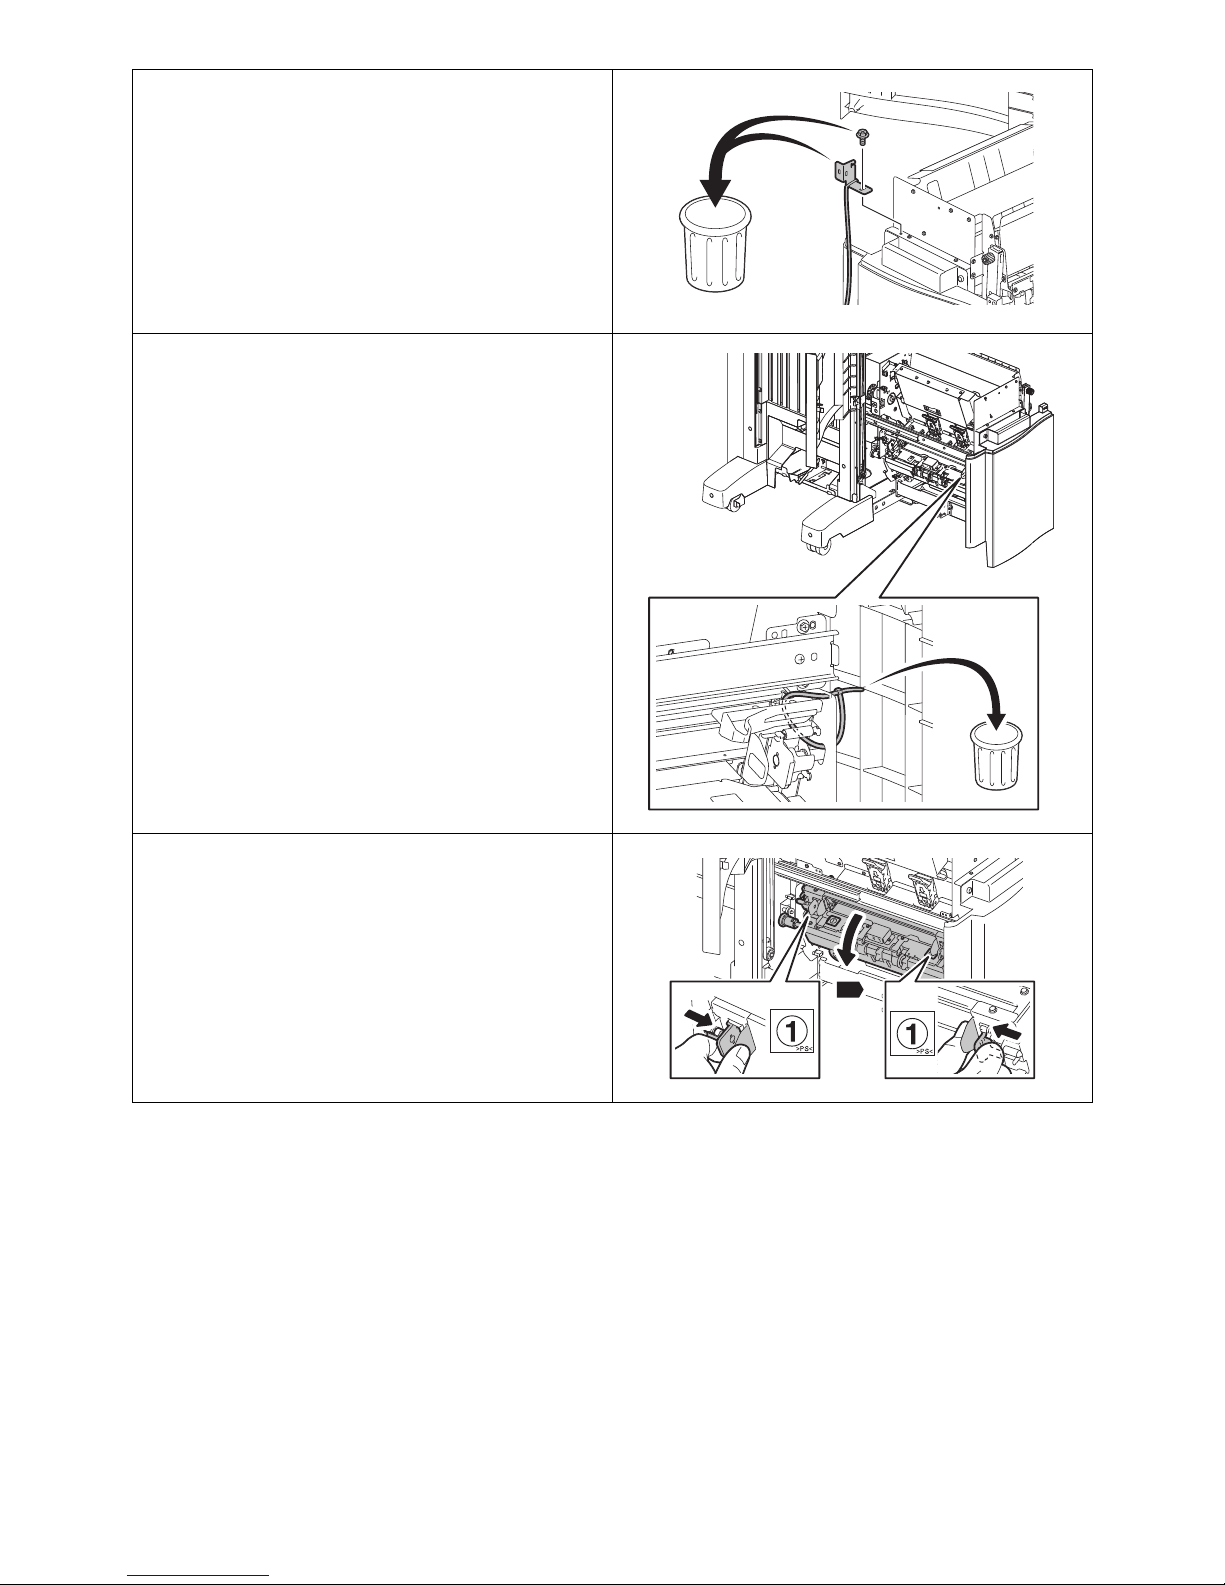
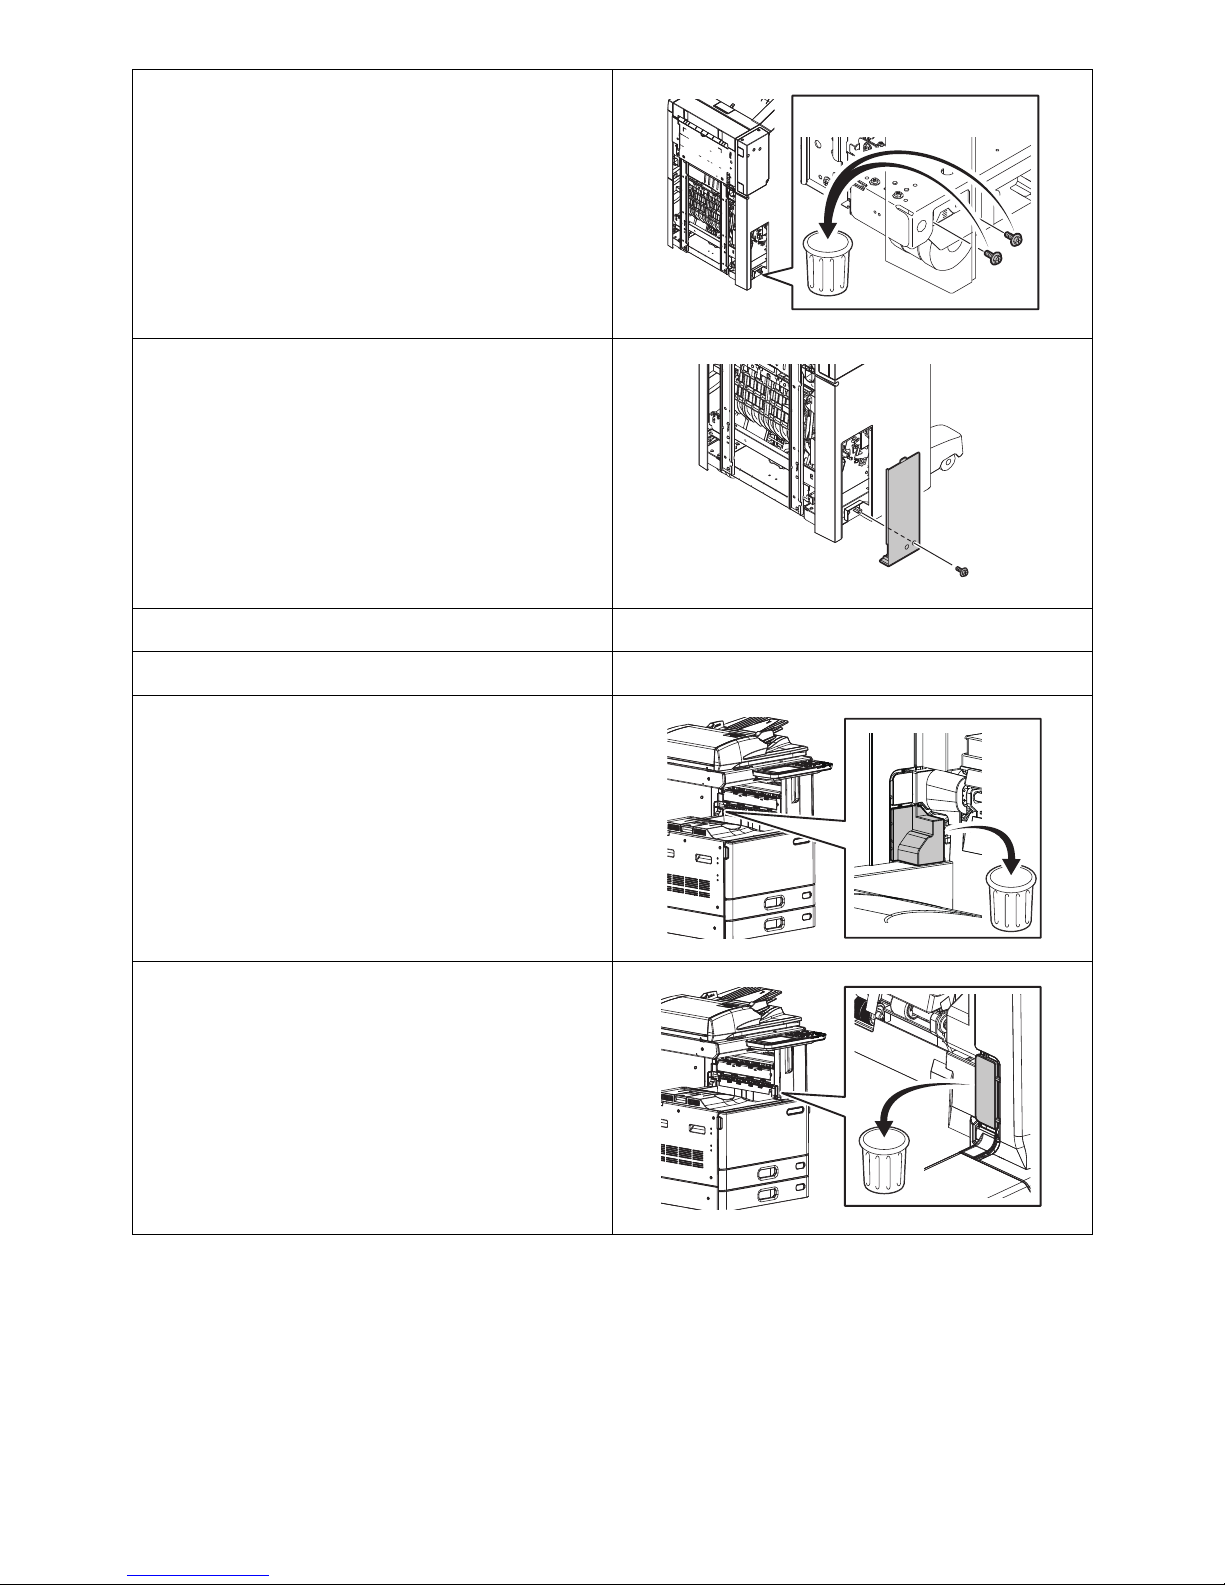
• According to the equipment model, these illustrations may differ.
• When lifting the equipment, be sure it is performed by two people and the equipment is never held by the
shadowed part indicated in the figure.
• When moving the equipment, push in the arrow direction.

© 2013 Oki Data Corporation. All rights reserved MJ-1108 with KN-2550
45686246EE
2 / 25
Accessories
Setup
1. Remove the packing materials of MJ-1108.
2. Take out the accessories of MJ-1108.
3. Remove [R].
Dispose of the protective part.
A B J L Q
I
D E
F G H
for MJ-6104
M3x8
g
aa
M4x20
b
M4x20
e
M3x8
f
M3x8
h
M3x8
mbb
a
TBID
M4x10
M3x8
for MJ-6104
MJ-1108
N P
ree
M4x8 M3x6
t
M3x6
KN-2550
R

© 2013 Oki Data Corporation. All rights reserved MJ-1108 with KN-2550
45686246EE
3 / 25
4. Fold the protective parts as shown in the
figure.
• 2 places
5. Insert [R] as shown in the figure.
6. Raise the finisher as shown in the figure.
R

© 2013 Oki Data Corporation. All rights reserved MJ-1108 with KN-2550
45686246EE
4 / 25
7. Remove the protective part and dispose of it.
8. Take off the finisher.
Remove the protective part and dispose of it.
9. Remove the protective parts as shown in the
figure and dispose of them.
10. Open the cover.

© 2013 Oki Data Corporation. All rights reserved MJ-1108 with KN-2550
45686246EE
5 / 25
11. Cut out the gray portions shown in the figure
and dispose of them.
• 2 places
12. Remove the screws and dispose of the
protective part and screws.
• Screws: 2
13. Remove the screws and dispose of them.
• Screws: 2
14. Pull out [U].
Remove the protective part and dispose of it.
U

© 2013 Oki Data Corporation. All rights reserved MJ-1108 with KN-2550
45686246EE
6 / 25
15. Remove the screw and dispose of the
protective part.
• Screw: 1
16. Cut out the gray portion shown in the figure
and dispose of it.
• 1 place
17. Hold the tabs as shown in the figure and open
[V].
• 2 places
V

© 2013 Oki Data Corporation. All rights reserved MJ-1108 with KN-2550
45686246EE
7 / 25
18. Cut out the gray portion shown in the figure
and dispose of it.
• 1 place
19. Hold the tabs as shown in the figure and
close [V].
• 2 places
20. Open the cover, remove the protective parts
and dispose of them.
• 2 places
21. Close the cover.
V

© 2013 Oki Data Corporation. All rights reserved MJ-1108 with KN-2550
45686246EE
8 / 25
22. Remove [ff].
• ff: 2
23. Temporarily tighten [ff].
• ff: 2
24. Close [U].
25. Close the cover.
26. Remove the screw and take off the cover.
• Screw: 1
ff
ff
ff
ff
U

© 2013 Oki Data Corporation. All rights reserved MJ-1108 with KN-2550
45686246EE
9 / 25
27. Remove the screws and dispose of them.
• Screws: 2
28. Attach the cover with the screw.
• Screw: 1
29. Remove the packing materials of KN-2550.
30. Take out the accessories of KN-2550.
31. Cut out the gray portion shown in the figure
and dispose of it.
32. Cut out the gray portion shown in the figure
and dispose of it.

© 2013 Oki Data Corporation. All rights reserved MJ-1108 with KN-2550
45686246EE
10 / 25
33. Open the cover.
34. Remove the screws and take off the cover.
• Screws: 4
35. Remove the screw and take off the cover.
• Screw: 1
B
A

© 2013 Oki Data Corporation. All rights reserved MJ-1108 with KN-2550
45686246EE
11 / 25
36. Cut out the gray portion shown in the figure
and dispose of it.
37. Wire the cable of [N] as shown in the figure.
38. Attach [A] to [N] with [r] as shown in the
figure.
•r:2
N
r
A
N
r

© 2013 Oki Data Corporation. All rights reserved MJ-1108 with KN-2550
45686246EE
12 / 25
39. Insert [N] as shown in the figure.
40. Attach [N] with [a].
•a:2
41. Attach [N] with [t].
•t:1
42. Open the cover.
N
N
a
a
t
N

© 2013 Oki Data Corporation. All rights reserved MJ-1108 with KN-2550
45686246EE
13 / 25
43. Attach [P] with [ee].
Attach (A) and then (B) in order, as shown in
the figure.
• ee: 1
44. Close the cover.
45. Connect the cable connector as shown in the
figure.
46. Attach the cover with the screw.
• Screw: 1
P
ee
B
A

© 2013 Oki Data Corporation. All rights reserved MJ-1108 with KN-2550
45686246EE
14 / 25
47. Attach the cover with the screws.
• Screws: 4
48. Close the cover.
A
B

© 2013 Oki Data Corporation. All rights reserved MJ-1108 with KN-2550
45686246EE
15 / 25
49. Attach [B] with [b] as shown in the figure.
•b:2
50. Attach [I] with [e] as shown in the figure.
•e:2
B
b
b
e
I
e

© 2013 Oki Data Corporation. All rights reserved MJ-1108 with KN-2550
45686246EE
16 / 25
51. Check the gap between [AA] and [BB].
* If there is no gap, lower [BB] by referring to
the figure.
* If there is a gap, proceed to the next step.
AA
BB
AA
BB
AA

© 2013 Oki Data Corporation. All rights reserved MJ-1108 with KN-2550
45686246EE
17 / 25
52. Attach [D] with [f].
•f:2
* Be careful not to catch the harness.
53. Remove the protective part and dispose of it.
D
f

© 2013 Oki Data Corporation. All rights reserved MJ-1108 with KN-2550
45686246EE
18 / 25
54. Hook [W] to the protrusion of [S].
55. Attach [E] with [g] as shown in the figure.
•g:2
56. Insert [F].
57. Check the mobility of [G].
* Check that the leveling arm moves back and
forth smoothly. If not, push in its shaft and
check again.
W
S
g
g
E
F
G

© 2013 Oki Data Corporation. All rights reserved MJ-1108 with KN-2550
45686246EE
19 / 25
58. Attach [G] with [h].
•h:2
59. Pull out the lever as shown in the figure.
60. Insert by aligning the pins of the MFP with the
holes on [T].
h
h
G
T

© 2013 Oki Data Corporation. All rights reserved MJ-1108 with KN-2550
45686246EE
20 / 25
61. Check the positions of [T] and MFP.
* If the gap between [T] and MFP is 10 mm or
more, adjust it.
P.21 “Gap Adjustment”
62. Attach the lever with [m] as shown in the
figure.
•m:1
63. Close the cover.
64. Cut out the gray portion shown in the figure
and dispose of it.
T
0~10mm
m
Table of contents
Languages: