manuals.online logo
Brands
  1. Home
  2. •
  3. Brands
  4. •
  5. OKIDATA
  6. •
  7. Printer
  8. •
  9. OKIDATA B6300 Installation and maintenance instructions

OKIDATA B6300 Installation and maintenance instructions

AbsoluteCOLOR • AbsoluteBLACK • UniDrums • UniRollers • UniParts • UniCoatings
OKIDATA®B6300 REMANUFACTURING INSTRUCTIONS
AbsoluteCOLOR®• AbsoluteBLACK®• UniDrums • UniRollers • UniParts • UniCoatings
OKIDATA B6300 PRINTER
TONER CARTRIDGE
WITH OEM CHIP SHOWN
REMOVING THE CHIP
1. Using a small screwdriver, push in one of
the tabs located beneath the base to
release the chip that is held in place.
2. The chip can now be lifted from the top
or pushed out through the tab holes
beneath the chip base.
3. Chip removed with tab holes shown. It
will be replaced later with a new
Smartchip.
11124 Washington Blvd., Culver City, California U.S.A. 90232 Ph: 310 280-9620 • Fx: 310 838-7294 • [email protected]
© 2005 Uninet Imaging Inc. All Trademark names are property of their respective owners. Product brand names mentioned are intended to show compatibility only. Uninet Imaging does not guarantee or warrant downloaded information.
USA
+310-280-9620
+310-838-7294
Ph:
Fx:
JAPAN
+81-3-44-55-2789
+310-838-7294
EUROPE
+34-93-757-1335
+34-93-741-4166
BRAZIL
+55-11-4822-3033
+55-11-4822-3353
ARGENTINA
+54-11-4574-3706
+54-11-4574-3706
www.uninetimaging.com
UNINET IMAGING INC. •OKIDATA®B6300 REMANUFACTURING INSTRUCTIONS
4. Remove the shutter-door arm from the
slot on the gear-side of the toner cartridge
as shown.
5. Using a hook tool, remove the shutter-
door arm on the gearless side. Remember
the spring position for re-installation.
6. Remove the shutter-door and set it
aside.
ARM
ARM
SPRING
7. Remove the plastic pin on one end by
first drilling a hole in the center of it. This
will make it more accessible.
8. Use a 2.4 mm screwdriver to turn the pin
to the “release” setting (turn counter-clock-
wise sensitively until it stops).
9. Use a 2-angle hook to access and pull
the pin from the hole.
10. Remove the plastic pin on the opposite
end by drilling a hole in the center.
11. Turn the pin counter-clockwise to the
“release” setting as usual.
12. Pull the pin out through the hole.
11124 Washington Blvd., Culver City, California U.S.A. 90232 Ph: 310 280-9620 • Fx: 310 838-7294 • [email protected]
© 2005 Uninet Imaging Inc. All Trademark names are property of their respective owners. Product brand names mentioned are intended to show compatibility only. Uninet Imaging does not guarantee or warrant downloaded information.
USA
+310-280-9620
+310-838-7294
Ph:
Fx:
JAPAN
+81-3-44-55-2789
+310-838-7294
EUROPE
+34-93-757-1335
+34-93-741-4166
BRAZIL
+55-11-4822-3033
+55-11-4822-3353
ARGENTINA
+54-11-4574-3706
+54-11-4574-3706
www.uninetimaging.com
UNINET IMAGING INC. •OKIDATA®B6300 REMANUFACTURING INSTRUCTIONS
14. Lift evenly to separate the drum unit
from the cartridge.
13. Use a hook tool to release the spring
from the gear-less side.
15. Drum unit removed.
16. You are now ready to disassemble the
drum unit.
17. Remove the top screw of the drum gear
holder.
18. Remove the bottom screw of the drum
gear holder.
19. Remove the drum gear holder by
pulling it out.
20. Remove the two drum pin screws on
the other side.
21. Remove the drum pin by pulling it out.
11124 Washington Blvd., Culver City, California U.S.A. 90232 Ph: 310 280-9620 • Fx: 310 838-7294 • [email protected]
© 2005 Uninet Imaging Inc. All Trademark names are property of their respective owners. Product brand names mentioned are intended to show compatibility only. Uninet Imaging does not guarantee or warrant downloaded information.
USA
+310-280-9620
+310-838-7294
Ph:
Fx:
JAPAN
+81-3-44-55-2789
+310-838-7294
EUROPE
+34-93-757-1335
+34-93-741-4166
BRAZIL
+55-11-4822-3033
+55-11-4822-3353
ARGENTINA
+54-11-4574-3706
+54-11-4574-3706
www.uninetimaging.com
UNINET IMAGING INC. •OKIDATA®B6300 REMANUFACTURING INSTRUCTIONS
22. Carefully remove the drum. 23. You are now ready to remove the PCR. 24. Remove the PCR by un-clipping it from
the white and black holders.
25. Remove the wiper blade by unscrewing the two gold-colored screws at each end that
hold it in place as shown.
26. Lift the wiper blade evenly from the
waste hopper.
28. Use air pressure to blow out any
remaining toner.
27. You are now ready to clean the wiper
blade and waste hopper.
29. Once clean, you are now ready to
reassemble t he wiper blade.
11124 Washington Blvd., Culver City, California U.S.A. 90232 Ph: 310 280-9620 • Fx: 310 838-7294 • [email protected]
© 2005 Uninet Imaging Inc. All Trademark names are property of their respective owners. Product brand names mentioned are intended to show compatibility only. Uninet Imaging does not guarantee or warrant downloaded information.
USA
+310-280-9620
+310-838-7294
Ph:
Fx:
JAPAN
+81-3-44-55-2789
+310-838-7294
EUROPE
+34-93-757-1335
+34-93-741-4166
BRAZIL
+55-11-4822-3033
+55-11-4822-3353
ARGENTINA
+54-11-4574-3706
+54-11-4574-3706
www.uninetimaging.com
UNINET IMAGING INC. •OKIDATA®B6300 REMANUFACTURING INSTRUCTIONS
30. Reinstall the wiper blade back into position with the two gold-colored screws as shown. 31. Reinsert the PCR into the clips by using
slight force.
36. Remove the end-cap on the gear-side of the toner cartridge by first removing two gold-
colored screws as shown.
35. You are now ready to disassemble the
toner cartridge
33. Reinstall the remaining drum holder on
the opposite side.
32. Reinsert the OPC gear side first. 34. Line up the drum pin and screw back
into place.
11124 Washington Blvd., Culver City, California U.S.A. 90232 Ph: 310 280-9620 • Fx: 310 838-7294 • [email protected]
© 2005 Uninet Imaging Inc. All Trademark names are property of their respective owners. Product brand names mentioned are intended to show compatibility only. Uninet Imaging does not guarantee or warrant downloaded information.
USA
+310-280-9620
+310-838-7294
Ph:
Fx:
JAPAN
+81-3-44-55-2789
+310-838-7294
EUROPE
+34-93-757-1335
+34-93-741-4166
BRAZIL
+55-11-4822-3033
+55-11-4822-3353
ARGENTINA
+54-11-4574-3706
+54-11-4574-3706
www.uninetimaging.com
UNINET IMAGING INC. •OKIDATA®B6300 REMANUFACTURING INSTRUCTIONS
37. The end-cap should then slide out. 38. Remove all gears from the cartridge as shown in the following photos.
These gears are designed to fit one way, so reinstalling won’t become too difficult. 39. Unlock the MAG roller by lifting the
lever up as shown.
41. Continue with the other side until the
MAG is completely removed.
40. When the lever has been flipped up, lift
that side of the roller first.
42. Now you are ready to remove the
Doctor Blade.
11124 Washington Blvd., Culver City, California U.S.A. 90232 Ph: 310 280-9620 • Fx: 310 838-7294 • [email protected]
© 2005 Uninet Imaging Inc. All Trademark names are property of their respective owners. Product brand names mentioned are intended to show compatibility only. Uninet Imaging does not guarantee or warrant downloaded information.
USA
+310-280-9620
+310-838-7294
Ph:
Fx:
JAPAN
+81-3-44-55-2789
+310-838-7294
EUROPE
+34-93-757-1335
+34-93-741-4166
BRAZIL
+55-11-4822-3033
+55-11-4822-3353
ARGENTINA
+54-11-4574-3706
+54-11-4574-3706
www.uninetimaging.com
UNINET IMAGING INC. •OKIDATA®B6300 REMANUFACTURING INSTRUCTIONS
43. Unscrew the two gold-colored screws that hold the the Doctor
Blade in place as shown.
44. Doctor Blade removed.
45. Using a pair of needle-nose pliers, remove the two toner fill plugs located on the gear
side.
46. Empty the toner before removing the hopper.
47. REMOVING THE TONER HOPPER
Remove all four corner screws (as shown in
the following photos) that hold the toner
hopper and cartridge together.
11124 Washington Blvd., Culver City, California U.S.A. 90232 Ph: 310 280-9620 • Fx: 310 838-7294 • [email protected]
© 2005 Uninet Imaging Inc. All Trademark names are property of their respective owners. Product brand names mentioned are intended to show compatibility only. Uninet Imaging does not guarantee or warrant downloaded information.
USA
+310-280-9620
+310-838-7294
Ph:
Fx:
JAPAN
+81-3-44-55-2789
+310-838-7294
EUROPE
+34-93-757-1335
+34-93-741-4166
BRAZIL
+55-11-4822-3033
+55-11-4822-3353
ARGENTINA
+54-11-4574-3706
+54-11-4574-3706
www.uninetimaging.com
UNINET IMAGING INC. •OKIDATA®B6300 REMANUFACTURING INSTRUCTIONS
49. These foam seals surround holes
where toner passes through to the develop-
er roller. Residual toner can build up in
these areas, so it is important to clean
thoroughly before reinstalling the hopper.
48. Toner hopper removed. Note the two
foam seals located at the bottom of the
hopper.
NOTES:
50. Clean the hopper and toner cartridge
using compressed air or a vacuum. Refill,
and reassemble the cartridge following the
previous steps in reverse.
NOTE: A new Smartchip must be fitted
after reassembly of the toner cartridge.
11124 Washington Blvd., Culver City, California U.S.A. 90232 Ph: 310 280-9620 • Fx: 310 838-7294 • [email protected]
© 2005 Uninet Imaging Inc. All Trademark names are property of their respective owners. Product brand names mentioned are intended to show compatibility only. Uninet Imaging does not guarantee or warrant downloaded information.
USA
+310-280-9620
+310-838-7294
Ph:
Fx:
JAPAN
+81-3-44-55-2789
+310-838-7294
EUROPE
+34-93-757-1335
+34-93-741-4166
BRAZIL
+55-11-4822-3033
+55-11-4822-3353
ARGENTINA
+54-11-4574-3706
+54-11-4574-3706
www.uninetimaging.com

Other OKIDATA Printer manuals

OKIDATA C 9000 Installation and maintenance instructions

OKIDATA

OKIDATA C 9000 Installation and maintenance instructions

OKIDATA DOC-IT3000 User manual

OKIDATA

OKIDATA DOC-IT3000 User manual

OKIDATA OL600e Building instructions

OKIDATA

OKIDATA OL600e Building instructions

OKIDATA ML390 Turbo User manual

OKIDATA

OKIDATA ML390 Turbo User manual

OKIDATA OKIOFFICE 44 User manual

OKIDATA

OKIDATA OKIOFFICE 44 User manual

OKIDATA Okipage6e User manual

OKIDATA

OKIDATA Okipage6e User manual

OKIDATA OL810e User manual

OKIDATA

OKIDATA OL810e User manual

OKIDATA DOC-IT Series User manual

OKIDATA

OKIDATA DOC-IT Series User manual

OKIDATA PM3410 User manual

OKIDATA

OKIDATA PM3410 User manual

OKIDATA ML320 Turbo User manual

OKIDATA

OKIDATA ML320 Turbo User manual

OKIDATA 321 Turbo Manual

OKIDATA

OKIDATA 321 Turbo Manual

OKIDATA OL600e User manual

OKIDATA

OKIDATA OL600e User manual

OKIDATA Microline ML395 User manual

OKIDATA

OKIDATA Microline ML395 User manual

OKIDATA OKIFAX 5700 User manual

OKIDATA

OKIDATA OKIFAX 5700 User manual

OKIDATA Okipage 16n User manual

OKIDATA

OKIDATA Okipage 16n User manual
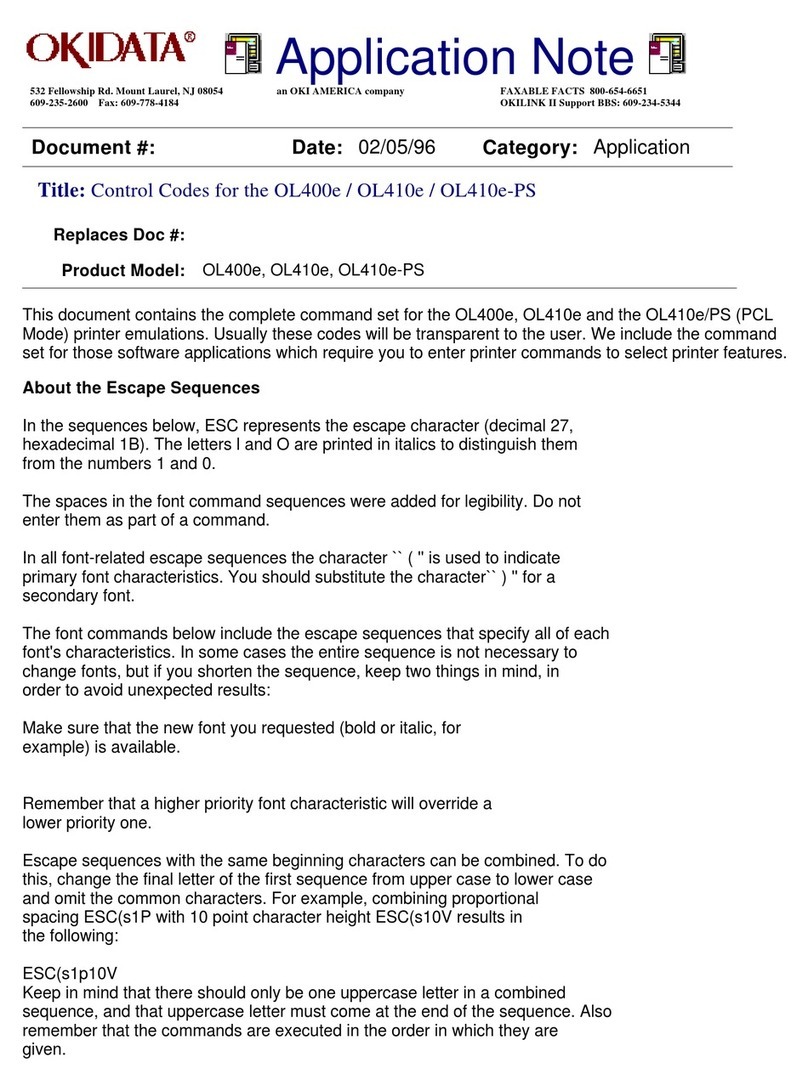
OKIDATA Pacemark 3410 How to use

OKIDATA

OKIDATA Pacemark 3410 How to use

OKIDATA MICROLINE ML590 User manual

OKIDATA

OKIDATA MICROLINE ML590 User manual

OKIDATA MICROLINE 320 User manual

OKIDATA

OKIDATA MICROLINE 320 User manual
OKIDATA ML320 Turbo User manual

OKIDATA

OKIDATA ML320 Turbo User manual

OKIDATA okidata Installation and maintenance instructions

OKIDATA

OKIDATA okidata Installation and maintenance instructions

OKIDATA OKIMATE 20 User manual

OKIDATA

OKIDATA OKIMATE 20 User manual
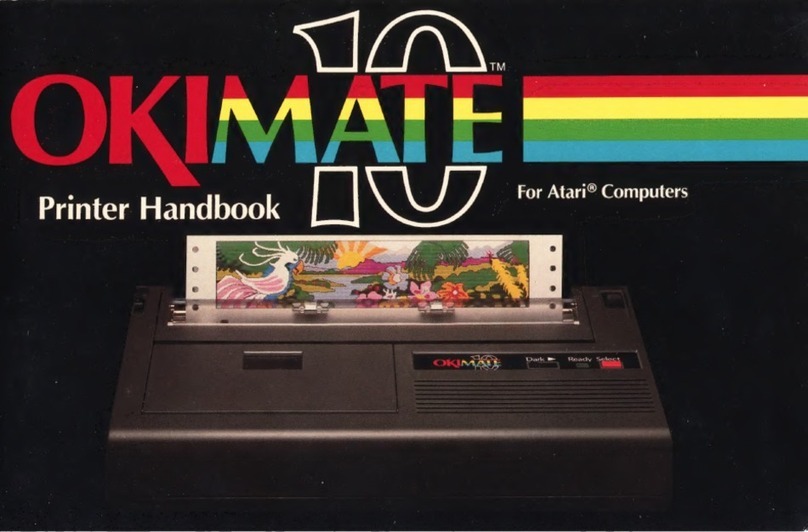
OKIDATA ML184Turbo User manual

OKIDATA

OKIDATA ML184Turbo User manual

OKIDATA OKIPAGE 20 User manual

OKIDATA

OKIDATA OKIPAGE 20 User manual

OKIDATA MICROLINE 320 User manual

OKIDATA

OKIDATA MICROLINE 320 User manual

Popular Printer manuals by other brands

Epson 790 Daily use

Epson

Epson 790 Daily use

Custom Audio Electronics MODUS3 user manual

Custom Audio Electronics

Custom Audio Electronics MODUS3 user manual

TallyGenicom 5040 user guide

TallyGenicom

TallyGenicom 5040 user guide

JVC GV-HT1U instructions

JVC

JVC GV-HT1U instructions

Boca Systems Adjustable MC Ghost user manual

Boca Systems

Boca Systems Adjustable MC Ghost user manual

SATO GL 4xxe Series Configuration instructions

SATO

SATO GL 4xxe Series Configuration instructions

Full Spectrum Laser muse FIBER GALVO quick start guide

Full Spectrum Laser

Full Spectrum Laser muse FIBER GALVO quick start guide

Epson Stylus Photo 950 Setup guide

Epson

Epson Stylus Photo 950 Setup guide

Epson Stylus Photo R3000 Series specification

Epson

Epson Stylus Photo R3000 Series specification

Canon FAX L160 reference guide

Canon

Canon FAX L160 reference guide

Canon PIXMA iP4820 Series Getting started

Canon

Canon PIXMA iP4820 Series Getting started

Brother HL-B2180DW Online user's guide

Brother

Brother HL-B2180DW Online user's guide

Planon PrintStik 839534009506 Specification sheet

Planon

Planon PrintStik 839534009506 Specification sheet

Star Micronics LaserPrinter 8 Operator's manual

Star Micronics

Star Micronics LaserPrinter 8 Operator's manual

Ricoh M126 Service manual

Ricoh

Ricoh M126 Service manual

Lexmark Color Jetprinter Z42 user guide

Lexmark

Lexmark Color Jetprinter Z42 user guide

TSC PEX-1120 Series Service manual

TSC

TSC PEX-1120 Series Service manual

Xerox DocuPrint 96 IPS Series System overview guide

Xerox

Xerox DocuPrint 96 IPS Series System overview guide

manuals.online logo
manuals.online logoBrands
  • About & Mission
  • Contact us
  • Privacy Policy
  • Terms and Conditions

Copyright 2025 Manuals.Online. All Rights Reserved.