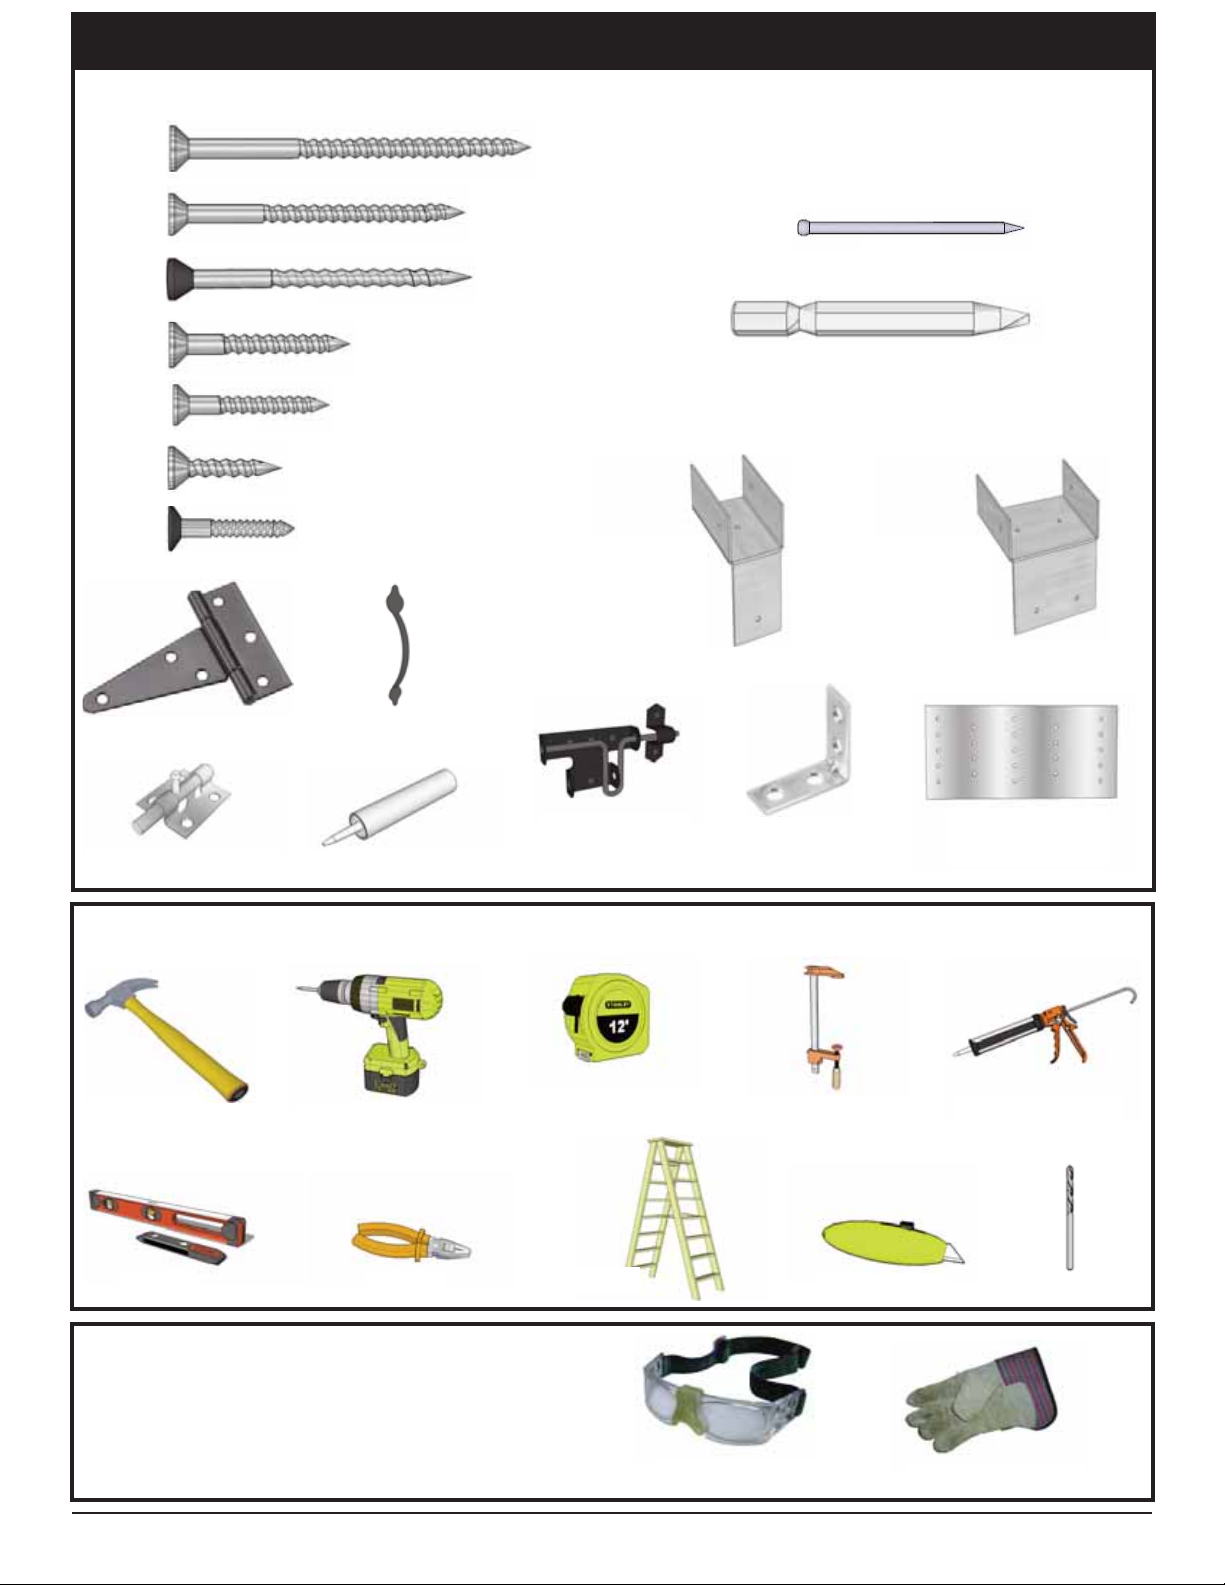
Thank you for purchasing our 8x12 SunShed Greenhouse Building.
Please take the time to identify all the parts prior to assembly.
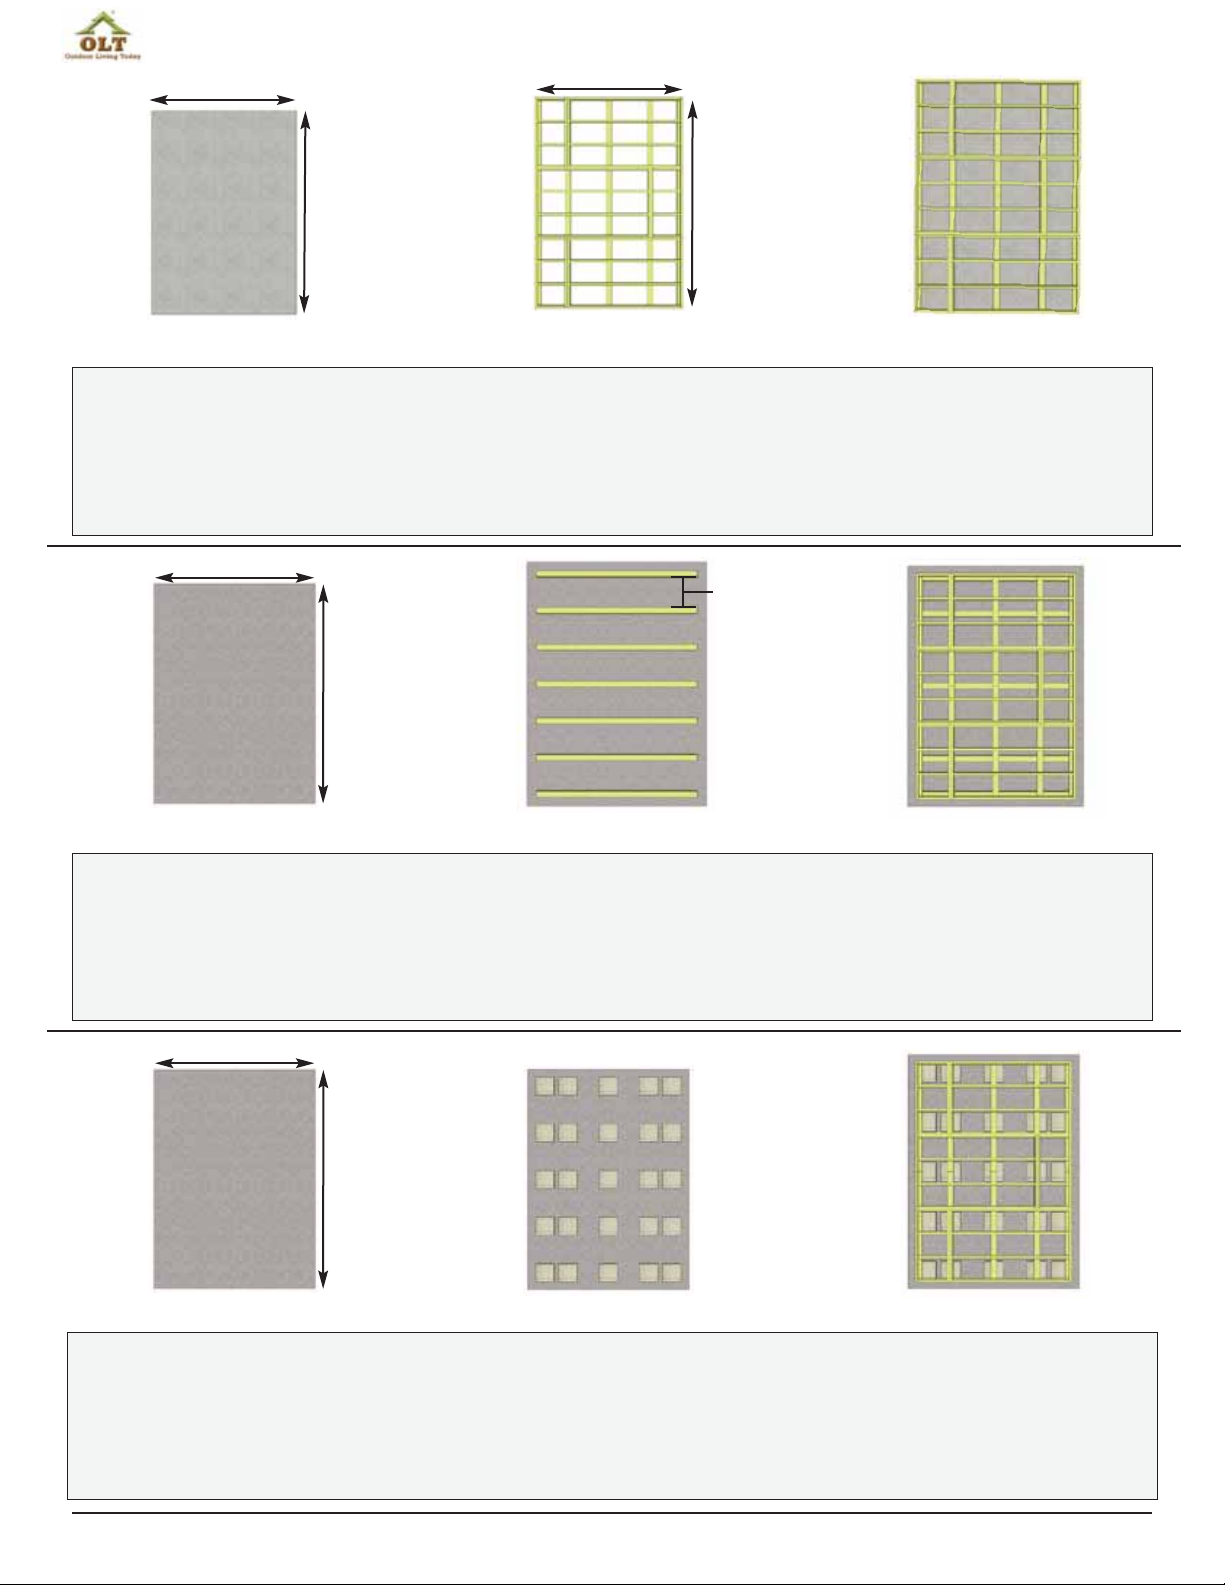
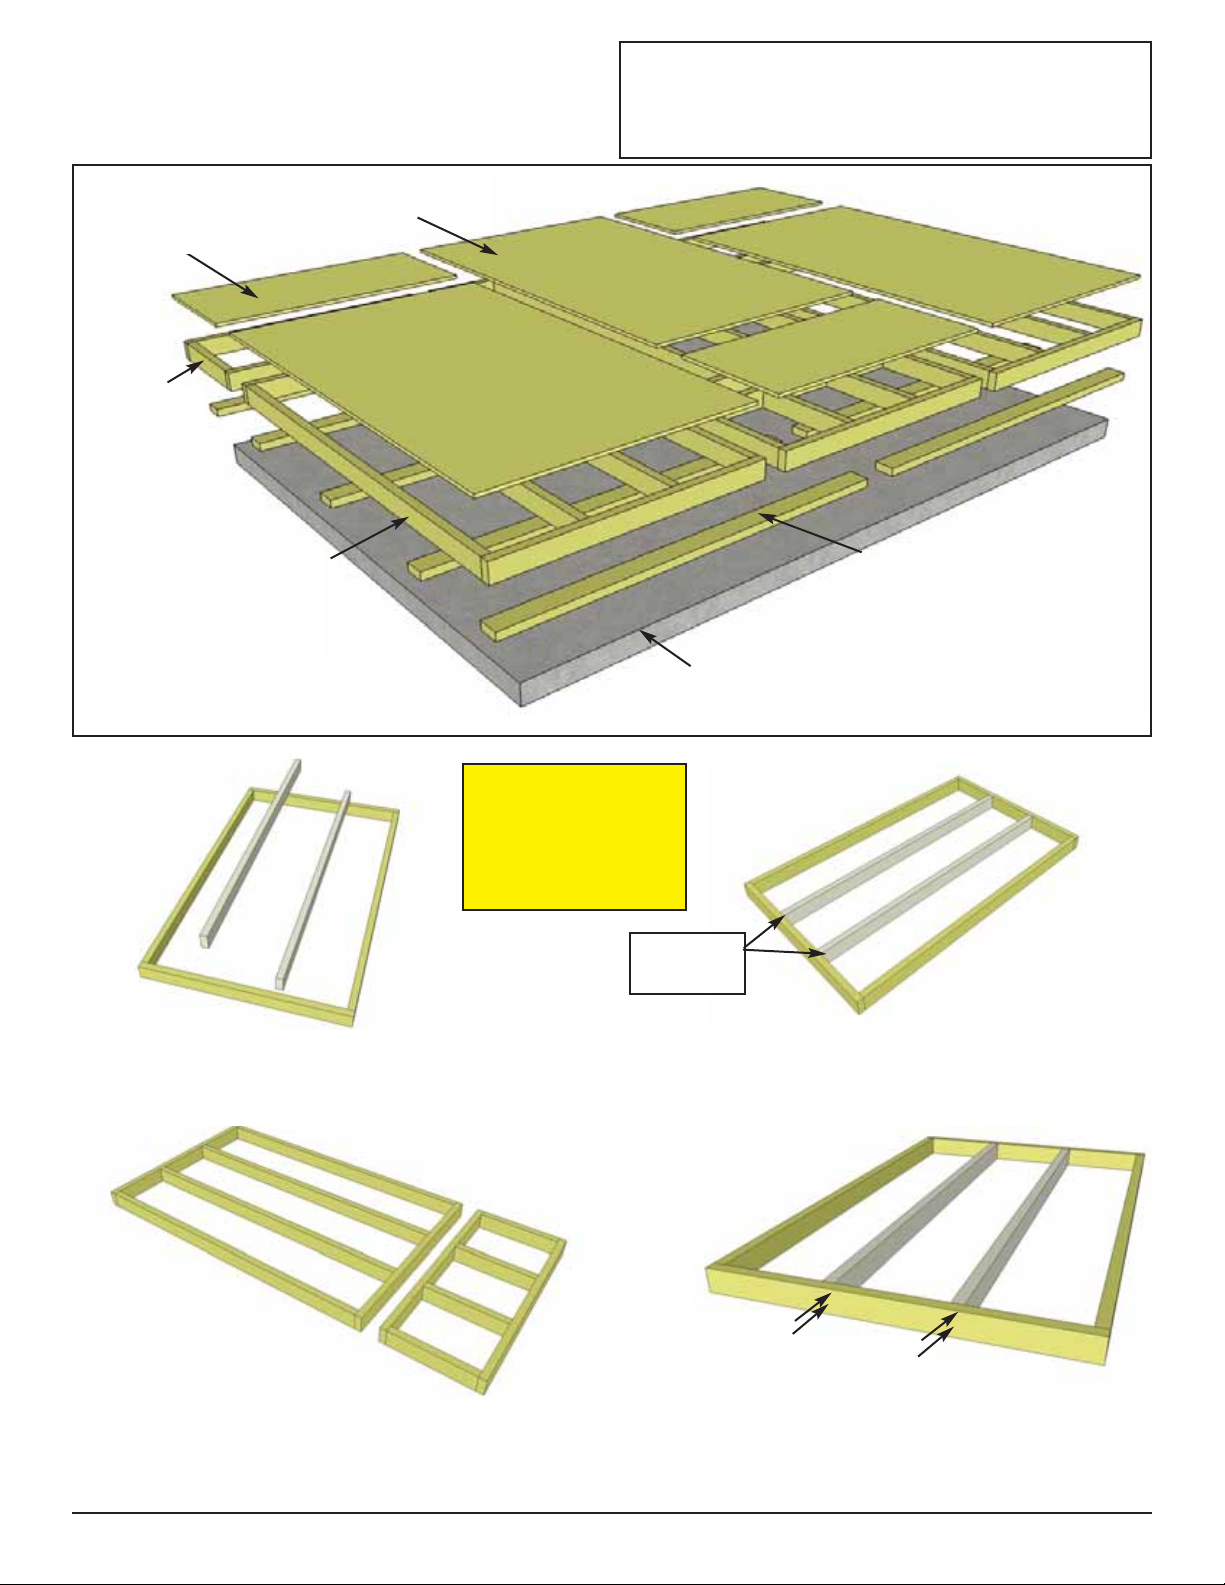
A. Floor Section
3 - 45 1/2” x 75” - Floor Joist Frames (Interior Joist Unattached)
3 - 45 1/2” x 21” - Floor Joist Frames (Interior Joists Attached)
6 - 1 1/2” x 3 1/2” x 71 3/4" - Floor Joists
3 - 45 3/8” x 74 7/8” - Floor Plywood
3 - 45 3/8” x 20 7/8” - Floor Plywood
10- 1 1/2” x 3 1/2” x 68 3/16” - Floor Runners
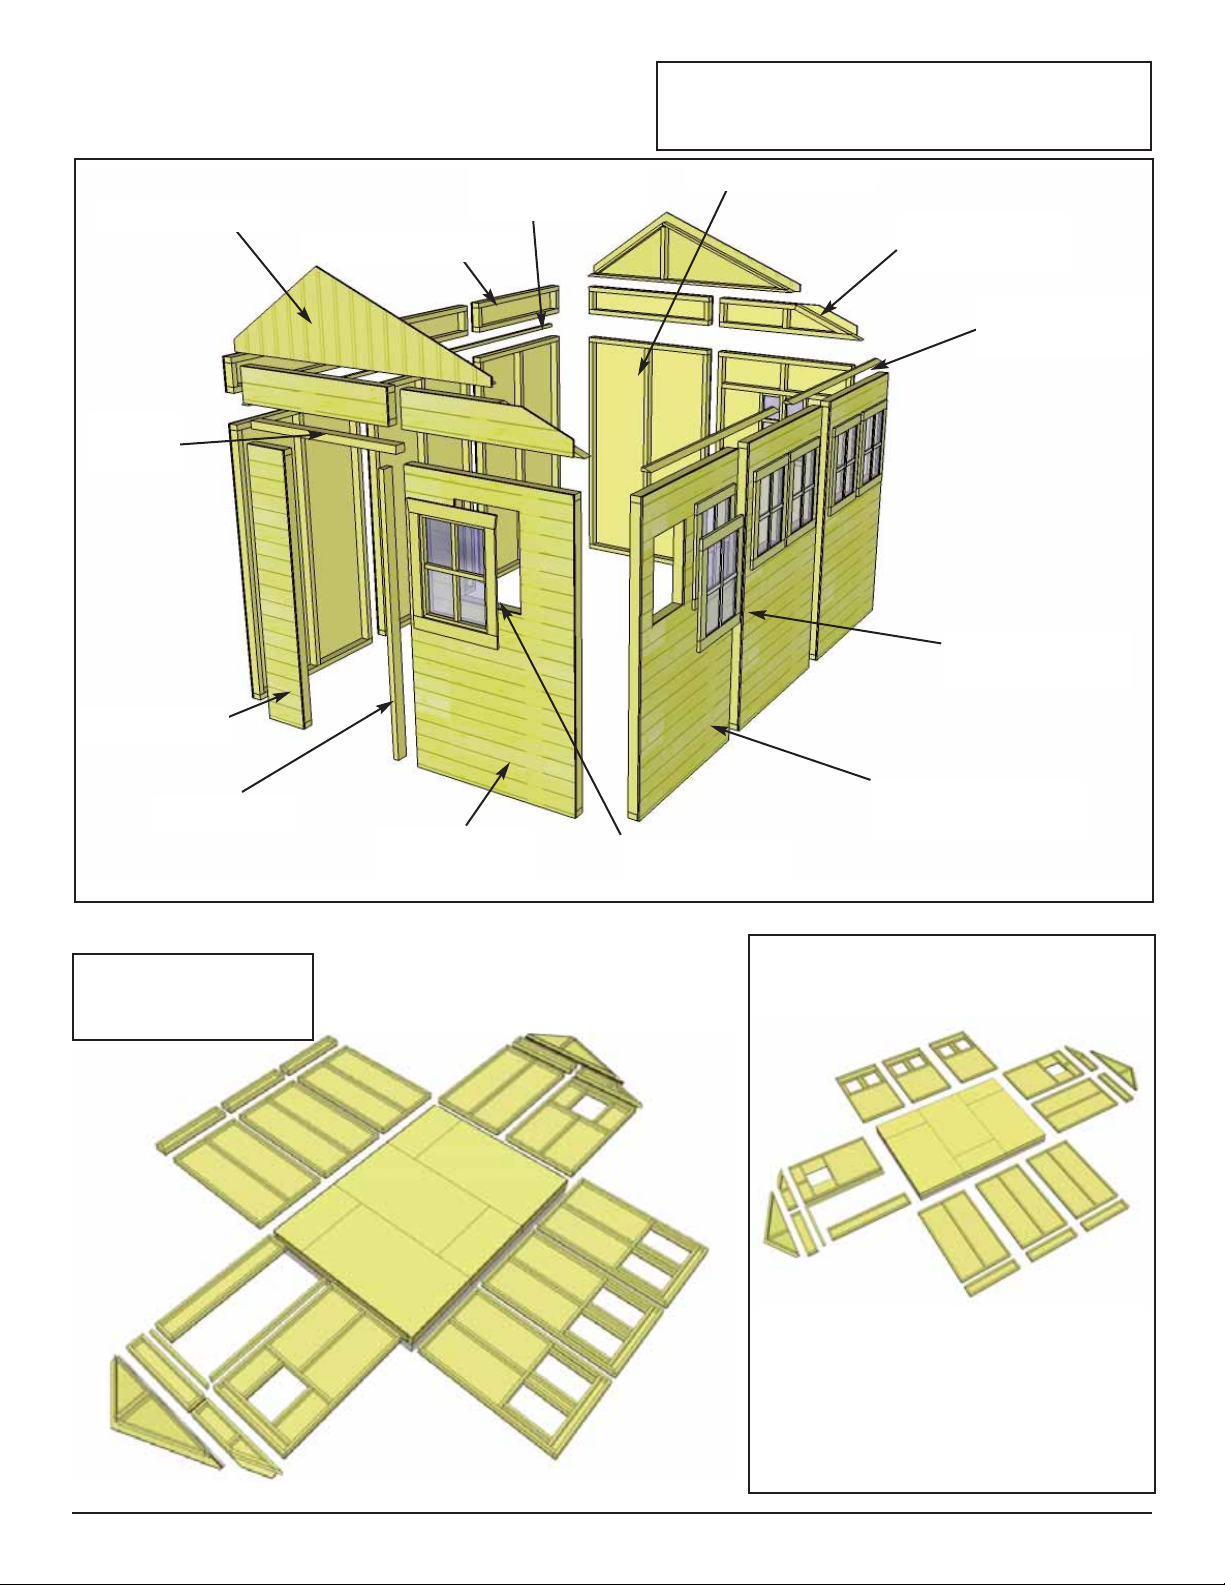
B. Wall Section
Main Wall Panels
4 - 45 1/2” x 75” - Solid Wall Panels
4 - 1 1/2" x 2 1/2" x 45 1/2" - Wall Plates
2 - 45 1/2” x 75” - Window Wall Panels
3 - 45 1/2” x 75” - Double Window Walls
1 - 12” x 73” - Narrow Wall Panel
1 - 31 1/2” x 72” - Dutch Door - 2pcs (42” and 30” high)
5 - 45 1/2” x 9” - Wall Extendors
2 - 47 1/2” x 9” - Angle Wall Extendors for Front & Back - L/R
3 - 3/4” x 3 1/2” x 60” - Horizontal Wall Extendor Brace
2 - 3/4” x 3 1/2” x 30” - Horizontal Wall Extendor Brace (front/back)
1 - 3/4” x 3 1/2” x 71 1/2” - Horizontal Wall Extendor Brace (side)
Door Jamb, Header & Door Stops
1 - 1 1/2” x 3 3/8” x 73” - Vertical Door Jamb
1 - 2” x 3 3/8” x 45 1/2” - Door Header
2 - 1/2” x 2 1/2” x 72” - Interior Vertical Door Stops
Gable Walls
2 - Front and Rear Gable Walls - Triangular shaped
(33 3/4 degrees on 1 side / 22 1/2 degrees on other)
Top Wall Plates
2 - 3/4” x 2 1/2” x 65 3/4” - Short Side - 22 1/2 degree cut on edge
2 - 1 1/2” x 2 1/2” x 65 3/4” - Tall Side - 33 3/4 degree cut on edge
2 - 3/4” x 2 1/2” x 73 3/4” - Front & Rear
(33 3/4 degrees on 1 end / 22 1/2 degrees on other)
C. Rafter Section
9 - 1 1/2” x 3 1/2” x 77 3/4” - Long Roof Side Rafters (22 1/2 degrees)
9 - 1 1/2” x 3 1/2” x 37 3/4” - Short Roof Side Rafters (33 3/4 degrees)
1 - 3/4” x 4 5/8” x 52 1/2” - Ridge Boards (long roof side)
1 - 3/4” x 4 5/8” x 84” - Ridge Boards (long roof side)
1 - 3/4” x 5 1/8” x 52 1/2” - Ridge Boards (short roof side)
1 - 3/4” x 5 1/8” x 84” - Ridge Boards (short roof side)
3 - 3/4” x 3 1/2” x 72 - Gussets (angle cut on both ends)
Soffits
2 - 1/2” x 3 1/2” x 68 1/4” - Short Roof Side
2 - 1/2” x 4 1/2” x 68 1/4” - Long Roof Side
D. Roof Section
4 - 5/8” x 48” x 37 1/2”- Outer Plywood Roof Panels
2 - 5/8” x 45 1/2” x 37 1/2” - Center Plywood Roof Panels
4 - 3/4” x 1 1/2” x 34” - F&R Facia Nailing Strips
12 - 3/4” x 3/4” x 44 1/2” - Polygal Support Cleats
3 - 1/2” x 2 1/2” x 41 1/2” - Caps for Polygal
2 - 1/2” x 5 1/2” x 41 1/2” - Outside Caps for Polygal (w nailing strip)
2 - 1/2” x 3 1/2” x 41 1/2” - Caps for Polygal
6 - 20 1/4”w x 44” - Polygal Panels
E. Miscellaneous Section
Bottom Skirting
10 - 1/2” x 4 1/2” x 45 1/4” - Bottom Skirting Bevel
Corner & Wall Trim
6 - 1/2” x 1 1/2” x 45 1/4” - Top Wall Trims Bevel
2 - 3/4” x 2 1/2” x 75” - Filler Trim Short Wall Side
2 - 3/4” x 2 1/2” x 84” - Filler Trim Tall Wall Side
2 - 1/2” x 4 1/2” x 82” - Corner Trim Short Wall Side
2 - 1/2” x 4 1/2” x 87” - Corner Trim Tall Wall Side
3 - 1/2” x 2 1/2” x 87” - Front Door Trim & Rear Wall Seam Trim
4 - 1/2” x 2 1/2” x 88” - Tall Wall Vertical Trim
4 - 1/2” x 2 1/2” x 79” - Short Wall Vertical Trim
1 - 1/2” x 2 1/2” x 32” - Horizontal Door Trim (above Door)
1 - 1/2” x 2 1/2” x 8 3/4” - Horizontal Narrow Wall Trim (above Wall)
2 -1/2” x 4 1/2 x 85 1/2” - Hor.Gable Trim (F & R) Angle cut 1 end
Facia Trim
2 - 3/4” x 3 1/2” x 78 3/4” - Angle Cut Front/Rear Facia Trim
2 - 3/4” x 3 1/2” x 38 1/4” - Angle Cut Front/Rear Facia Trim
4 - 3/4” x 3 1/2” x 71 3/8” - Side Facia
2 - Facia Detail Plates (Sides)
2 - Pentagon Detail Plates (Front and Back Facia)
2 - Triangular Corner Gable Trim Pieces (L/R) Found in Gable - see
step 76
Flower Boxes
5 - Flower Box Kits
Potting Shelves
3 - 45” - Long Potting Shelves
1 - 41” - Short Potting Shelf
4 - 1 1/2” x 2 1/2” x 38” - Potting Shelf Legs
Window Inserts
2 Reg. Window Inserts
6 Small Window Inserts
2 Reg. Window Trim Pkgs: 1 x 24 1/16” Top, 3 x 23” Side & Bottom
6 Narrow Window Trim Pkgs: 1 x 19 7/8” Top, 2 x 21 7/16” Sides,
1 x 18 3/4” Bottom
**Miscellaneous Pieces
1 pc - Spare Wall Siding
2 pcs - Spare Shingles- use to shim door, etc
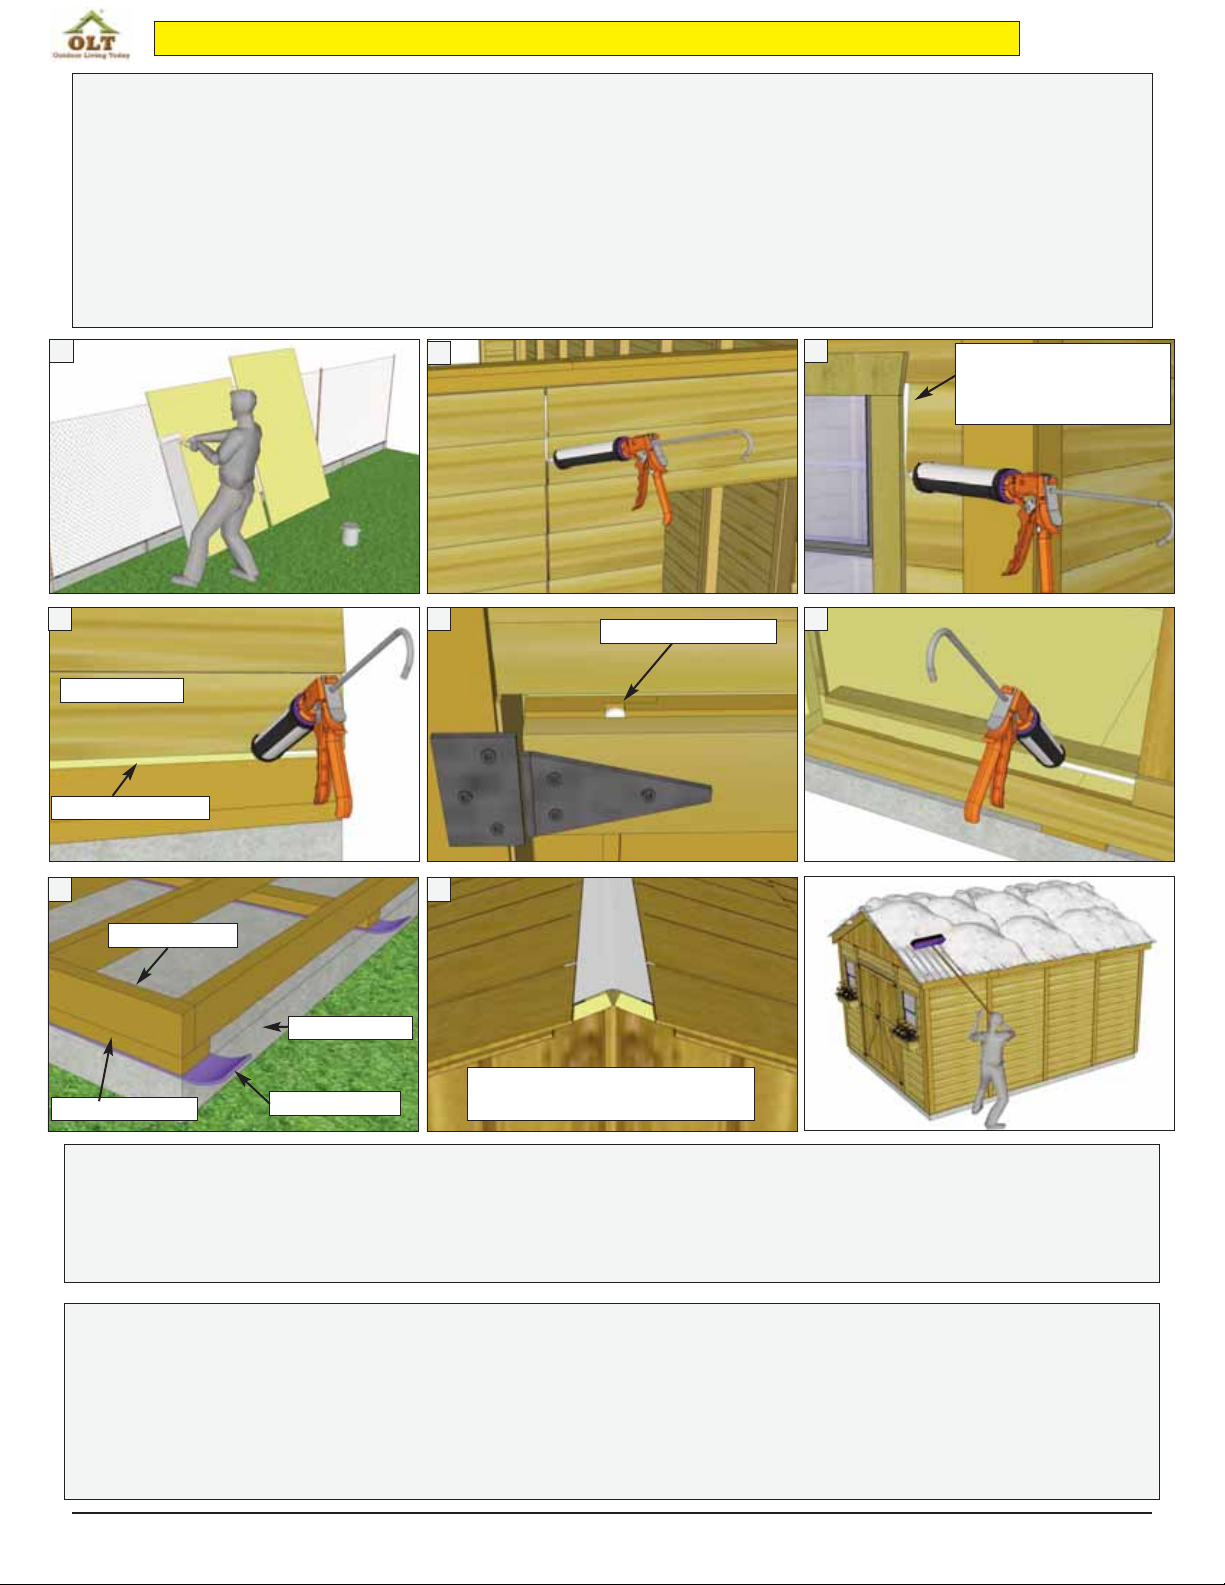
Note: All Trim, Facia and Bottom Skirting pieces will be positioned rough face out when installed.
Toll Free 1-888-658-1658 www.outdoorlivingtoday.com sales@outdoorlivingtoday.com
Page 4