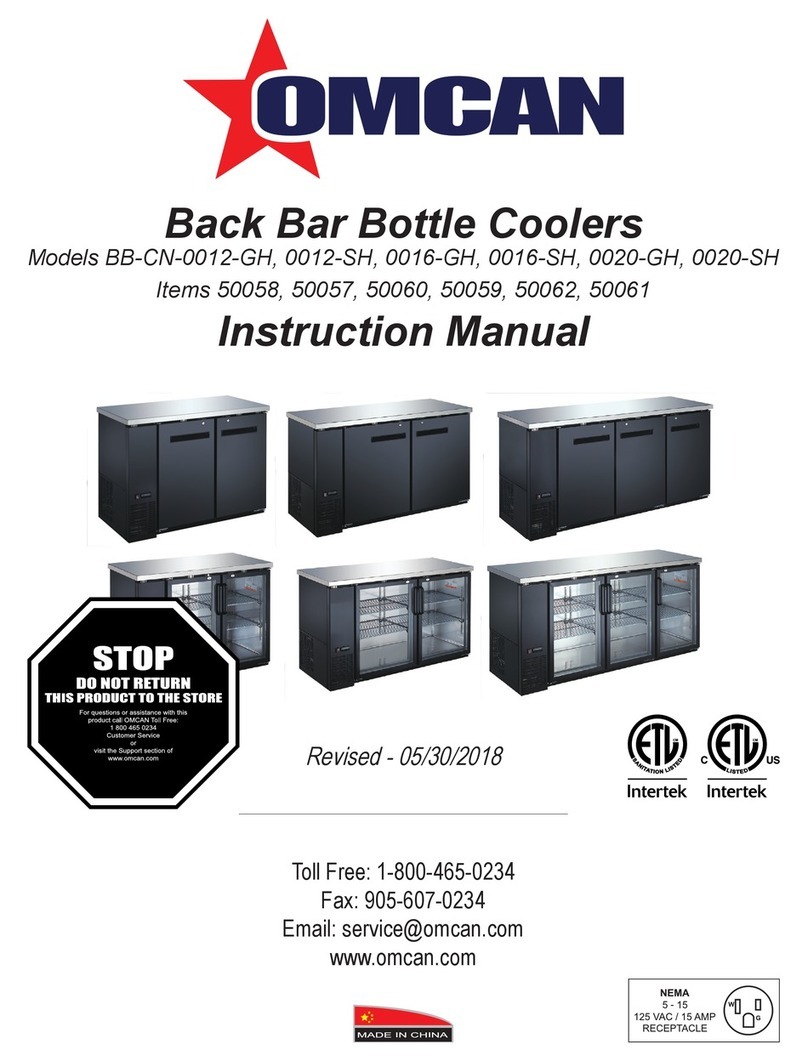
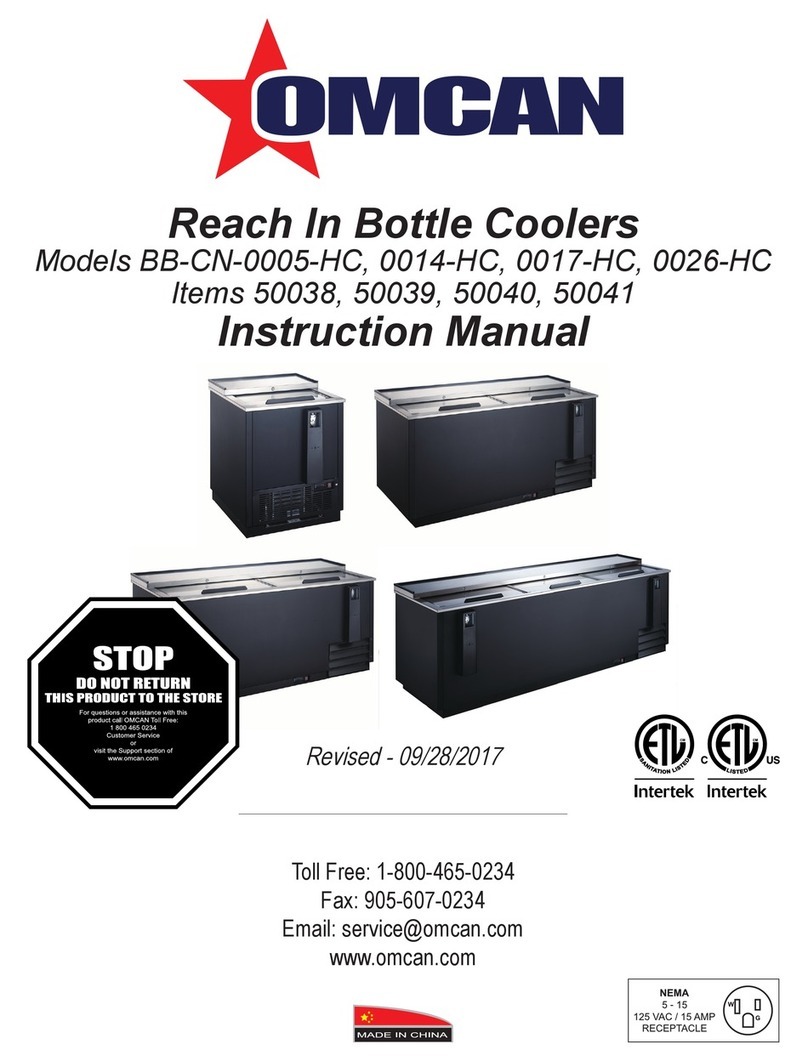
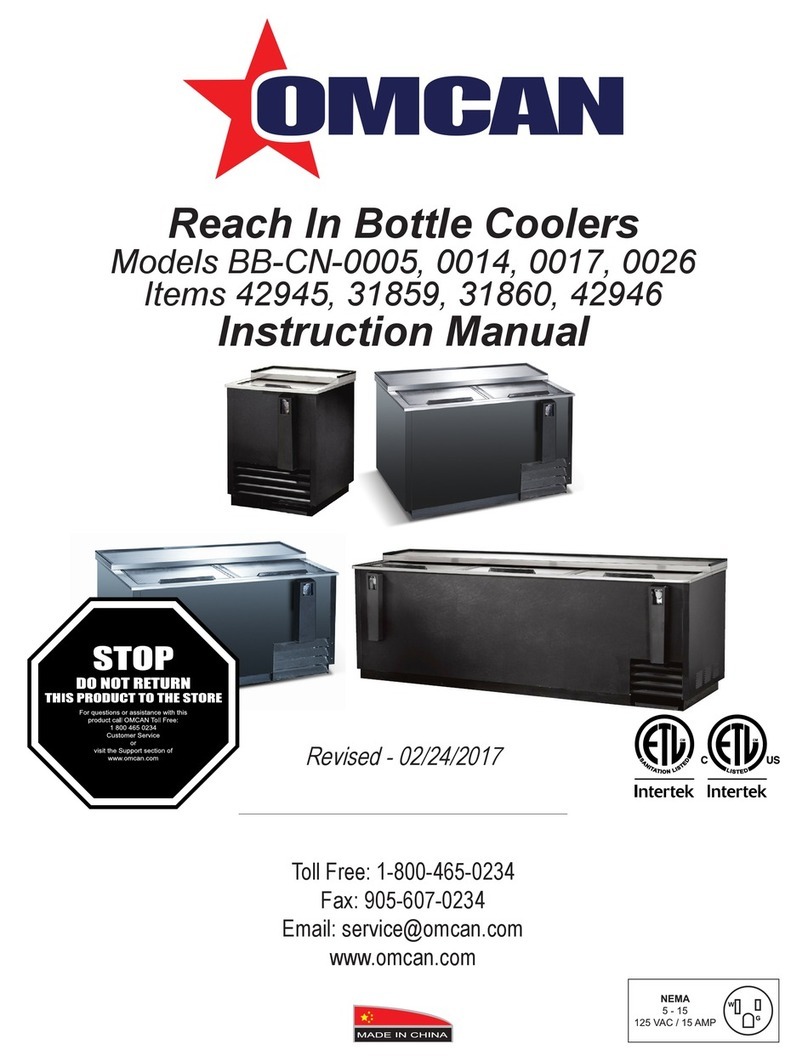
Omcan JBC-50 User manual

Reach In Bottle Coolers
Instruction Manual
Version 1.1
1-800-465-0234
www.omcan.com
3115 Pepper Mill Court, Mississauga, ON, L5L 4X5
4450 Witmer Industrial Estates, Unit 4, Niagara Falls, NY, 14305

2
Page
-------------------------------------------------------------------------------- 3
------------------------------------------------------------------------ 3 - 4
--------------------------------------------------------------------------------------------- 4 - 5
------------------------------------------------------------------------------------- 5 - 6
-------------------------------------------------------------------------------- 6 - 7
--------------------------------------------------------------------------- 8 - 13
--------------------------------------------------------------------------- 14
--------------------------------------------------------------- 14
---------------------------------------------------------------------------- 15 - 18
---------------------------------------------------------------------------- 19
---------------------------------------------------------------------------- 21
Table of Contents
Section
General Information
Installation / Operation
Safety
Maintenance
Troubleshooting
French Instructions
Controller Instructions
Controller Instructions - French
Parts Breakdown
Electrical Schematics
Warranty Registration
Model JBC-50 / Model JBC-65

3
Installation / Operation
General Information
IMPORTANT!!!PLEASE READ BEFORE INSTALLATION
• Iftheunithasrecentlybeentransported.Pleaseletunitstandstillforaminimumof24hoursbefore
pluggingitin.
• Makesurethattheunitdropsdowntodesiredtemperaturebeforeloadingtheunitwithproduct.
• Makersurethatthereisproperventilationaroundtheunitintheareawhereitwilloperate.
• Makesureallaccessoriesareinstalled(i.e.shelves,shelfclips,casters)beforepluggingtheunitin.
• PleasereadthroughtheOperation/OwnersManualinitsentirety.
CABINET LOCATION GUIDELINES
• Installtheunitonstrongandleveledsurfaces.
-Unitmaymakeunpleasantnoisesifsurfaceisuneven.
-Unitmaymalfunctionifsurfaceisuneven.
• Installtheunitinanindoor,well-ventilatedarea.
-Unitperformsmoreefcientlyinawell-ventilatedarea.
-Forbestperformance,pleasemaintainclearanceof4”onthebackoftheunit.
-Outdoorusemaycausedecreasedefciencyanddamagetotheunit.
• Avoidinstallationinahighhumidityand/ordustyarea.
-Humiditycouldcauseunittorustanddecreaseefciencyoftheunit.
-Dustcollectedoncondensercoilwillcauseunittomalfunction.Cleanthecondenseratleastoncea
monthwithabrushorcleancloth.
• Selectalocationawayfromheatandmoisture-generatingequipment.
-Highambienttemperaturewillcausethecompressortooverwork,leadingtohigherenergybillsand
gradualbreakdownoftheunit.
ELECTRICAL
Pleaseensurethattherequiredvoltageofthecompressorisbeingsuppliedatalltimes.Loworhighvoltage
candetrimentallyaffecttherefrigerationunit.Allunitsshouldbepluggedintoagroundedandproperly-sized
electricaloutletwithappropriateovercurrentprotection.Pleaserefertotheelectricalrequirementonthe
nameplate.Pleasemakesurethatyourunithasitsowndedicatedoutlet.Donotuseanextensioncord.
Omcan Manufacturing And Distributing Company Inc. and Food Machinery Of America, Inc. dba Omcan
are not responsible for any harm or injury caused due to any person’s improper or negligent use of
this equipment. The product shall only be operated by someone over the age of 18, of sound mind, and
not under the inuence of any drugs or alcohol, who has been trained in the correct operation of this
machine, and is wearing authorized, proper safety clothing. Any modication to the machine voids any
warranty, and may cause harm to individuals using the machine or in the vicinity of the machine while
in operation.
4
Installation / Operation
Safety
TEMPERATURE CONTROLS
Thetemperaturecontrolsarefactory-settomaintainanaveragetemperatureof38°Finrefrigeration.To
maintainadifferenttemperature,simplyadjustthecontrolknoblocatedinsidetheunit.Todecreasethe
temperature(colder),turnclockwise.Toincreasethetemperature(warmer),turncounter-clockwise–see
diagram.
LOADING PRODUCT
Thebindividershavebeeninstalledatthefactoryforyourconvenience.Feelfreetorepositionthedividers
asyouseet.Toremovethebindividers,simplypushthedividertowardsthebackwallunitthefrontofthe
dividerisremovedfromthepositioningholes.Toinstall,positionthedividertothedesiredholes,makingsure
thatthepressurespringisinstalledproperly.
PAYCLOSEATTENTIONTOTHELOADLIMITSTICKERSLOCATEDONTHEINTERIORWALLSTOTHE
UNIT.DONOTLOADPRODUCTABOVETHELOADLIMITSTICKERSORABOVETHETOPCROSSBAR
OFTHEBINDIVIDERS.LOADINGPRODUCTABOVETHELOADLIMITSTICKERSWILLHARMTHE
PERFORMANCEOFTHEUNIT.
CAUTION
SettingthetemperaturecontroltothecoldestsettingmaycausetheEvaporatorcoiltofreezeandiceup.This
willeventuallyresultinawarmerCabinettemperature.
Temperaturerangefrom7(coldest)to1
(warmest).
DonotloadProductabovethetopcrossbar.
DoingsowillharmtheRefrigeration.
Please pay close attention to the safety notices in this section. Disregarding these notices may lead to
serious injury and/or damage to the unit.
ATTENTION
• Tominimizeshockandrehazards,besurenottooverloadoutlet.Pleasedesignateoneoutletforyour

5
Safety
Maintenance
unit.
• Donotuseextensioncords.
• Donotputyourhandsundertheunitwhentheunitsisrequiredtobemoved.
• Whentheunitisnotinuseforalongperiodoftime,pleaseunplugtheunitfromtheoutlet.
• Afterunpluggingtheunit,waitatleast10minutesbeforere-pluggingit.Failuretodosocouldcause
damagetothecompressor.
UNPLUG CORD
• Tominimizeshockandrehazards,pleasedonotplugorunplugthecordwithwethands.
• Duringmaintenanceandcleaning,pleaseunplugtheunit.
PROPER GROUNDING REQUIRED
• Tominimizeshockandrehazards,makesurethattheunitisproperlygrounded.
PROHIBITION
• Donotattempttoremoveorrepairanycomponentunlessinstructedbyfactory.
• Makesurethattheunitisnotrestingonoragainsttheelectricalcordandplug.
• Tominimizepersonalinjury,donothangonthedoors.
• Donotstoreanyammableandexplosivegasorliquidsinsidetheunit.
• Donotattempttoalterortamperwiththeelectricalcord.
• Donotsetthedesiredtemperatureoutoftherecommendedtemperaturerange:(Ref:32°F-50°F).
CLEANING THE CONDENSER COIL
• Forefcientoperation,itisimportantthatthecondensersurfacebekeptfreeofdust,dirt,andlint.
• Werecommendcleaningthecondensercoilandnsatleastoncepermonth.
• Cleanwithacommercialcondensercoilcleaner,availablefromanykitchenequipmentretailer.Brushthe
condensernsfromtoptobottom,notsidetoside.
• Aftercleaning,straightenanybentcondensernswithancomb.
CLEANING THE FAN BLADE AND MOTOR
• Ifnecessary,cleanthefanbladesandmotorwithasoftcloth.Ifitisnecessarytowashthefanblades,
coverthefanmotortopreventmoisturedamage.

6
Maintenance
Troubleshooting
CLEANING THE INTERIOR OF UNIT
• Whencleaningthecabinetinterior,useasolventofwarmwaterandmildsoap.
• Donotusesteelwool,causticsoap,abrasivecleaners,orbleachthatmaydamagethestainlesssteel
surface.
• Washdoorgasketsonaregularbasis,preferablyweekly.Simplyremovedoorgasketfromtheframeofthe
door,soakinwarmwaterandsoapforthirty(30)minutes,drywithsoftcloth,andreplace.
• Checkdoorgasketsforpropersealaftertheyarereplaced.
• Periodicallyremovetheshelvesandpilastersfromtheunitandcleanthemwithmildsoapandwarmwater.
Toremovethepilasters,rstremovetheshelvesandshelfbrackets.Then,simplyliftthepilasterupand
out.
WARNING: Disconnect power cord before cleaning any parts of the unit.
Beforerequestinganyserviceonyourunit,pleasecheckthefollowingpoints.Pleasenotethatthisguideserve
onlyasareferenceforsolutionstocommonproblems.
SYMPTOM POSSIBLE CAUSE CORRECTIVE ACTION
Compressornotrunning. Fuseblownorcircuitbreaker
tripped.
Replacefuseorresetcircuit
breaker.
Powercordunplugged. Pluginpowercord.
Thermostatsettoohigh. Setthermostattolower
Temperature.
Cabinetindefrostcycle. Waitfordefrostcycletonish.

7
Troubleshooting
Condensingunitrunsforlong
periodsoftime.
Excessiveamountofwarmproduct
Placedincabinet.
AllowadequatetimeforProductto
cooldown.
Prolongeddooropeningordoor
ajar.
Ensuredoorsareclosedwhennot
inuse.Avoidopeningdoorsfor
longperiodsoftime.
Doorgasket(s)notsealing
properly.
Ensuregasketsaresnappedin
Completely.Removegasketand
Washwithsoapandwater.Check
conditionofgasketandReplaceif
necessary.
Dirtycondensercoil. Cleanthecondensercoil.
Evaporatorcoilicedover. Unplugunitandallowcoilto
defrost.Makesurethermostatis
notsettoocold.Ensurethatdoor
gasket(s)aresealingproperly.
CabinetTemperatureIstoowarm. Thermostatsettoowarm. Setthermostattolower
Temperature.
Blockingairow. Re-arrangeproducttoallowfor
Properairow.Makesurethere
Isatleastfourinchesofclearance
fromevaporator.
Excessiveamountofwarmproduct
Placedincabinet.
Allowadequatetimeforproductto
cooldown.
Fuseblownorcircuitbreaker
tripped.
Replacefuseorresetcircuit
breaker.
Dirtycondensercoil. Cleanthecondensercoil.
Prolongeddooropeningordoor
ajar.
Ensuredoorsareclosedwhennot
inuse.Avoidopeningdoorsfor
longperiodsoftime.
Evaporatorcoilicedover. (Seeabove)
Cabinetisnoisy. Loosepart(s). Locateandtightenloosepart(s).
Tubingvibration. Ensuretubingisfreefromcontact
withothertubingorcomponents.
For service call 1-800-465-0234.

8
French Instructions
INFORMATIONS RELATIVES À LA SÉCURITÉ
ATTENTION!
Veuillez utiliser cet appareil uniquement pour les fonctions pour lesquelles il a été conçu et qui sont
décrites dans ce guide d’utilisateur.
INSTRUCTIONS DE SÉCURITÉ
Lorsdel’utilisationd’unappareilélectrique,desmesuresdesécuritédebasedoiventêtrerespectées,y
compris:
• Ceréfrigérateurdoitêtreinstalléetplacédemanièreadéquateetenconformitéaveclesinstructions
d’installationavanttouteutilisation.
• N’autorisezaucunenfantàgrimper,setenirous’accrocherauxétagèresduréfrigérateur.Ilpourrait
endommagerleréfrigérateuretseblessergravement.
• Netouchezpaslessurfacesfroidesdanslecompartimentducongélateurlorsquevosmainssonthumides
oumouillées.Votrepeaupourraitadhéreràcessurfacesextrêmementfroides.
• Nestockernin’utilisezd’essenceoutoutautreproduitvolatileouliquideinammableprèsdetous
appareils.
• Éloignezvosdoigtsdeszonesoùvouspourriezvouspincer,lesespacesentrelesportesetlebacsont
petitparobligation,faitesattentionauxenfantssetrouvantdanslesparageslorsquevousfermezune
porte.
REMARQUE
Ilestfortementconseillédefaireeffectuerl’entretienparunprofessionnel.
• Débranchezleréfrigérateuravantdelenettoyeroud’effectuerdesréparations.
• Unréglageducontrôledelatempératuresur0necouperapasl’alimentationdel’éclairage,des
résistancesdepérimètreoudesventilateursd’évaporation.
UTILISATION DES RALLONGES
N’UTILISEZJAMAISDERALLONGEELECTRIQUE!OMCANnegarantitaucunréfrigérateurquiaété
raccordéàl’aided’unerallonge.
PIÈCESDERECHANGE
• Lespiècesdétachéesdoiventêtreremplacéespardescomposantsidentiques.
• L’entretiendevraêtrefaitparunepersonneautoriseê,pourréduireaumaximumlesrisquespossibleen
raisondepiècesdétachéesincorrectesoudemanipulationincorrecte.
• Leséclairagesdoiventêtreremplacéesuniquementpardeséclairagesidentiques.
• Silecordonfourniestendommagé,ildoitêtreremplacéparuncordonidentiqueouuncordondisponible
chezlefabricantousonagentdeservice.

9
French Instructions
ATTENTION!
COMMENT SE RACCORDER À UNE ALIMENTATION ÉLECTRIQUE
Nepas,enaucunecirconstance,sectionnerouenleverlachedelaterreducâbled’alimentation.Pourvotre
propresécurité,cetéquipementdoitêtreparfaitementraccordéàlaterre.
Cetappareilestéquipéd’unepriseavecterreandeminimiserlesrisquesd’électrocution.
Faitesvérierlaprisemuraleetlecircuitparunélectricienqualiépourvousassurezqu’elleestcorrectement
miseàlaterre.
Silapriseélectriquenecomportequedeuxbranches,ilestdevotreresponsabilitédechangerobligatoirement
cettedernièreparunepriseéquipéed’uneterre
Leréfrigérateurdoittoujoursêtreraccordéàsonproprecircuitélectriquequipossèdeunvoltage
correspondantàlaplaquesignalétique.
Unmeilleurfonctionnementestainsiassuréetvousévitezdesurchargerlescircuitsélectriquesdubâtiment
cequipourraitprovoquerunfeuparsurchauffedeslsélectriques.
Nedébranchezjamaisvotreréfrigérateurentirantlecâbled’alimentation.Saisisseztoujoursfermementla
priseetretirerladelaprisemuraled’uncoup.
Réparezouremplacezimmédiatementtouslescâblesd’alimentationusésouendommagés.N’utilisezpasun
câblequiprésentedesssuresouuneusuresursalongueurouàl’unedesesextrémités.
Lorsquevouséloignezleréfrigérateurdumur,veuillezànepasvousaccrocherouendommagerlecâble
d’alimentation.
UTILISATION D’ADAPTATEURS
Nejamaisutiliserderallongeélectrique!Àcausedesrisquespourlasécuritésouscertainescirconstances,
nousvousconseillonsfortementdenepasutiliserd’adaptateur.
INSTRUCTIONS D’INSTALLATION ET DE FONCTIONNEMENT
Andevousassurerquevotreréfrigérateurfonctionnecorrectementdèslepremierjour,ildoitêtreinstallé
correctement.NousvousconseillonsfortementdefaireinstallervotreappareilOMCANpardesprofessionnels
delaréfrigérationetdel’électricite.Lecoûtd’uneinstallationprofessionnelleestuninvestissementpour
l’avenir.
EMPLACEMENT
OUTILS REQUIS: Tournevis cruciforne phillips
Utilisezuntourneviscruxiforneetretirezlesquatrevisdel’attacheenLquixel’appareil
àlaplate-formeenbois(cf.illustration1).
Nepassouleverlemeubleenseservantduplandetravailcommepointdeprise.Apres
l’avoirredressé,attendre24havantdelemettresoustension.

10
French Instructions
MISE À NIVEAU
A.Placezl’appareilsursaplacenale.Assurez-vousquelapiècesoitsufsammentaérée.Dansdes
conditionsdechaleurextrême(+100°F,+38°C),unsoufageouuneextractionseranecessaire.
ATTENTION
Lagarantieestnullesil’aérationestinsufsante.
B.Leréfrigérateurdoitêtremisàniveaudel’arrièreparrapportàl’avantpuisd’uncôtéparrapportàl’autre;à
l’aided’unniveau,abulle.
C.Assurez-vousqueletuyauxd’écoulementetlesautrestuyauxsontbienenplacedanslebacd’evaporation.
D.Lerefrigerateurdoitetreplaceacôtédelapriseelectriqueand’eviterl’utilisationd’unrallonge.
ÉTANCHÉITÉ ENTRE LE BAC ET LE SOL
ÉTAPE 1 - Positionnez le bac
Laissezunespacede2cmentrelemuretl’arrièreduréfrigérateurpour
assureruneaérationcorrecte.PourlescongélateursGDM,unespaced’aumoins7cmestnécessairepour
assureruneaérationcorrecte.
ÉTAPE 2 - Mettez le meuble de niveau
Mettezàniveauuncôtéparrapportàl’autrepuisl’avantparrapportàl’arrière.Placezunniveaude
charpentiersurlesolen4endroits:
A.Positionnezleniveauàl’intérieurdel’appareilprèsdesportes.(leniveaudoitêtreparallèleà
l’avantdumeuble).Mettezappareildeniveau.
B.Placezleniveauàl’intérieurdumeubleàl’arrière.(Ànouveauleniveaudoitêtreparallèleàl’arrièrede
appareil).
C.Effectuezlesmêmesprocéduresqu’auxétapesa&benmettantleniveauàl’intérieur,surlesol(àgauche
puisàdroiteparallèlementauxcôtésduréfrigérateur).Mettezlemeubledeniveau.
ÉTAPE 3Tracezunelignesurlesolàlabasedubac.
ÉTAPE 4Levezetbloquezl’avantdumeuble.
ÉTAPE 5Appliquezunecouchede«jointagrééparlaNSF»(voirlisteci-dessous),surlesolsurunelargeur
d’uncentimètreàl’intérieurdelalignetracee.Lacouchedoitêtreassezépaissepourisolertoutelasurfacedu
bacunefoisposésurlejoint.
ÉTAPE 6Levezetbloquezl’arrièredumeuble.
ÉTAPE 7Appliquezlejointsurlesoltelquedécritàl’étape5surlestroisautrescôtés.
ÉTAPE 8Vériezquelebacestbienisolédusolsurtoutsonpourtour.
REMARQUE:Lessolsenasphaltecraignentlesattaqueschimiques.Unecouchedescotchsurlesolavant

11
French Instructions
d’appliquerlejointprotégeralaporte;
Joints agréés par la NSF:
1. JointdecalfatageMinnesotaMining#ECU800
2. JointdecalfatageMinnesotaMining#ECU2185
3. JointMinnesotaMining#ECU1055
4. JointMinnesotaMining#ECU1202
5. Jointdecalfatageencaoutchouc-ArmstrongCork
6. Jointdecalfatageencaoutchouc#5000RubberCaulk
7. JointG.E.ensilicone
8. JointDowCorningensilicone
INSTRUCTIONS POUR L’INSTALLATION ÉLECTRIQUE
A.Avantderaccordervotrenouvelappareilàunesourced’électricité,vériezlatensionavecunvoltmètre.
Réparezimmédiatementtoutepriseafchantmoinsde100%delatensionnominalenécessaire.
B.Touslesappareilssontéquipésd’uncordond’alimentationetdoiventêtrecontinuellementalimentésàla
tensionappropriée.Consulterlatensionsurlaplaqued’identicationdel’armoire.
ATTENTION
Lesgarantiesducompresseursontnullessicelui-cigrilleàcaused’unetensioninsufsante.
ATTENTION
Lamiseàlaterreducâbled’alimentationnedoitpasêtreenlevée!
ATTENTION
N’utilisezpasd’appareilsélectriquesàl’intérieurdescompartimentsdestockagealimentairesdesappareilsà
moinsqu’ilsnesoientd’untyperecommandéparlefabricant.
DÉMARRAGE
A.Lecompresseurestprêtàfonctionner.Branchezleréfrigérateur.
B.Unebonnecirculationdel’airdansl’appareilestessentielle.Chargerl’appareildeproduitsencaissant5cm
entrelesproduitsetlesparois.L’airréfrigéréduserpentindoitcirculerverslebasdelaparoiarrière.
REMARQUE
Sileréfrigérateurestdébranchéouarrêté,attendez5minutesavantdeleredémarrer.
CONSEIL
Avantdechargerl’appareil,nousvousconseillonsdelefairefonctionneràvidependantdeuxoutroisjours.
Celavouspermetdevérierquelecâblageetl’installationélectriquesontbieneffectuésetqueletransportn’a
causéaucundégât.

12
French Instructions
INSTRUCTIONS D’INSTALLATION ET DE FONCTIONNEMENT
Poursortirdumenusanssauverlesvaleursmodiées(sortietimeout)n’appuyersuraucunboutonpendant
aumoins60s.
INSTALLATION/FONCTIONNEMENT DES ÉTAGÈRES et DES SÉPARATEURS DE
COMPARTIMENTS

13
French Instructions
ENTRETIEN & NETTOYAGE
NETTOYAGE DU SERPENTIN DU CONDENSATEUR
Lorsdel’utilisationd’appareilsélectriques,desmesuresdesécuritédebasedoiventêtrerespectées,y
compris
ÉTAPE1
Débranchezl’appareil.
ÉTAPE2
Enlevezlagrilleenôtanttouteslesvis.
ÉTAPE3
Nettoyerlapoussièreaccumuléesurleserpentindecondensationavec
unebrossedure.
ÉTAPE4
Aprèsavoirbrosséleserpentinducondenseur,évacuezlapoussièreduserpentinetdel’intérieur.
ENTRETIEN ET NETTOYAGE DE L’INOX
ATTENTION N’: utilisez pas de paille de fer, de produits abrasifs ou à base de chlore pour nettoyer les
surfaces en acier inoxydable.
1. Utiliserlesbonsoutilsdenettoyage
Utilisezdesoutilsnon-abrasifspournettoyervosmeublesinox.Lessurfacesplanesneserontpas
agresséespardeschiffonsdouxetdespadsdenettoyageenplastique.Laprocédure2vousindiquera
commenttrouverlesensdepolissage.
2. Nettoyerdanslesensdupolissage
Lepolissageou«grain»estvisiblesurcertainsinox.Toujoursfrotterparallèlementauxlignesvisiblessur
lasurfacedevotremeuble.Utilisezuntamponenplastiqueouunchiffondouxquandvousnevoyezpasle
grain.

14
Controller Instructions
Mechanical Controller Instructions
OFF:shutthecompressoroff
Temperaturerangefrom7(coldest)to1(warmest).
CAUTION:Settingthetemperaturecontroltothecoldestsettingmaycausethe
evaporatorcoiltofreezeandiceup.Thiswilleventuallyresultinawarmercabinet
temperature.
Controller Instructions - French
Réglage de la Température
OFF:températureàlaquellelethermostatarrêtelecompresseur.
1→7:plusfroid.
ATTENTION:Reglagedelacommandedetemperaturealapositionlaplusfroidepeut
gelerlabobinedel’evaporateur.Cequiniraàauoirunetemperaturepluschaudeà
l’interieur.

15
Model JBC-50 31859
Parts Breakdown

16
Model JBC-50 31859
Parts Breakdown
Item
No. Description Position Item
No. Description Position
37743 Compressor Mounting Plate 01 37762 Door Lock 15 37781 Controller Mounting Plate 32
37745 Bottom Cover of Machine Room 02 37763 Plate of Lock 16 37782 Evaporator 33
37746 Front Shutter 03 37764 Terminal Cover of Stopping Bar 17 37784 Bottle Opener 34
37747 Adjustable Feet 04 37765 Stopping Bar 18 37785 Screw of Collecting Box 35
37748 Bottom Plate of Cabinet 05 37767 Top Board 19 37786 Inner Plate of Collecting Box 36
37749 Door 06 37769 Left Plate of Evaporator Cover 20 37787 Collecting Box of Bottle Cap 37
37751 Door Handle 07 37770 Evaporator Cover 21 37788 Condenser Fan Motor 39
37752 Door Seal 08 37772 Evaporator Fan Cover 22 37789 Condenser Fan Blade 40
37754 Limited Block 09 37773 Evaporator Fan 23 37790 Condenser Fan Cover 41
37755 Shelf 10 37774 Interior Water Tray 24 37791 Dry Filter 42
37756 Spring of Shelf 11 37776 Cabinet 25 37792 Drain Hose 44
37757 Cover of Shelf 12 37778 Right Plate of Evaporator Cover 26 37793 Condenser 45
37758 Lower Plate of Top Board 13 37779 Stand Off Bracket 27 37794 Exterior Water Tray 46
37760 Frame of Top Board 14 37780 Rear Shutter 28 37795 Power Cord 47

17
Model JBC-65 31860
Parts Breakdown

18
Model JBC-65 31860
Parts Breakdown
Item
No. Description Position Item
No. Description Position
37744 Compressor Mounting Plate 01 37762 Door Lock 15 37781 Controller Mounting Plate 32
37745 Bottom Cover of Machine Room 02 37763 Plate of Lock 16 37783 Evaporator 33
37746 Front Shutter 03 37764 Terminal Cover of Stopping Bar 17 37784 Bottle Opener 34
37747 Adjustable Feet 04 37766 Stopping Bar 18 37785 Screw of Collecting Box 35
37748 Bottom Plate of Cabinet 05 37768 Top Board 19 37786 Inner Plate of Collecting Box 36
37750 Door 06 37769 Left Plate of Evaporator Cover 20 37787 Collecting Box of Bottle Cap 37
37751 Door Handle 07 37771 Evaporator Cover 21 37788 Condenser Fan Motor 39
37753 Door Seal 08 37772 Evaporator Fan Cover 22 37789 Condenser Fan Blade 40
37754 Limited Block 09 37773 Evaporator Fan 23 37790 Condenser Fan Cover 41
37755 Shelf 10 37775 Interior Water Tray 24 37791 Dry Filter 42
37756 Spring of Shelf 11 37777 Cabinet 25 37792 Drain Hose 44
37757 Cover of Shelf 12 37778 Right Plate of Evaporator Cover 26 37793 Condenser 45
37759 Lower Plate of Top Board 13 37779 Stand Off Bracket 27 37794 Exterior Water Tray 46
37761 Frame of Top Board 14 37780 Rear Shutter 28 37795 Power Cord 47

19
Electrical Schematics
Model JBC-50 31859
Model JBC-65 31860

20
This manual suits for next models
1
Table of contents
Languages:
Other Omcan Accessories manuals

Omcan
Omcan BB-CN-0005-HC User manual

Omcan
Omcan BB-CN-0014-HC User manual

Omcan
Omcan BB-CN-0012-SH User manual

Omcan
Omcan RE-CN-0015-HC User manual

Omcan
Omcan BB-CN-0005 User manual

Omcan
Omcan BB-CN-0012-DH User manual

Omcan
Omcan 10996 User manual

Omcan
Omcan BD-CN-0007-HC User manual

Omcan
Omcan BB-CN-0012E-SH User manual

Omcan
Omcan BC-CN-0152 User manual