3
OPERATION
Lifting
1. Center the two ramps against the tires of vehicle.
Be sure the wheels to be driven on the ramps
are positioned straight forward in alignment
with the ramps, and center the two ramps against
the tires.
2. After positioning the truck ramps, keep the handle
in lowest position in order to lower the base to
surface. The rubber padded base will prevent ramps
movement while vehicle is being driven onto or off
the ramps.
Note: Must keep the handle in lowest position
in
order to lower the base to contact the floor/
surface.
3. Drive the vehicle onto the ramps.
Another person, standing clear from vehicle
path and the ramps, should observe and
guide the vehicle operator when ascending and
descending the ramps.
4. Once the vehicle reaches the top of the ramps,
apply brakes only to prevent over-travel.
Never accelerate or apply brakes suddenly.
Proceed slowly and cautiously.
5. Place the vehicle in neutral. Release brakes; vehicle
should not move.
6. Turn the engine off, set parking brake. Place vehicle in
park (or in reverse gear for manual transmission).
7. Get out of the vehicle and securely chock the
remaining wheels on the ground.
8. Be sure that both tires are properly positioned on
the ramp’s support platform.
Using caution in positioning your body clear
of danger, shake vehicle sideways and
endways to be sure that vehicle and ramps
are stable. Check that ramps have not become
damaged or bent during loading.
Do not disconnect brakes, engine, transmission
components, drive train, drive shaft, universal
joints, or wheels while the vehicle is on the ramps.
Lowering
Be sure that all tools and personnel are clear
before lowering vehicle.
1. Lower the vehicle slowly and cautiously, never apply
brakes suddenly.
2. After lowering the vehicle, pull the handle up to dolly
the ramp away.
MAINTENANCE
Periodically inspect the ramp. To help prevent rust, wipe
clean after each use. If rust appears, sand affected area
and cover with suitable utility paint. Store the ramp in
a clean, dry area.
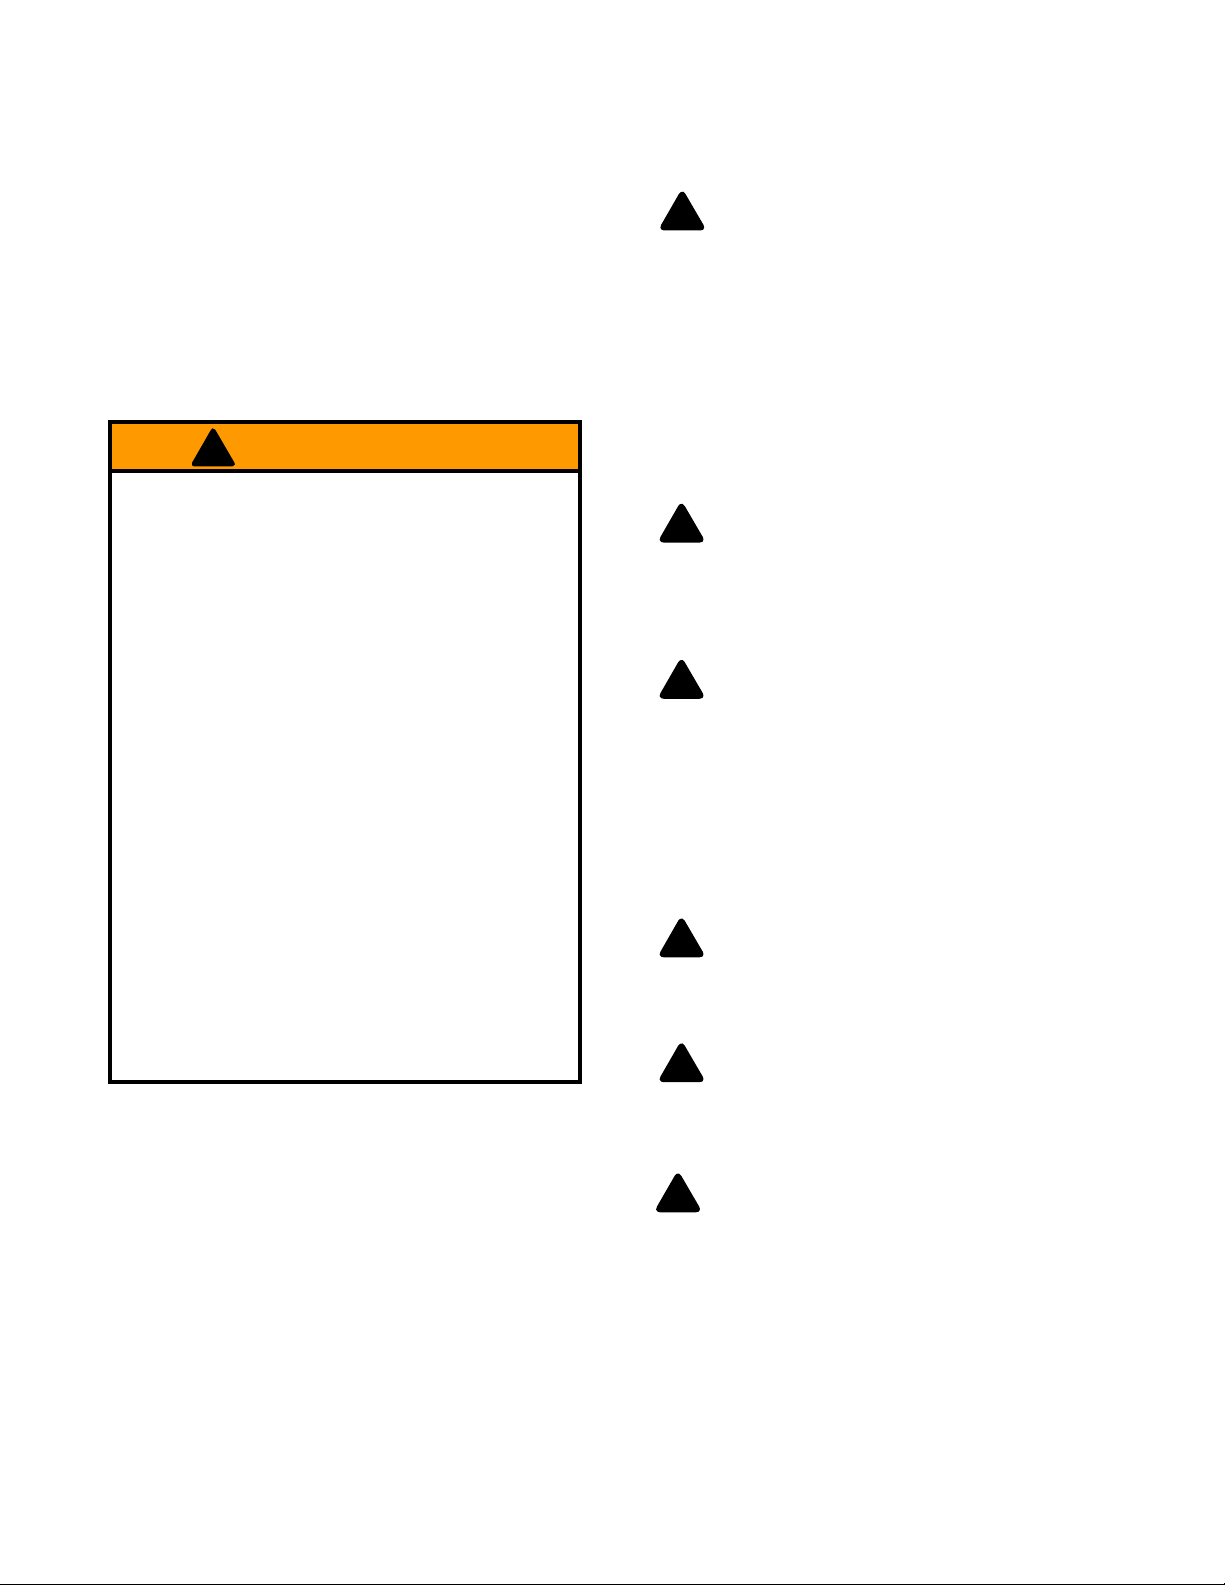
•
Study, understand, and follow all instructions
provided with and on this device before use.
• Rated capacity is PER PAIR! DO NOT exceed
rated capacity.
• Use as a matched pair to support one end
of a
vehicle only. Use only ONE (1) PAIR per vehicle.
• Use only on hard, level surface.
• Center load between the sides of the ramp.
•
Ramps are not to be used to simultaneously
support both ends or one side of a vehicle.
• Maximum allowable tire width is 10.75"/ 27.3cm
for model 93200; and 15.5"/39.4cm for model
93201.
• Use only on those vehicles whose GVWR is
less than 66,000 lb.
•
Do not use other lifting equipment in conjunction
with the ramps.
• No alterations shall be made to this device.
• Failure to heed these markings may result in
personal injury and/or property damage.
! WARNING
!
!
!
!
!
BEFORE USE
1. Verify that the product and the application are
compatible, if in doubt call Omega Tech. Service
(888) 332-6419.
2. Before using this product, read the operator's manual
completely and familiarize yourself thoroughly with
the product and the hazards associated with its
improper use.
3. Inspect before each use. Do not use if bent, broken
or cracked components are noted.
4. Ensure that all parts move freely.
!