Optelec ClearView+User manual
Page 5 of 15
3 Unpacking, installation and setup
The ClearView+is a modular system with a standard VGA output. This means
you can connect your ClearView+to virtually any VGA compatible computer
monitor like CRT (tube) monitors or TFT flat screens.
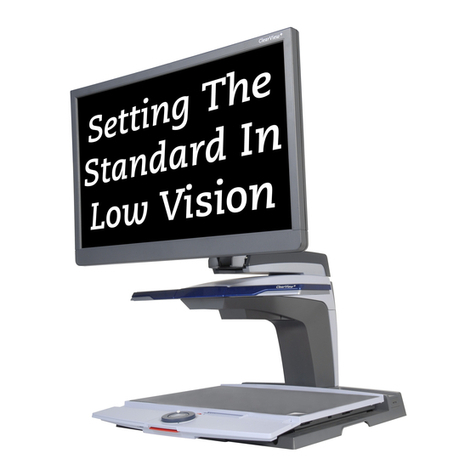
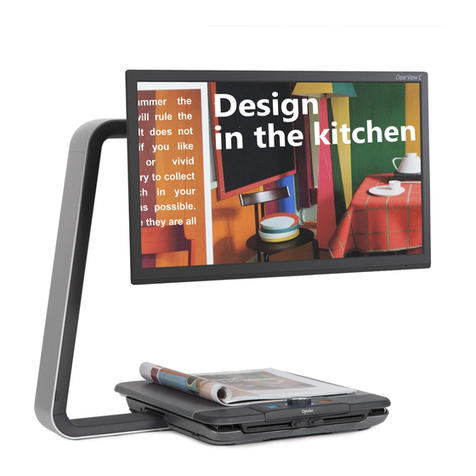
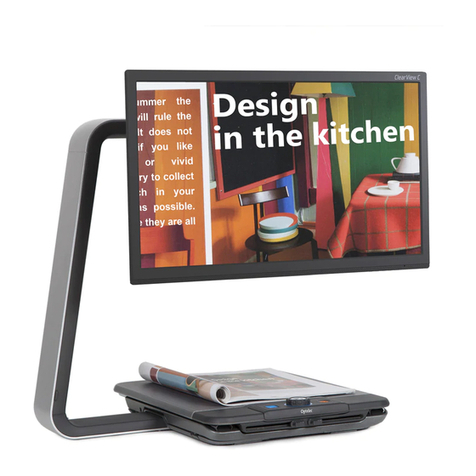
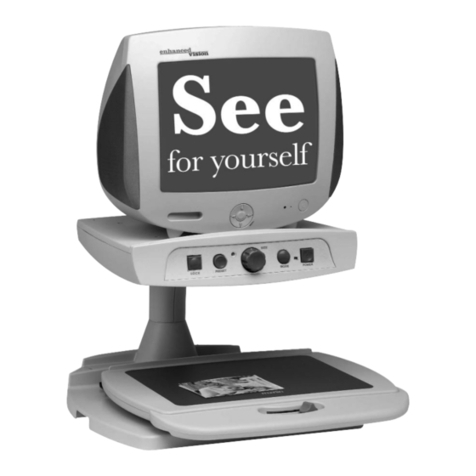
Your ClearView+unit consists of a:
- Base unit with X/Y table and integrated control panel;
- Electronics box with camera module, light source and in/output
connectors. You can choose between a:Black/White unit, Colour unit or
a SVGA computer compatible unit with Picture-in-Picture functionality;
- Monitor plate (optional). A monitor plate is needed when you choose to
place your own VGA compatible monitor on top of the ClearView+.
- Customized ClearView+monitor (optional). ClearView+is offered with
the following monitor options; Black/White CRT, Colour CRT or TFT flat
screen monitor. The angle of the CRT monitor can be adjusted. For
units using a flat screen TFT monitor, the height of the screen can also
be adjusted. Both monitors can only be used on top of the unit.
A monitor plate is not necessary.
- Feature pack (optional). The Feature pack provides extra optional
functionality (see chapter 5 & 6) to the Colour- and Black/White units. It
is necessary for operating the SVGA unit.
- Power supply and cables to connect the ClearView+to a wall outlet.
- This User manual, an installation sheet and an operation sheet.
**If your ClearView+system is supplied in separate modules, see the
accompanying installation sheet to install the different modules.
Unpack all modules carefully before installation. After installation, you may
turn on the ClearView+by pressing the small, red on/off button on the XY
table. This will power both the Base unit and monitor. It takes approximately
10 seconds for the camera unit to initialize, before displaying an image.
Within approximately 1 minute the ClearView+light source will reach full
brightness providing optimal image quality.

