ATENCIÓN: Si programamos alguna maniobra en FESTIVO, el programa
VACACIONES no puede utilizarse y es eliminado del menú quedando como
periodo FESTIVO.
Si programamos maniobras, en un mismo circuito, astronómicas (orto – ocaso) y
de hora fija tenemos que tener en cuenta que pueden solaparse ya que las
maniobras astronómicas se adelantan o atrasan durante el año, pudiéndose
producir maniobras inadecuadas.
Por ejemplo: Queremos encender un escaparate al anochecer (maniobra
Astronómica) y que se apague a las 21:30 horas (maniobra Hora fija). Como la
maniobra astronómica de encendido se va adelantando durante el verano, llegará
un momento que anochece más tarde de las 21:30 horas y, por tanto, el
encendido se hace después de la hora programada como apagado, no
realizándose ningún apagado y permaneciendo encendido hasta una nueva orden
contraria.
Esta situación se puede solucionar poniendo en serie los dos circuitos o
programando otra maniobra más de apagado de seguridad posterior a la hora del
ocaso.
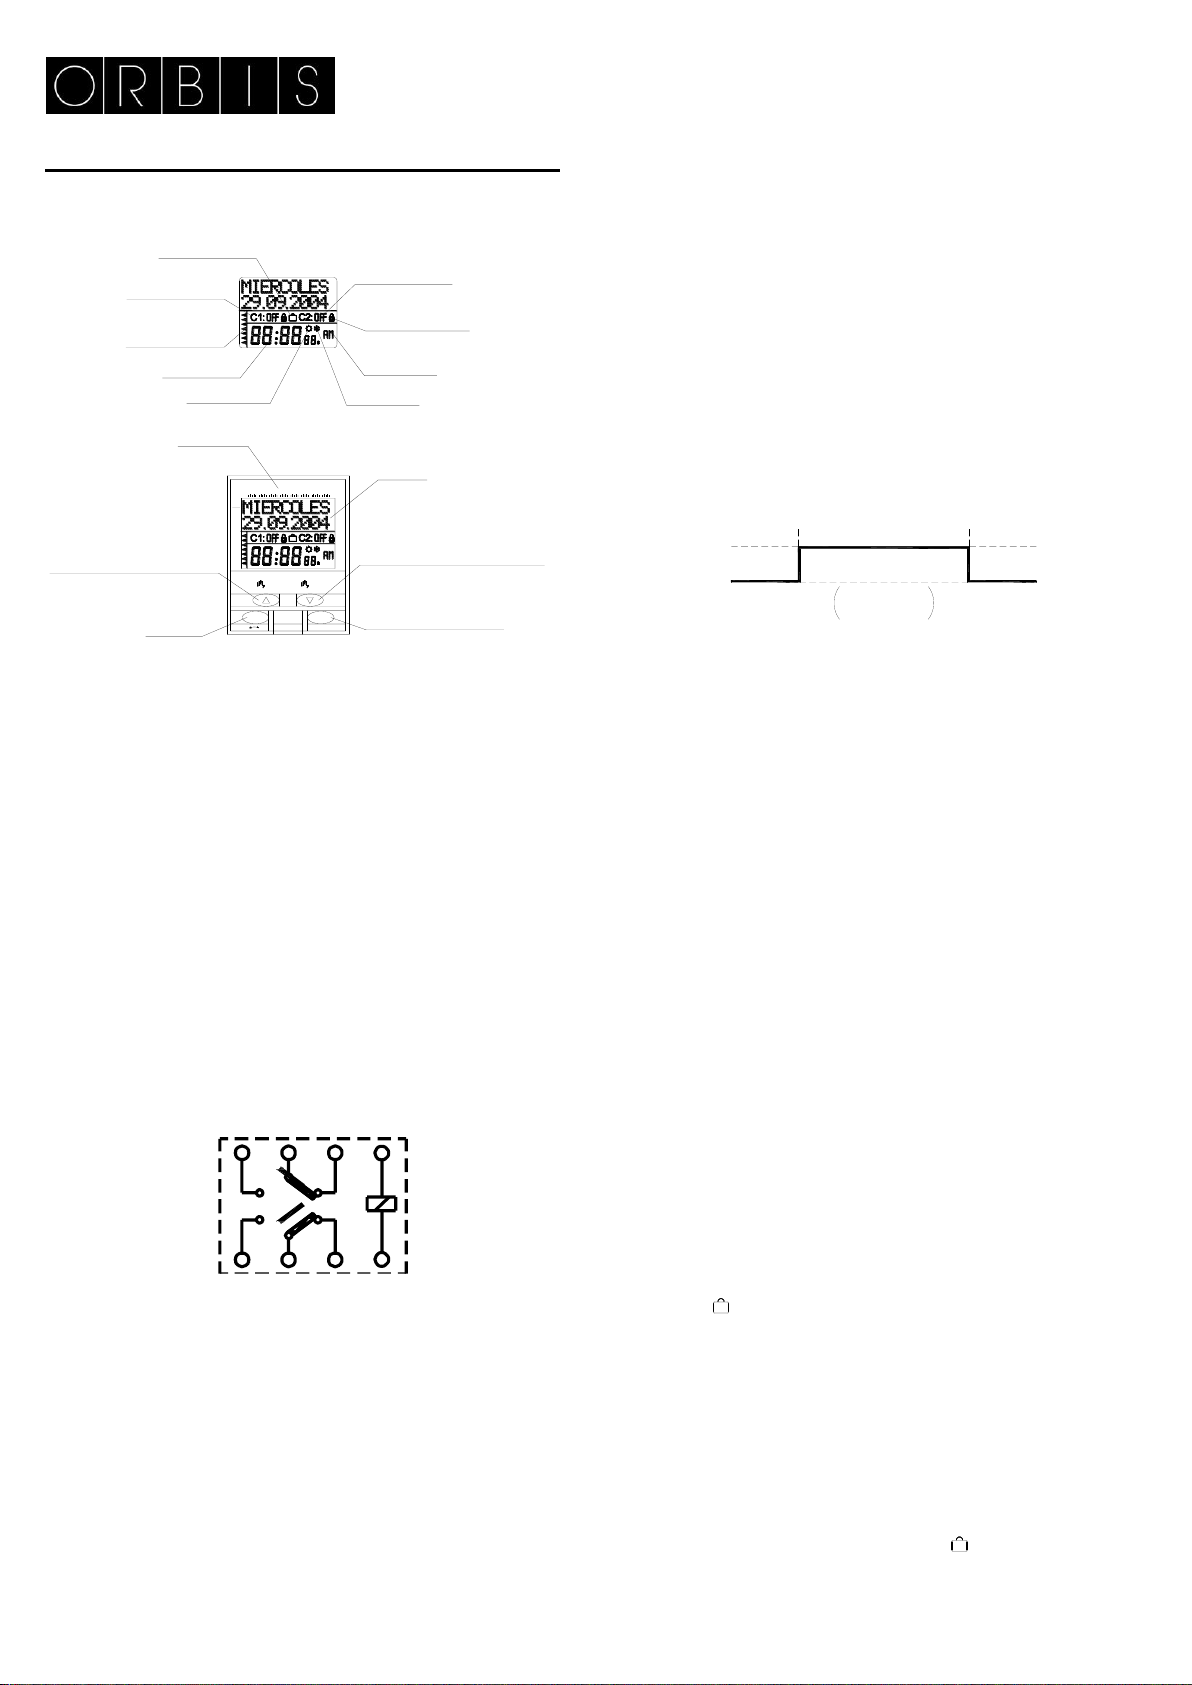
PRIORIDAD
En caso de que 2 maniobras contrarias coincidan en el mismo momento el
ASTRO NOVA CITY, siempre realizará la maniobra de OFF.
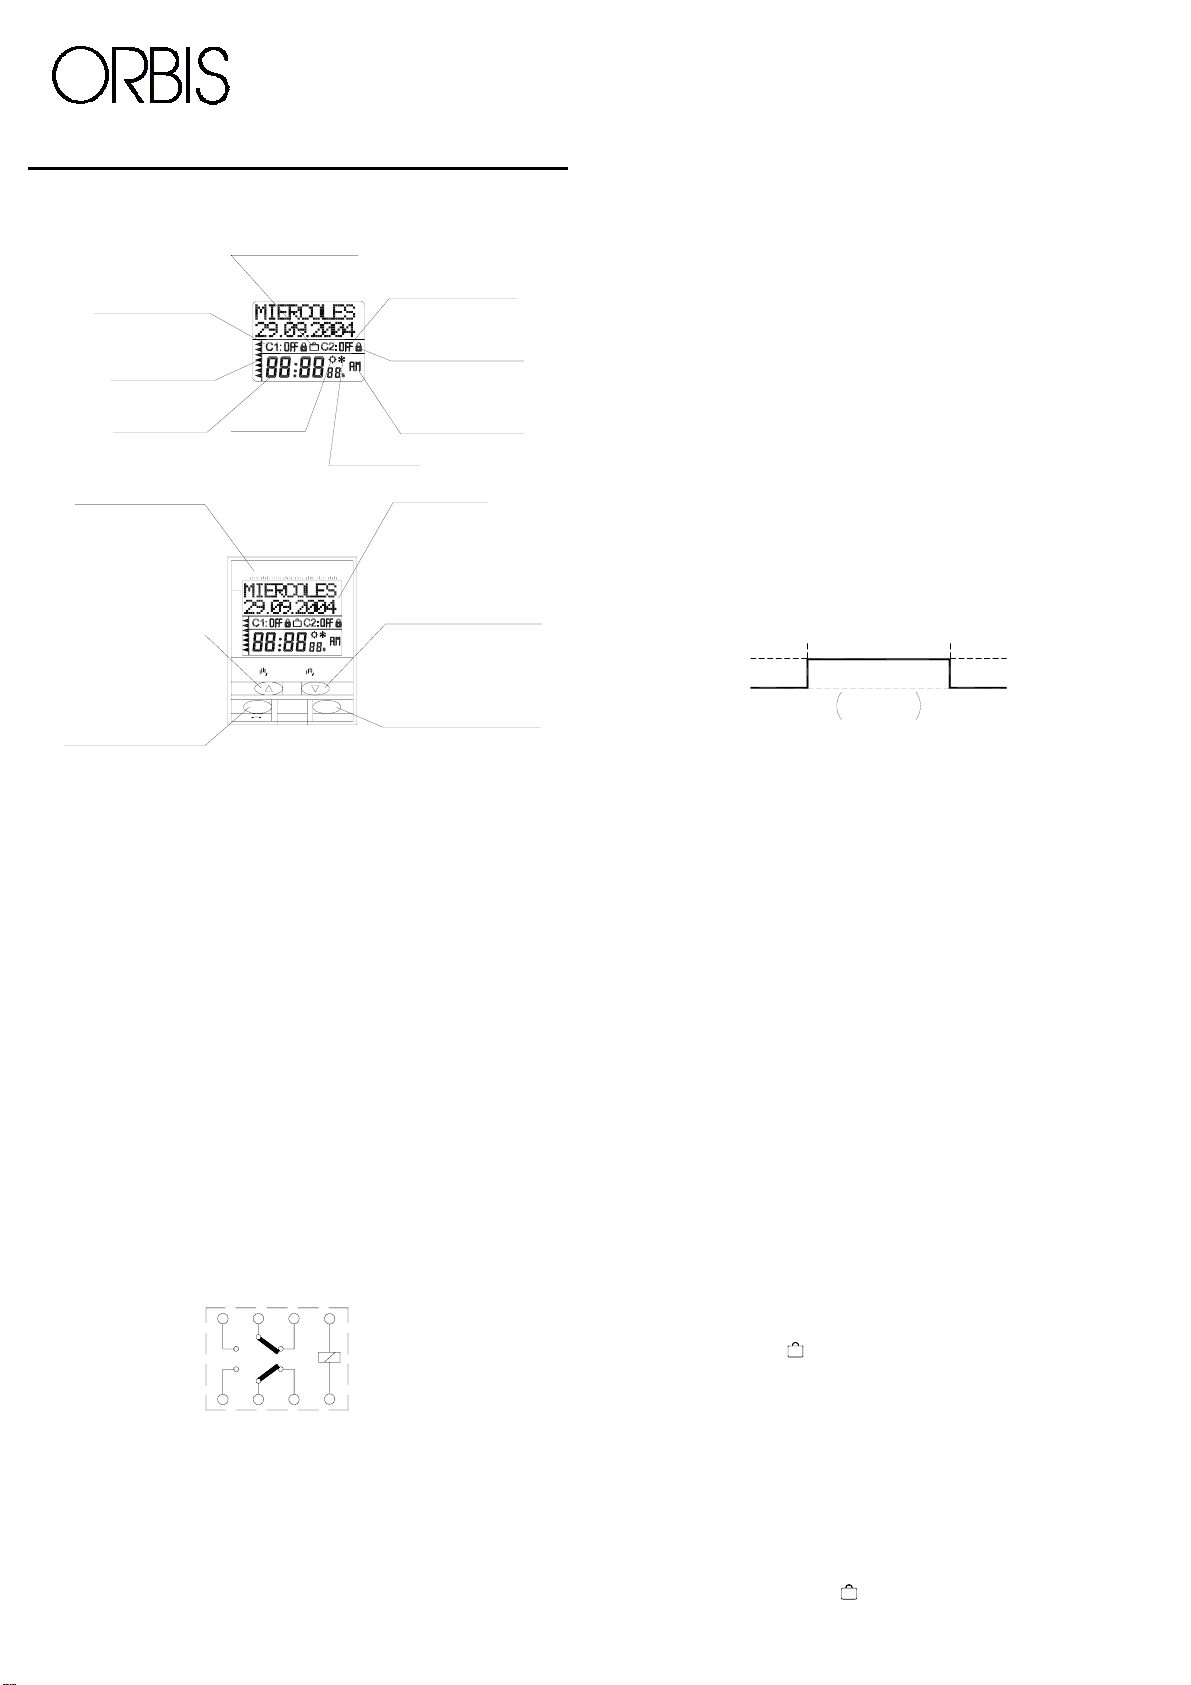
VISUALIZACIÓN DE LAS MANIOBRAS PROGRAMADAS
Pulsamos OK para entrar en MENU PROGRAMA, pulsamos nuevamente OK y la
pantalla cambia a PROGRAMA ENTRAR y al pulsar de nuevo OK entramos en
PROGRAMA PROG 01, pulsando sucesivamente las teclas ∆y ∇podemos ir
viendo todos los programas del 1 al 22.
CRONOGRAMA
Desde el modo normal pulsando 2 veces “C” aparece en pantalla C1 y su estado y
el cronograma de las maniobras programadas en ese circuito, para visualizar el
estado del circuito C2 pulsamos una vez mas “C”.
RESET. PUESTA A CERO
Al pulsar las cuatro teclas simultáneamente durante más de 3 segundos se borra
toda la programación existente y se entra en el menú IDIOMA. En memoria
permanecen los 4 programas preestablecidos en fábrica.
MODIFICAR O BORRAR MANIOBRAS
Pulsamos OK para entrar en el MENU ZONA y con las teclas ∆y ∇seleccionamos
MENU PROGRAMA, nuevamente pulsamos OK y la pantalla cambia a
PROGRAMA PROG 01, con las teclas ∆y ∇seleccionamos el programa a
modificar o borrar y validamos con OK, apareciendo en pantalla el programa
seleccionado y PROG X ENTRAR, si deseamos modificarlo aceptamos con OK y
procedemos como en el apartado Programación. Si lo que queremos es borrar la
maniobra, con ∆y ∇seleccionamos BORRAR y validamos con OK.
ACCIONAMIENTO MANUAL
Se puede activar o desactivar temporalmente el canal 1 ó 2 desde el modo
normal. Pulsando ∇para C2 y ∆para C1.
ACCIONAMIENTO MANUAL PERMANENTE
Entramos en MENU PERMANENT. Validando con OK, aparece en pantalla
PERMANENT C1: SI, con ∆y ∇seleccionamos: C1: SI, C1: NO, C2: SI ó C2: NO,
según el canal que queramos activar o desactivar de modo permanente. El canal
seleccionado queda permanentemente en la posición en la que este hasta que,
del mismo modo, se modifique su estado.
Estando activado el accionamiento permanente es posible cambiar su estado (de
ON a OFF o viceversa) con la tecla de accionamiento manual ( C1) ( C2)
correspondiente al circuito deseado sin desactivar por ello el estado permanente.
En estado permanente no se realiza ninguna de las maniobras programadas.
Cuando un circuito está en estado permanente aparece en pantalla el símbolo
correspondiente ( ).
Para desactivar el modo permanente actuar de igual forma, seleccionar el canal
que queremos desactivar, la opción NO y validar con OK.
PROGRAMACIÓN AVANZADA (FUNCIONES ESPECIALES) EXTRAS
CAMBIO DE HORARIO (ESTACIÓN) (ADELANTO RETRASO DE HORA)
Para entrar al MENU pulsar la tecla “OK “, con las teclas ∆y ∇buscamos la
opción EXTRAS. Validamos con “OK “y aparece en pantalla EXTRAS ESTACION,
pulsamos de nuevo “OK “y la pantalla muestra ESTACION: AUTO, con las teclas
∆y ∇seleccionamos entre las tres opciones posibles: AUTO, MANUAL y
DESACT. y validamos la opción escogida con “ OK “ .
(Si existiese una o varias maniobras programadas coincidentes en el periodo de
cambio horario estas se duplicaran o no se realizaran dependiendo del cual sea el
cambio horario).
AUTO (realiza automáticamente el cambio de horario el último domingo de marzo
y el último domingo de octubre a las 2:00 h y a las 3:00 h respectivamente).
Esta opción no permite cambios. Al elegir esta opción aparece en pantalla MENU
EXTRAS.
MANUAL (Permite elegir el día y hora para realizar el cambio de horario)
Al elegir esta opción aparece en pantalla EST I ÆV, el mes y la fecha del cambio
de invierno a verano, parpadeando la fecha correspondiente al mes con las teclas
∆y ∇programamos el mes en el que deseamos que se realice el cambio.
Validamos con “OK “y parpadea la cifra correspondiente al día, seleccionamos del
mismo modo el día, la hora y los minutos y volvemos a validar con OK. Aparece
en pantalla EST V–I (verano – invierno) y del mismo modo programamos la fecha
y hora del cambio.
DESACTIVADO (DESACT) (no realiza el cambio de horario)
Si seleccionamos esta opción y validamos con “OK “no se realizará el cambio
horario y volvemos al MENU EXTRAS.
PROGRAMACIÓN DEL PERIODO FESTIVOS
En este periodo el aparato solo realizará las maniobras programadas como
Festivos, ver apartado PROGRAMACIÓN: MANIOBRA HORA FIJA o MANIOBRA
ASTRONÓMICA. Durante el periodo FESTIVO aparecerá el símbolo ( ).
Este menú solo aparece en pantalla si hemos programado alguna maniobra en
MENU PROGRAMACIÓN como FESTIVOS.
Solo puede ser programado un periodo FESTIVOS. Entramos en MENU EXTRAS
FESTIVOS y la pantalla nos muestra FESTIVOS DESACT, esta opción nos
permite desactivar el programa de FESTIVOS.
Si deseamos introducir un programa de festivos pulsamos ∆y∇y aparece en
pantalla FESTIVOS EDITAR, validamos con OK y programamos el INICIO por
el siguiente orden: mes, día, hora y minuto. A continuación programamos el FIN
del periodo de festivos de la misma forma y en el mismo orden.
PROGRAMA DE VACACIONES
En este periodo el aparato no realizará ninguna maniobra y aparece en pantalla el
símbolo ( ).
Entramos en MENU EXTRAS VACACIONES y la pantalla nos muestra
VACACIONES DESACT, esta opción nos permite desactivar el programa de
vacaciones.
Si deseamos introducir un programa de vacaciones pulsamos ∆y∇
y aparece en pantalla VACACIONES EDITAR, validamos con OK y programamos
el INICIO por el siguiente orden: mes, día, hora y minuto.
A continuación programamos el FIN del periodo de vacaciones de la misma forma
y en el mismo orden. ATENCIÓN: Si programamos alguna maniobra en
FESTIVO, el programa VACACIONES no puede utilizarse y es eliminado del
menú quedando como periodo FESTIVO.
CONTADOR
Entramos en MENU EXTRAS CONTADOR nos aparece en pantalla CONTADOR
C1 y las horas en las que el canal C1 ha estado activado (Posición ON) con las
teclas ∆y∇nos aparece el contador del canal C2. Los contadores solo
incrementaran horas cuando el equipo tenga alimentación.
Para poner a cero la lectura de los contadores basta con ponernos en el contador
que deseamos borrar y pulsar OK, nos aparece en pantalla BORRAR C1 o
BORRAR C2, según proceda y seleccionamos “SI” con las teclas ∆y∇validando
con OK.
MODO 12H – 24H
Entramos en MENU EXTRAS 12H – 24H pulsamos OK y con las teclas ∆y∇
seleccionamos el modo en el que queremos visualizar la hora. Validamos la
selección con OK.
CONTRASTE
Entramos en el MENU EXTRAS CONTRASTE, pulsamos OK y aparece en
pantalla CONTRASTE y un número del 0 al 9 (6 por defecto) correspondientes al
contraste de la pantalla. Con las teclas ∆y∇seleccionamos el grado de contraste
deseado y validamos con OK.
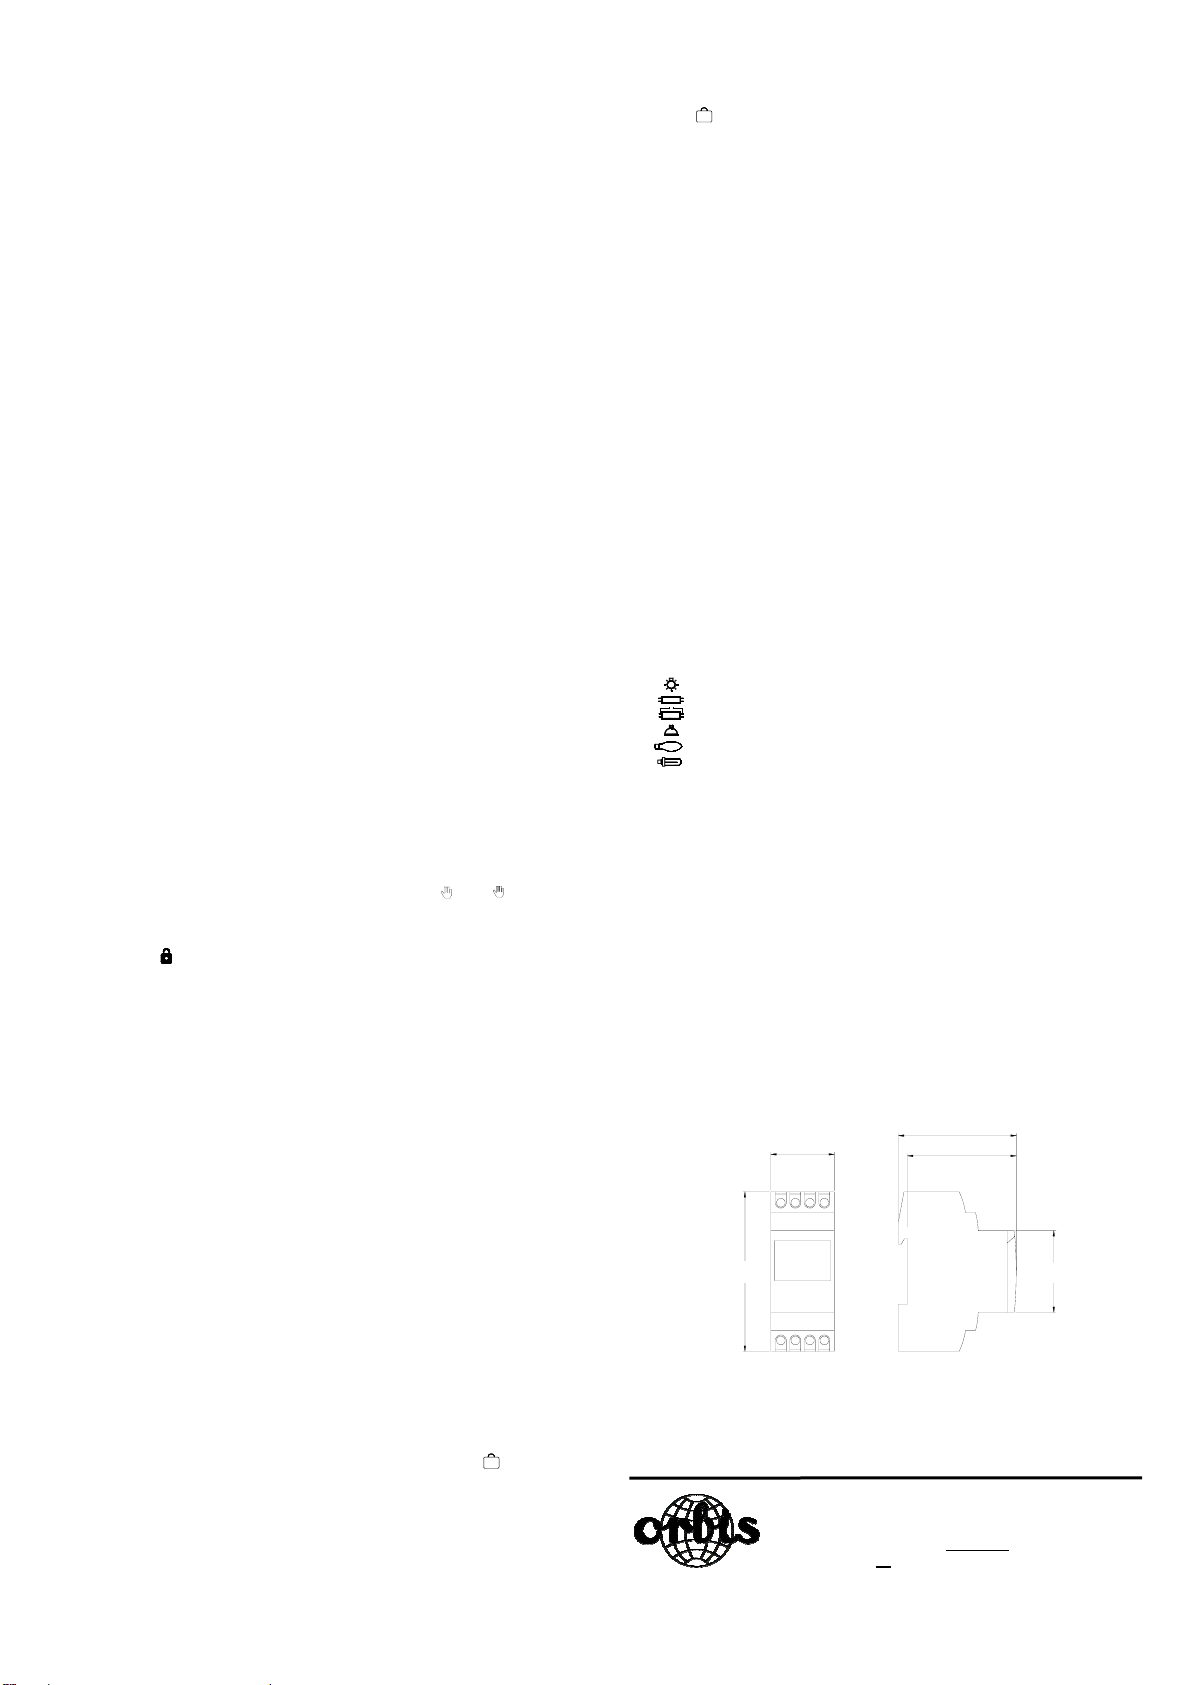
CARACTERISTICAS TECNICAS
Alimentación Según indicación en el
aparato.
Poder de ruptura: 2X16 (10) A/250 V~
Cargas máximas recomendadas:
Lámparas incandescentes 3000 W
Fluorescentes sin compensar 1200 W
Fluorescentes compensados 1200 W 150 µF
Halógenas baja tensión 1000 VA
Halógenas (230 V.) 2500 W
Lámparas bajo consumo 10X23 W
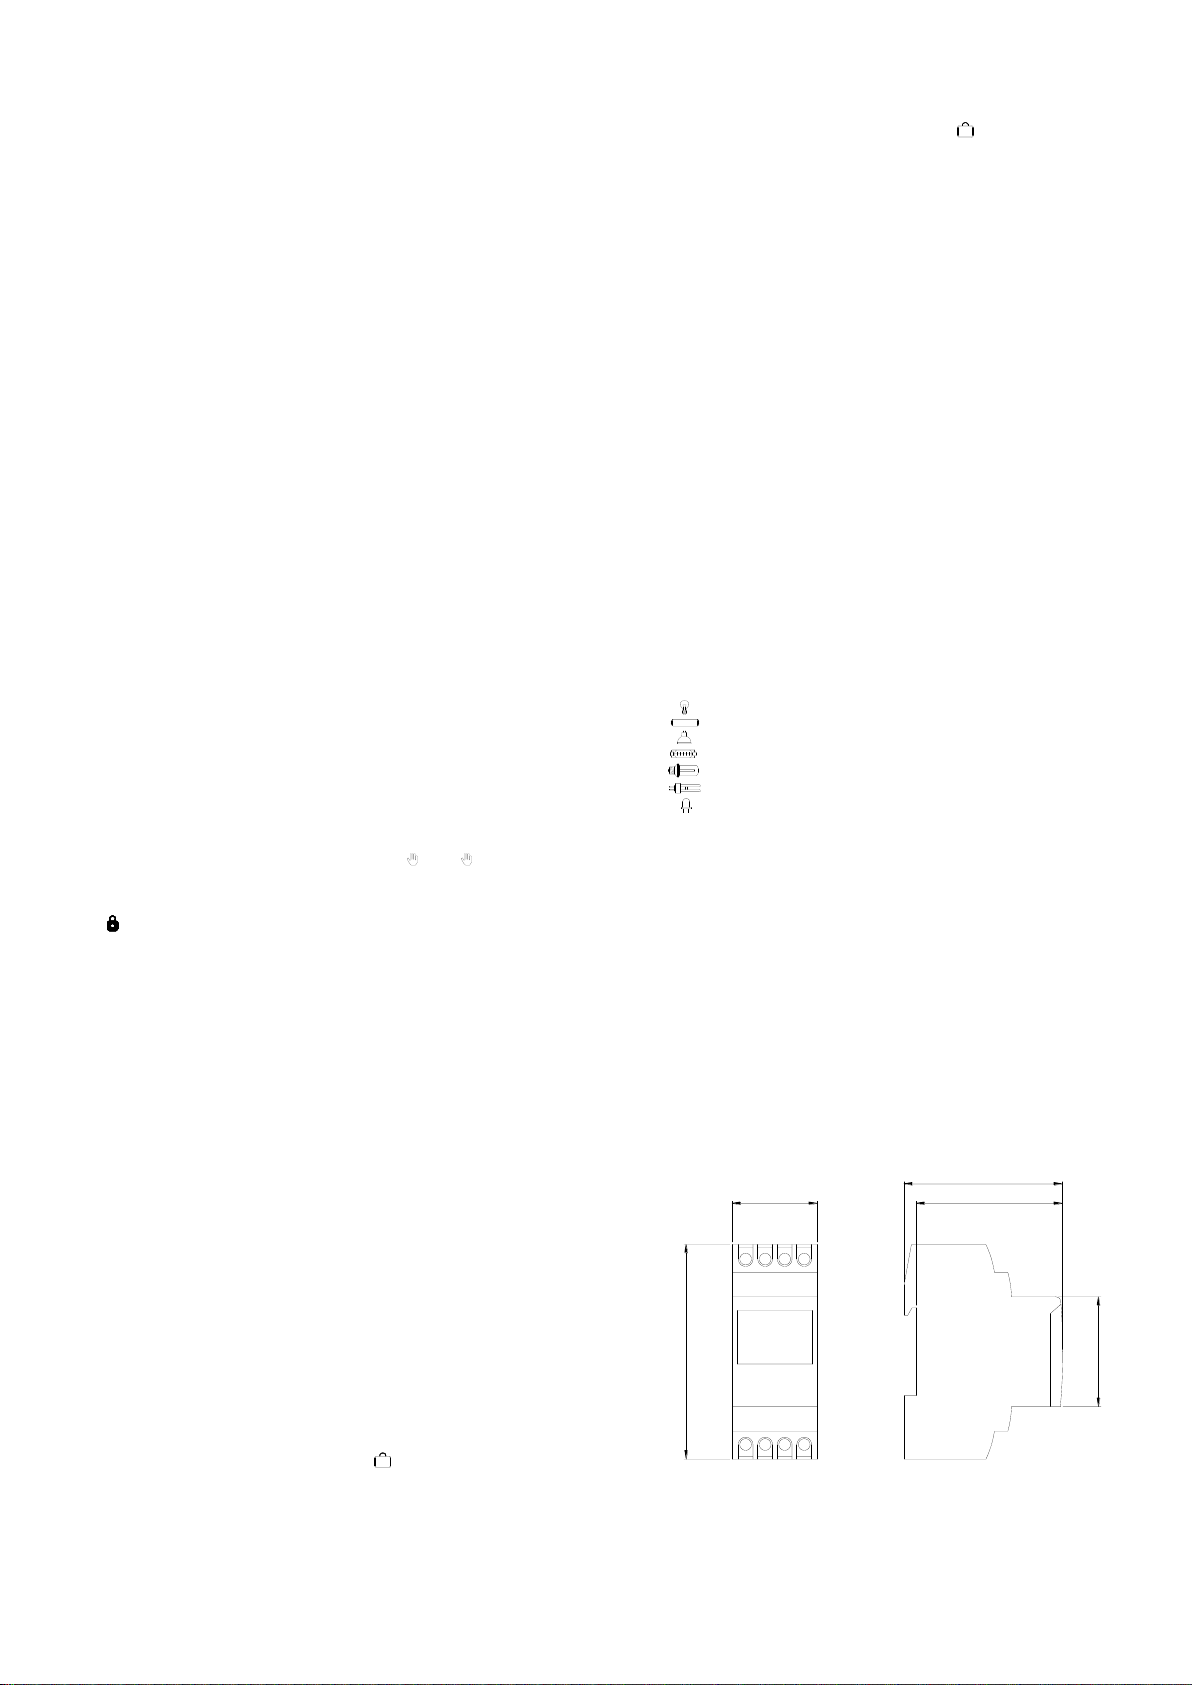
Contacto: AgSnO2 conmutado
Consumo propio: 6 VA (1 W aprox)
Tensión de impulso asignada 2,5 kV
Tipo de acción: Tipo 1B, 1S, 1T y 1U.
Espacios de Memoria: 22
Tipos de maniobras. ON OFF ASTRONÓMICA
Precisión de maniobra: Al segundo
Precisión de marcha: ≤±1s/ día a 23 ºC
Temperatura para el ensayo de la bola: + 100 ºC
Reserva de marcha: 4 años sin alimentación (Pila
de Litio)
Temperatura de funcionamiento: De –10 ºC a +45 ºC
Tipo de protección: IP 20 según EN 60529
Clase de protección: II según EN 60335 en
montaje correcto
Situación de contaminación: Normal
Clase y estructura del soporte lógico: Software clase A
Tapa precintable
DIMENSIONES
A016.26.53216
ORBIS TECNOLOGÍA ELÉCTRICA S.A.
Lérida, 61 E-28020 MADRID
Tel.: + 34 91 567 22 77 Fax + 34 91 571 40 06
http://www.orbis.es
35
88 45
60
65