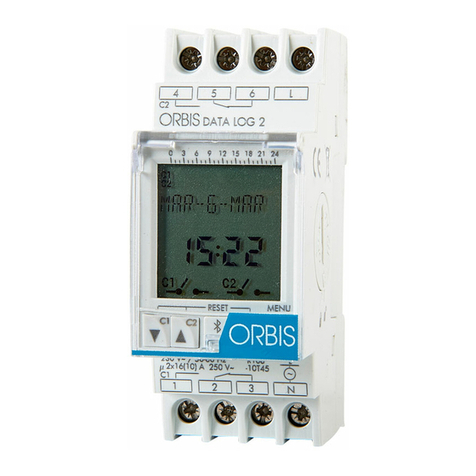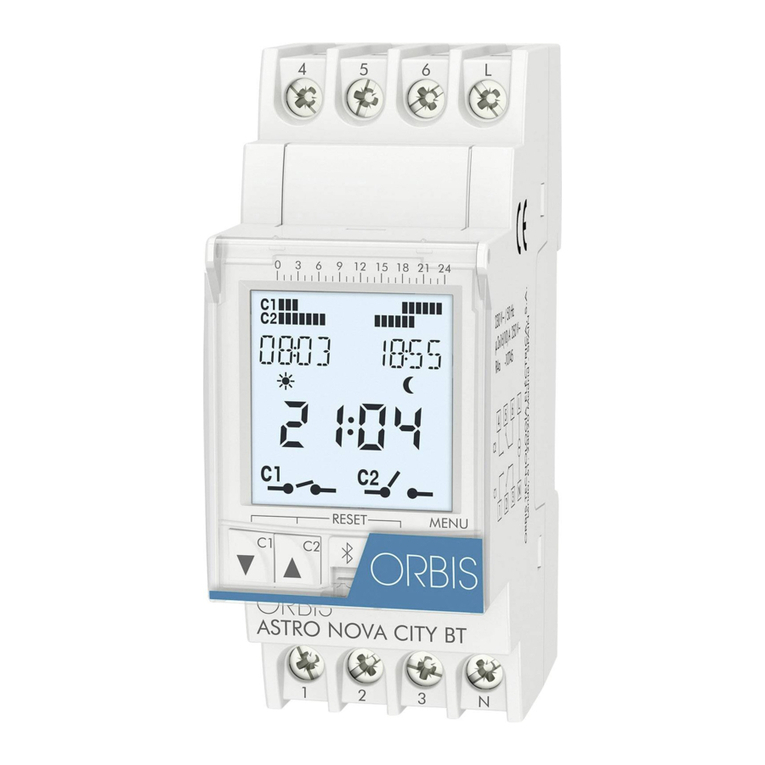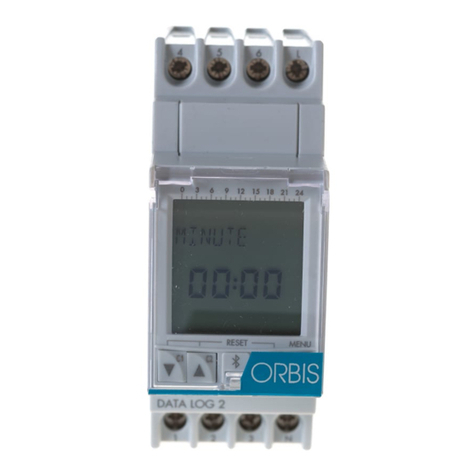
Co to the time and date programming.
Use the Jll..I+ and T/- keys to set the minutes until the figure required is reached.
Confirm with "OK" to move on to the next field.
Use the Jll..I+ and T/- keys to set the time. and confirm with "OK".
Various types of programming are now possible:
DAlLY/WEEKLY PROGRAMMING
The events are repeated on every day selected every week.
- The system automaticaIly goes to the selection of the days of the week.
Use the
JII../+
key to confirm the day that is flash ing (starting from Monday), and use
the
T/-
key to go directly to the next day.
- Press "OK" to go to the programming of another event or return to normal operating mode
with
"(9".
Note: slow flashing means that the day is selected, and fast flashing means that the day
has been rejected.
MONTHLYPROGRAMMING
The events are repeated every month on the same day.
- Press "OK" after setting the time to go directly to the selection of the date without
continning the days of the week.
Press "OK" twice to go to the day without modifying the year or month.
- Use the Jll..I+ and T/- keys to set the day required and confirm with "OK".
- Press "OK" to go to the programming of another event and press" G " to return to
normal operating mode.
ANNUALPROGRAMMING
The events are repeated every year on the same day of the same month.
- Press "OK" after setting the time to go directly to the selection of the date without
confinning the days of the week.
Press "OK" to go to the month without rnodifying the year.
- Use the Jll..I+ and T/- keys to set the month required and confirm with "OK".
- Use the
JII../+
and
T/-
keys to set the day required and confirm with "OK".
- Press "OK" to go to the programming of another event and press"
G"
to return to
normal operating mode.
PROGRAMMING TO APRESET
n
TE
The events take place on a precise date (day, month, year).
- Press "OK" after setting the time to go directly to the selection of the date without
confinning the days of the week.
- Set the year, month and day using the Jll..I+ and T/- keys and confirm each time
with"OK".
- Press "OK" to go to the programming of an other event and press" G " to return to
normal operating mode.
IMPULSE PROGRAMMING
The instrument comes on for a time set between 1 and 59 seconds.
- If the impulse " O " is selected as the event. the flash ing figure " __,, will appear after
pressing "OK".
- Set the required duration of the impulse (1 to 59 seconds) with the Jll..I+ and T/- keys
and confirm with "OK".
- Set the time and date in the same way as in the previous programming operation.
- Press "OK" to go to the programming of another event and press"
G"
to return to
nermal operating mode.
Note: impu se programming may be weekJ.y, monthJ.y or annual, but not to a set date.
DISPlAY AND MODIFICATION OF THE PROGRAMMES
To enter display/modify, press the "PRG" key.
The PROC rnessage appears and the channel indication "CHI" flashes.
Select the channel required with the "CHI" ••• "CH4" keys and press "OK".
The first programme memorised for the channel selected will appear (if no programmcs are
memorised, the screen display for a new programming operation will be displayed).
Press "OK" to scroll through ali the progranimes memorised.
After the last programme. the screen display for a new programming operation will appear if
possible, or the message "FULL" if the maximum number of programming operations has
been reached.
Press "PRG" to modify an existing programme.
The parameter setting modes are the same as those for the programming. When ali the
programme fields have been taken into consideration, press "OK" again to go to the next
programme (if present) or to a new programming operátion.
To return to nonnal operation, press"
G"
(the data set up to this time will be saved).
Note: it is possible to change the type of programming for a programme (from daily to
annual, for example), but it is not possible to change the type of associated event (for
example, it is not possible to transform an ON event to an OFF event),
CANCELLING THE PROGRAMMES
Co to the programme required using the same procedures as those for display and
modification.
To cancel the programme. hold down the "PRG" key for approxirnately 3 seconds.
The CLEAR message will appear to confirm the cancellation, and the instrument will then go
to the next programme or the screen display for a new programming operátion.
Press"
G"
to return to nermal operating mode.
FORCING THE REIAYS
The forcing of the relay rnakes it possible to modify the status of a relay manually (provided
the holiday programme is not active).
Press the "CH ••" key for the relay whose status is to be modified unti the status required is
obtained.
The possible states are as follows, in order:
- ON: relay on until the next prograrnrned operatien
• ON LOCK: relay on until the next manual operatien
• OFF LOCK: relay off until the next manual operatien
• OFF: relay off until the next programméd operatien
ADVANCED PROGRAMMING
Hold the "PRG" key down for 5 seconds approximately to activate advanced programming.
In this rnode, it is possible to gain access to the following functions:
SUMMERTIME " p-
1
WlNTER TIME " *":this function is used to set the dates for the
automatic charigeover from summertime to winter time and vice versa.
- After entering advanced programming mode, the display shows the rnessage HOUR, the
symbols"
P- "
and" *"and the flashing ON (OFF) message to indicate whether the
automatic time change is enabled or (disabled).
- Use the Jll..I+ and T/- keys to switch from the ON to the OFF status.
Note: the time change dates are automaticaIly set by default to the last Sunday in Marth
(start of summertime) and the last Sunday in October (start of winter time).
- If the time change is active, press "OK" to display first the settings for the charigeover from
winter time to summertime "
P- ".
then the time change from summertime to winter time
u*".
- To modify one of the two settings press "PRC" from the relevant screen display. then select
the time change mode with the Jll..I+ and T/-
keys,
The possible modes are:
LAST if the time change takes place on a determined day in the
last week of a reviousl selected month
Ist if the time change takes place on a determined day in the
first week of a reviousl selected month
2nd if the time change takes place on a determined day in the
second week of a previously selected month
3rd if the time change takes place on a determined day in the
third week of a previously selected month
4th if the time change takes place on a determined day in the
fourth week of a previously selected month
DATE if the time change takes place on a determined date (rnonth, day).
- After selecting the mode, press "OK" to confirm and go to the setting of the date.
For Last, Ist, 2nd. 3rd and 4th modes, set the rnonth, day (MO•...• SU). time and minutes
(using the Jll..I+ and "T 1- to select and "OK" to confirm).
- For DATE mode, set the rnonth, number of the day, time and minutes.
- After setting the time changes, press "OK" to go to the setting of the RANDOM programme
or"
G"
to return to normal operating mode.
If the time charige is not active, when "OK" is pressed the system goes automaticaIly to the
setting of the random programme.
RANDOM PROGRAMME
This is used to activate the instrument with casual ON/OFF times verying from 5 to 68
minutes. The programme operates with independent switching operations in ali the channels
in ON operation, with the exception of the channels which are manually loeked (LOCK).
If the programme is active, the display shows the symbol
,,® ".
- After entering advanced programming rnode, press "OK" until the display shows the
message ''rnd= ONlOFF".
To activate (ON) or deactivate (OFF) the random programme, use the
JII../+
and
"T
1-
keys and "OK" to confirm.
- Press "OK" agairi to go to the holiday programme. or"
G"
to return to normal operating
mode.
HOLIDAY PROGRAMME
This is used to stop the instrument for two periods in the course of the year. In these periods,
the relay); that are not in LOCK status are set to OFF.
At the end of the period, the relays will return to the status Jaid down by the normal
programming.
- After entering advanced programming mode, press "OK" until the display shows the
rnessage "Holidayl Str".
- Press "OK" repeatedly to display the parameters for the start and end of the first period and
the start and end of the second.
- To modify one of the pararneters, press the "PRG" key in the relevant screen display.
Use the
JII../+
and
T/-
keys to select the value of the parameter required and "OK" to
confirm.
- After setting the end of the second period, press "OK" to go to the timer function or " G "
to return to normal operating mode.
Note: if the holiday programme has not yet been set, dashes "-" will appear in the year,
month, day, hour and minute fields.
TIMER FUNCTION
this displays the number of hours (max. 99999) for which the relay will remain in ON status.
- After entering advanced programming mode, press "OK" until the display shows the
number of hours (" •••••H") and the message "CHI ".
- Use the "OK" key to display the relay operating hours in ON status.
Note: to zero the timer, the instrument has to be totally reset.
- Press "OK" or " G " to return to normal operating mode.
REFERENCESTANDARDS
• Conformity with EU directives:
73123/ECC. modified by 93/68/ECC (Iow voltagel
891336/ECC, modified by 92131/ECC and 93/68/ECC (E.M.C.)
is declared with reference to the following standards:
• Safety: EN 60730·2·7
• Electrornagnetic compatibility: EN 55014·1/ EN 55014·2
