manuals.online logo
Brands
  1. Home
  2. •
  3. Brands
  4. •
  5. Oregon Scientific
  6. •
  7. Clock
  8. •
  9. Oregon Scientific NAW881EXT User manual

Oregon Scientific NAW881EXT User manual

This manual suits for next models

1

Other Oregon Scientific Clock manuals

Oregon Scientific RM912E User manual

Oregon Scientific

Oregon Scientific RM912E User manual

Oregon Scientific PRYSMA R User manual

Oregon Scientific

Oregon Scientific PRYSMA R User manual

Oregon Scientific BAR339P User manual

Oregon Scientific

Oregon Scientific BAR339P User manual

Oregon Scientific RM329P User manual

Oregon Scientific

Oregon Scientific RM329P User manual

Oregon Scientific RM868PA User manual

Oregon Scientific

Oregon Scientific RM868PA User manual

Oregon Scientific JMR868A User manual

Oregon Scientific

Oregon Scientific JMR868A User manual

Oregon Scientific RM330P User manual

Oregon Scientific

Oregon Scientific RM330P User manual

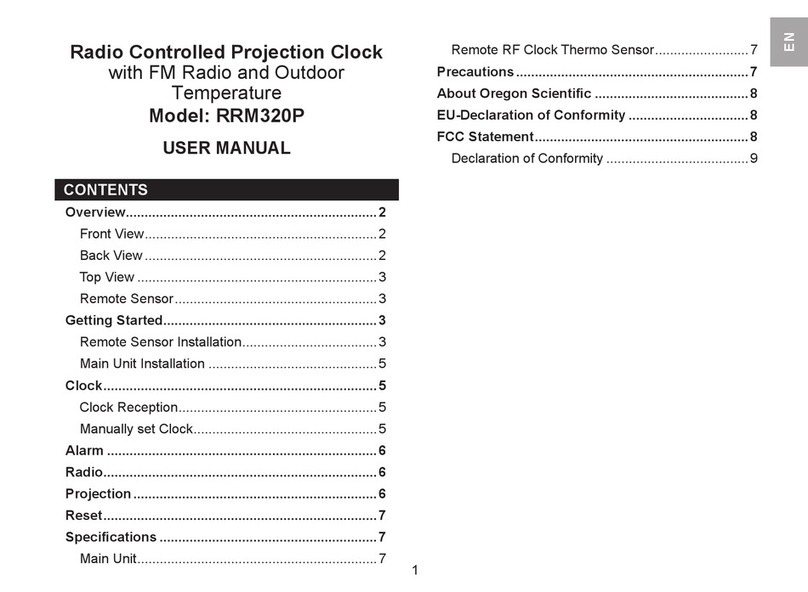
Oregon Scientific RRM320P User manual

Oregon Scientific

Oregon Scientific RRM320P User manual
Oregon Scientific RRA320PNX User manual

Oregon Scientific

Oregon Scientific RRA320PNX User manual

Oregon Scientific BAR623PA User manual

Oregon Scientific

Oregon Scientific BAR623PA User manual

Oregon Scientific RM988P User manual

Oregon Scientific

Oregon Scientific RM988P User manual

Oregon Scientific WL388 User manual

Oregon Scientific

Oregon Scientific WL388 User manual

Oregon Scientific RMR613HGA User manual

Oregon Scientific

Oregon Scientific RMR613HGA User manual

Oregon Scientific BAR223P User manual

Oregon Scientific

Oregon Scientific BAR223P User manual

Oregon Scientific RMR329P User manual

Oregon Scientific

Oregon Scientific RMR329P User manual

Oregon Scientific PRYSMA G User manual

Oregon Scientific

Oregon Scientific PRYSMA G User manual

Oregon Scientific WS902 User manual

Oregon Scientific

Oregon Scientific WS902 User manual

Oregon Scientific RRM612P User manual

Oregon Scientific

Oregon Scientific RRM612P User manual

Oregon Scientific RMR391PU User manual

Oregon Scientific

Oregon Scientific RMR391PU User manual

Oregon Scientific JM889 User manual

Oregon Scientific

Oregon Scientific JM889 User manual

Oregon Scientific RMB899P User manual

Oregon Scientific

Oregon Scientific RMB899P User manual

Oregon Scientific RM318PA User manual

Oregon Scientific

Oregon Scientific RM318PA User manual

Oregon Scientific RMR331ES User manual

Oregon Scientific

Oregon Scientific RMR331ES User manual

Oregon Scientific BAR339P User manual

Oregon Scientific

Oregon Scientific BAR339P User manual

Popular Clock manuals by other brands

Sapling NTP 7000 Series installation manual

Sapling

Sapling NTP 7000 Series installation manual

Amano MTX-30F Installation & operation guide

Amano

Amano MTX-30F Installation & operation guide

La Crosse Technology BBB86118v3 Setup guide

La Crosse Technology

La Crosse Technology BBB86118v3 Setup guide

BEARWARE 304474 manual

BEARWARE

BEARWARE 304474 manual

LS & S RTC103U instruction manual

LS & S

LS & S RTC103U instruction manual

BitGen Technologies LED Walk/Don't Walk Clock user manual

BitGen Technologies

BitGen Technologies LED Walk/Don't Walk Clock user manual

Heathkit GC-1005 Assembly manual

Heathkit

Heathkit GC-1005 Assembly manual

Andrew O'Malley DOTKLOK Assembly instructions

Andrew O'Malley

Andrew O'Malley DOTKLOK Assembly instructions

Nixie Clock Divergence Meter user manual

Nixie Clock

Nixie Clock Divergence Meter user manual

La Crosse Technology WS-8256-AL user manual

La Crosse Technology

La Crosse Technology WS-8256-AL user manual

Mini Gadgets MCPro user manual

Mini Gadgets

Mini Gadgets MCPro user manual

Casio TMR-200 user guide

Casio

Casio TMR-200 user guide

Progetti KALIMERO Directions

Progetti

Progetti KALIMERO Directions

Progetti ILTEMPOSTRINGE Directions

Progetti

Progetti ILTEMPOSTRINGE Directions

La Crosse Technology WT-3141b Quick setup instructions

La Crosse Technology

La Crosse Technology WT-3141b Quick setup instructions

IKEA ROTBLÖTA manual

IKEA

IKEA ROTBLÖTA manual

U-Line Н-2811 instructions

U-Line

U-Line Н-2811 instructions

Silicon Laboratories SI5324 manual

Silicon Laboratories

Silicon Laboratories SI5324 manual

manuals.online logo
manuals.online logoBrands
  • About & Mission
  • Contact us
  • Privacy Policy
  • Terms and Conditions

Copyright 2025 Manuals.Online. All Rights Reserved.

DESCRIPTION OF PARTS (FIG. 1)
A. LCD DISPLAY
B. IN/OUT SWITCH
C. VENT HOLES
D. WALL MOUNT HOLE
E. °C/°F SWITCH , H-HOUR BUTTON,
M-MINUTE BUTTON
F. STAND
G. BATTERY DOOR
H. OUTDOOR SENSOR PROBE
BATTERY
The Thermometer uses 1 x UM-4 (AAA)
battery (1.5V D.C.)
Follow these steps to install or replace the
battery:
1. Slide the battery door in the direction
of the arrow.
2. Insert the battery as indicated by the
polarity symbols (+ and -) marked inside
the battery compartment.
3. Replace the battery door.
CLOCK
Press Hor Mto change the Hour or Minute.
Press and hold to enter fast-setting mode.
SELECT INDOOR / OUTDOOR
TEMPERATURE
The IN/OUT switch on the front of the
Themo-Clock selects between indoor /
outdoor temperature. Slide to the IN
position for indoor temperature. Slide to
the OUT position for outdoor temperature.
SELECT MEASUREMENT UNIT
The slide switch on the back of unit selects
between degree Celsius and Fahrenheit.
To select Celsius units, set the slide to °C.
To select Fahrenheit units, set the slide
switch to °F.
RESET UNIT
If your Thermo-Clock doesn’t operate
property, take out the battery from the unit
for 4 to 5 seconds, then reinstall the
battery.
POSITION THE OUTDOOR SENSOR
PROBE (FIG. 2)
I. SCREW
J. WIRE ATTACHMENT
Follow these steps to secure the external
probe.
1. Drive a screw (not included) into the
wall at the location you choose for the
sensor.
2. Hang the outdoor sensor’s wire
attachment loop onto the screw .
3. Route the outdoor sensor’s cord
(3 meters) through the window.
INTRODUCTION
•Thank you for your purchase of this
Digital Thermo-Clock.
•Your Digital Thermo-Clock is an
example of superior design and
craftsmanship.
•In order to optimize its functions, be
sure to read this instruction manual
carefully before use.
•Keep this manual handy for future
reference.
FEATURES
•Digital LCD Thermometer with Clock.
•Temperature/Clock alternate display
function at 3 seconds cycle.
•User selectable indoor or outdoor
temperature measurement.
•User selectable °C or °F temperature
units of measure.
•Wall mounting and table standing
feature.
DIGITAL INDOOR / OUTDOOR
THERMO CLOCK
Model : NAW881EXT
NAW881EXT lab test R1 1/9/04, 4:40 PM1
Black
Battery life Approx. 12 months
Weight 2.40 ounces
(without battery)
Size 56 x 81 x 16 mm
(H x W x D)
ABOUT OREGON SCIENTIFIC
Visit our website (www.oregonscientific.com)
to learn more about other Oregon Scientific
products such as digital cameras, hand-held
organizers, health and fitness gear, and
projection clocks. The website also includes
contact information for our customer service
department, in case you need to reach us.
© 2004 Oregon Scientific. All rights reserved.
CAUTION
-The contents of this manual and
technical specifications are subject
to change without further notice.
-Due to printing limitations, graphics
shown in this manual may differ
from the actual product.
-The contents of this manual may not
be reproduced without the
permission of the manufacturer.
Position the outdoor sensor probe
away from direct sunlight and heavy
precipitation.
TABLE STAND OR WALL MOUNT
Stand:
Flip out the plastic stand on the rear of the
Themo Clock for table standing.
Stand the Thermo Clock on a flat surface.
Wall Mount:
Mount the Thermo Clock on a wall with a
screw (not included). For best results,
extend the screw head about 3.5 mm
(.15 inch) from the wall.
To achieve the most accurate
measurements, mount the Thermo-Clock
where air can flow freely around it.
MAINTENANCE
When handled properly, this unit is
engineered to give you years of
satisfactory service. Here are a few
product care instructions:
1. Do not immerse the unit in water. If the
unit comes in contact with water, dry it
immediately with a soft lint-free cloth.
2. Do not clean the unit with abrasive or
corrosive materials. Abrasive cleaning
agents may scratch the plastic parts
and corrode the electronic circuit.
3. Do not subject the unit to excessive:
force, shock, dust, temperature, or
humidity. Such treatment may result in
malfunction, a shorter electronic life
span, damaged batteries, or distorted
parts.
4. Do not tamper with the unit’s internal
components. Doing so will terminate
the unit’s warranty and may cause
damage. The unit contains no
userserviceable parts.
5. Only use new batteries as specified in
this instruction manual. Do not mix new
and old batteries as the old batteries
may leak.
6. Read this instruction manual thoroughly
before operating the unit.
SPECIFICATION
Operating
temperature -5°C to 50°C
(23°F to122°F)
Clock Accuracy ±0.5 second per day
Temperature
Measuring range -5°C to 50°C
(23°F to 122°F)
(Indoor) (unit: indoor
sensor)
Temperature
measuring range -50°C to 70°C
(-58°F to 158°F)
(Outdoor) (unit :
outdoor sensor)
Temperature
display resolution 0.1°C (0.2°F)
Temperature
sampling cycle 10 seconds
Power source Uses 1 piece
UM4 or “AAA” size
battery
NOTE
NOTE
P/N.: 086-001695-107
NAW881EXT lab test R1 1/9/04, 4:40 PM2
Black