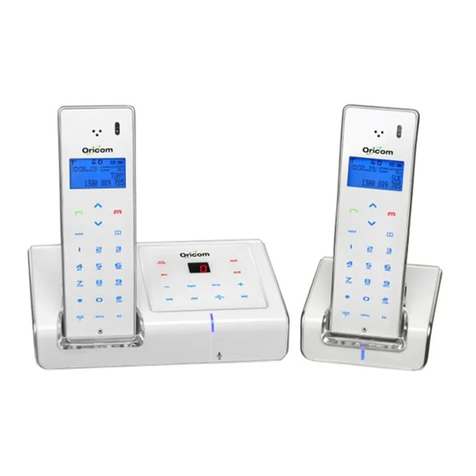
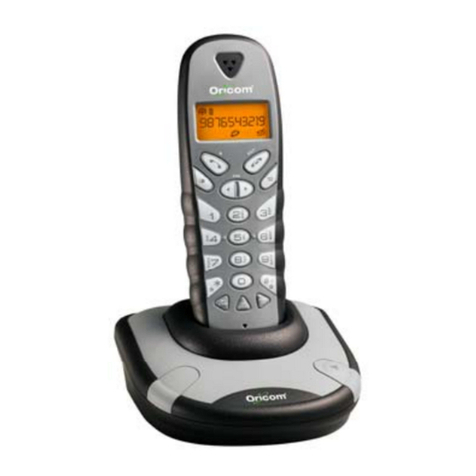
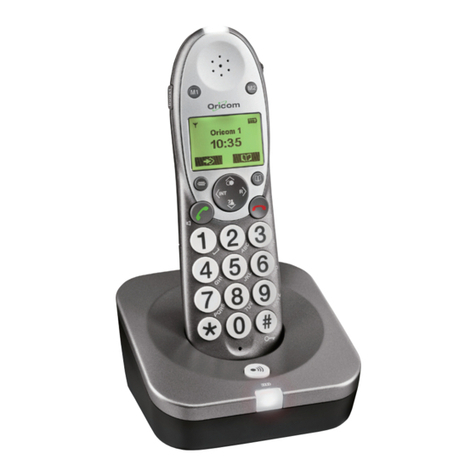
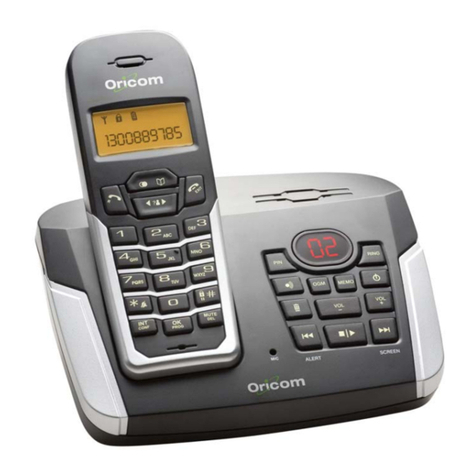
Oricom M800 Series User manual

USER GUIDE
Keep this user guide for future reference. Always retain your proof of purchase in case of
warranty service and register your product on line at: AUSTRALIA: www.oricom.com.au
Oricom DECT Digital
Cordless Telephone
with Answering System
M800 Series

TABLE OF CONTENTS
SAFETY INFORMATION 1
GETTING STARTED 3
PHONE FUNCTION KEYS 5
BATTERY CHARGING 9
SCREEN DISPLAY ICON 10
MENU TREE 11
TELEPHONE OPERATION 13
HANDSET AND BASE OPTIONS 17
PHONEBOOK 20
CALLER ID 22
CLOCK AND ALARM 23
DO NOT DISTURB 25
BLOCK LIST 26
ADVANCED SETTINGS 27
ANSWERING SYSTEM 29
TROUBNLESHOOTING GUIDE 35
CUSTOMER SUPPORT 37
WARRANTY 38

1
SAFETY INFORMATION
IMPORTANT
or liquid.
handset or base cabinet.
between the battery contacts and charging
conductors.
could be damaged by an electrical storm. It is
recommended that users unplug the phone
during a storm.
recycle those materials.
care medical equipment. Persons with
cardiologist before using this phone.
interference in the form of a humming noise.
Need Help?
If you need assistance setting up or using your
Support.
Australia 1300 889 785
www.oricom.com.au

2SAFETY INFORMATION
Tip!
It is good practice to put the cordless handset on the
charging cradle when it is not in use to ensure that
the handset is always fully charged.
Use recommended type supplied with this
product.
Released electrolyte is corrosive and can
could short out the batteries or cause the
conductor to overheat resulting in burns.
by heating it. Sudden release of battery
electrolyte can cause burns or irritation to
WARNING
!
placed too close. It is recommended that you
position the base unit at least one metre from
such appliances.
which point testing is required.
ensured when using this telephone.
near these items.
emergency telephone calls when the mains
power fails. Always have a corded phone
to emergency services if the mains power fails.
storm thunderstorm as it is possible to get an
in White pages directory.
3
GETTING STARTED
If you have a Broadband line
If you connect your telephone to a line with a
broadband conne ction, you must connect an in
line filter (not supplied) between the telephone
socket and your phone base to ensure that your
broadband and m800 will work properly.
If you do not install the filter you will experience
interference on the cordless phone and your
Broadband may suffer dropouts. Please refer to
the user guide of the in line filter for installation.
In a home with broadband, every telephone, fax
or answering system must have a in-line filter
connected, not just the one at the telephone point
that your modem is connected to.
Additional in-line filters can be purchased from
electronic stores.
Telephone base and charger
installation
1. Plug the smaller end of the power adaptor
telephone base.
3. Plug the other end of the telephone line into a
electrical outlet not controlled by a wall switch.
Parts Checklist
Oricom directly.
Single Twin
1 1
1
0 1
Power adaptors 1
Line cord 1 1
User guide 1 1

4GETTING STARTED
telephone base or charger. The light on the
handset is on when charging.
which is compatible with this unit.
CAUTION
!
of any battery. Reverse insertion of
use the product for several months at a time.
WARNING
!
Use only the power adaptor that came with this
if you need to order replacement for the power
adaptors.
CAUTION
!
Purchasing additional handsets
separately from the retailer where you purchased
www.oricom.com.au.
The M800 can accommodate a total of 5 cordless
handsets.
Battery installation
1. Remove the battery compartment cover.
3. Align the cover against the battery
compartment and slide it upwards until it

5
PHONE FUNCTIONS KEYS
Telephone base layout (TAM Version)

6
mode.
mode.
Message
window Message window
delete all old messages.
Repeat
message.
PHONE FUNCTIONS KEYS

7
Handset layout
PHONE FUNCTIONS KEYS

8
handset use.
Redial
Press and hold to add a dialling pause when dialling or entering
PHONE FUNCTIONS KEYS

9
Battery indicators Battery status Action
Keep the handset in the telephone base or charger when
not in use.
The handset is ready for use.
indicate a full charge even if the handset is only removed
from the telephone base or charger for a short time
and replaced. This is a normal operation and does not
indicate a battery issue.
the screen shows LOW
BATTERY.
Place the handset in the telephone base or charger
before use.
the handset is out of the
telephone base or charger.
Place the handset in the telephone base or charger
after charging.
Battery charging
BATTERY CHARGING

10
Item Meaning
Scrolls to indicate battery charging when handset is in the telephone
base or charger.
you have subscribed to voice mail service from your telephone service
Screen display icon
SCREEN DISPLAY ICON

PACK CONTENTS 11
Menu tree
Main Menu Sub-menu 1
MENU TREE

12
ALARM
MENU TREE

13
Telephone operation
Make a call
1. Press [ ].
tone.
Predial a call
press [ ] to erase the last digit entered.
].
Answer a call
Press [ ] to answer an incoming call.
End a call
Press [ ] or place the handset in the telephone base
or charger to end a call.
Speakerphone
[ ] to switch between
[ ].
Volume control
] to increase or [ ] to
decrease the volume.
Make a call using the redial memory
The last 10 telephone numbers previously dialled are
1. Press [ ].
[ ] to dial.
Note:
Note:
Note:
faster than the normal handset use.
TELEPHONE OPERATION

14
Save a number from the redial list to
the phonebook
1. [ ].
].
3. [ ].
press [ ].
].
Delete number from the redial list
1. [ ].
].
3. [ ]
to delete the selected number.
[
[
] to delete all numbers.
Mute
The mute function allows you to turn off the
party but the other party cannot hear you.
1. Press [ ] during a call.
] again to resume conversation.
Handset page
1. Press [ ] on the telephone base. All
registered handsets beep for one minute.
] on the telephone base or press [ ]
on any handset to stop paging.
Intercom (only applicable for models
with multiple handsets)
The system allows an intercom call between two
handsets registered to the same telephone base.
To initiate an intercom call
1. Press [ ].
If your telephone system has only two
automatically directed to the other system
handset.
If your telephone system has more than
Note:
is activated.
TELEPHONE OPERATION

15
] to answer the intercom call on the
other handset.
].
To answer an incoming call during intercom
incoming call during intercom.
Press [ ] to answer the incoming call and
end the intercom.
Press [ ] to answer the incoming call and
put the intercom on hold. Press and hold
[] to switch between intercom and the
incoming call.
Press and hold [ ] to conference with both
the incoming call and the intercom.
To initiate an intercom during a call
1. Press [ ] during a call.
If your telephone system has only two
automatically directed to the other system
handset.
If your telephone system has more than two
the handset number you want to intercom to
The call is placed on hold while the intercom
is established with the other handset.
] to answer the intercom on the
other handset.
options for this intercom call.
Press and hold [ ] to connect both handsets
to the call.
Press [ ] on the originating handset to
alternate between the intercom and the call.
Press [ ] on either handset to terminate
the intercom on that handset. The call will
continue on the other handset.
Notes:
is answered by pressing [ ] or [ ] on the
originating handset.
Note:
The intercom call can be cancelled before it is
answered by pressing [ ] on the originating
handset.
TELEPHONE OPERATION

16
Push to talk (PTT) (only applicable
for models with multiple handsets)
system.
To initiate a PTT
1. Press the PTT button on the right side of the
handset.
If your telephone system has only two
automatically directed to the other system
handset.
If your telephone system has more than two
handset. Press [ ] to select the handset
ALL to broadcast to all handsets and then
press [ ].
on the screen when the connection is set
between the initiating handset and the
destination handset.
handset to start the broadcast.
Note:
above operation again if you want to initiate a PTT
time out.
TELEPHONE OPERATION

17
Handset options
Ring volume
to level 5 or turn the ringer off.
1. [ ].
].
3. [ ].
5. [ ].
EXT. Ring Tone
1. [ ].
].
3. [ ].
].
INT. Ring Tone
1. [ ].
].
3. [ ].
]: select the ].
Keypad tone
The handset can be programmed to emit a tone
setting:
1. [ ].
]
3. [ ]
]
Handset Name
To change the handset name:
1. [ ].
]
3. [ ]
press [ ].
Note:
Press and hold the [ ]
between on and off when the handset is in
standby mode. The icon displays on the screen
when ringer off feature is activated
HANDSET AND BASE OPTIONS

18
Display language
To change the display language:
1. [ ].
]
3. [ ]
]: select t ]
Equalizer
This feature allows you to change the balance of the
audio of the handset to best suit your hearing.
1. [ ]
]
3. [ ]
5. [ ].
Energy save
This feature enables the handset to operate in
off.
1. [ ].
].
3. [ ].
].
Auto Hang-Up
This feature allows you to release the line
1. [ ].
].
3. [ ].
].
Note:
[ ] to erase the last digit entered.
Note:
icon
shows on the handset screen.
HANDSET AND BASE OPTIONS
Other manuals for M800 Series
1
Table of contents
Other Oricom Cordless Telephone manuals

Oricom
Oricom ECO3400 User manual

Oricom
Oricom eco5200 Series User manual

Oricom
Oricom M2400 Series User manual

Oricom
Oricom S209 User manual

Oricom
Oricom M800 Series User manual

Oricom
Oricom M5500 Series User manual

Oricom
Oricom DECT MI40 User manual

Oricom
Oricom M4000 User manual

Oricom
Oricom eco700 User manual

Oricom
Oricom ECO600 User manual

Oricom
Oricom P700 Series User manual

Oricom
Oricom P80 User manual

Oricom
Oricom M600 Series User manual

Oricom
Oricom BB100 User manual

Oricom
Oricom 8000 User manual

Oricom
Oricom M5000 User manual

Oricom
Oricom P900 Series User manual

Oricom
Oricom pro600 DECT User manual

Oricom
Oricom M500 User manual

Oricom
Oricom IP-7 User manual