manuals.online logo
Brands
  1. Home
  2. •
  3. Brands
  4. •
  5. OSD Audio
  6. •
  7. Speakers
  8. •
  9. OSD Audio ARCH-1 User manual

OSD Audio ARCH-1 User manual

OSD
AUDIO
R
Owner’s Manual
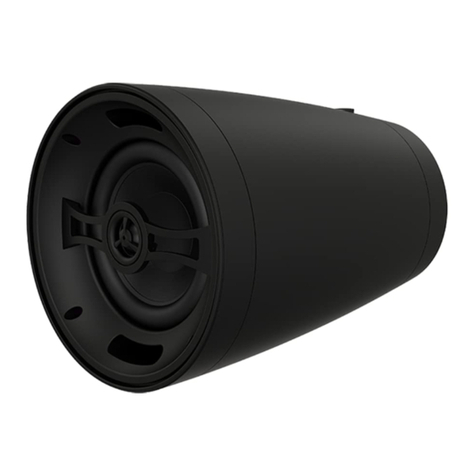
4” Multi-Purpose All
Weather Loudspeaker
1” Aluminum Tweeter
Dual 4” Polypropylene
4 - 8 Ohms
90dB 1W/1M
60Hz-20kHz
150 Watts
14 ¼” x 5 ⁄” x 10 ¼”
Each
10 Years
ARCH-1
Speaker Type:
Tweeter:
Woofer:
Impedance:
Sensitivity:
Frequency Response:
Power Handling::
Dimensions Satellite:
Unit of Measure:
Warranty:
Specification ARCH-1
RIGHT
FRONT
LEFT
FRONT
45
LEFT
REAR
RIGHT
REAR
LISTENING AREA
Diagram 2
SURROUND
RIGHT
FRONT
LEFT
FRONT
+ -
+ -
RIGHT
FRONT
LEFT
FRONT
LEFT
REAR
RIGHT
REAR
+ -
+ -
+ -
+ -
RIGHT
FRONT
LEFT
FRONT
45
LISTENING AREA
Diagram 1
SPEAKER CONNECTION
Left and Right Main Channel Speakers – For optimum
performance, place your speakers 6 to 15 feet (2 to 4.5m) apart
and at least 24 inches (60.8cm) from side walls. They may also
be toed-in slightly for better stereo imaging. The listening position
should be approximately 1 to 1.5 times the distance separating
the speakers. Refer to figures 1 and 2 for placement.
Rear Surround Channel Speakers – Rear surround speakers are
designed to recreate the sense of space and ambiance that many
of today’s surround sound technologies provide. ARCH-1 surround
speakers can be placed on the wall directly adjacent to or on the
wall behind the listening position using the foot as the mounting
bracket. Refer to Diagram 2 for placement.
CONNECTIONS
Conventional Connection – Using 16-gauge or larger speaker
wire, connect the RED “positive” (+) terminal of the LEFT
speaker to the RED “positive” (+) terminal of your amplifier’s
LEFT channel. Connect the BLACK “negative” (-) terminal of the
LEFT speaker to the BLACK “negative” (-) terminal of your
amplifier’s LEFT channel. Repeat this procedure for connecting
all remaining speakers to the appropriate amplifier
channels. Refer to Figure 3 and 4. Make sure no bare wires
from any of the connections touch any other bare wires or
terminals as this could cause a short and damage your
equipment.
Diagram 3 Diagram 4
The speakers have coded terminals that
accept a variety of wire connectors. The most
common connection is shown in the diagram
to the left. To ensure proper polarity, connect
each + terminal on the back of the amplifier
or receiver to the respective + (red) terminal
on each speaker, as shown. Connect the –
(black) terminals in a similar way. See the
owner’s guides that were included with your
amplifier, receiver and television to confirm
connection procedures.
+
+
Receiver or Amplifier
+
_
_+
FRONT SURROUNDFRONT
Appropriate
anchors
Mounting-Bracket
Mounting
Bracket
The mounting bracket is designed to trap the flange of the ARCH-1
speaker by securing the mounting-bracket cap with two screws
through the bottom of the mounting bracket. Rest the ARCH-1
speaker’s rear flange in the mounting bracket, as shown. This will
support the weight of the speaker. Slide the mounting-bracket cap
over the assembly. Secure the mounting-bracket cap by inserting
two screws (provided) in the bottom of the mounting bracket and
tightening.
Mounting Bracket
shown as looking
through the speaker.
WALL SURFACE-MOUNTING
WALL CORNER-MOUNTING
Appropriate
anchors
Top Cap
Mounting
Bracket
Mounting Bracket
shown as looking through
the speaker.
WALL/CEILING CORNER-MOUNTING
The customer is responsible for proper selection and use of mounting hardware (available through hardware
stores), to properly and safely wall-mount the speakers. The ARCH-1 speaker was designed to be easily
installed. However, if you are unable to clearly and fully understand and follow the instructions in this manual,
or if you are unsure of your ability to properly install these loudspeakers, please contact your dealer or a qualifi
ed installer. Please do not use any power tools during installation. Power tools can exert excessive and
unnecessary torque which, in turn, can damage fasteners or other parts and accessories, reducing their
strength and causing possible failure of the fastener or part. A failed or damaged fastener or part may not be
able to perform as designed, and may lead to an unsafe installation.
The mounting bracket is designed to trap the flange of the ARCH-1
speaker by securing the mounting-bracket cap with two screws
through the bottom of the mounting bracket. Rest the ARCH-1
speaker’s rear flange in the mounting bracket, as shown. This will
support the weight of the speaker. Slide the mounting-bracket cap
over the assembly. Secure the mounting-bracket cap by inserting
two screws (provided) in the bottom of the mounting bracket and
tightening.
Appropriate
anchors
Top Cap
Mounting
Bracket
Mounting Bracket
shown as looking
through the speaker.
OSD Audio • 775 Columbia St. • Brea • CA • 92821 • www.osdaudio.com • Tel (562) 697-2600
Other OSD Audio Speakers manuals

OSD Audio NERO Mini User manual

OSD Audio

OSD Audio NERO Mini User manual

OSD Audio BLACK Series User manual

OSD Audio

OSD Audio BLACK Series User manual

OSD Audio NERO Mini User manual

OSD Audio

OSD Audio NERO Mini User manual

OSD Audio ACE600ST User manual

OSD Audio

OSD Audio ACE600ST User manual

OSD Audio FORZA ECLIPSE 6 User manual

OSD Audio

OSD Audio FORZA ECLIPSE 6 User manual

OSD Audio FORZA 850T-LUM User manual

OSD Audio

OSD Audio FORZA 850T-LUM User manual

OSD Audio FORZA-4 User manual

OSD Audio

OSD Audio FORZA-4 User manual

OSD Audio ACE-500 User manual

OSD Audio

OSD Audio ACE-500 User manual

OSD Audio AP525 User manual

OSD Audio

OSD Audio AP525 User manual

OSD Audio BLACK EZ Series User manual

OSD Audio

OSD Audio BLACK EZ Series User manual

OSD Audio T69LCR User manual

OSD Audio

OSD Audio T69LCR User manual

OSD Audio ICE-620ST User manual

OSD Audio

OSD Audio ICE-620ST User manual

OSD Audio ICE630ST User manual

OSD Audio

OSD Audio ICE630ST User manual

OSD Audio AOS650 User manual

OSD Audio

OSD Audio AOS650 User manual

OSD Audio BTP-650 User manual

OSD Audio

OSD Audio BTP-650 User manual

OSD Audio NERO AB5 User manual

OSD Audio

OSD Audio NERO AB5 User manual

OSD Audio Black BK-R62A User manual

OSD Audio

OSD Audio Black BK-R62A User manual

OSD Audio BLACK Series User manual

OSD Audio

OSD Audio BLACK Series User manual

OSD Audio Rock RS850 User manual

OSD Audio

OSD Audio Rock RS850 User manual

OSD Audio NERO ARC 4SUB User manual

OSD Audio

OSD Audio NERO ARC 4SUB User manual

OSD Audio AP525 User manual

OSD Audio

OSD Audio AP525 User manual

OSD Audio NERO-MODQ2 User manual

OSD Audio

OSD Audio NERO-MODQ2 User manual

OSD Audio NERO-WRSKII User manual

OSD Audio

OSD Audio NERO-WRSKII User manual

OSD Audio P83 User manual

OSD Audio

OSD Audio P83 User manual

Popular Speakers manuals by other brands

Terra AC Classic Owners and installation manual

Terra

Terra AC Classic Owners and installation manual

Sony RDP-XA900iPN operating instructions

Sony

Sony RDP-XA900iPN operating instructions

Logitech LS11 quick start guide

Logitech

Logitech LS11 quick start guide

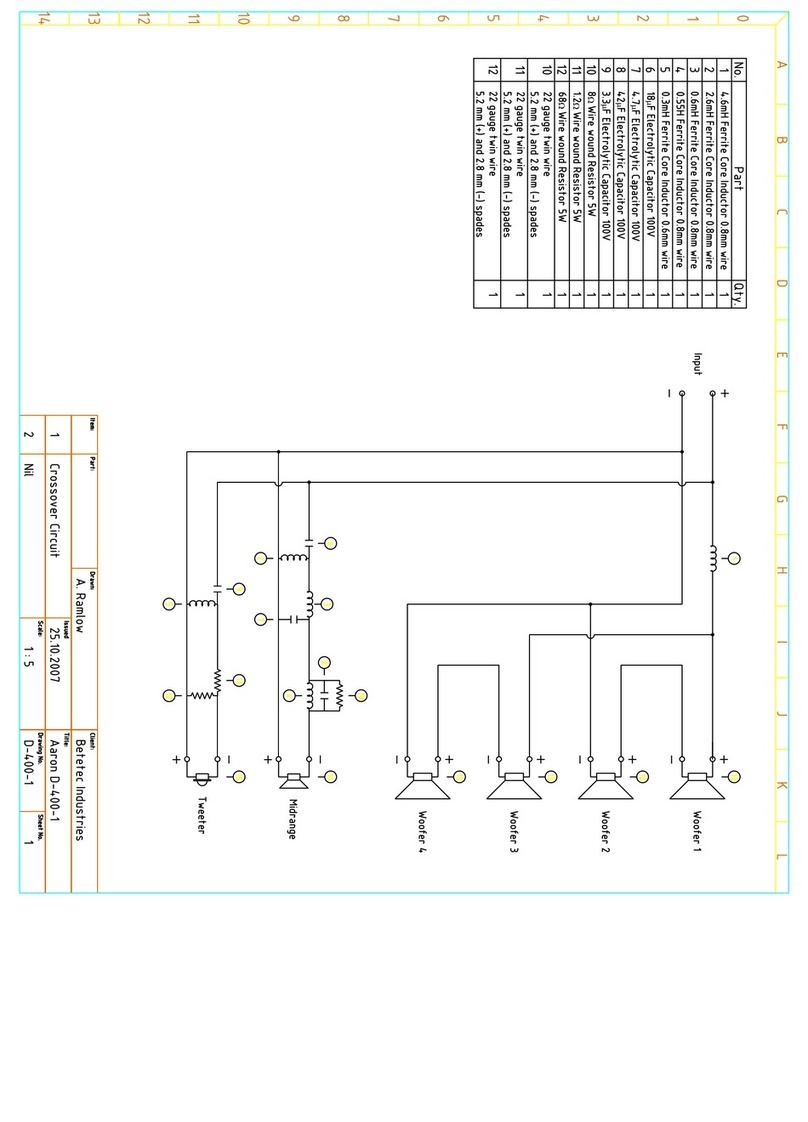
Aaron D-400 Diagram

Aaron

Aaron D-400 Diagram

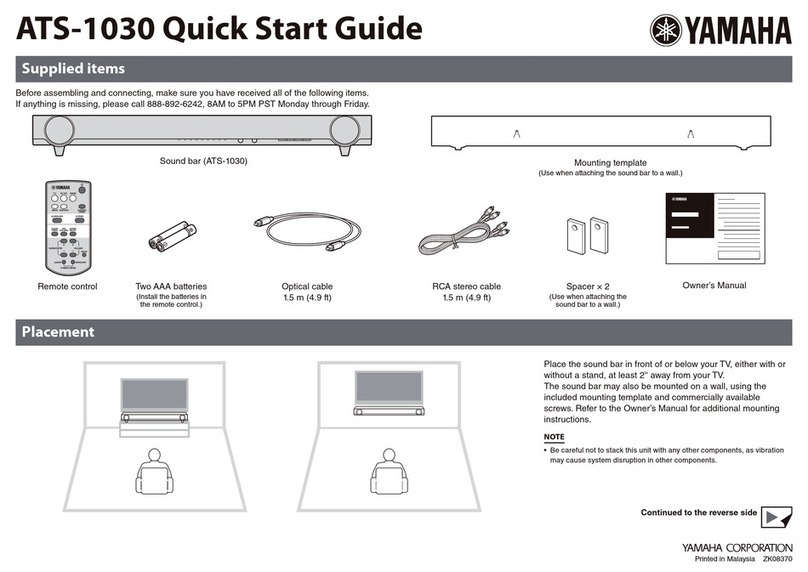
Yamaha ATS-1030 quick start guide

Yamaha

Yamaha ATS-1030 quick start guide

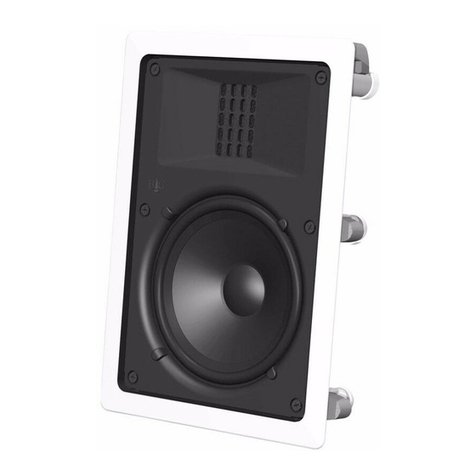
Snell OH-R7 owner's manual

Snell

Snell OH-R7 owner's manual

Alecto PAS-215A user manual

Alecto

Alecto PAS-215A user manual

Pioneer TS-171PRS instruction manual

Pioneer

Pioneer TS-171PRS instruction manual

anko 42949244 manual

anko

anko 42949244 manual

Bg RT-6 Specifications

Bg

Bg RT-6 Specifications

LD MAUI 44 G2 W user manual

LD

LD MAUI 44 G2 W user manual

i-onik MSC-220 manual

i-onik

i-onik MSC-220 manual

Unilux LALY manual

Unilux

Unilux LALY manual

Sprout Nomad Mi+ user manual

Sprout

Sprout Nomad Mi+ user manual

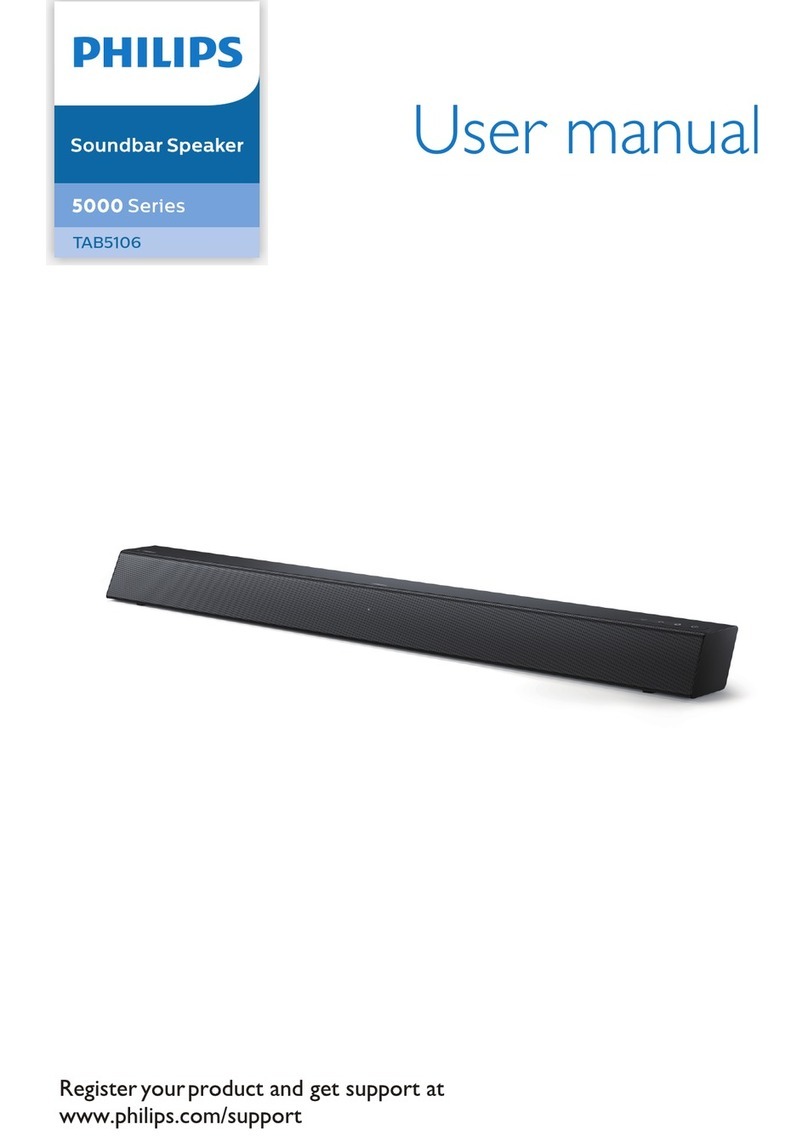
Philips TAB5106 user manual

Philips

Philips TAB5106 user manual

BOGASING M6 user manual

BOGASING

BOGASING M6 user manual

Engelholm audio Solo user manual

Engelholm audio

Engelholm audio Solo user manual

Aaron CC-240 brochure

Aaron

Aaron CC-240 brochure

manuals.online logo
manuals.online logoBrands
  • About & Mission
  • Contact us
  • Privacy Policy
  • Terms and Conditions

Copyright 2025 Manuals.Online. All Rights Reserved.