Instructions for use axillary crutches - EN
Intended use and indication
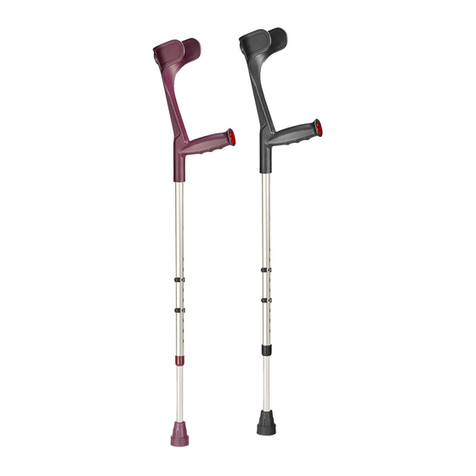
Our axillary crutches are designed for people with significant mobility impairment with impairment to movements, compromised balance with sufficiently intact
walking ability and impaired coordination. They are used to maintain, promote and stabilize walking or to partially or fully relieve the strain on the lower limbs.
The axillary crutches can be used both indoors and outdoors. It is imperative that the safety instructions are also observed!
Contraindication
The use of axillary crutches is unsuitable if there is a loss of limb in both arms or joint contractures/joint damage in both arms.
General safety instructions
Do not hang any bags, pouches or other objects on the axillary crutches! Axillary crutches may under no circumstances be used for any other purpose than that
for which they are intended, e.g. for lifting or moving objects or as a tool for switching light switches or pressing buttons on lifts! It is essential that the ground
has a good grip to ensure a secure hold of the axillary crutches! Avoid wet floors or surfaces such as gravel, sand, foliage, ice or snow! Pay attention to stumbling
points such as unevenness, holes in the floor, loose floor coverings or edges, because the axillary crutches can unexpectedly slip away or sink in! Extra caution is
recommended when lighting conditions are insufficient, since irregularities in the ground can then only be seen with difficulty! When adjusting the push-button,
it must protrude from the hole as far as it will go! The holes for adjusting the axillary crutches undergo a certain amount of wear. It is important to ensure that
they are not worn out, as this would prevent the push button from locking securely. Prior to each use, make sure that all screw connections are firmly tightened!
Adjusting the axillary crutches
Warning! Please contact your specialist dealer to ensure proper functional and ergonomic adjustment! Incorrectly
adjusted axillary crutches may restrict the functionality of the axillary crutches or lead to overloading or incorrect
loading of the patient! The axillary crutches are handed over to you as a patient in a proper condition, whereby
they are individually adjusted to your body by your specialist dealer or health care specialist. If you have any doubts
as to whether this is the case, please contact the responsible specialist personnel. The axillary crutches can only
offer you the relief you desire if it is optimally adapted to your body size.
Adjusting the handle position:
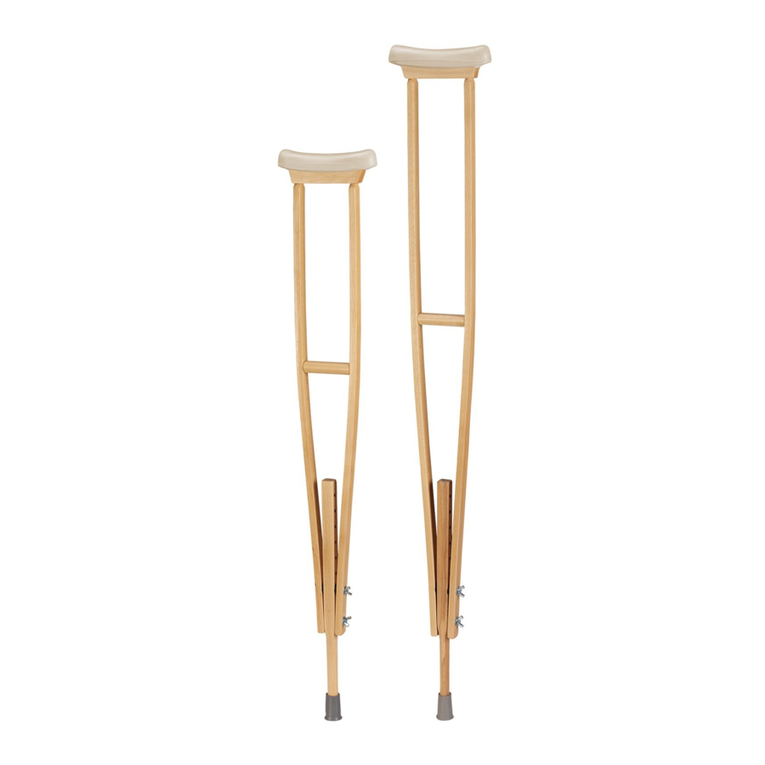
1. Remove the wing nut and bolt securing the handle to the crutch.
2. Align the handle with the desired set of adjustment holes.
3. Secure with wing nut and bolt.
4. Repeat for other crutch.
Adjusting the leg extension:
Depress both snap buttons on the leg extension and allow them to snap through the desired adjustment holes on the
crutch leg frame. Repeat for other crutch.
Caution: 1. Replace crutch tips if worn 2. Keep hand grip wing nut tightened
Use
When standing up straight: 1. The axillary supports should fit about 2 inches below your armpits. 2. Your weight should rest on your hands, not on the axillary
supports. 3. Use the bolts to adjust the length of the crutches and the height of the hand grips.
When walking: Weight should be on the crutches when moving your non-injured leg. Be sure to support your weight on your hands and not your armpits. Then,
follow this pattern:1. Lean on your non-injured. 2. Lean forward slightly, and move both crutches about a foot in front of you. 3. Begin your step as if you were
going to use the injured leg, but instead shift your weight to your crutches. 4. Finish the step with your non-injured. 5. Focus on where you want to go, not on your
feet.
Going up and down stairs: When going up the stairs, lead with your non-injured leg. When going down, lead with your injured leg. To go up or down, start close
to the stair and hold the handrail with one hand. In the other hand, hold both crutches: Use 1 crutch to support yourself. In the same hand as the supporting
crutch, hold the other crutch horizontally with your fingers.
To go up stairs: 1. Have someone walk behind you the first few times you climb the stairs. 2. Keep the crutch on the step you’re standing on. Then, step up with
your “good” leg. 3. Push down on the crutch, and step up with the “bad” leg. 4. When both feet are on the upper step, bring your crutch up.
To go down stairs: 1.Put your crutch on the lower step. 2. Bring your “bad” leg down. 3. Step down with your “good” leg.
If you don’t feel steady, you may have to sit on each step and move up or down on your bottom. This may not be your favorite way to get around, but it can help
you use the stairs safely and prevent a fall.
Precautionary measure
The use of an axillary crutch results is an unusually strong load for individual parts of the body! This can lead to the following undesirable side effects: Pressure or
chafing points may occur on the hands, arm or clothing! If you use two walking aids, carry the whole body weight with the hands and the shoulders! Note that this
can lead to pain and overexertion at the beginning or with longer load! Take sufficient breaks!
Storage and care
Never store the axillary crutches in the vicinity of heat sources such as furnaces, heaters or in places susceptible to heat in a car! Do not expose axillary crutches
to sunlight for prolonged periods of time! Strong sun or heat damages the plastic! Protect your axillary crutches from toppling over and from damage to the
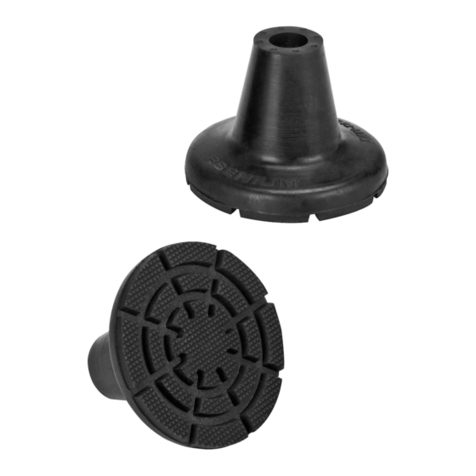
paintwork (e.g. by using straps or holders). The rubber buffer is a wearing part and must be replaced at regular intervals. Axillary crutches must only be used
again after an extended period of non-use following prior inspection by qualified personnel!
Warning! Never clean handles and rubber caps using oily substances! There is a risk of slipping! In the event of contamination, clean the axillary crutches using a
mild cleaning agent and a soft cloth where necessary.
Never use cleaners containing solvents, since these will damage the plastic! Note: Should disinfection be required, then a suitable disinfectant agent should be
used. Please follow the manufacturer‘s instructions for use.


