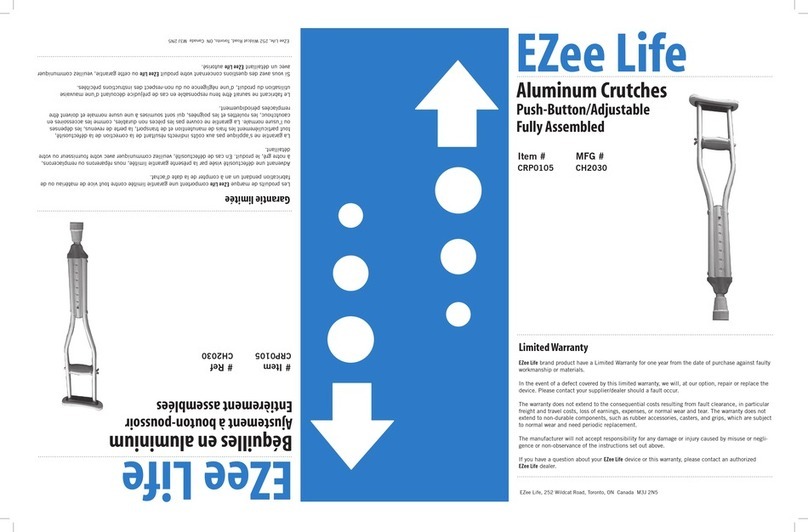
Ossenberg KLASSIKER User manual

Walking Aid Instruc ons for Use - EN
Intended use and indica on
Our walking aids are designed for people with signifi cant mobility impairment with impairment to movements, compromised balance with suffi ciently intact walking ability and impaired
coordina on. They are used to maintain, promote and stabilise walking or to par ally or fully relieve the strain on the lower limbs. The walking aids can be used both indoors and outdoors. It is impera ve
that the safety instruc ons are also observed!
Contraindica on
The use of walking aids is unsuitable if there is a loss of limb in both arms or joint contractures/joint damage in both arms.
General safety informa on
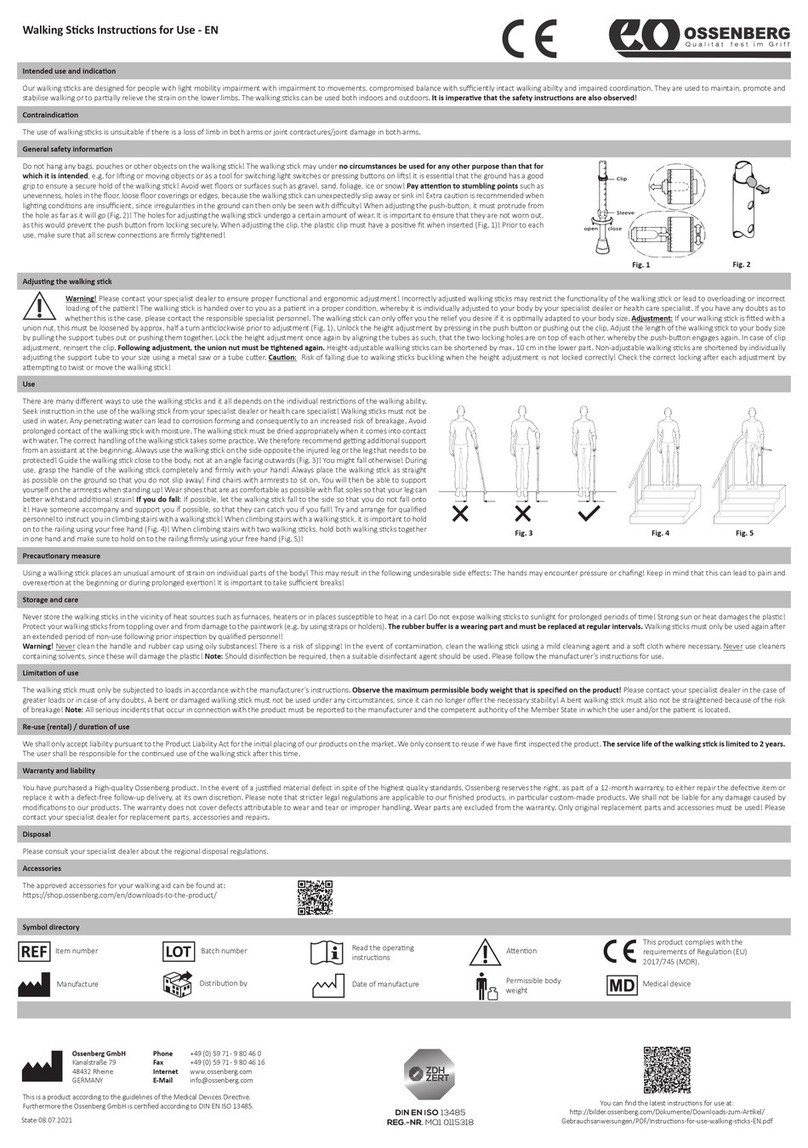
Do not hang any bags, pouches or other objects on the walking aid! Walking aids may under no circumstances be used for any other purpose than
that for which they are intended, e.g. for li ing or moving objects or as a tool for switching light switches or pressing bu ons on li s! It is essen al
that the ground has a good grip to ensure a secure hold of the walking aids! Avoid wet fl oors or surfaces such as gravel, sand, foliage, ice or snow!
Pay a en on to stumbling points such as unevenness, holes in the fl oor, loose fl oor coverings or edges, because the walking aid can unexpectedly
slip away or sink in! Extra cau on is recommended when ligh ng condi ons are insuffi cient, since irregulari es in the ground can then only be seen
with diffi culty! When adjus ng the push-bu on, it must protrude from the hole as far as it will go (Fig. 2)! The holes for adjus ng the walking aid
undergo a certain amount of wear. It is important to ensure that they are not worn out, as this would prevent the push bu on from locking securely.
When adjus ng the clip, the plas c clip must have a posi ve fi t when inserted (Fig. 1)! Prior to each use, make sure that all screw connec ons are
fi rmly ghtened! If forearm-supported walking aids are used with the arm clip closed, it must be ensured that the arm clip is not pressed down
uninten onally; otherwise there is a risk of pinching or bruising the skin or fi ngers.
Adjus ng the walking aid
Warning! Please contact your specialist dealer to ensure proper func onal and ergonomic adjustment! Incorrectly adjusted walking aids may restrict the func onality of the walking
aid or lead to overloading or incorrect loading of the pa ent! The walking aids are handed over to you as a pa ent in a proper condi on, whereby they are individually adjusted to
your body by your specialist dealer or health care specialist. If you have any doubts as to whether this is the case, please contact the responsible specialist personnel. The walking aid can
only off er you the relief you desire if it is op mally adapted to your body size. Adjustment: If your walking aid is fi ed with a union nut, this must be loosened by approx. half a turn an clockwise prior to
adjustment (Fig. 1). Unlock the height adjustment by pressing in the push bu on or pushing out the clip. Adjust the length of the supports to your body size by pulling the support tubes out or pushing
them together. Lock the height adjustment once again by aligning the tubes as such, that the two locking holes are on top of each other, whereby the push-bu on engages again. In case of clip adjustment,
reinsert the clip. Following adjustment, the union nut must be ghtened again. Height-adjustable walking aids can be shortened by max. 10 cm in the lower part. Non-adjustable walking aids are
shortened by individually adjus ng the support tube to your size using a metal saw or a tube cu er. Cau on: Risk of falling due to walking aids buckling when the height adjustment is not locked correctly!
Check the correct locking a er each adjustment by a emp ng to twist or move the support! It is possible to adjust the anatomical hard handle axially. Proceed as follows to adjust: 1. Push refl ectors out
of the front handle. 2. Loosen the sleeve screw with six to eight turns. 3. Pull the handle forward and adjust it. 4. Tighten the sleeve screw again and reinsert the refl ector. You can use a standard hexagonal
spanner for this.
Use
There are many diff erent ways to use the walking aids and it all depends on the individual restric ons of
the walking ability. Seek instruc on in the use of the walking aids from your specialist dealer or health
care specialist! Walking aids must not be used in water. Any penetra ng water can lead to corrosion
forming and consequently to an increased risk of breakage. Avoid prolonged contact of the walking
aids with moisture. The walking aids must be dried appropriately when they come into contact with
water. The correct handling of the walking aids takes some prac ce. We therefore recommend ge ng
addi onal support from an assistant at the beginning. We recommend using walking aids in pairs when
you require support on both sides! However, only one support should be used in general prac ce, and
then always on the side opposite the injured leg or the leg that needs to be protected! Guide the walking
aids close to the body, not at an angle facing outwards (Fig. 3)! You might fall otherwise! During use,
grasp the handle(s) of the walking aid(s) completely and fi rmly with your hand! Always place the walking
aids as straight as possible on the ground so that you do not slip away! Find chairs with armrests to
sit on. You will then be able to support yourself on the armrests when standing up! Wear shoes that
are as comfortable as possible with fl at soles so that your leg can be er withstand addi onal strain! If
you do fall: if possible, let the walking aid fall to the side so that you do not fall onto it! Have someone
accompany and support you if possible, so that they can catch you if you fall! Try and arrange for qualifi ed
personnel to instruct you in climbing stairs with a walking aid! When climbing stairs with only one walking
aid, it is important to hold on to the railing using your free hand (Fig. 4)! When climbing stairs with two
walking aids, hold both walking aids together in one hand and make sure to hold on to the railing fi rmly
using your free hand (Fig. 5)!
Precau onary measure
Using a walking aid places an unusual amount of strain on individual parts of the body! This may result in the following undesirable side eff ects: The hands, arms or items of clothing may
encounter pressure or chafi ng! We recommend the use of grip and bracket pads as preven ve measures. When using two walking aids, make sure that you bear the en re body weight with your arms and
shoulders! Keep in mind that this can lead to pain and overexer on at the beginning or during prolonged exer on! It is important to take suffi cient breaks!
Storage and care
Never store the walking aids in the vicinity of heat sources such as furnaces, heaters or in places suscep ble to heat in a car! Do not expose walking aids to sunlight for prolonged periods of me! Strong sun
or heat damages the plas c! Protect your walking aids from toppling over and from damage to the paintwork (e.g. by using straps or holders). The rubber buff er is a wearing part and must be replaced
at regular intervals. Walking aids must only be used again a er an extended period of non-use following prior inspec on by qualifi ed personnel! Warning! Never clean handles and rubber caps using oily
substances! There is a risk of slipping! In the event of contamina on, clean the walking aids using a mild cleaning agent and a so cloth where necessary. Never use cleaners containing solvents, since these
will damage the plas c! Note: Should disinfec on be required, then a suitable disinfectant agent should be used. Please follow the manufacturer‘s instruc ons for use.
Limita on of use
The walking aid must only be subjected to loads in accordance with the manufacturer‘s instruc ons. Observe the maximum permissible body weight that is specifi ed on the product! Please contact your
specialist dealer in the case of greater loads or in case of any doubts. Bent or damaged walking aids must not be used under any circumstances, since they can no longer off er the necessary stability! Bent
walking aids must also not be straightened because of the risk of breakage! Note: All serious incidents that occur in connec on with the product must be reported to the manufacturer and the competent
authority of the Member State in which the user and/or the pa ent is located.
Re-use (rental) / dura on of use
We shall only accept liability pursuant to the Product Liability Act for the ini al placing of our products on the market. We only consent to reuse if we have fi rst inspected the product. The service life of the
forearm-supported walking aids is limited to 2 years. The user shall be responsible for the con nued use of the forearm-supported walking aids a er this me.
Warranty and liability
You have purchased a high-quality Ossenberg product. In the event of a jus fi ed material defect in spite of the highest quality standards, Ossenberg reserves the right, as part of a 12-month warranty, to
either repair the defec ve item or replace it with a defect-free follow-up delivery, at its own discre on. Please note that stricter legal regula ons are applicable to our fi nished products, in par cular custom-
made products. We shall not be liable for any damage caused by modifi ca ons to our products. The warranty does not cover defects a ributable to wear and tear or improper handling. Wear parts are
excluded from the warranty. Only original replacement parts and accessories must be used! Please contact your specialist dealer for replacement parts, accessories and repairs.
Disposal
Please consult your specialist dealer about the regional disposal regula ons.
Fig. 1 Fig. 2
Fig. 3 Fig. 4 Fig. 5

Technical data Replacement parts
Accessories
The approved accessories for your walking aid can be found at:
h ps://shop.ossenberg.com/en/downloads-to-the-product/
Symbol directory
A
A1
Push bu on Clip unadjustable
D
B
C
Item number
Manufacture
Batch number
Date of manufacture
Read the opera ng
instruc ons
Permissible body
weight
A en on This product complies with the
requirements of Regula on (EU)
2017/745 (MDR).
Ossenberg GmbH
Kanalstraße 79
48432 Rheine
GERMANY
Phone
Fax
Internet
E-Mail
+49 (0) 59 71 - 9 80 46 0
+49 (0) 59 71 - 9 80 46 16
www.ossenberg.com
info@ossenberg.com
This is a product according to the guidelines of the Medical Devices Direc ve.
Furthermore the Ossenberg GmbH is cer fi ed according to DIN EN ISO 13485.
You can fi nd the latest instruc ons for use at:
h p://bilder.ossenberg.com/Dokumente/
Downloads-zum-Ar kel/Gebrauchsanweisungen/PDF/Instruc ons-for-
use-forearm-crutches-EN.pdf
State 05.07.2021
A B C D
220 KLASSIKER A1 / A2 23 cm 76 cm - 96 cm 16 mm 140 kg
2201 KLASSIKER
unadjustable A3 23 cm 103 cm 19 mm 140 kg
220ST KLASSIKER with
shock absorber A2 23 cm 76 cm - 81 cm 16 mm 140 kg
220Carbon KLASSIKER
Carbon A1 23 cm 76 cm - 96 cm 18 mm 140 kg
230 BIG XXL A1 23 cm 84 cm - 104 cm 19 mm 150 kg
230UE BIG XXL
extra long A1 23 cm 88 cm - 108 cm 19 mm 150 kg
2301 BIG XXL
unadjustable A3 23 cm 103 cm 22 mm 150 kg
241 KIDDY A1 / A2 19,5 cm - 24,5 cm 57 cm - 75 cm 16 mm 100 kg
3311 GOLIAT A3 24 cm 105 cm 22 mm 180 kg
3311UE GOLIAT
extra long A3 27 cm 120 cm 22 mm 180 kg
320 JUNIOR A1 / A2 21 cm - 26 cm 70 cm - 90 cm 16 mm 100 kg
332 / 332E BIG XL A2 22,5 cm - 27,5 cm 73 cm - 103 cm 19 mm 150 kg
332UE / 332EUE BIG XL
extra long A2 22,5 cm - 27,5 cm 78 cm - 108 cm 19 mm 150 kg
332ST BIG XL
shock absorber A2 22,5 cm - 27,5 cm 76 cm - 91 cm 19 mm 150 kg
521 / 521E EASY A1 / A2 23 cm 73 cm - 94 cm 16 mm 130 kg
5211 EASY
unadjustable A3 24 cm 105 cm 19 mm 130 kg
Art. 13120 Art. 15227 Art. 716
- Art. 15227 Art. 719
Art. 13120 Art. 15227 Art. 716
- Art. 15227 Art. 929P
- Art. 15227 Art. 719
- Art. 15227 Art. 719
- Art. 15227 Art. 723
Art. 13120 Art. 15227 Art. 716
- Art. 15227 Art. 723
- Art. 15227 Art. 723
Art. 13120 Art. 15227 Art. 716
Art. 13123 Art. 15227 Art. 719
Art. 13123 Art. 15227 Art. 719
Art. 13123 Art. 15227 Art. 719
Art. 13120 Art. 15227 Art. 716
- Art. 15227 Art. 719
Distribu on by Medical device
A2 A3
This manual suits for next models
34
Other Ossenberg Mobility Aid manuals
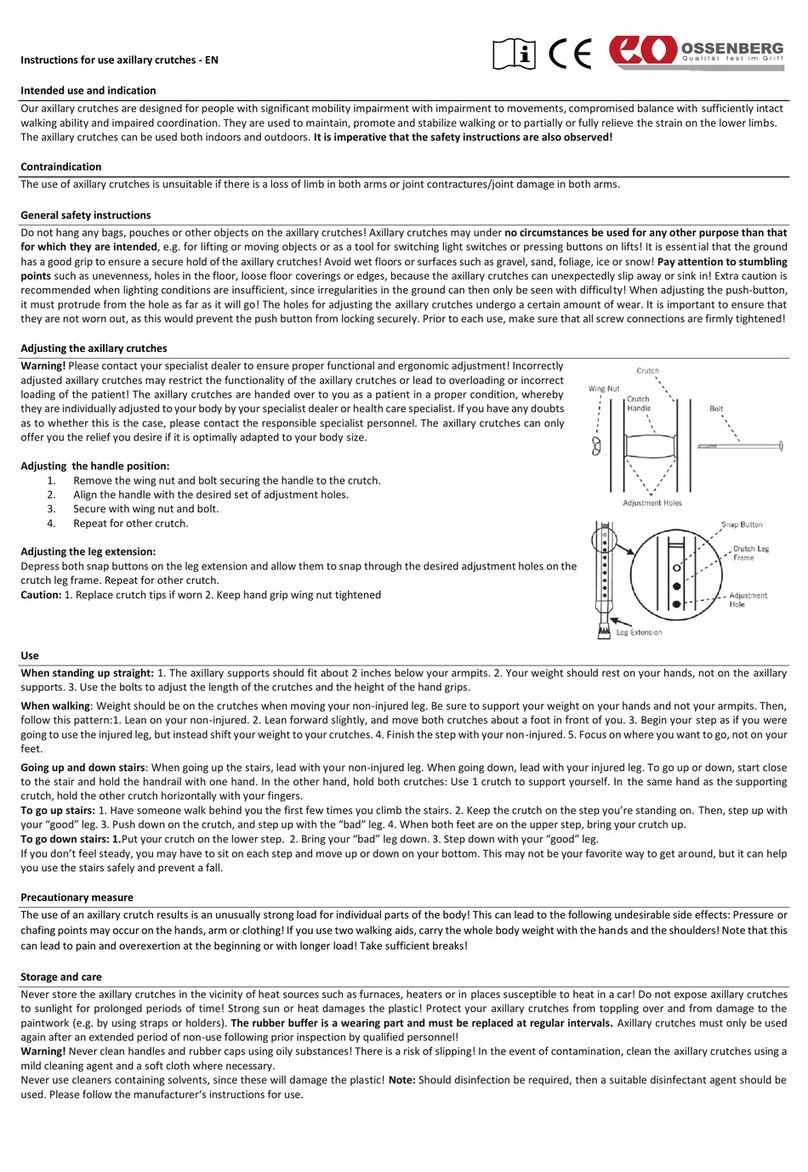
Ossenberg
Ossenberg 12G User manual
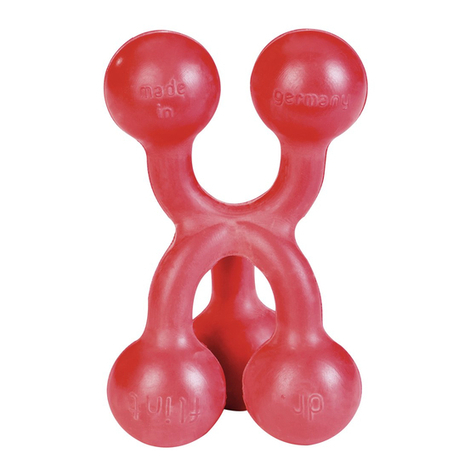
Ossenberg
Ossenberg Gnubbel User manual
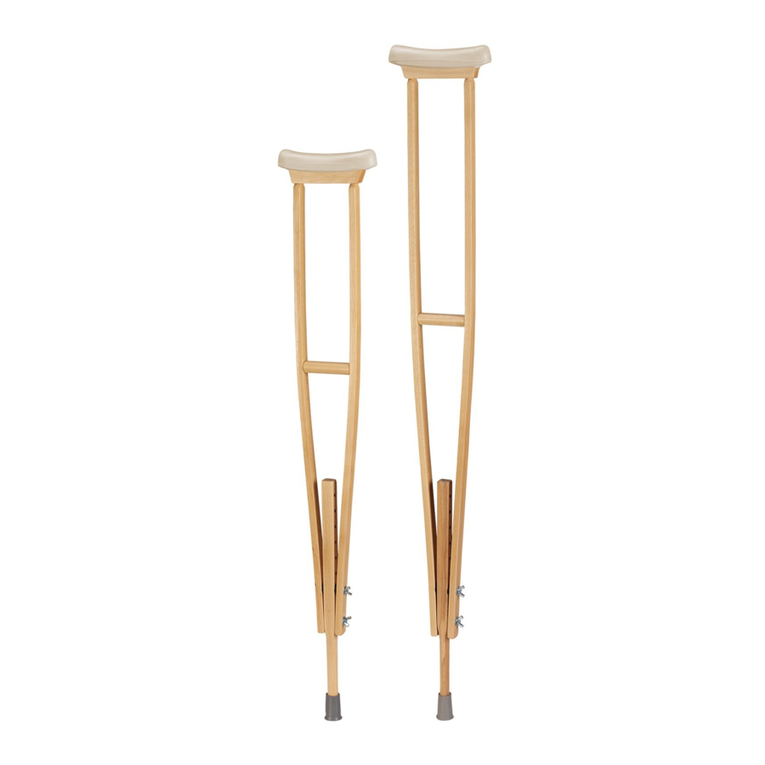
Ossenberg
Ossenberg 15K User manual

Ossenberg
Ossenberg 2036 User manual

Ossenberg
Ossenberg 3200 User manual
Ossenberg
Ossenberg 500 User manual
Ossenberg
Ossenberg 172 User manual

Ossenberg
Ossenberg 937P User manual
Ossenberg
Ossenberg 940P User manual
Ossenberg
Ossenberg 717 User manual
