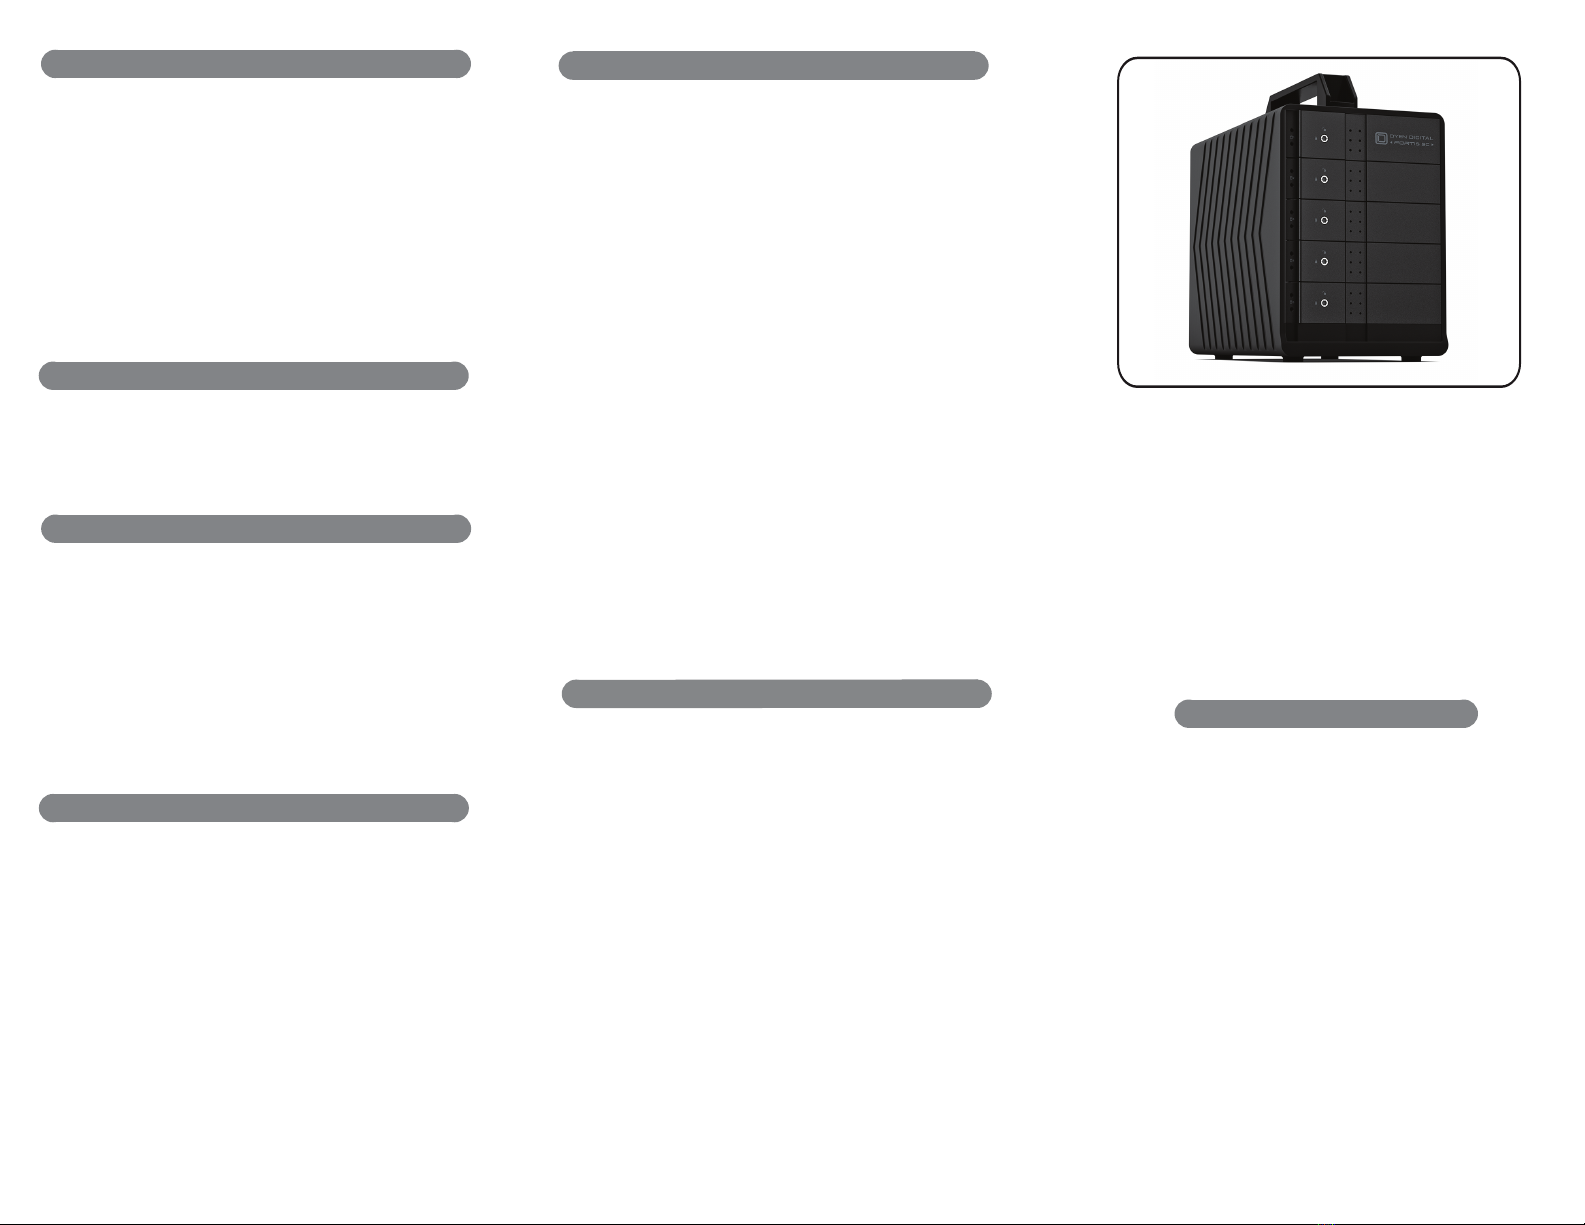
manuals.online logo
Brands
  1. Home
  2. •
  3. Brands
  4. •
  5. OYEN DIGITAL
  6. •
  7. Storage
  8. •
  9. OYEN DIGITAL Fortis 5C User manual

OYEN DIGITAL Fortis 5C User manual

Fortis 5C
User Guide
(9) Warranty Information
This product includes a three (3) year repair/replacement warranty
provided by Oyen Digital. This warranty is non-transferable and is
limited to the original purchaser. Note: The warranty is 3 years if the
Mobius is purchased with hard drives installed by Oyen Digital.
Warranty service may be requested by completing the form at the
following link: www.oyendigital.com/rma-request-form.html
For our complete warranty policy, visit:
www.oyendigital.com/warranty.html
(10) Troubleshooting and FAQ
1) Is the Fortis 5C compatible with Thunderbolt 2 using a
Thunderbolt 3 adapter?
No, the Fortis 5C is not compatible with Thunderbolt 2 using an
adapter of any make or model.
3) I do not see the hard drives.
Connect the Fortis directly to a port on the computer and bypass
any hubs, docks, or adapters. Also, make sure the drives are formatted.
See section 6.
4) Can I congure a RAID using the Fortis 5C?
The Fortis 5C is not a hardware RAID system, however a RAID may
be created using a software RAID application such as Disk Utility (Mac),
Storage Spaces (Win), or SoftRAID.
5) Are the trays interchangeable?
All trays are interchangeable except for tray 1, which will only t into
the top slot.
For other questions please contact tech support or visit the FAQ
section of our Web site (www.oyendigital.com/support).
Technical Support: [email protected]
(6) Formatting
Table of Contents
1 Specications
2 Detailed View
3 Installing Hard Drives
4 Connecting to a Computer
5 Door Lock
6 Formatting
7 Sleep
8 Ejecting the Drives
9 Warranty Information
10 Troubleshooting and FAQ
11 Safety and Compliance
(7) Sleep
To prevent potential data corruption, it is important to properly eject
the storage volume(s).
Mac: Close all windows and applications that are accessing the
drive. Drag the drive icon to the Trash/Eject icon to dismount it.
The activity LED will cycle on/o and the HDD will spin down.
Windows: Close all applications that are accessing the drive.
Click the “Eject Hardware” (Safely Remove) icon in the system tray
and select the drive. The activity LED will cycle o and the drive will
spin down.
(8) Ejecting the Drives
I
f there is no HDD activity, the computer may put the Fortis to
sleep
(LEDs o, HDDs spin down) depending on the energy saver
settings of the computer. The Fortis will wake up when accessed.
Location and placing precautions
• Avoid positioning it in locations with direct sunlight or other sources
of heat with high temperatures (over 120° F).
• Do not expose the product to water or humid conditions.
• Do not move the device while it is powered on.
• Do not operate the device in any position other than the upright position.
• To allow proper ventilation, do not block or disable the fan.
Electricity and power adapter
When removing the power cable from the socket, always pull on the
plug xture and never on the cable.
(11) Safety and Compliance
For more information, visit our website at www.oyendigital.com
or contact us at 1-866-768-0659.
If installing new drives, the volumes must be formatted before
they are accessible.
To format using MAC OS:
http://oyendigital.com/mac-reformat
To format using Windows:
http://oyendigital.com/windows-reformat
Note: If you purchased the Fortis with SoftRAID, do not use
the methods above. Instead, use SoftRAID to initialize and
create the volume. For video instructions, visit:
https://tinyurl.com/oyen-softraid
(3) Installing Hard Drives (Enclosure Version)
Installing: Place a drive into a tray and slide onto the SATA connector.
Attach the drive to the tray using the included mounting screws.
8.3 x 4.9 x 6.8 inches
Windows, Mac, Linux
(1) Specications
2.5” or 3.5” SATA HDD/SSD
Supported Drives
Dimensions
Includes: Fortis 5C, power supply, USB-C & USC-A cable,
screw pack (3.5” & 2.5”), key set
LEDs:
(2) Detailed View
Activity LED (top) - Blinking blue
Both LEDs - Off
Condition LED
HDD Sleep
Read/Write activity
Powered & Data Link Established Power LED (bottom) - Solid white
1 x USB-C Port
Locking: Use the included key to lock the door if desired. It is
recommended to always lock the doors when transporting the unit.
Bottom Tray View:
3.5-inch mounting holes (may vary based on drive model)
2.5-inch mounting holes (3 holes total)
1. Connect the power adapter to the DC-IN input on the Fortis.
2. Connect the USB-C cable to the port on the Fortis.
3. Connect the other end of the cable to the computer.
4. Turn on the power switch.
5. The Fortis powers up and the drives will mount to your computer if
formatted.
(4) Connecting to a Computer
(5) Door Lock
AB
To insert or remove the tray: Slide the door latch (A) to the left to
release the door lever (B). Gently slide the tray in or out of the bay.
Note: The door lever (B) must be open when removing or inserting
the drive tray.
1
2
3
1. Door Lock
2. Drive Trays
3. Power LED (bottom)
Activity LED (top)
6785
4
7
12V / 13A
4. Fan
5. On/Off Switch
6. 12V/13A Power Input
7. USB-C Port
8. Fan selector (Auto=35C
activates fan, ON=24/7)

Other OYEN DIGITAL Storage manuals

OYEN DIGITAL HDX Pro C User manual

OYEN DIGITAL

OYEN DIGITAL HDX Pro C User manual

OYEN DIGITAL Mobius Pro 2C User manual

OYEN DIGITAL

OYEN DIGITAL Mobius Pro 2C User manual

OYEN DIGITAL MiniPro Dura RAID User manual

OYEN DIGITAL

OYEN DIGITAL MiniPro Dura RAID User manual

OYEN DIGITAL Dash Pro User manual

OYEN DIGITAL

OYEN DIGITAL Dash Pro User manual

OYEN DIGITAL Fortis 5C User manual

OYEN DIGITAL

OYEN DIGITAL Fortis 5C User manual

OYEN DIGITAL U32 Shadow User manual

OYEN DIGITAL

OYEN DIGITAL U32 Shadow User manual

OYEN DIGITAL U32 Shadow User manual

OYEN DIGITAL

OYEN DIGITAL U32 Shadow User manual

OYEN DIGITAL Helix Dura User manual

OYEN DIGITAL

OYEN DIGITAL Helix Dura User manual

OYEN DIGITAL Mobius Pro User manual

OYEN DIGITAL

OYEN DIGITAL Mobius Pro User manual

OYEN DIGITAL Mobius User manual

OYEN DIGITAL

OYEN DIGITAL Mobius User manual

Popular Storage manuals by other brands

SanDisk PROFESSIONAL G-RAID SHUTTLE 4 user manual

SanDisk

SanDisk PROFESSIONAL G-RAID SHUTTLE 4 user manual

HP StorageWorks 2012i user guide

HP

HP StorageWorks 2012i user guide

HP NetStorage 6000 Management guide

HP

HP NetStorage 6000 Management guide

Adata SD620 quick start guide

Adata

Adata SD620 quick start guide

Seville Classics UltraHD UltraGuard 16234 Assembly instructions

Seville Classics

Seville Classics UltraHD UltraGuard 16234 Assembly instructions

LaCie 300817 Specifications

LaCie

LaCie 300817 Specifications

Panasonic WJHDE300 - DIGITAL DISK RECORDER Service manual

Panasonic

Panasonic WJHDE300 - DIGITAL DISK RECORDER Service manual

ioSafe SoloPRO USB 3.0 user manual

ioSafe

ioSafe SoloPRO USB 3.0 user manual

Samsung MU-PS1T0B User manual and warranty statement

Samsung

Samsung MU-PS1T0B User manual and warranty statement

Seagate DDS installation manual

Seagate

Seagate DDS installation manual

Siemens Gigaset USB Stick 108 manual

Siemens

Siemens Gigaset USB Stick 108 manual

Digital Foci MCG-120 user guide

Digital Foci

Digital Foci MCG-120 user guide

Lindy 20689 user manual

Lindy

Lindy 20689 user manual

morse 400A-72SS-124 Operator's manual

morse

morse 400A-72SS-124 Operator's manual

HP 3PAR StoreServ 7200 2-node Administrator's manual

HP

HP 3PAR StoreServ 7200 2-node Administrator's manual

Nexsan UNITY224X quick start guide

Nexsan

Nexsan UNITY224X quick start guide

Sony CDL1100 Service manual

Sony

Sony CDL1100 Service manual

NETGEAR RND2110v2 Hardware manual

NETGEAR

NETGEAR RND2110v2 Hardware manual

manuals.online logo
manuals.online logoBrands
  • About & Mission
  • Contact us
  • Privacy Policy
  • Terms and Conditions

Copyright 2025 Manuals.Online. All Rights Reserved.