8
These instructions and suggestions are intended to familiarise new operators in
overall general operation of polishing. You will develop your own techniques which
will make the job easier and faster as you learn power polishing.
You should use utmost care when polishing around or over sharp objects and
contours of the car body. It is very important to use the correct pressure while
polishing various sections of an automobile body. For example, light pressure
should be applied when polishing over sharp edges of body panels, or over edges
of the rain gutter along the top.
Since everyone does not use the same type of polish, we recommend you clean
and polish a test section on a flat area of the car first. From this test section you
can judge the strength or cleaning action of your polish.
Remember, all polish is not the same. Different brands will react differently on
various painted surfaces. Also, you are now using a power polisher with a polish.
This is entirely different from any hand application which you may have done
before. Wash the car before polishing it. Washing will remove loose dirt, scum,
road salt, etc. which could also act as an abrasive and damage paint. Loose dirt,
etc. will also clog the polishing pad and you will have to clean it more often.
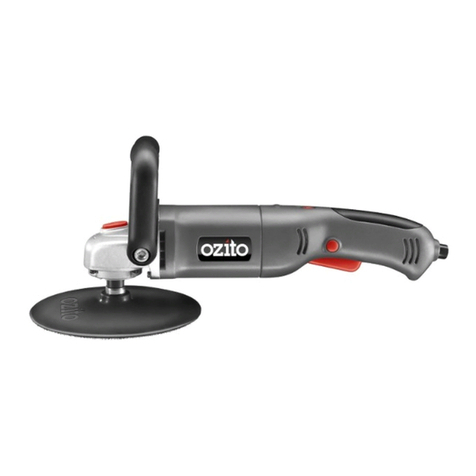
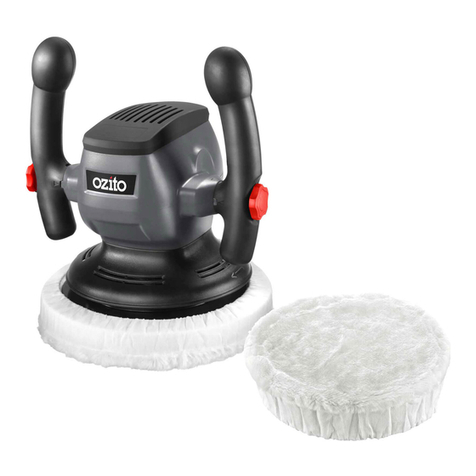
Without turning the tool on, grasp the handles of the tool and pick it up. Keep the
tool away from your body and turn the switch on. Make sure you have a firm grip
on the handles and operate the tool freely without forced effort or unnecessary
pressure. The side handle can be easily changed to either side of the tool for left-
handed or right-handed operation.
NOTE: The high speed rubbing action of the polishing bonnet upon the surface
of an automobile can build a static charge on the metal portions of this tool.
This can result in a sensation of a very short mild electric shock when the metal
area of the tool is touched, and will be more noticeable on days when the humidity
is low. This is a harmless phenomenon but you are invited to bring the tool to an
Ozito Repair Centre where it can be checked to assure that no electrical
malfunction is present.
Attaching and Removing Abrasive Discs
TURN OFF TOOL AND DISCONNECT FROM POWER SUPPLY.
To attach the sanding pad, first screw the sanding pad onto the tool spindle.
Hold the spindle from rotating by engaging the spindle lock button to completely
tighten the pad. To attach the sanding disc simply press the disc firmly onto the
sanding pad. The disc and pad will stick together with the aid of hook and loop
fastening system.
POLISHING
SANDING APPLICATION


