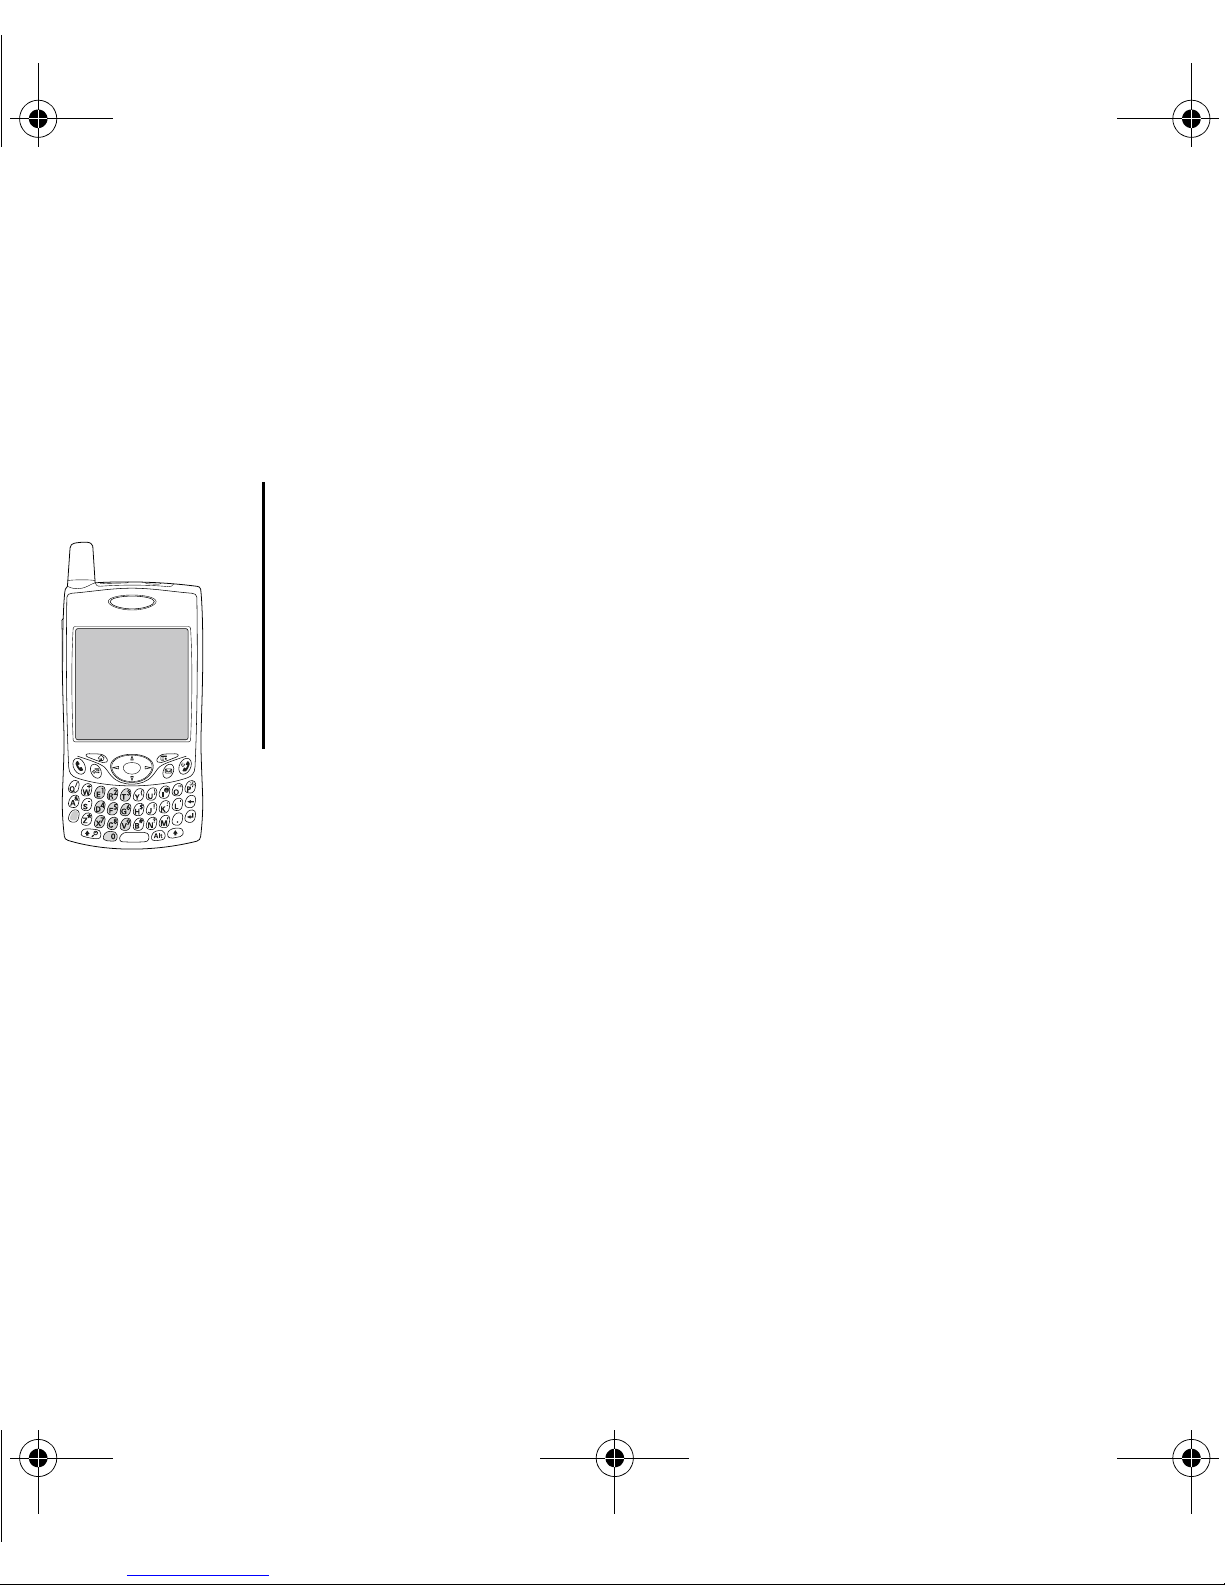
palmOne Treo 650 Manual
Other palmOne Cell Phone manuals

palmOne
palmOne Treo 650 User manual

palmOne
palmOne Treo 650 Manual

palmOne
palmOne Treo 650 Guide

palmOne
palmOne Zire 72 User manual

palmOne
palmOne Treo 650 Guide

palmOne
palmOne Treo 600 User manual

palmOne
palmOne Treo 600 Guide

palmOne
palmOne Treo 600 User manual

palmOne
palmOne Treo 650 User manual

palmOne
palmOne Treo 650 Service manual

palmOne
palmOne Treo 650 Guide

palmOne
palmOne Treo 600 User manual

palmOne
palmOne TREOTM TreoTM 650 Guide

palmOne
palmOne Treo 650 Guide

palmOne
palmOne Treo 600 Manual

palmOne
palmOne TREO User manual

palmOne
palmOne TREO User manual

palmOne
palmOne Xiino 3.4E User manual

palmOne
palmOne Treo 650 Datasheet

palmOne
palmOne Treo 600 User manual