manuals.online logo
Brands
  1. Home
  2. •
  3. Brands
  4. •
  5. Palram
  6. •
  7. Outdoor Storage
  8. •
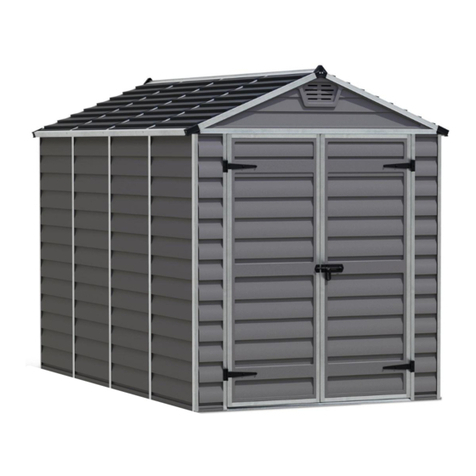
  9. Palram Skylight Shed-6x3 User manual

Palram Skylight Shed-6x3 User manual

Other Palram Outdoor Storage manuals

Palram Skylight Shed - 6x3 User manual

Palram

Palram Skylight Shed - 6x3 User manual

Palram SkyLight Shed-4x6 User manual

Palram

Palram SkyLight Shed-4x6 User manual

Palram Skylight 6047791 User manual

Palram

Palram Skylight 6047791 User manual

Palram Skylight Shed-6x10 Tan User manual

Palram

Palram Skylight Shed-6x10 Tan User manual

Palram 20200100000-EA User manual

Palram

Palram 20200100000-EA User manual

Palram SanRemo 4x4.25 User manual

Palram

Palram SanRemo 4x4.25 User manual

Palram Cold Frame Single User manual

Palram

Palram Cold Frame Single User manual

Palram SanRemo 3x4.25 User manual

Palram

Palram SanRemo 3x4.25 User manual

Palram Skylight 6x10 Tan User manual

Palram

Palram Skylight 6x10 Tan User manual

Palram CANOPIA RUBICON 8x10 User manual

Palram

Palram CANOPIA RUBICON 8x10 User manual

Palram CANOPIA RUBICON 6x12 / 2x3.8 Administrator Guide

Palram

Palram CANOPIA RUBICON 6x12 / 2x3.8 Administrator Guide

Palram CANOPIA RUBICON 6x8 Administrator Guide

Palram

Palram CANOPIA RUBICON 6x8 Administrator Guide

Palram Skylight Shed 6x12 Administrator Guide

Palram

Palram Skylight Shed 6x12 Administrator Guide

Palram Canopia YUKON Series Administrator Guide

Palram

Palram Canopia YUKON Series Administrator Guide

Palram CANOPIA RUBICON Administrator Guide

Palram

Palram CANOPIA RUBICON Administrator Guide

Palram Victory Orangery User manual

Palram

Palram Victory Orangery User manual

Palram Canopia SkyLight 702297 Administrator Guide

Palram

Palram Canopia SkyLight 702297 Administrator Guide

Palram Skylight Shed User manual

Palram

Palram Skylight Shed User manual

Palram CANOPIA RUBICON 6x12 / 2x3.8 Administrator Guide

Palram

Palram CANOPIA RUBICON 6x12 / 2x3.8 Administrator Guide

Palram CANOPIA DALLAS COLORADO 14x20 Administrator Guide

Palram

Palram CANOPIA DALLAS COLORADO 14x20 Administrator Guide

Palram Yukon Shed 11x9 User manual

Palram

Palram Yukon Shed 11x9 User manual

Palram Yukon Shed - 11 'x9' S User manual

Palram

Palram Yukon Shed - 11 'x9' S User manual

Palram Skylight Shed-6x5 User manual

Palram

Palram Skylight Shed-6x5 User manual

Palram Skylight Shed 4x6 User manual

Palram

Palram Skylight Shed 4x6 User manual

Popular Outdoor Storage manuals by other brands

LIVING AND HOME 0735940285711 user guide

LIVING AND HOME

LIVING AND HOME 0735940285711 user guide

USP DURAMAX 10 Ft x 8 Ft StoreMax Plus owner's manual

USP

USP DURAMAX 10 Ft x 8 Ft StoreMax Plus owner's manual

rollaway container ARPCA24 manual

rollaway container

rollaway container ARPCA24 manual

Duratuf GL105 Assembly instructions

Duratuf

Duratuf GL105 Assembly instructions

Viking SD5300SS Use & installation guide

Viking

Viking SD5300SS Use & installation guide

USP DURAMAX Apex Pro 10.5 Ft x 8 Ft 40116 owner's manual

USP

USP DURAMAX Apex Pro 10.5 Ft x 8 Ft 40116 owner's manual

ModuLaro Lojo WC202200 manual

ModuLaro

ModuLaro Lojo WC202200 manual

Outdoor Life Products FP2030 F Assembly instructions

Outdoor Life Products

Outdoor Life Products FP2030 F Assembly instructions

Royalcraft Faro 295L Storage Box Assembly instructions

Royalcraft

Royalcraft Faro 295L Storage Box Assembly instructions

TYGO Nyland Building Instruction

TYGO

TYGO Nyland Building Instruction

Riverlea Duratuf KIWI KS3 Assembly instructions

Riverlea

Riverlea Duratuf KIWI KS3 Assembly instructions

Rubbermaid 5L45 manual

Rubbermaid

Rubbermaid 5L45 manual

garofalo TUSCANY EVO user manual

garofalo

garofalo TUSCANY EVO user manual

OLT GS84D-FJ-Plywood Assembly manual

OLT

OLT GS84D-FJ-Plywood Assembly manual

Lifetime 6418 owner's manual

Lifetime

Lifetime 6418 owner's manual

Duratuf Havelock Assembly instructions

Duratuf

Duratuf Havelock Assembly instructions

Keter DUOTECH HIGH-STORE+ user manual

Keter

Keter DUOTECH HIGH-STORE+ user manual

Arrow EZ8772HVCR Owner's manual and assembly guide

Arrow

Arrow EZ8772HVCR Owner's manual and assembly guide

manuals.online logo
manuals.online logoBrands
  • About & Mission
  • Contact us
  • Privacy Policy
  • Terms and Conditions

Copyright 2025 Manuals.Online. All Rights Reserved.

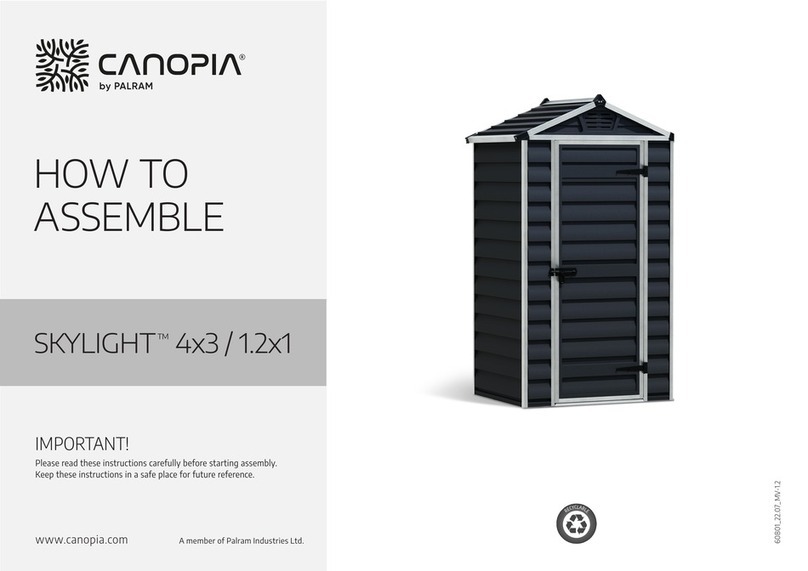
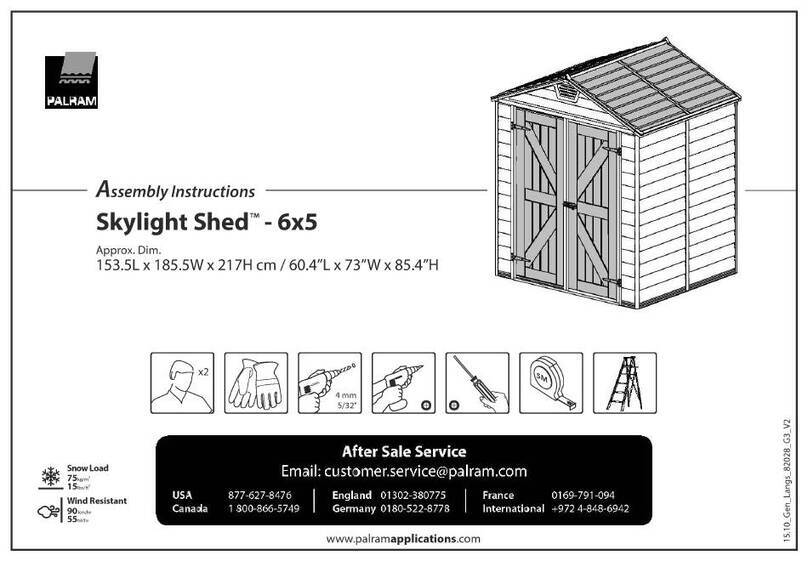
PALRAM
AssemblyInstructions
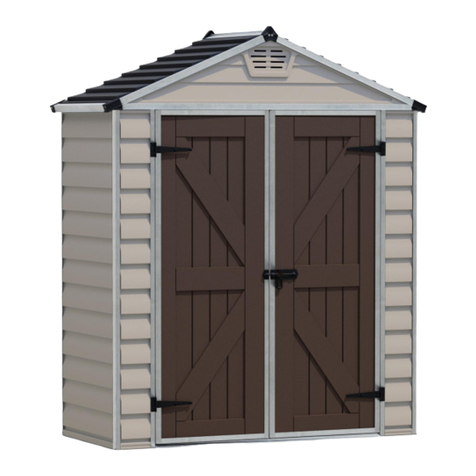
Skylight ShedTM - 6x3
Approx. Dim.
101.5Lx 185.5Wx217H cm / 40"L x 73"W x 85.4"H
Pig
After Sale Service
Email: customer.service@palram.com
USA 877-627-8476 England 01302-380775 I France 0169-791 -094
Canada 1 800-866-5749 Germany 0180-522-8778 International +972 4-848-6942
www.palramapplications.com
EN
IMPORTANT
Please read these instructions carefully before you start to assemble this shed.
Please carry out the steps in the order set out in these instructions.
Keep these instructions in a safe place for future reference.
Tools & Equipment
T001 - (supplied)
.-)1.
4 m
5lí2"
Safety
.,. (these items not supplied)
This shed must be placed and fixed on a leveled surface to ensure its stability.
Make sure that screws and anchors are compatible with surface type.
Some parts have metal edges. Please be careful when handling components.
Always wear gloves, eye protection, and long sleeves when assembling or
performing any maintenance on your shed.
Do not attempt assembly on days with strong winds or low temperatures. If using a
stepladder or power tools ensure that you follow the manufacturer's safety advice.
Do not stand on the roof.
Do not store hot items such as recently used grills, blowtorches etc. in the shed.
Heavy or sharp articles should not be leaned against the wall panels.
Rt To prevent suffocation, do not allow children to play with packing materials.
RtShed must be secured by drilling through floor panels holes locations and inserting
suitable screws into ground
Before you start
Consult your local authorities for any building limitations or permits required to
construct this garden shed.
Complete site preparation before unpacking parts and beginning assembly.
It is highly recommendedto be assisted by a second person in some steps.
Sort the parts and check against the contents parts list.
Please take safety precautions during assembly.
Durina Assembly
0
When encountering the information icon, please refer to the relevant
assembly step for additional commentsand assistance.
This icon indicates
that the installer should
be inside the product.
Attention:
This icon indicates that
1 the installer should be
outside the product.
Rt It is important to drill the screws at the top of the panel ridge and to
make sure that screws penetrate through the panel in order to have
maximum durability.
Make sure to position the panel's bottom ridge towards the shed floor
and that it is enclosing it.
Step 2: Place the first wall panel at the backof the shed, according to the stamped
serial number (part 7699).
Step 24: Note that panels and profiles connected in the right direction as well as
the profiles holes placed correctly as illustrated.
Step 30: Anchor the shed on to a solid surface such as concrete or asphalt, use
suitable screws and plugs. (Screws and plugs are not supplied).
*Please note: Anchoring this product to the ground is essential to its stability and
rigidity. It is required to complete this stage in order for your warranty to be valid.
o not tighten screws and nuts (411 & 412) until completion ofassembly process.
These 2 icons indicate if screws'tightening is required or not.
OCAD
IMPORTANTE:
Lea cuidadosamente estas instrucciones antes de comenzar a ensamblar el
producto. Por favor siga el orden que estas instrucciones indican.
Guarde este instructivo en un lugar seguro para futuras consultas.
Usted necesitará:
T001 - (incluido)
4 m
5/32'
estos artículos no están incluidos)
Jeguridad:
It Este cobertizo debe colocarse y fijarse en una superficie plana para asegurar suR estabilidad.
Asegúrese que los tornillos y anclas sean compatibles con el tipo de superficie.
Rt Algunos componentes tienen puntas de metal. Manéjelos con cuidado al instalarlos.
Siempre utilice guantes, lentes de protección y mangas largas a la hora de instalar o
realizar cualquier mantenimiento al cobertizo.
No realice el montaje del producto en días con mucho viento o temperaturas
bajas. Si utiiza escalera de tijera o herramientas eléctricas, asegúrese de seguir las
recomendaciones de seguridad del fabricante.
Rt No se pare en el techo del cobertizo.
Rt No almacene artículos calientes en el cobertizo como por ejemplo, taladros que
acaban de ser utilizados, sopletes, etc.
No recargue artículos muy pesados o puntiagudos en las paredes del producto.
Rt Para evitar casos de asfixia, no deje que los niñosjueguen con el material de
empaque de los componentes.
RtElcobertizo debe ser fijado al piso a través de los orificios en los paneles
correspondientes e insertando tornillos compatibles al tipo de suelo.
lntes de pmnezar
Rt Consulte las limitaciones, requisitos,permisos y a las autoridades locales para la
construcción de este cobertizo dejardín.
Rt Prepare el lugar de instalación y fijación antes de desempacar los componentes.
Rt Es muy recomendable y/o necesaria la asistencia de una segunda persona en
algunos pasos del ensamblaje
RtOrdene los componentes y revíselos contra la lista de contenidos del producto.
I Siempre diríjase con precaución y cuidado durante la instalación.
Durante la instalación
Cuando encuentre el ícono de información, por favor lea con cuidado
dicho paso con comentarios y asistencia adicionales.
Este ícono indica que
el instalador debe estar
dentro del producto.
Atención:
Este ícono indica que
1 el instalador debe estar
fuera del producto.
Rt Es muy importante que los tornillos sean taladrados en la parte superior
del panel y asegurarse de que el tornillo penetre todo el panel para
máxima durabilidad.
Rt Asegúrese de colocar adecuadamente la parte inferior del panel contra
el piso del producto y esté fijado completamente a él.
Paso 2: Coloque la primer pared o panel en la parte posterior del cobertizo,
de acuerdo al número de serie indicado como Part 7699.
Paso 24: Todos los paneles y perfiles deben ser conectados en la dirección
correcta, al igual que los orificios de los perfiles, como la ilustración lo indica.
Paso 30: Ancle el cobertizo a una superficie sólida como hormigón o asfalto,
utilice tornillos y tapones adecuados. (No se suministran los tornillos y tapones).
*Por favor, tenga en cuenta: Anclar este producto al suelo es esencial para su
estabilidad y rigidez. Es necesario completar esta fase para que su garantía sea
válida.
No apretar los tornillos y tuercas (411 y 412) hasta que termine el proceso de ensamble.
Los siguientes 2 íconos le indicarán si el ajuste de los tornillos es necesario o no.
A re@ ]
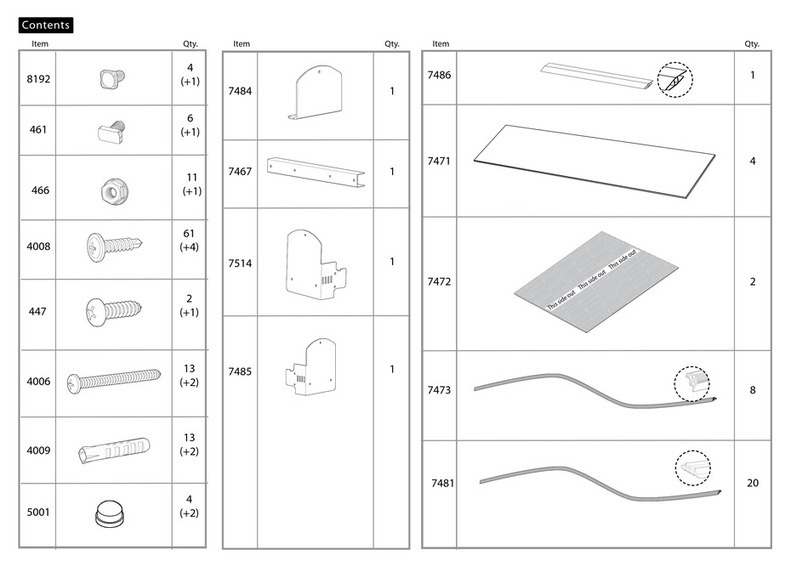
Contents
Item ItemQty. Qty.
7381
7382
7732
2
1
7725 2
7726 4
1
7733 4
7727 1
Item Qty.
7356
7352
4
1
T001 1
7871
7870
2
2
7979 2
7980
7981
2
2
7975 2
7967
7960
4
1
8012 2
27969
Contents
Item Qty.
8106
8105
7706
7704
2
2
2
4
7701 1
Item Qty.
7983
7716
2
1
Item Qty.
411
466
7441
7442
7445
7444
25
(+2)
25
(+2)
5
(+1)
32
(+2)
8
(+1)
8
(+1)
26
(+2)
7400
7720
2
5
428
431
422
9
(+1)
9
(+1)
9
(+1)
7986 4
8018 2
4008
1
7733 77321 1
7733 7733
7704
7704
7704
7732
7732
a
b
7704 1
b
a
7704
2
b
a
a
b
x2
7701 1
7733
7733
7704
7704
7704
7732
7732
7701
7701
7701
3
a
bc
a
7720 411 466 74411 1 1 1
b+c
x2
7733
7720
411
466
7441
4
a
bc
a
7720 411 466 74411 1 1 1
b+c
x2
7720
411
466
7441
7332
5
7704
7733
7704 1
a7733
a
7733 1