manuals.online logo
Brands
  1. Home
  2. •
  3. Brands
  4. •
  5. Panasonic
  6. •
  7. Desktop
  8. •
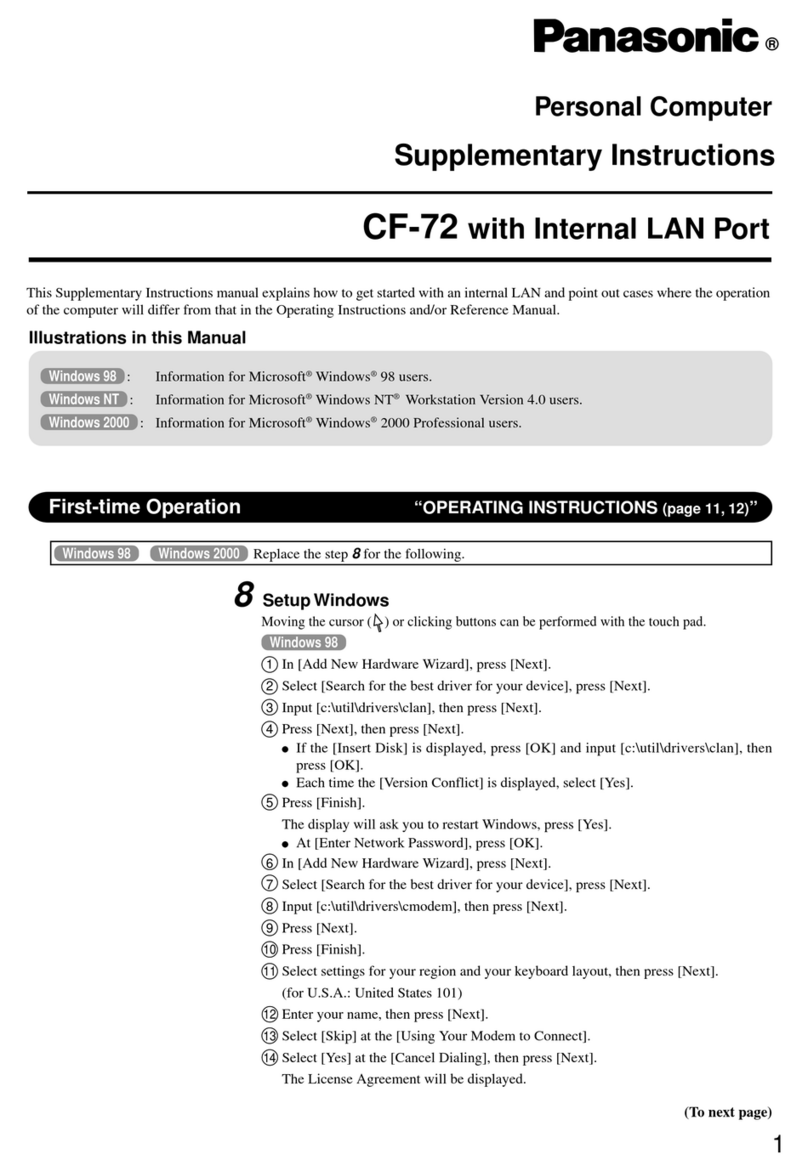
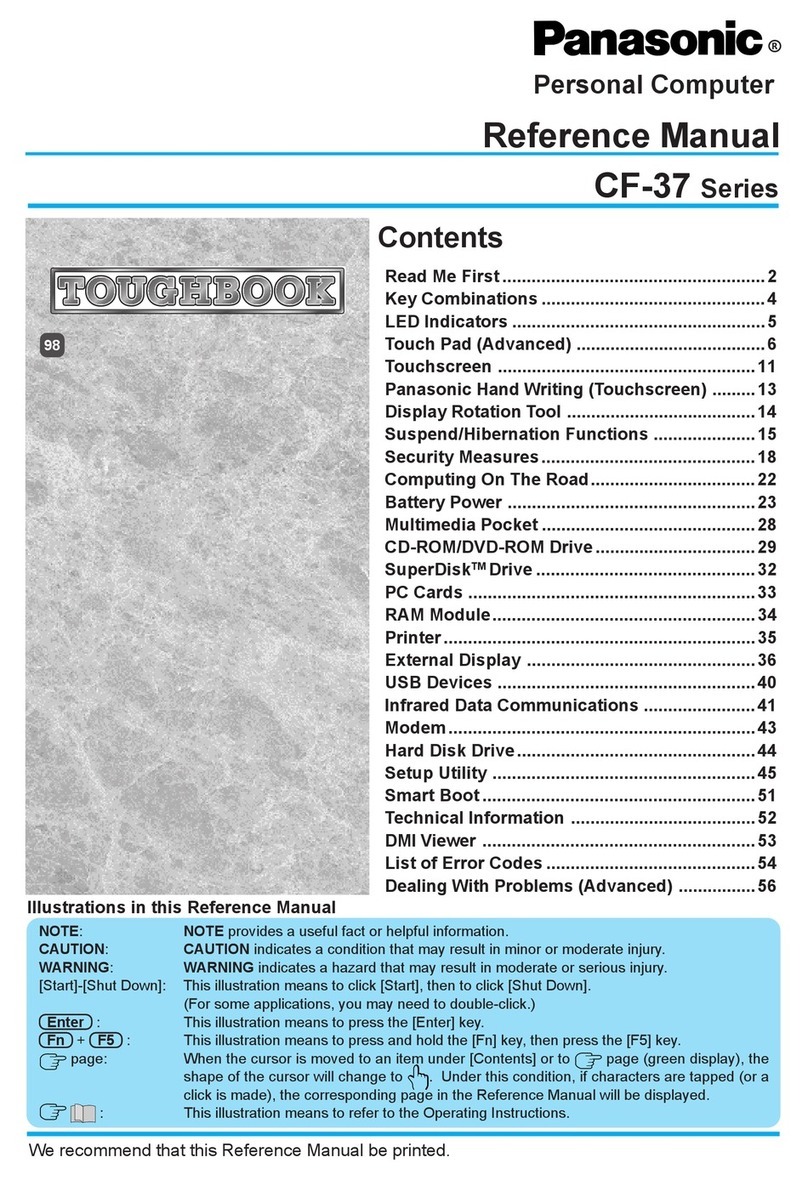
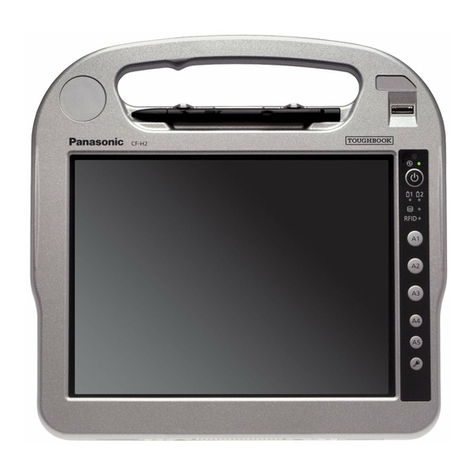
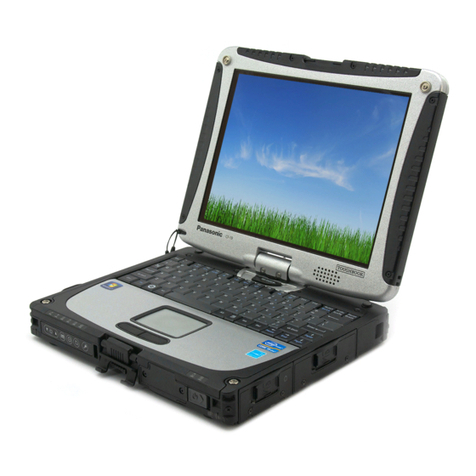
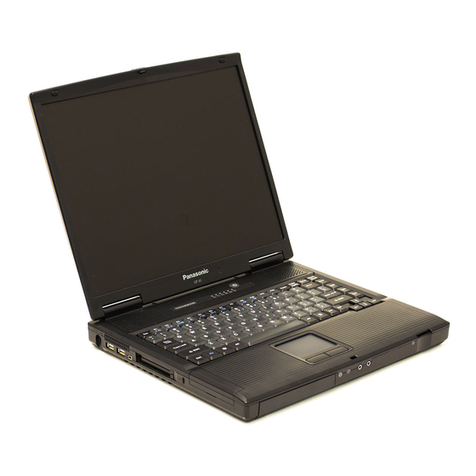
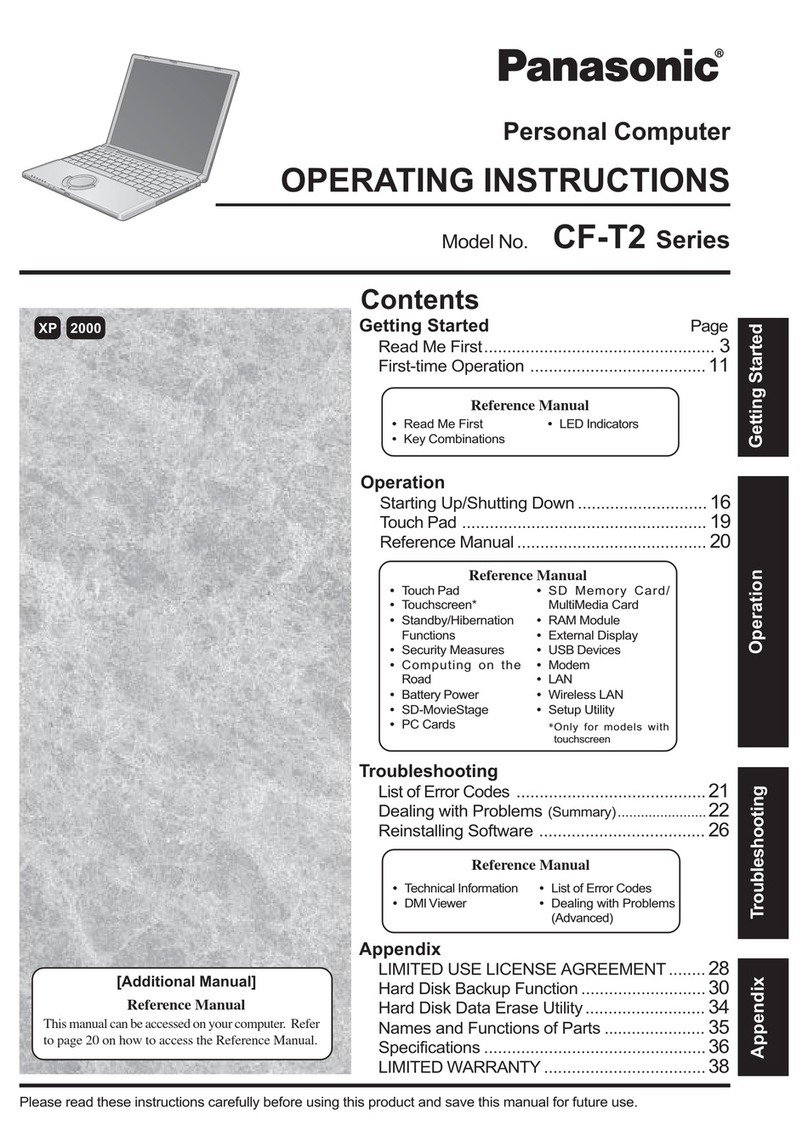
  9. Panasonic CF-W2 Series User manual

Panasonic CF-W2 Series User manual

1
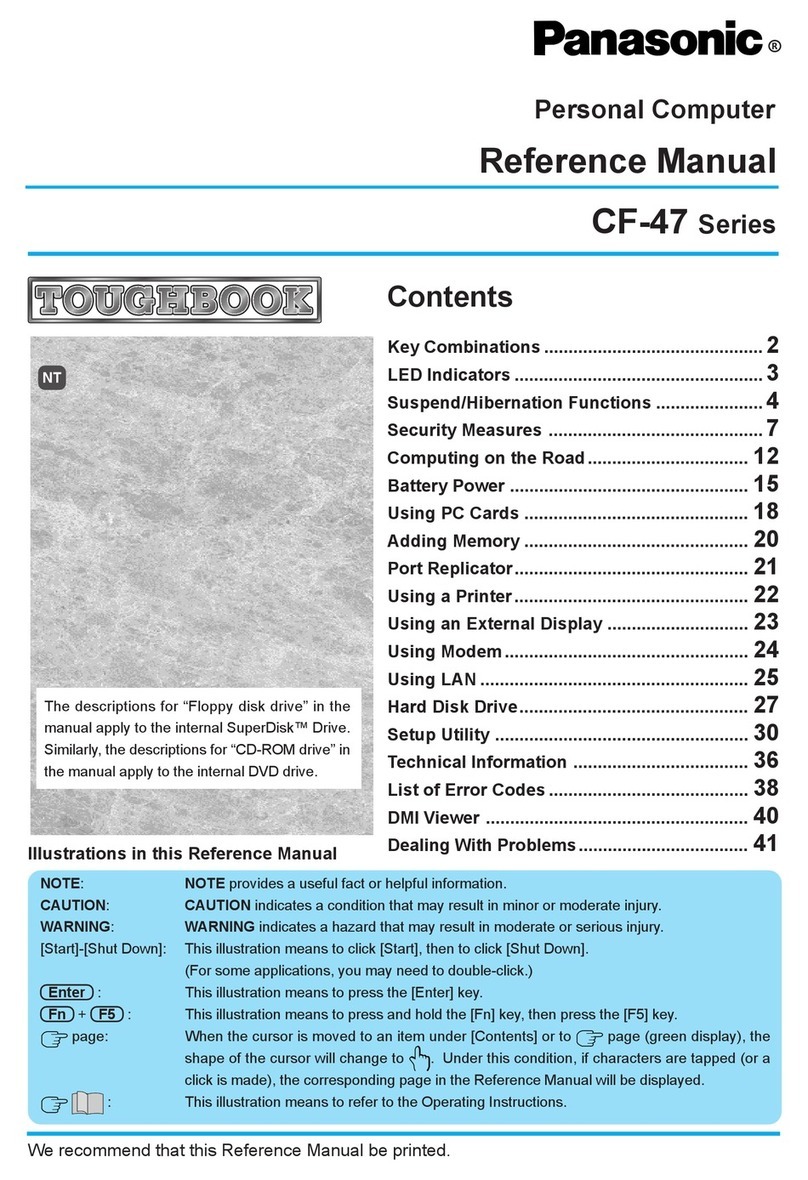
Personal Computer
Reference Manual
Model No. CF-W2 Series
XP For backup proposes Panasonic recommends that this Reference
Manual be printed.
To magnify the screen
display of this
Reference Manual
To magnify the icon
display (for example, )
etc.
2
Read Me First
zSome of the illustrations in this manual may differ slightly in shape from the actual items
on your computer. This should make the explanations easier to understand
zIf a user has logged on to Windows without the administrator authority, some functions
may not be executable, and some screens may not be displayed as shown in this manual.
If this happens, log-on to Windows with the administrator authority to enable these
functions
zIn this manual, “Microsoft®Windows®XP Professional” is indicated as “Windows” or
“Windows XP”
zIn this manual, the following software packages are described as follows:
• "WinDVD™ 5 (OEM Version)" as "WinDVD"
• "B's Recorder GOLD7 BASIC" as "B's Recorder"
• "B's CLiP 5" as "B's CLiP"
zCircular media such as DVD-ROM and CD-ROM is described as a "disk"
zIf the icon on the notification area (A) being explained in this manual is hidden and not
displayed, click on the icon to display all icons
(The icons on the notification area used in this manual are only examples. They may
differ from the actual icons shown.)
zOptional Products or Accessories
Confirm the latest information on optional products or accessories from various sources
3
Read Me First
Illustrations and Terminology in this Reference Manual
NOTE NOTE provides a useful fact or helpful information.
CAUTION CAUTION indicates a condition that may result in minor
or moderate injury.
Enter
This illustration means to press the
Enter
key.
Fn
+
F5
This illustration means to press and hold the
Fn
key,
then press the
F5
key.
When using with the
Fn
and
Ctrl
key functions
interchanged, read with
Fn
and
Ctrl
reversed.
[start] - [Run] This illustration means to click [start], then to click [Run].
For some applications, you may need to double-click.
Îor ⇒These symbols indicate related pages.
Î:If this is clicked, it will jump to the page correspond-
ing Reference Manual
⇒:Refer to the Operating Instructions
xxxx*1 If *1 is clicked, it will jump to a related topic.
4
Read Me First
The terminology in ( ) is the one used in [Intel(R) 82852/82855 GM/GME Graphics Controller
Properties].
To display [Intel(R) 82852/82855 GM/GME Graphics Controller Properties]:
Click [start] - [Control Panel], from the [See Also] area click [Other Control Panel Options],
and then click [Intel(R) Extreme Graphics].
About Display Mode
Internal LCD (Notebook) This computer's display
External Display (Monitor) External display connected to this computer
Simultaneous Display
(Intel(R) Dual Display Clone)
To display the same screen on both the LCD and
external display
Extended Desktop To use both the internal LCD and the external display as
an extended display domain. You can drag a window
between the internal LCD and the external displays
5
How to Use this Reference Manual
In this Reference Manual, you can use the following method to display the desired page, or
search for a page using a text string. (The screen shown is only an example.)
If the bottom of the screen is hidden at the notification area, expand the window to its
maximum size.
6
How to Use this Reference Manual
If the characters, icons, etc. in the Reference Manual are too small
and too difficult to see, you can magnify them as follows.
1Click to use Zoom In Tools.
2To magnify the display and make it easier to see, position
the cursor and click on the segment you want to expand.
zIf it is magnified too much, click on the same segment while
holding down the
Ctrl
key to reduce the size.
3When required, click on and drag it to the screen to
display the segment you want to see.
This Reference Manual is displayed using Acrobat®Reader. Acrobat®Reader uses the
following methods to magnify and reduce the display size.
zTools for magnifying/reducing the display
A. Zoom In Tool: Click to enlarge the display in the area around the position that was
clicked. Drag to magnify the display in the area selected.
B. Zoom Out: Display size is reduced each time this button is clicked.
C. Enter the percentage for magnification/reduction, and press the
Enter
key to
change the display to the specified size.
D. Zoom In: Display size is magnified each time this button is clicked.
Magnify this Reference Manual Display
7
How to Use this Reference Manual
zTools for displaying contents at a selected magnification
E. Actual Size: Click to display contents at the size used when the Reference
Manual is opened from the [start] menu.
F. Fit In Window: Click to display the contents for a single page.
G. Fit Width: Click to magnify or reduce the size of the display to match the width of
the screen.
NOTE
zA printer (sold separately) is required to print out this Reference Manual
zDepending on the printer, the illustrations and screen samples may not be printed
clearly
1Confirm the page to be printed.
zTo print out only the page currently being displayed: Leave that page on the
display
zTo print out a specified page: Confirm the page number
2Click on .
3Set [Name], [Paper], and other settings, and click [OK].
zIf the page is printed with a different orientation: Remove the check mark from
[Auto-rotate and center pages]
Print this Reference Manual
8
Using the Touch Pad
Use the touch pad to move the cursor on the screen and perform computer operations.
A. Work Surface (touch pad)
B. Left Button
C. Right Button
Function Operation
Moving the Cursor
Move the tip of your finger lightly over the work
surface.
Tapping/Clicking
tapping or clicking
zTo right-click: Can only be performed by clicking the right
button.
Double-Tapping/Double-
Clicking
double-tapping or double-clicking
Dragging
Two quick taps, but on the second tap leaving your finger
down (applying pressure) and moving it on the work surface.
or
While holding down the button, moving your finger on the work
surface.
Scroll Trace a circle around the touch pad. (Îpage 9)
9
Using the Touch Pad
NOTE
zYou can change the speed of the double-click or the operations of mouse buttons
using [Mouse Properties] screen
To display [Mouse Properties]:
Click [start] - [Control Panel] - [Printers and Other Hardware] - [Mouse]
zSensitivity when touching the touch pad can be adjusted (Îpage 14)
zWhen an external mouse is connected and the cursor does not operate properly:
In the [Main] menu of the Setup Utility, set [Touch Pad] to [Disable]. When you want to
use the touch pad again, return the setting to [Enable] (Îpage 120)
You can scroll easily by tracing a circle around the touch pad.
NOTE
zThis scroll function is operated using the Touch Pad utility
zWhen the external mouse driver is installed, the scroll function may not operate prop-
erly
1Select the screen you want to scroll.
2Position the cursor over the area you want to scroll.
Scroll
10
Using the Touch Pad
3Lift up your finger, and place it in the area around the Touch Pad
( position in the figure).
When you touch the scroll startup area on the touch pad, the icon on the notifica-
tion area will change to the icon.
4Trace a circle around the edge of the touch pad as indicated in the
diagrams.
To scroll down (trace clockwise)
The Scroll Icon will rotate.
To scroll up (trace counter-clockwise)
Scrolling will begin more easily if you start from the position marked by and trace
as indicated by the arrow.
zOn screens that cannot be scrolled (e.g., desktop screen), if you scroll, the
computer may try to scroll the screen, causing the cursor to freeze. If this
happens, remove your finger from the touch pad and begin again, this time
starting from the center of the touch pad
5Once scrolling has begun, continue to trace a circle on the touch pad
without removing your finger from the pad.
zAs long as you are tracing a circle, you can continue scrolling using any position
on the touch pad. It is not necessary to trace a circle around the edge of the pad
zTo scroll in the opposite direction, trace a circle in the opposite direction without
removing your finger from the touch pad
6When you finish scrolling, remove your finger from the touch pad.
11
Using the Touch Pad
NOTE
zYou can change various touch pad settings using the following procedure:
AClick [start] - [All Programs] - [Panasonic] - [Touch Pad utility settings].
Changeable settings are:
• Use Touch Pad function (On/Off)
• Display icon in task tray (On/Off)
• Animated icon in task tray (On/Off)
• Rotate icon when wheel is operated (On/Off)
• Scroll item under mouse cursor (On/Off)
• Scroll speed setting
• Set initial scroll scope
Using the Virtual Scrolling Function
NOTE
zBecause the Touch Pad utility and the Virtual Scrolling function both offer scrolling
functions that use the touch pad, these two features cannot be used simultaneously. If
you try to use them at the same time, a message may be displayed asking you if you
want to enable the Touch Pad utility.
• To use the Touch Pad utility:
Click [Yes]. The Virtual Scrolling function will be disabled
• To use the Virtual Scrolling function:
Click [No], and then remove the Touch Pad utility and set the Virtual Scrolling
function using the following procedure. In this case, the Touch Pad utility will be
disabled
1Log-on to Windows with the administrator authority.
Do not use the Fast User Switching function.
2
Right-click on the icon on the notification area, and then click [Exit].
12
Using the Touch Pad
If the icon is not displayed on the notification area:
AClick [start] - [All Programs] - [Panasonic] - [Touch Pad utility settings] -
[General settings].
BAdd a check mark for [Display icon in task tray] and click [OK].
3Click [start] - [Control Panel] - [Add or Remove Programs], click
[TouchPadUtility], then click [Change/Remove].
4At the confirmation message, click [OK], then click [Finish].
5Click at [Add or Remove Programs].
6Click [start] - [Control Panel] - [Printers and Other Hardware] -
[Mouse] - [Device Settings].
7Click the device name in [Devices] (e.g., Synaptics TouchPad), then
click [Settings].
8Click [Virtual Scrolling], add a check mark for the scroll functions you
want to use, then click [OK].
13
Using the Touch Pad
9Click [OK] at [Mouse Properties].
NOTE
zTo begin using the Touch Pad utility again:
ALog-on to Windows with the administrator authority.
BClick [start] - [Run], input [c:\util\touchpad\setup.exe], then click [OK].
CClick [Next] at the welcome message.
DClick [Finish].
zAt the confirmation message asking if you want to enable the Touch Pad utility, click
[Yes].
zWhen the setup is complete, the icon will be displayed on the notification area.
14
Using the Touch Pad
Adjust [PalmCheck] and [Touch Sensitivity] using the following procedure:
1Click [start] - [Control Panel] - [Printers and Other Hardware] -
[Mouse] - [Device Settings].
2Click the device name in [Devices] (e.g. Synaptics TouchPad), then
click [Settings].
3Double-click [Sensitivity], then click [PalmCheck] or [Touch Sensitiv-
ity].
4After making the adjustment, click [OK].
Adjusting the Sensitivity when Touching the Touch Pad
15
Using the Touch Pad
PalmCheck™
zWhen operating the keyboard, if your hand touches the touch pad unintentionally causing
the cursor to move, adjust the sensitivity using "PalmCheck™"
• By dragging slide bar (A) to the [Maximum] position, you can prevent the cursor from
moving unintentionally
• By dragging slide bar (A) to the [Minimum] position, you can enable the cursor to move
even with a light touch of the palm on the touch pad
Touch Sensitivity
zWhen operating the touch pad, if your finger touches the touch pad, unintentionally
causing the cursor to move; or if the cursor does not move even when you move your
finger above the touch pad, adjust the sensitivity using the "Touch sensitivity" setting
• When slide bar (B) is dragged to the [Heavy Touch] position, the cursor will only move
with a strong touch on the touch pad
• When slide bar (B) is dragged to the [Light Touch] position, the cursor will move even
with a light touch on the touch pad
NOTE
zClick on [Defaults] to return the settings to their original positions at the time of
purchase
zBy design, the touch pad is to be used with a fingertip only. Do not place any object on the
work surface or press down forcefully with sharp-pointed objects (e.g., nails) or hard
objects that can leave marks (e.g., pencils and ball point pens)
zTry to avoid having any harmful substances, such as oil, come in contact with the touch
pad. The cursor may not work properly in such cases
zWhen the touch pad becomes dirty:
Wipe to remove dirt by using a dry soft cloth such as gauze or a soft cloth first applied with
detergent diluted with water and then thoroughly wrung.
Do not use benzene or thinner, or rubbing alcohol. Doing so may adversely affect the
surface, e.g., discoloration. In addition, do not use commercially available household
cleaners and cosmetics, as they may contain components harmful to the surface
Handling the Touch Pad
16
Using the Fn Key
If you press a key for a character or symbol contained in a frame while pressing the
Fn
key
the funtion for the character or the symbol contained in that frame will be executed.
CAUTION
zDo not press the following key combinations repeatedly in (quick) succession. Also, do
not press different key combinations quickly one after another
zDo not press the following key combinations while using the touch pad (external
mouse) or other keys
NOTE
zDo not press the following key combinations until you log-on to Windows and the hard
disk drive indicator turns off
Note, however, that the key combinations
Fn
+
F1
,
Fn
+
F2
and
Fn
+
F3
are operable in
the Setup Utility (Îpage 117)
zThe key combinations below may not work while some applications are running.
Besides, the pop-up window may not be displayed, depending on the state of the
application you are using (e.g., when [Command Prompt] is set to "Full Screen")
zWhen using with the
Fn
and
Ctrl
functions interchanged (Îpage 120)
• Press the
Ctrl
key instead of the
Fn
key for the desired Fn function
• It is not possible to replace the markings on the keys, or the keys themselves
17
Using the Fn Key
Key Functions Pop-up Window
(Displayed after
logging on to
Windows)
Fn
+
F1
Fn
+
F2
LCD brightness control
(
Fn
+
F1
= down /
Fn
+
F2
= up)
The brightness setting is stored in 2 memory loca-
tions, one for AC operation and one for battery
operation.
Fn
+
F3
Display change (When the external display is
connected)
By pressing this key combination, you can select
either an external display, internal LCD or
simultaneous. (Îpage 94)
CAUTION
zDo not press another key until the display
destination has been completely switched
zDo not press this key combination in the
following conditions:
• When a video such as a DVD video or an
MPEG file is playing
• When the Extended Desktop is being
utilized
• When a game such as pinball is displayed
NOTE
zThis key combination does not work when
[Command Prompt] is set to "Full Screen"
zWhen switching to a different user with the
Fast User Switching function, this key
operation may not work. In this case, log off
all users and restart the computer
18
Using the Fn Key
Fn
+
F4
Speaker on/off switch
Pressing this key combination turns on/off audio
from the internal speaker and headphone jack.
NOTE
zDisabling the speakers will also disable the
warning beep
zSpeakers connected to the USB port
cannot be muted
OFF
(MUTE)
ON
Fn
+
F5
Fn
+
F6
Volume control
(
Fn
+
F5
= down /
Fn
+
F6
= up)
Pressing this key combination adjusts the volume
of the internal speaker and headphone jack.
NOTE
zThis key combination cannot be used to
adjust the volume of the warning beep or
speakers connected to the USB port
Fn
+
F7
Forcing the standby function
Pressing this key combination causes the current
status of the computer to be saved to memory, and
puts the computer into standby mode. (Îpage 38)
Key Functions Pop-up Window
(Displayed after
logging on to
Windows)
19
Using the Fn Key
Fn
+
F9
Remaining capacity of the battery pack
When the battery
pack is inserted in the
computer (example)
When the battery
pack is not inserted in
the computer
Fn
+
F10
Forcing the hibernation function
Pressing this key combination causes the current
status of the computer to be saved to the hard disk,
and puts the computer into hibernation mode.
(Îpage 38)
Fn
+
NumLk
Fn
+
Home
The functions differ depending on the application
software being used.
Key Functions Pop-up Window
(Displayed after
logging on to
Windows)
20
Using the Fn Key
There are two Fn key functions as follows:
zFn key lock function
After the
Fn
key is pressed once, it stays in the "pressed" position until another key is
pressed. This is convenient when it is difficult to press two buttons simultaneously
zPop-up windows display ON/OFF
NOTE
zThe Hotkey settings can be set separately for each user
zWhen using with the
Fn
key and the
Ctrl
key functions interchanged (Îpage 120),
read with
Fn
and
Ctrl
reversed
1Run the Hotkey Settings.
Click [start] - [All Programs] - [Panasonic] - [Hotkey Settings].
2Set the parameters.
A. Use Fn key lock
Add the check mark if you want to enable the Fn key lock function. The following
Fn key lock function will then be enabled.
zTo use the
Fn
key only once:
APress the
Fn
key once. (Locked)
BPress another key for combination. (Lock released)
zTo use the
Fn
key successively:
APress the
Fn
key twice. (Locked)
BPress another key for combination.
Fn key remains locked until the
Fn
key is pressed once more.
B. Notification
This setting is only available when [Use Fn key lock] is checked.
[Make sounds when Fn key is pressed]
Notifies the user with a sound when the
Fn
key is locked or released.
When the speaker function is disabled, e.g., by the key combination
Fn
+
F4
,
there will be no sound.
Hotkey Settings

Other manuals for CF-W2 Series

5

This manual suits for next models

1

Other Panasonic Desktop manuals

Panasonic CF-71 Series Wiring diagram

Panasonic

Panasonic CF-71 Series Wiring diagram

Panasonic CF-63 Series User manual

Panasonic

Panasonic CF-63 Series User manual

Panasonic CF-U1 series Installation manual

Panasonic

Panasonic CF-U1 series Installation manual

Panasonic CF-73JCLTXKM - Toughbook 73 - Pentium M 1.6... User manual

Panasonic

Panasonic CF-73JCLTXKM - Toughbook 73 - Pentium M 1.6... User manual

Panasonic CF-33 series User manual

Panasonic

Panasonic CF-33 series User manual

Panasonic FZ-M1 Series User manual

Panasonic

Panasonic FZ-M1 Series User manual

Panasonic Touchbook CF-50 Series User manual

Panasonic

Panasonic Touchbook CF-50 Series User manual

Panasonic CF-30 Series User manual

Panasonic

Panasonic CF-30 Series User manual

Panasonic CF-19 series User manual

Panasonic

Panasonic CF-19 series User manual
Panasonic CF-H1mk2 Wiring diagram

Panasonic

Panasonic CF-H1mk2 Wiring diagram

Panasonic CF-20 series User manual

Panasonic

Panasonic CF-20 series User manual

Panasonic CF-33 series User manual

Panasonic

Panasonic CF-33 series User manual

Panasonic CF-54 Series User manual

Panasonic

Panasonic CF-54 Series User manual

Panasonic CF55M5M8AM - PERSONAL COMPUTER User manual

Panasonic

Panasonic CF55M5M8AM - PERSONAL COMPUTER User manual

Panasonic CF-19 series Wiring diagram

Panasonic

Panasonic CF-19 series Wiring diagram

Panasonic CF-51 Series User manual

Panasonic

Panasonic CF-51 Series User manual

Panasonic CF-71 Series User manual

Panasonic

Panasonic CF-71 Series User manual

Panasonic CF-31 Series User manual

Panasonic

Panasonic CF-31 Series User manual

Panasonic CF-31 Series User manual

Panasonic

Panasonic CF-31 Series User manual

Panasonic CF-SV Series User manual

Panasonic

Panasonic CF-SV Series User manual

Panasonic DBS 40 User manual

Panasonic

Panasonic DBS 40 User manual

Panasonic CF-62 Series User manual

Panasonic

Panasonic CF-62 Series User manual

Panasonic Toughbook CF-25LJF8EAM/E User manual

Panasonic

Panasonic Toughbook CF-25LJF8EAM/E User manual

Panasonic CF-C2CCAZZBM User manual

Panasonic

Panasonic CF-C2CCAZZBM User manual

Popular Desktop manuals by other brands

Ciara-tech Discovery user guide

Ciara-tech

Ciara-tech Discovery user guide

BOSSCO Stairmax 700 MK2 user guide

BOSSCO

BOSSCO Stairmax 700 MK2 user guide

Delta PCS100 Maintenance manual

Delta

Delta PCS100 Maintenance manual

Rise RS-4702 user guide

Rise

Rise RS-4702 user guide

Norco BIS-6622 II user manual

Norco

Norco BIS-6622 II user manual

Lenovo ThinkCentre M77 user guide

Lenovo

Lenovo ThinkCentre M77 user guide

HOMAG CUBE instruction manual

HOMAG

HOMAG CUBE instruction manual

Lenovo 4163B2U user guide

Lenovo

Lenovo 4163B2U user guide

Lenovo ThinkCentre M81 user guide

Lenovo

Lenovo ThinkCentre M81 user guide

Sony VGN-G21XP/B user guide

Sony

Sony VGN-G21XP/B user guide

Casio FX-850P owner's manual

Casio

Casio FX-850P owner's manual

HP A524x - Pavilion - 512 MB RAM Product specifications

HP

HP A524x - Pavilion - 512 MB RAM Product specifications

Protech Systems MH-5100 Quick reference guide

Protech Systems

Protech Systems MH-5100 Quick reference guide

IBM PC 300GL Types 6275 Software guide

IBM

IBM PC 300GL Types 6275 Software guide

RKM MK802 IIIS user manual

RKM

RKM MK802 IIIS user manual

HP 9845B/C CE Handbook

HP

HP 9845B/C CE Handbook

Sony VAIO Digital Studio PCV-RX590G reference guide

Sony

Sony VAIO Digital Studio PCV-RX590G reference guide

Sharp MZ-3500 Service manual

Sharp

Sharp MZ-3500 Service manual

manuals.online logo
manuals.online logoBrands
  • About & Mission
  • Contact us
  • Privacy Policy
  • Terms and Conditions

Copyright 2025 Manuals.Online. All Rights Reserved.