Parrot SenseFly eBee User manual
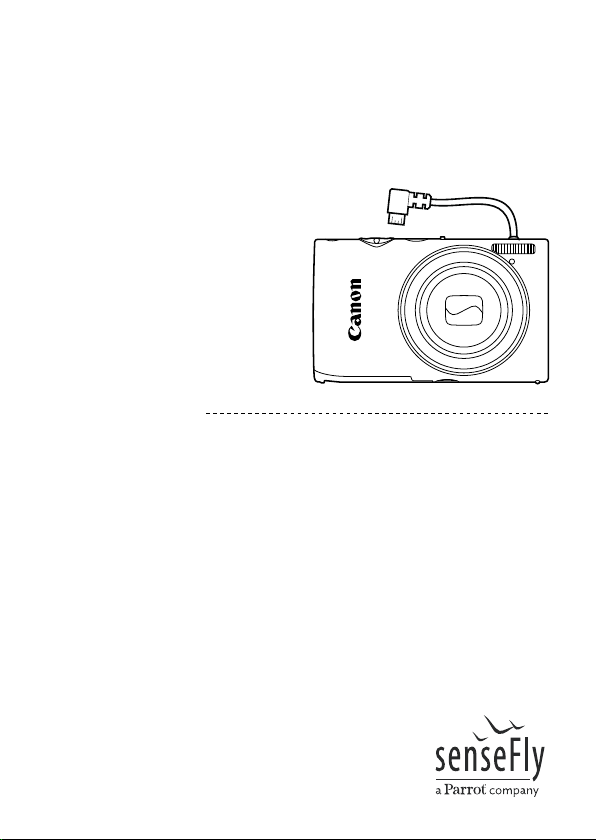
User Manual
IXUS/ELPH camera
Revision 2 / September 2014
Copyright © 2010-2014 senseFly Ltd


Copyright © 2010-2014 senseFly Ltd
User Manual
IXUS/ELPH camera

Disclaimer
SenseFly Ltd reserves all rights related to this document and the information contained
herein. REPRODUCTION, USE OR DISCLOSURE TO THIRD PARTIES WITHOUT WRITTEN PER-
MISSION FROM SENSEFLY LTD IS STRICTLY PROHIBITED.
SenseFly Ltd makes no warranties based on the accuracy or completeness of the contents
of this document and reserves the right to make changes to specifications and product de-
scriptions at any time without notice.
By using senseFly Ltd software and products you accept senseFly’s warranty and liability
terms.
ALL USE OF SENSEFLY LTD PRODUCTS, INCLUDING BUT NOT LIMITED TO THE USE CONFORM
TO THE APPLICABLE LAW OF THE COUNTRY IN WHICH THE PRODUCT IS OPERATED, IS UN-
DER YOUR SOLE RESPONSIBILITY. INFORM YOURSELF BEFORE USING THE PRODUCT. SOME
COUNTRIES MAY HAVE LAWS THAT LIMIT THE USE OF UNMANNED AIRCRAFT TO ‘LINE-OF-
SIGHT’ OPERATIONS AND/OR PROHIBIT THE USE OF UNMANNED AIRCRAFT IN SPECIFIC AR-
EAS OR AT ALL.
Product limited warranty
SenseFly Ltd warrants that the product will be free from defects in workmanship and ma-
terials for a period of twelve (12) months from the date that the item was first purchased.
During Warranty Period, should the covered product, in senseFly Ltd’s sole opinion, mal-
function due to any defect in material and/or workmanship, your sole remedy and senseFly
Ltd’s sole liability shall be, at senseFly Ltd’s option, to either repair or replace the malfunc-
tioning product with a similar product at no charge or to reimburse the purchase payment,
provided that the malfunctioning product is returned, with proof of purchase in the form of
your original copy of the sales receipt, within the applicable Warranty Period.
The warranty shall exclude defects due to normal wear and tear, including but not limited
to deterioration of the airframe after first flight, normal degradation, misuse, moisture or
liquids, proximity or exposure to heat, accidents, excessive strain, abuse, neglect, misappli-
cation, repairs or modifications made by anyone other than senseFly Ltd, damage due to
manual operation, damage due to take-off or landing location with obstacles, damage due
to low altitude flight, damage due to loss of data radio connection, damage due to strong
wind, rain or humidity or other causes for which senseFly Ltd is not answerable. Any claim
related to in-flight malfunction of the product will be considered by senseFly Ltd only if ac-
companied with the related flight log.

There are no express or implied warranties, representations or conditions other than those
stated in this limited warranty. The remedy set forth herein shall be the sole, exclusive rem-
edy with respect to the product.
Product liability
UNDER NO CIRCUMSTANCES WILL SENSEFLY LTD BE LIABLE FOR ANY DIRECT, INDIRECT, SPE-
CIAL, INCIDENTAL OR CONSEQUENTIAL DAMAGES (EVEN IF SENSEFLY LTD IS NOTIFIED OF
THE POSSIBILITY OF SUCH DAMAGES) INCLUDING, BUT NOT LIMITED TO, ANY DAMAGES
CAUSED BY YOU OR A THIRD PARTY WHILE OPERATING OR USING THE PRODUCT, ANY LOSS
OF REVENUE, LOSS OF PROFIT, OR LOSS OF DATA WHETHER BASED UPON ANY ALLEGED
BREACH OF WARRANTY, REPRESENTATION OR CONDITION, CONTRACT, OR ANY OTHER CON-
DUCT INCLUDING NEGLIGENCE (INTENTIONAL OR OTHERWISE), GIVING RISE TO SUCH CLAIM.
UNDER NO CIRCUMSTANCES WILL SENSEFLY LTD BE LIABLE FOR ANY DIRECT, INDIRECT, SPE-
CIAL, INCIDENTAL OR CONSEQUENTIAL DAMAGES (EVEN IF SENSEFLY LTD IS NOTIFIED OF
THE POSSIBILITY OF SUCH DAMAGES) INCLUDING, BUT NOT LIMITED TO, ANY DAMAGES
CAUSED BY FAILURE OF THE AUTOPILOT, ELECTRONICS OR SOFTWARE. YOU SHALL NOT OP-
ERATE THE PRODUCT IN AREAS OR UNDER CIRCUMSTANCES WHERE A FAILURE COULD CAUSE
DAMAGES AND/OR HARM TO OBJECTS AND/OR PEOPLE.

IXUS/ELPH Camera
Congratulations on your purchase of the eBee, the purpose of this guide
is to help you use the drone’s IXUS/ELPH camera effectively.
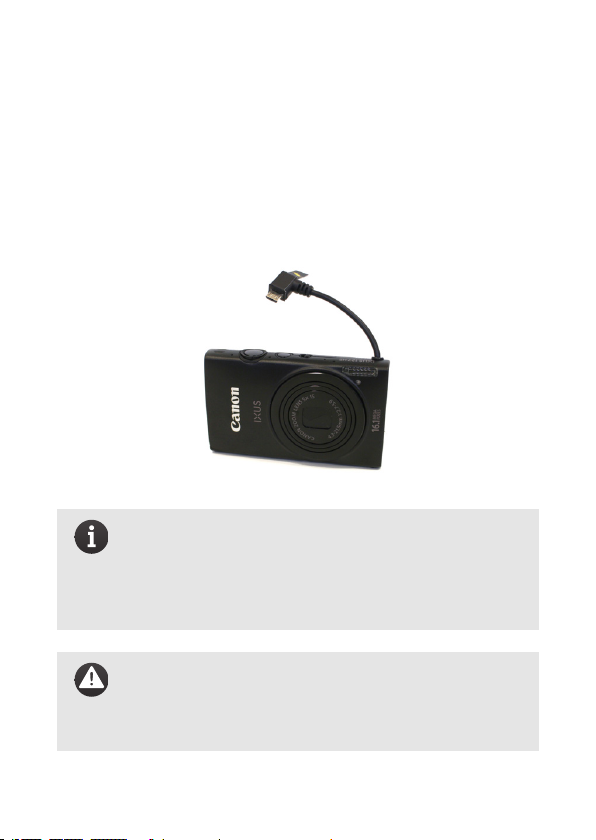
Note: This manual refers to versions 2.3 and later of the
eBee’s eMotion software. Check the software version in-
cluded in your eBee and consult the Release Notes for po-
tential changes included in more recent versions of the
software.
Caution: The IXUS/ELPH camera has been modified to
be compatible with the eBee drone. It is therefore not rec-
ommended to use it for other purposes than payload on
a senseFly drone.
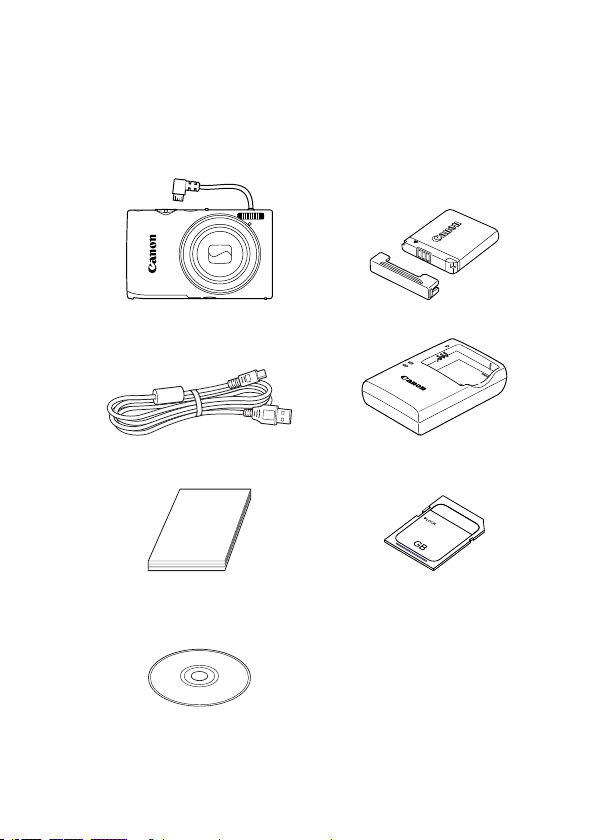
Contents
SD memory card
Camera
Interface cable
IXUS/ELPH camera
User Manual
SD memory card
Canon's digital camera
solution disks (2x)
Battery charger
Battery pack

All the items below, related to your IXUS/ELPH camera, are directly in-
cluded with your senseFly product:
•1×IXUS/ELPH camera
•1×IXUS/ELPH camera battery pack
•1×IXUS/ELPH camera battery charger
•2×IXUS/ELPH camera manufacturer’s solution disks
•1×USB cable
•1×SD memory card
Depending on your order, your package may also include additional
items. Please verify upon delivery that your package is complete. In
case of a missing item, please contact your reseller immediately.

Contents
I Getting started 11
1 Pre-flight procedure 12
1.1 Predefined camera settings . . . . . . . . . . . . . . . 12
1.2 Installing the camera . . . . . . . . . . . . . . . . . . 12
2eMotion 13
3 Importing images 14
4 Charging the battery 14
II Appendix 15
1 Specifications 16
2 Handling precautions 16
3 senseFly factory settings 17
Table of contents
Other Parrot Drone manuals

Parrot
Parrot Bebop User manual

Parrot
Parrot BEBOP-PRO 3D MODELING User manual

Parrot
Parrot Swing User manual

Parrot
Parrot ANAFI FPV User manual

Parrot
Parrot BEBOP 2 FPV Pack User manual

Parrot
Parrot bebop 2 User manual

Parrot
Parrot AR.Drone User manual

Parrot
Parrot Disco User manual

Parrot
Parrot Mambo User manual

Parrot
Parrot Swing User manual

Parrot
Parrot ANAFI User manual

Parrot
Parrot ANAFI Ai User manual

Parrot
Parrot Disco FPV User manual

Parrot
Parrot ANAFI User manual

Parrot
Parrot ANAFI USA GOV User manual

Parrot
Parrot Bebop User manual

Parrot
Parrot ANAFI Thermal User manual

Parrot
Parrot ANAFI Thermal User manual

Parrot
Parrot Bepor User manual

Parrot
Parrot BUZZ User manual


 user manual")


