English
– 7
SAFETY INSTRUCTIONS
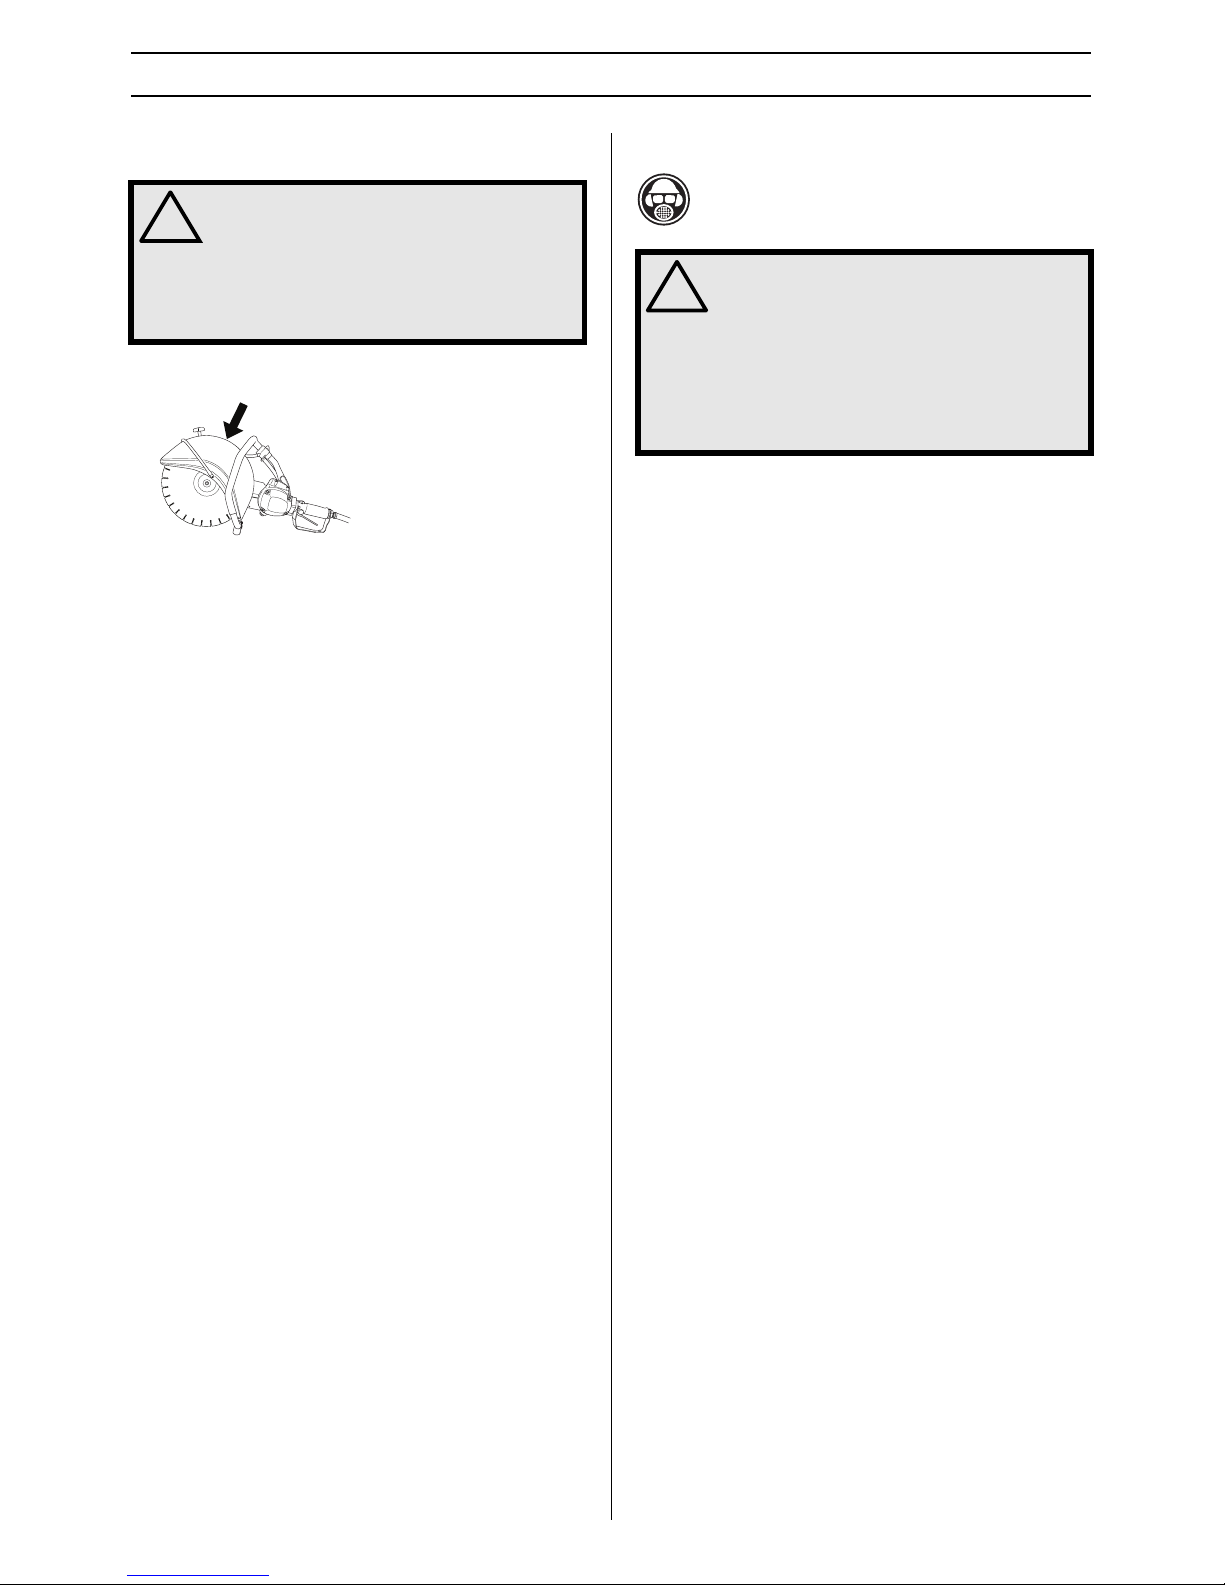
Checking the blade guard
Check that the guard is complete and without any cracks or
deformations.
General safety precautions
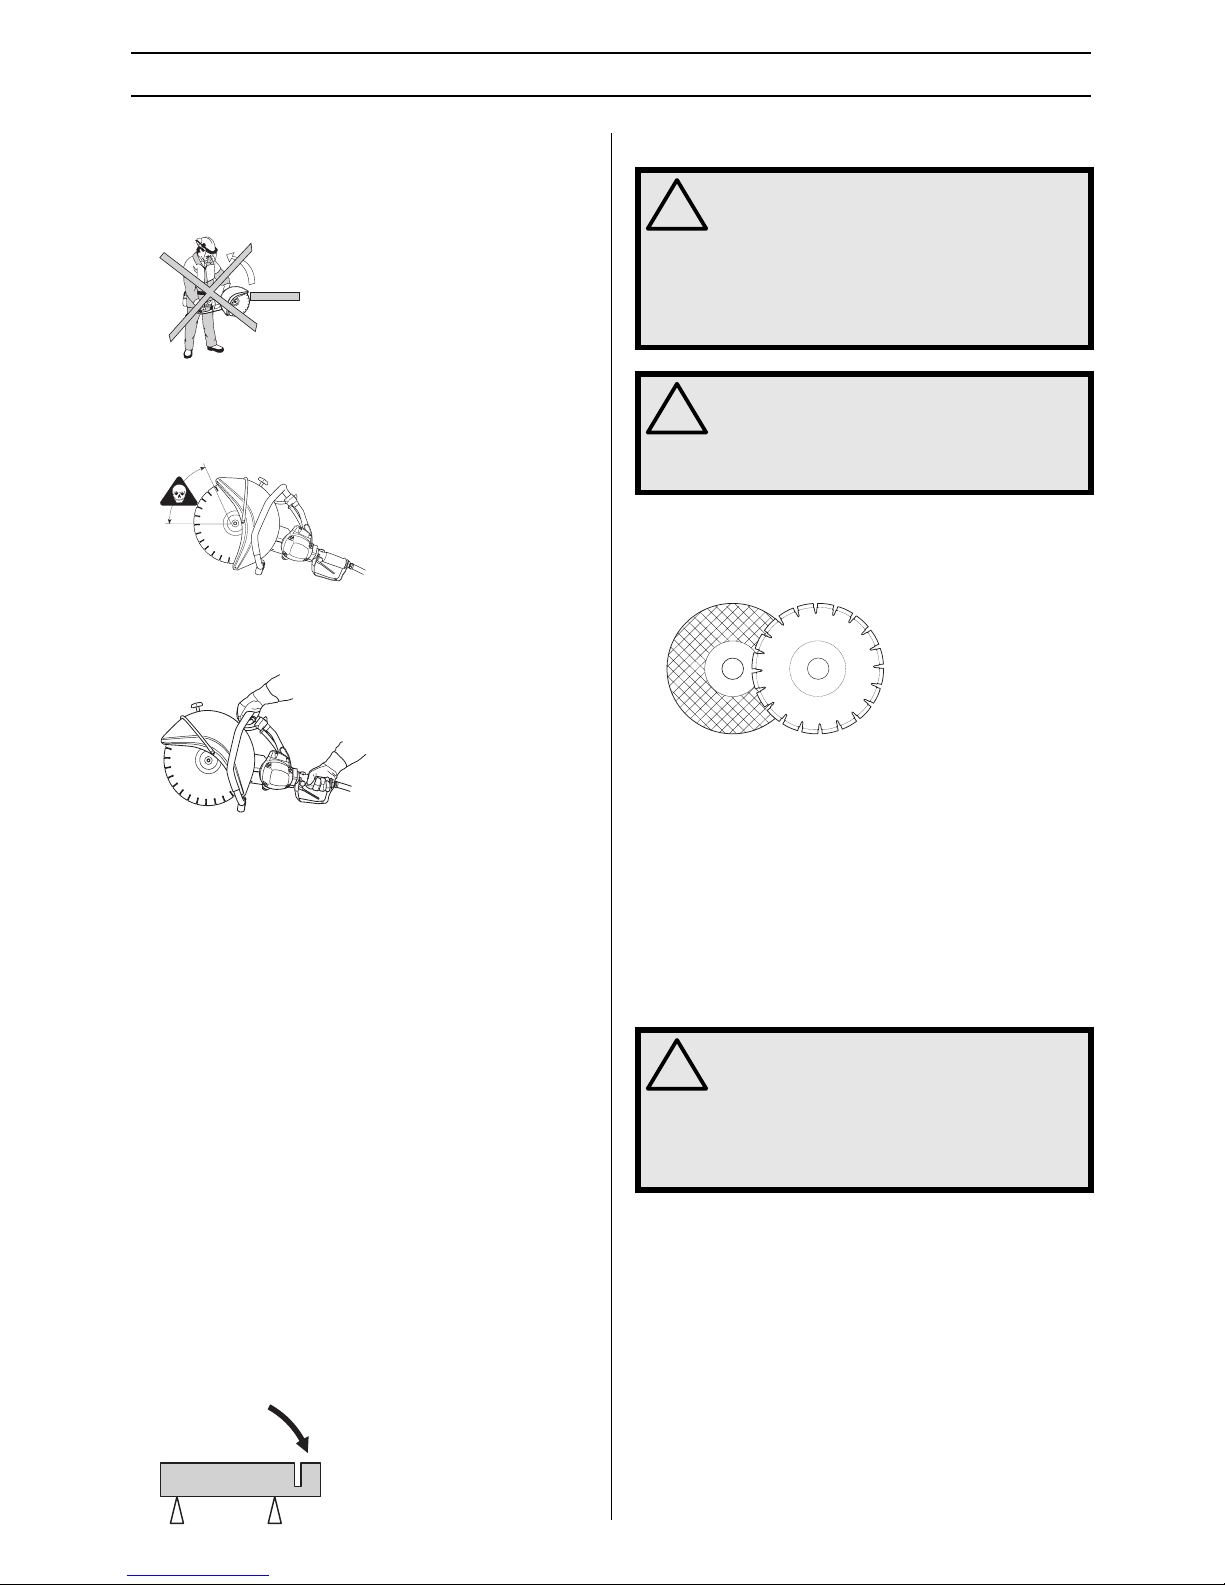
• A power cutter is designed to cut hard materials, such as
masonry. Observe the increased risk of kickback when
cutting soft materials. See instructions under the heading
How to avoid kickback.
• Do not use the power cutter until you have read the entire
contents of this Operator’s Manual.
All servicing, in addition to the points listed in the section
”Control, maintenance and service of the power cutter’s
safety equipment”, should be carried out by trained
service specialists.
• Never use the machine if you are tired, if you have drunk
alcohol, or if you are taking medication that could affect
your vision, your judgement or your co-ordination.
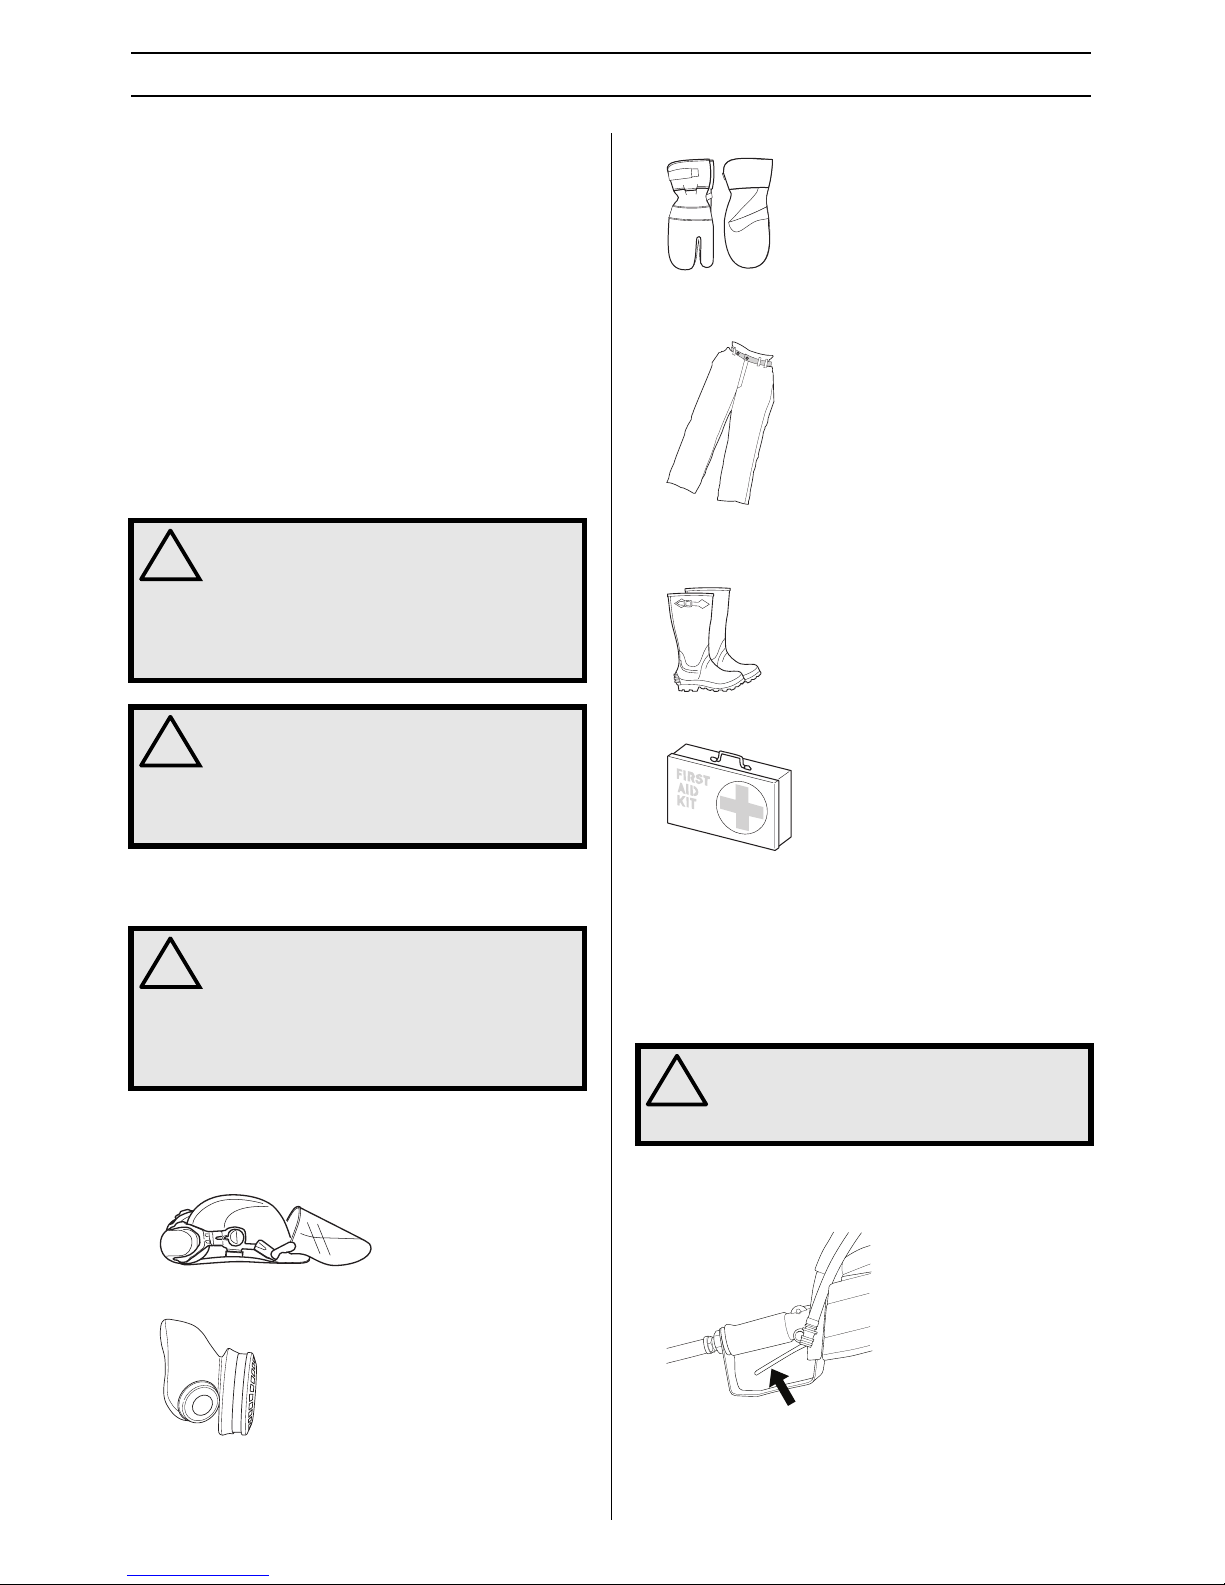
• Wear personal protective equipment. See instructions
under the heading Personal protective equipment.
• Never use a machine that has been modified in any way
from its original specification.
• Never use a machine that is faulty. Carry out the checks,
maintenance and service instructions described in this
manual. Some maintenance and service measures must
be carried out by trained and qualified specialists. See
instructions under the heading Maintenance.
• Never allow anyone else to use the machine without first
ensuring that they have understood the contents of the
operator’s manual.
Transport and storage
Do not store or transport the power cutter with the cutting
blade fitted.
Store the power cutter in a lockable area so that it is out of
reach of children and unauthorised persons.
All blades should be removed from the cutter after use and
stored carefully. Store cutting blades in dry, frost free
conditions.
Special care should be taken with abrasive discs. Abrasive
discs must be stored on a flat, level surface. If blades are
supplied with a backing pad then a spacer should be used to
keep them flat. If an abrasive disc is stored in humid
conditions, this can cause imbalance and result in injury.
Inspect new blades for transport or storage damage.
General working instructions
Basic safety rules
• Look around you:
- To ensure that people, animals or other things cannot
affect your control of the machine.
- To make sure that none of the above come into contact
with the cutting blade.
• Do not use the machine in bad weather, such as dense
fog, rain, strong wind, intense cold, etc. Working in bad
weather is tiring and can lead to dangerous conditions,
e.g. slippery surfaces.
• Never start to work with the power cutter before the
working area is clear and you have a firm foothold. Look
out for any obstacles with unexpected movement. Ensure
when cutting that no material can become loose and fall,
causing operating injury.Take great care when working on
sloping ground.
• Make sure that no clothes or parts of the body come in
contact with the cutting equipment when it is rotating.
• Keep at a safe distance from the cutting equipment when
it is rotating.
• The guard for the cutting equipment must always be on
when the machine is running.
• Ensure that the working area is sufficiently illuminated to
create a safe working environment.
• Do not move the machine when the cutting equipment is
rotating.
• Always ensure you have a safe and stable working
position.
• Make sure that no pipes or electrical cables are routed in
the area to be cut.
• Ensure that the air hose is behind you when you start to
use the machine so that the hose is not damaged.
!
WARNING! Always check that the guard is
correctly fitted before starting the machine.
Check that the cutting blade is fitted
correctly and does not show signs of
damage. A damaged cutting blade can cause
personal injury. See instructions under the
heading Assembly.
!
WARNING! This section describes basic
safety directions for using a power cutter.
This information is never a substitute for
professional skills and experience. If you get
into a situation where you feel unsafe, stop
and seek expert advice. Contact your dealer,
service agent or an experienced power
cutter user. Do not attempt any task that you
feel unsure of!