English
– 5
SAFETY INSTRUCTIONS
Checking, maintaining and servicing
the machine
′′′′
s safety equipment
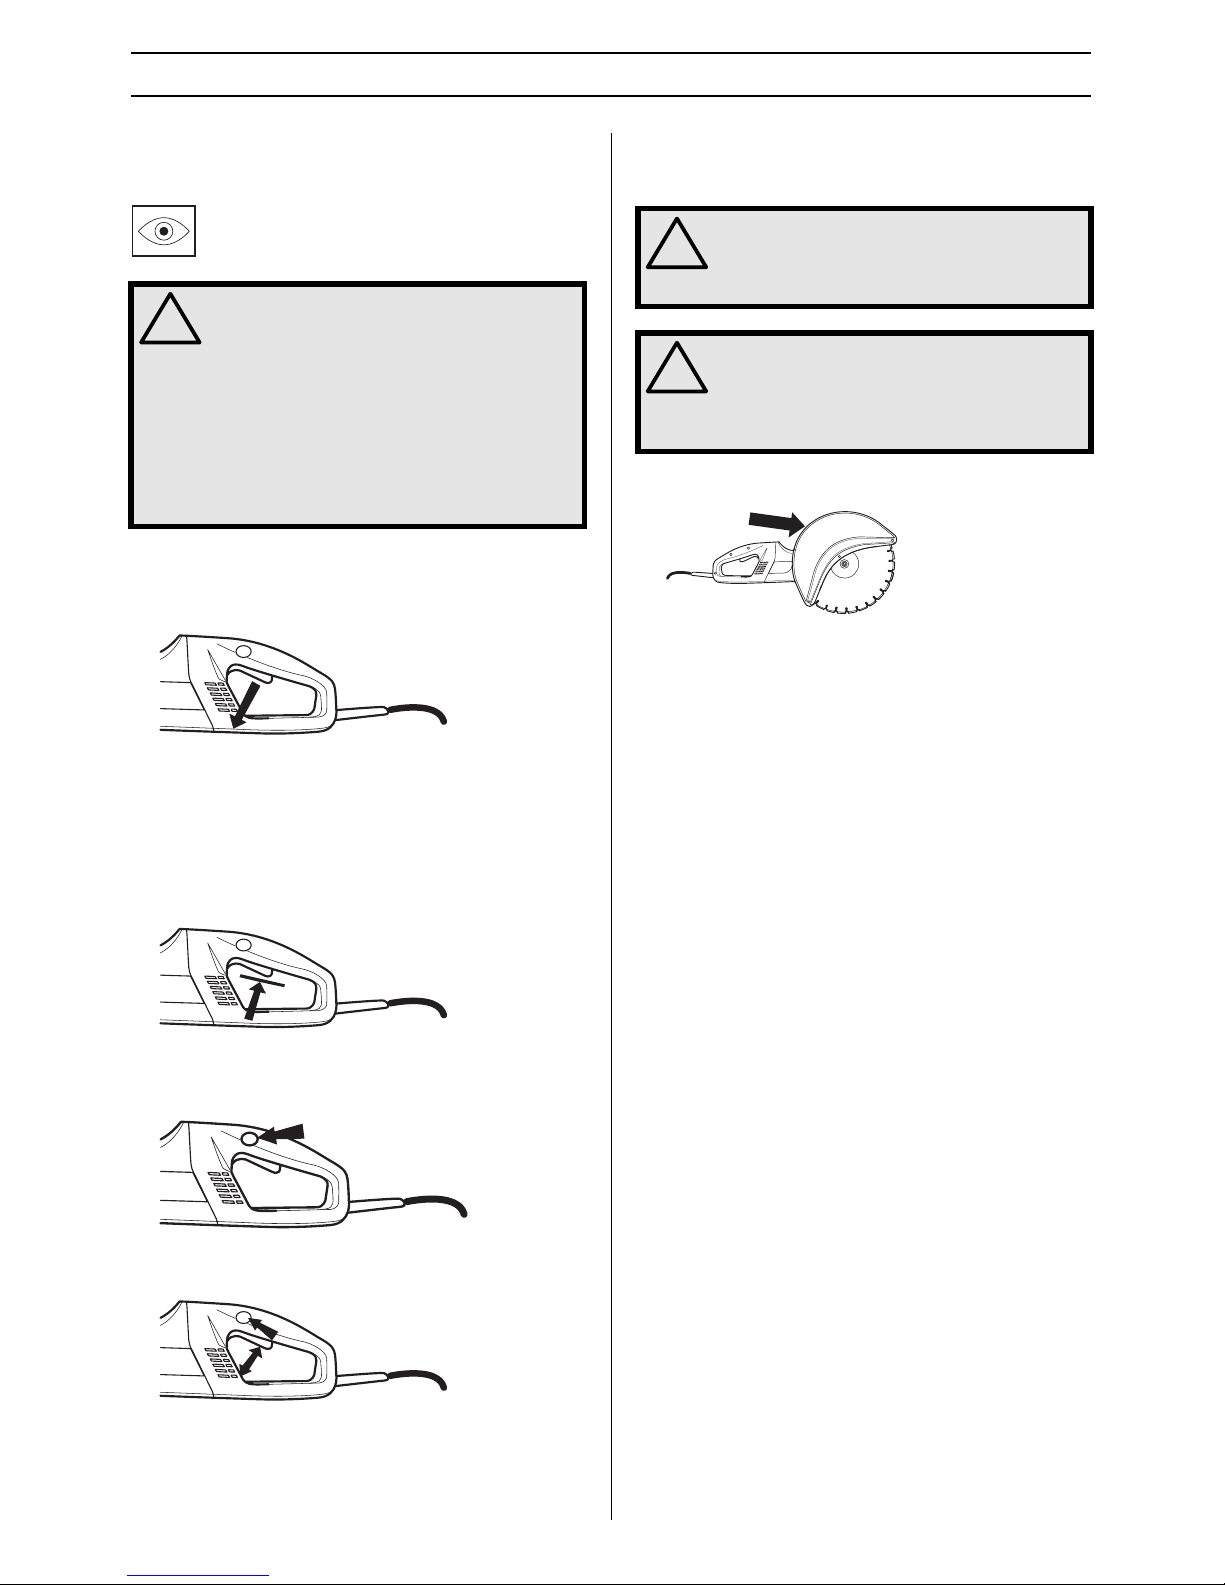
Checking the power switch
Start the machine, release the power switch and check that
the engine and the cutting blade stop.
A defective power switch should be replaced by an authorized
service workshop
Checking the power switch lock
Make sure the power switch is locked when the power switch
lock is in its original position.
Press in the power switch lock and make sure it returns to its
original position when you release it.
Check that the power switch and power switch lock move
freely and that the return springs work properly.
Start the machine, release the power switch and check that
the engine and the cutting blade stop.
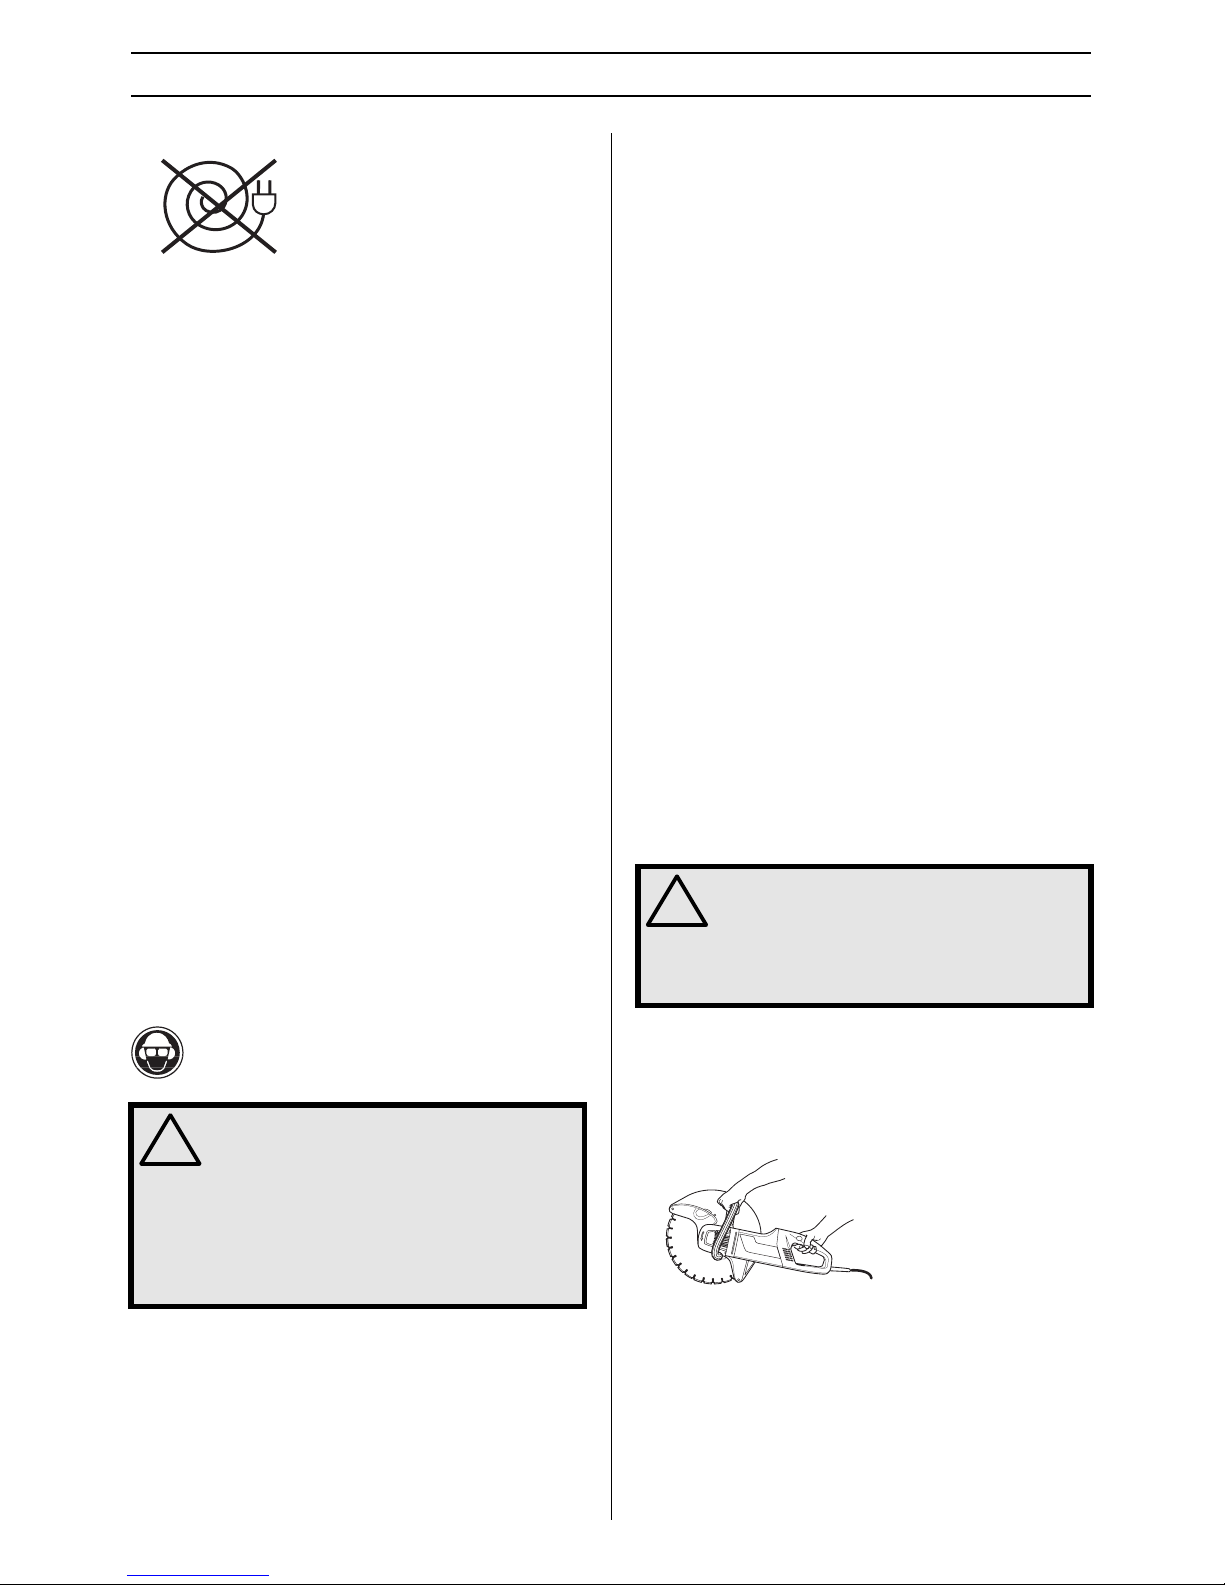
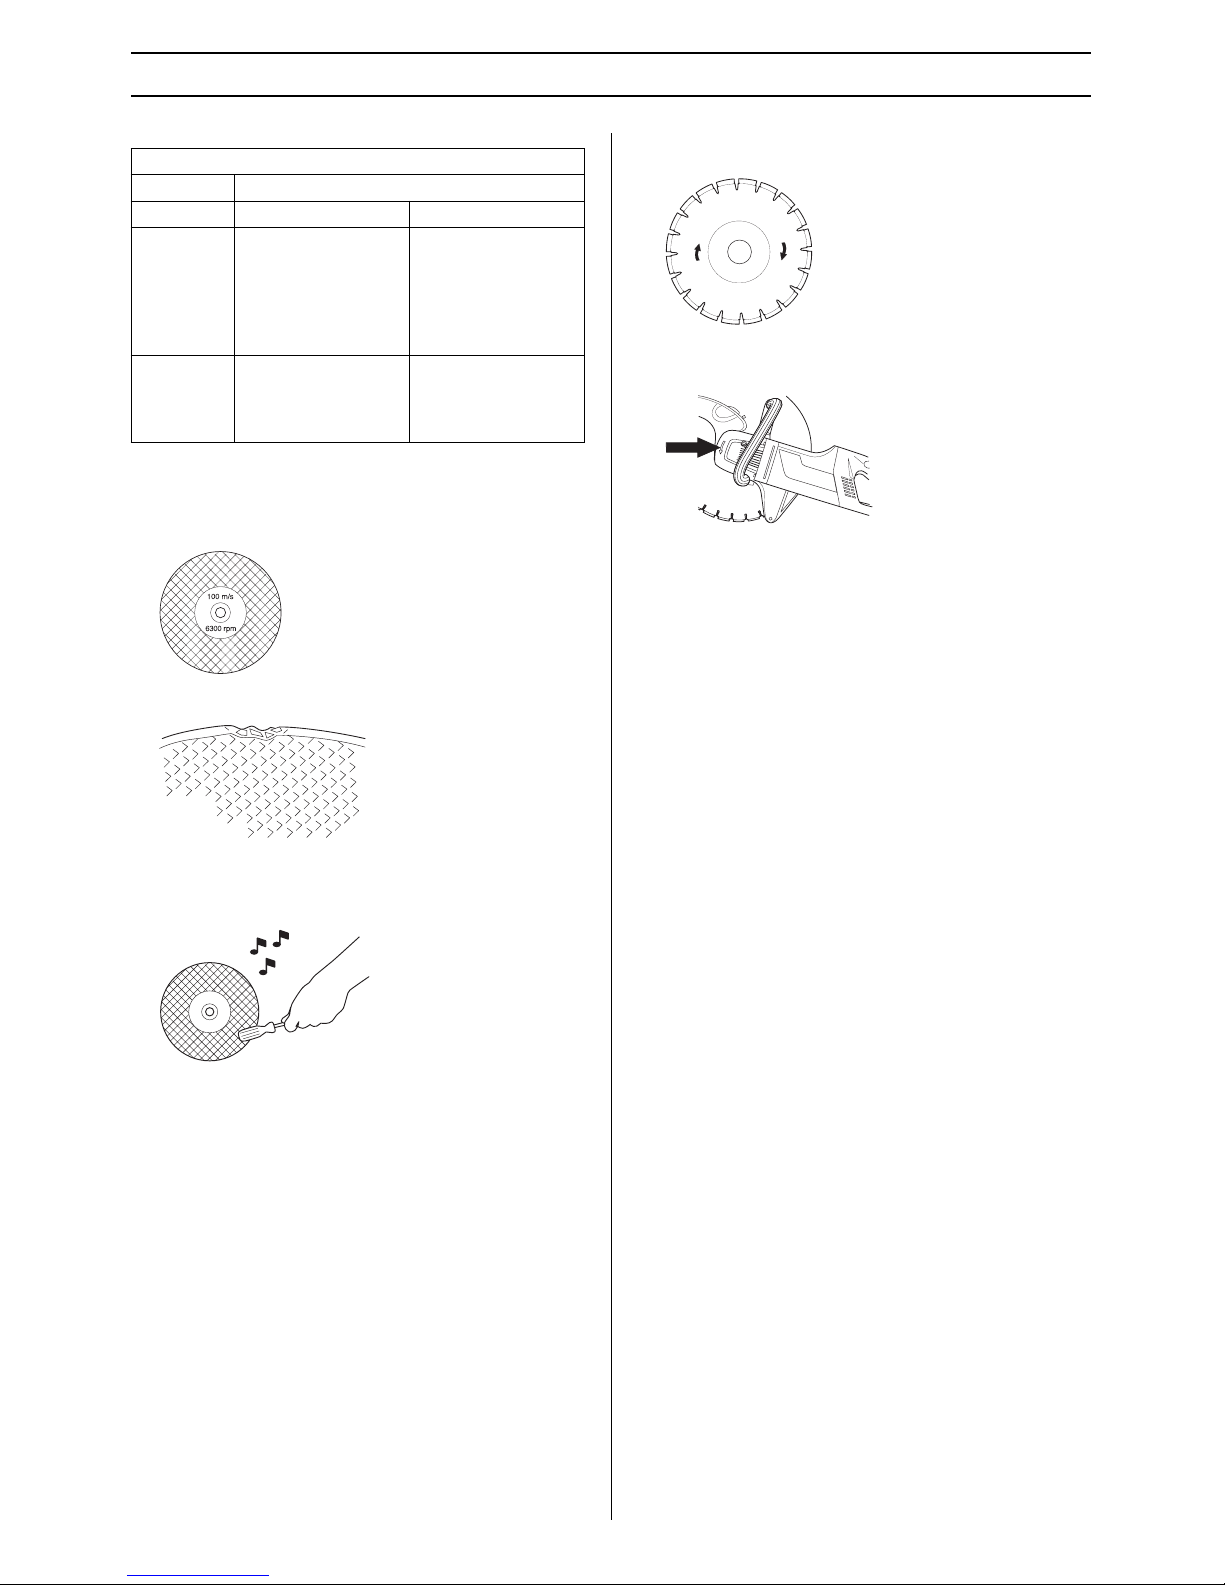
Inspection of the guard for the cutting
blade
Check that the guard is intact and that the material is not
cracked or deformed.
General safety precautions
• A power cutter is designed to cut hard materials such as
concrete/stone and steel/iron. Observe the increased risk
of kickback when cutting soft materials. See instructions
under the heading How to avoid kickback.
• Do not use the power cutter until you have read the entire
contents of this Operator’s Manual.
All servicing, in addition to the points listed in the section
”Control, maintenance and service of the power cutter’s
safety equipment”, should be carried out by trained
service specialists.
• Never use the machine if you are tired, if you have drunk
alcohol, or if you are taking medication that could affect
your vision, your judgement or your co-ordination.
• Wear personal protective equipment. See instructions
under the heading Personal protective equipment.
• Never use a machine that has been modified in any way
from its original specification.
• Do not use the machine in wet or humid surroundings,
close to water, in the rain or snow. Dampness can cause
short circuiting.
• Be on your guard for electrical shocks. Avoid having body
contact with lightning-conductors/metal in the ground.
• Never carry the machine by means of the cord and never
pull out the plug by pulling the cord. Keep all cords and
extension cords away from water, oil and sharp edges.
Make sure the cord is not pinched in doors, fences or the
like. Otherwise it can cause the object to become live.
• Check that the cord and extension cord are intact and in
good condition. Never use the machine if the cord is
damaged, hand it in to an authorized service workshop for
repair.
!
WARNING! All servicing and repair work on
the machine requires special training.This is
especially true of the machine′′′′
s safety
equipment. If your machine fails any of the
checks described below you must contact
your service agent.When you buy any of our
products we guarantee the availability of
professional repairs and service. If the
retailer who sells your machine is not a
servicing dealer, ask him for the address of
your nearest service agent.
!
WARNING! Always check that the blade
guard is correctly fitted before starting the
machine. See instructions under the
heading Assembly.
!
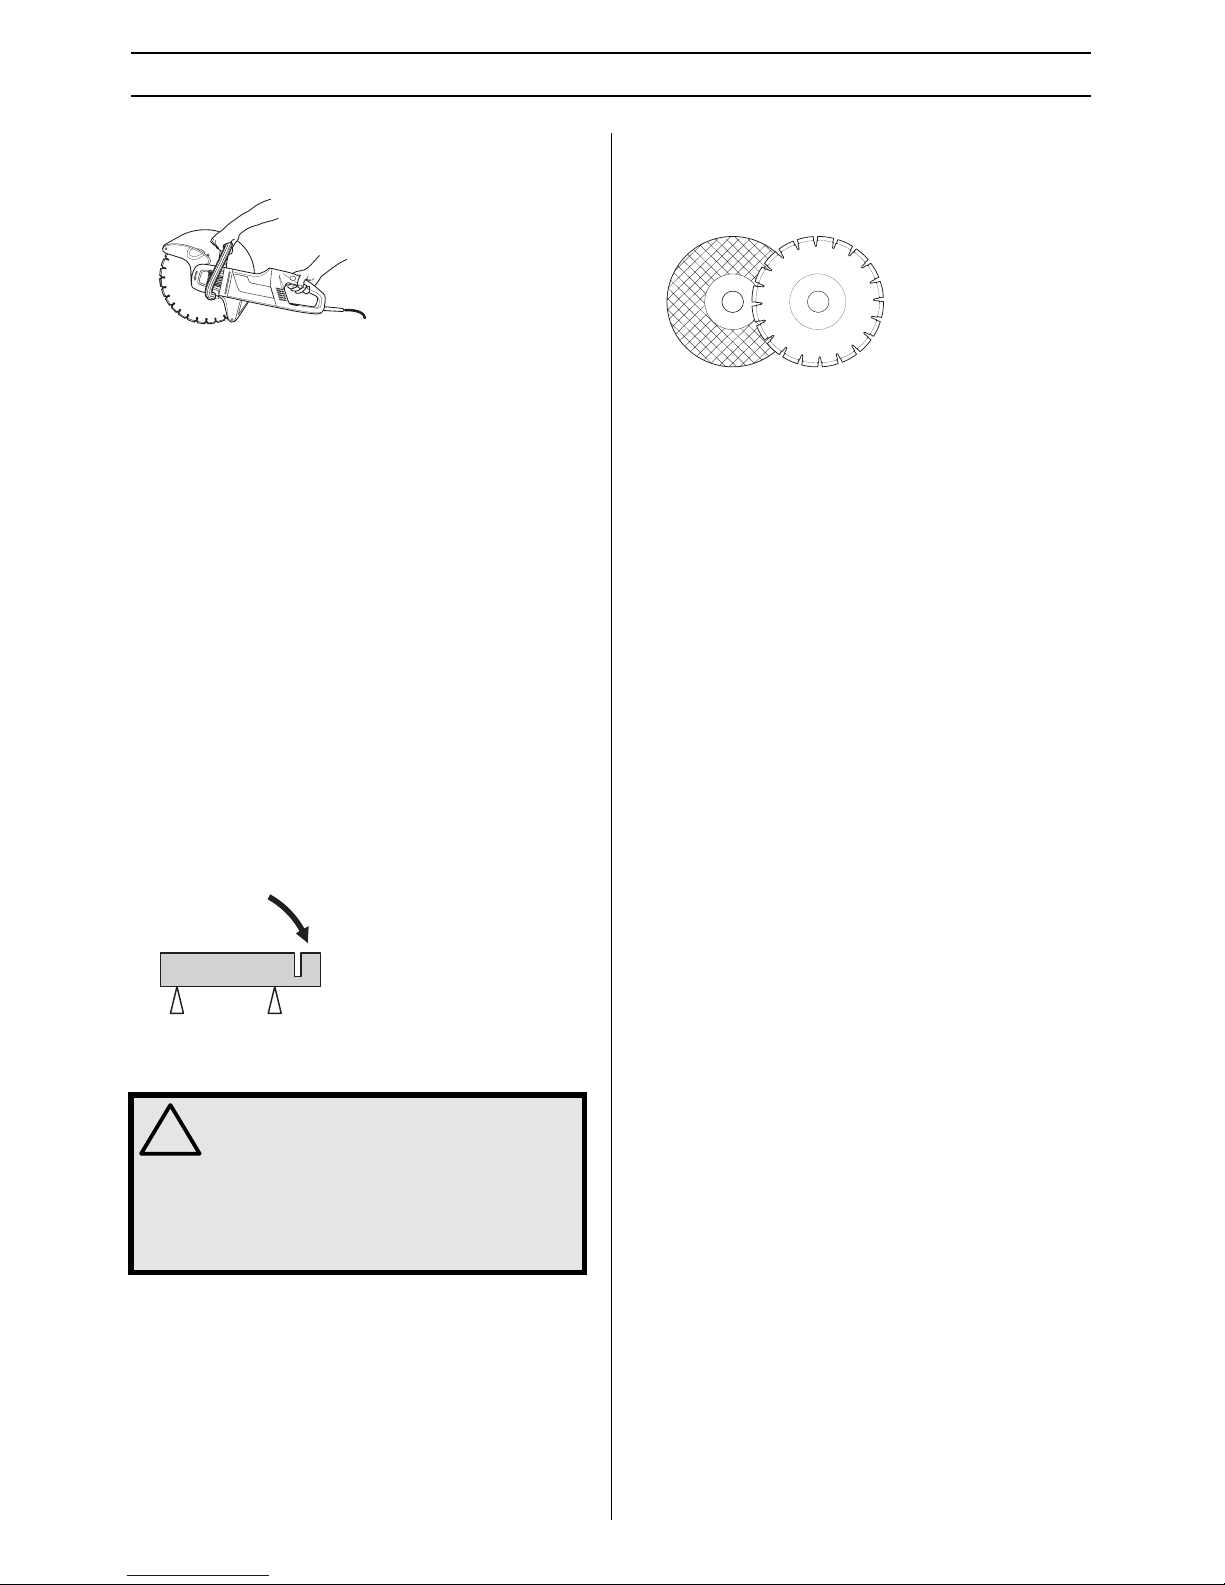
WARNING! Check that the cutting blade is
fitted correctly and does not show signs of
damage. A damaged cutting blade can
cause personal injury. See instructions
under the heading Assembly.