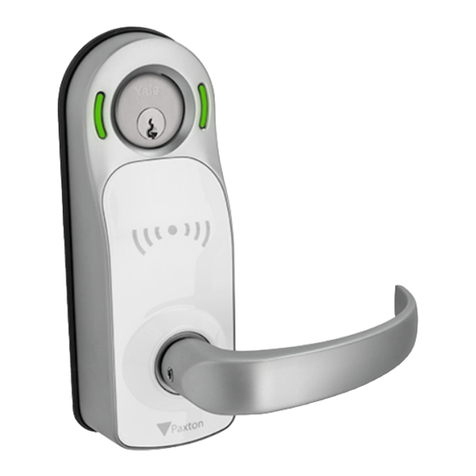
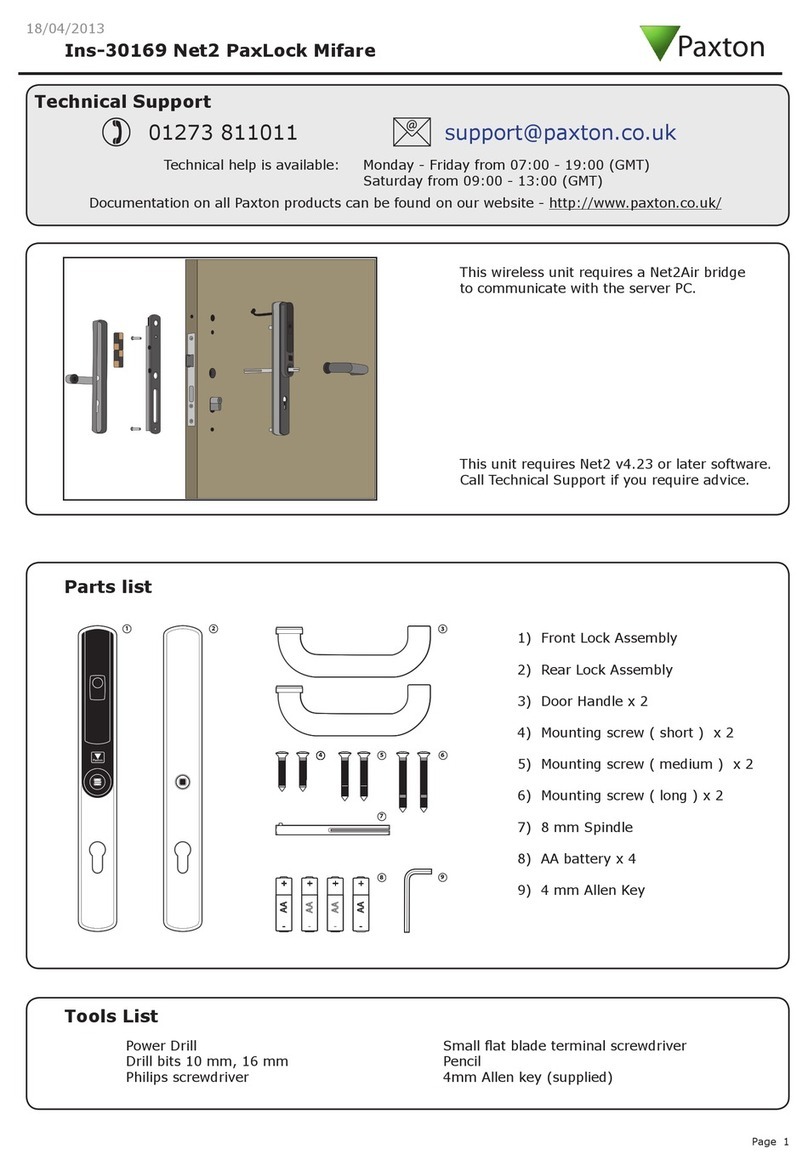
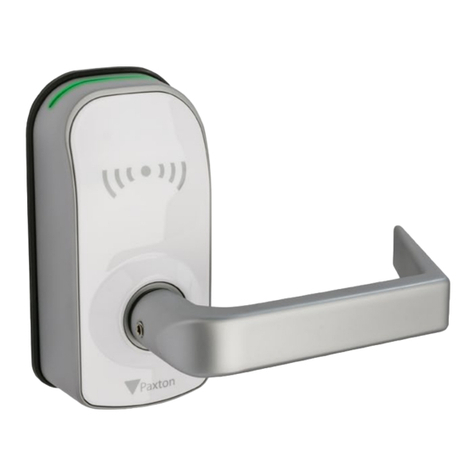
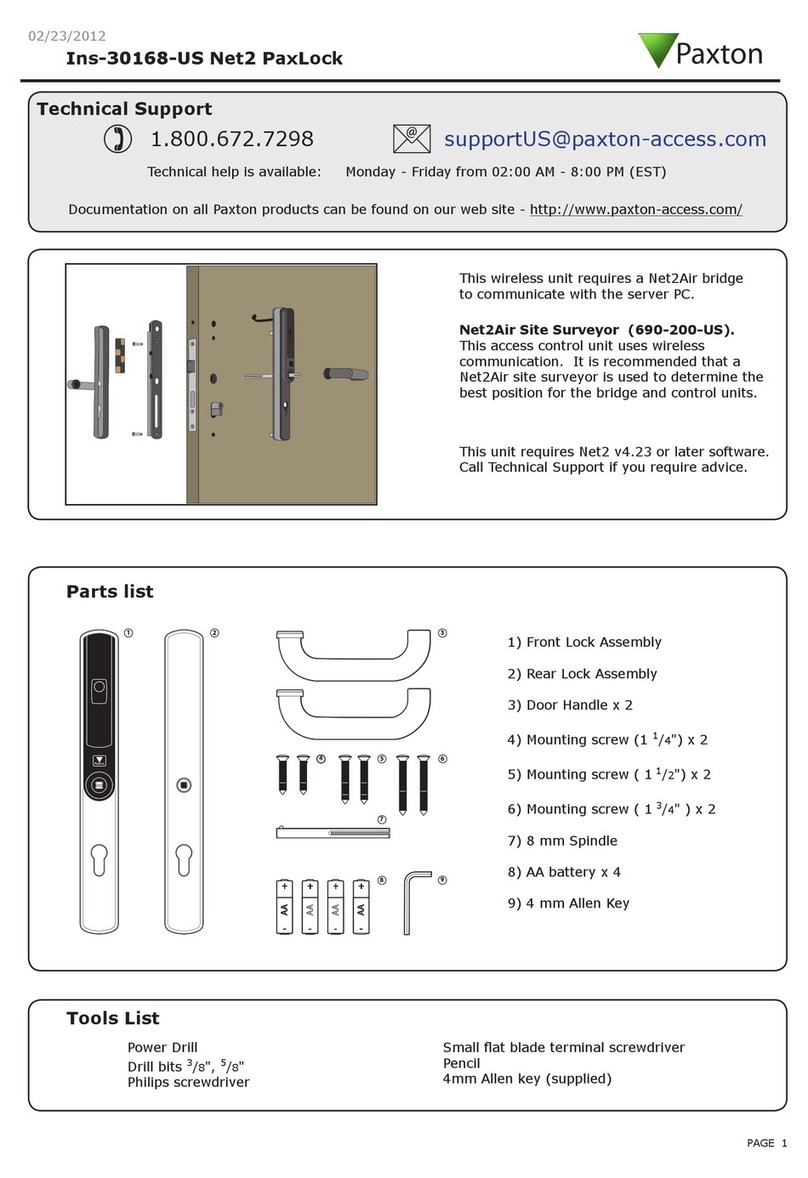
Paxton PaxLock Pro User manual

ins-30210-EN

Paxton
Ø 8mm
Ø 5mm
Ø 20mm
5
51515 2525 3535 45 55 654555
65 7060504030100 20102030406070 50
5
51515 2525 3535 45 55 654555
6575 7060504030100 20102030406070 50
85 80 8575 80
7585 80 8575 80
≤45º≤45º
Exterior
Außenseite
Extérieur
Beveiligde zijde
Exteriör
Külső
!
!
!
A
B
A A
B
B
B
B
1 x Spindle
2 x Through door bolts
2 x Straws
1 x m4 Box spanner
1 x 3mm Allen key
1 x Tee nut
2 x m4 x 8mm
1 x m4 x 10mm
Drill
Hammer
Ø 8mm drill bit
Ø 5mm drill bit
Pencil
Pozi head screw driver
Flat head screw driver
2 x m4 x 16mm
2 x m4 Flange nuts
2 x m4 x 26mm
4 x AA batteries
1 x drilling template
?
?
?
?
?
?
?
?
?
?
?
?
?
?
?
2

Paxton
Ø 8mm
Ø 5mm
Ø 20mm
5
51515 2525 3535 45 55 654555
65 7060504030100 20102030406070 50
5
51515 2525 3535 45 55 654555
6575 7060504030100 20102030406070 50
85 80 8575 80
7585 80 8575 80
≤45º≤45º
Exterior
Außenseite
Extérieur
Beveiligde zijde
Exteriör
Külső
!
!
!
A
B
A A
B
B
B
B
4
m4 x 8mm
3
2
1
=
=
Ø8mm
Ø20mm
38mm
Ø5mm
Exterior
7mm
8
7
Scandinavian
6
DIN18251-1
5
2
1
Insert the spindle into the lockset
follower and place the template over
the top.
Ensure the measurements are equal
to the door edge at the top and
bottom and mark out the applicable
holes.
Using a 5mm drill bit, drill a hole
7mm deep where indicated.
Hammer the tee nut into the drilled
hole, ensuring it sits ush with the
door.
Screw the m4 x 8mm screw into the
tee nut and tighten up fully.
Pass the supplied straws over the
wires and along bolts.
For Scandinavian prole locksets:
Re-thread the wires through the unit
in alignment with the lockset holes,
then feed the bolts over the wires
and tighten by hand.
For DIN18251-1 locksets:
Feed the through door bolts over
the wires and tighten by hand.
Insert the spindle into the square
slot with the pin facing down.
Using the follower bar as leverage
separate the chassis from the
main body of the unit.
2 3

12
m4
11
90˚
10
9
m4 x 16mm
16
15
2
1
14
m4 x 10mm
13
-Don’t over tighten
-ne pas trop serrer
-niet te strak trekken
-Nicht zu eng anziehen
-No sobreajuste
-Dra inte åt för hårt
-Draai niet te vast
-Não aperte demasiado
-Ne húzza meg túlságosan
-Undlad at overspænde
!
Hand the PaxLock Pro to suit the
door.
Then secure the chassis to the body
using the 2 m4 x 16mm bolts
provided.
Feed the through door bolts and
spindle through the lockset
ensuring it sits ush against the
door face.
Discard or recycle the paper straws. Feed the battery side chassis over
the bolts and spindle.
Thread the supplied m4 nuts over
the wires and onto the bolts.
Tuck the wires behind the PCB so
they do not obscure the circuit
board.
Unclip the 4 connector blocks.
Insert each colour wire into its
corresponding coloured connector
and close the connector block until
you hear a click.
NOTE: Do NOT strip the wires.
Screw the self-tapping m4 x 10mm
wood screw into the door.
Tighten the m4 nuts with the box
spanner provided
Caution: Over tightening can
cause the back plate to bow. Only
hand tighten using the box
spanner provided.
4

20
1
2
19
3 mm
1 2
18
m4 x 26mm
17
Insert the 4 supplied AA batteries
and close the lid to the battery
compartment.
Feed the rear chassis over the spin-
dle and screw in the supplied m4 x
26mm machine screws.
Using the Allen key provided tighten
up the grub screw on each handle.
Feed the rear fascia over the handle
and x to the chassis, inserting it at
the top rst and then pushing down
on the bottom, until you hear a click.
4 5

4
3
2
1
17
6
5
Ensure there is a bridge connected
and within range and present the
enrolled token to the PaxLock Pro,
you will hear a beep.
NOTE: Make sure Net2 is in
commissioning mode via the cong
utility.
Type in the name of the user and
click ‘ Add user’.
Present a new token to the desktop
reader.
Install and open the latest version
of Net2.
The PaxLock Pro will now bind with
the Net2Air bridge providing the
strongest signal, the LEDs will ash
red and green during this process.
The PaxLock Pro will now appear as
a door in Net2.
6

!
4
3
3 mm
2
1
6
1..2..3
5
Low battery warning:
When the PaxLock Pro’s battery is
low the LED will ash red 5 times
when a token is presented. There is
also a battery indication within the
doors menu in Net2.
If the batteries run out:
Present a 9V battery to the jump
start pins under the front of the unit,
while keeping the battery in place
present a valid credential to the
reader and gain access through the
door.
Unscrew both the m4 x 26mm
machine screws.
Loosen, but do not remove the grub
screw in the handle.
Feed the cover along the handle to
remove.
Locate a terminal screwdriver into
the groove at the bottom of the
cover and angle the screwdriver
down to pop o the cover.
4
3
2
1
17
6
5
Remove the chassis from the back of
the unit.
Reset the unit by pressing and
holding on the button in between
the connector block. Hold until you
hear 3 beeps.
6 7

0 m
3m
15m
20m
30m
50ft
65ft
100ft
10ft
0 ft
≤ 50000
4 x AA Alkaline
IEEE 802.15.4
3m - 15m
-20°C +55°C
≤ 10 mm
10 ft - 50 ft
-4°F +131°F
-0°C +49°C
+32°F +120°F
35 - 60 mm 6V
800mA
Up to 50,000 users
Battery side operating temperature range
of: 0˚C to +49˚C / 32-F to +120F.
Optimal distance between Net2Air bridge
and PaxLock Pro 3-15m / 10-50ft
Communicates using the IEEE 802.15.4
standard
Token read range of ≤ 10mm from the
reader.
Suitable for installation on doors of widths
from 35mm to 60mm
Reader side operating temperature
range of: -20˚C to +55˚C / -4F to +131F
Requires 4 x AA Alkaline batteries
Battery power usage rated at 6V and
800mA
For best placement of the Net2Air bridge in relation to the PaxLock
Pro follow the guidelines below.
0-3m / 0-10ft: Not recommended
3-15m / 10-15ft: Optimal signal strength
15-30m / 50-100ft: Outer limit
30m+ / 100ft+: Not recommended
8

0 m
3m
15m
20m
30m
50ft
65ft
100ft
10ft
0 ft
≤ 50000
4 x AA Alkaline
IEEE 802.15.4
3m - 15m
-20°C +55°C
≤ 10 mm
10 ft - 50 ft
-4°F +131°F
-0°C +49°C
+32°F +120°F
35 - 60 mm 6V
800mA
2
Paxton
1
Paxton
Paxton
FUNCTION CARD
Enrolment card
1.At installation, present this card to the
readerto validate the tokens in this pack
2.To re-validate a user token present this
enrolmentcard to the reader followed by the
usertoken
1.At installati
readerto v
2.To re-v
usertoken
Moreinfo:
6
5
4
3
Paxton
To put the unit in Standalone mode,
take out the enrolment card from
the card pack.
Present the enrolment card to the
PaxLock Pro, you will hear a beep
and the LEDs will ash green once.
Issue the token to the user.Write the recipient of the tokens
name on the corresponding shadow
card.
Store the enrolment card back in the
pack for later use.
Standalone
When presenting a token to the
PaxLock Pro the LEDs will ash green
once and it will not beep.
8 9

You can now use the token pack
associated with that enrolment
card.
4
Paxton
3
2
Paxton
1
Paxton
FUNCTION CARD
Enrolmentcard
1.Atinstallation, present this card to the
readertovalidate the tokens in this pack
2.Tore-validate a user token present this
enrolmentcardto the reader followed by the
usertoken
1.At installati
readerto v
2.To re-v
usertoken
Moreinfo:
6
Paxton
5
Present the Silent Operation card to
the reader, you will hear a beep and
the LEDs will ash green once.
To put the unit in silent operation
mode, take out the Silent Operation
card.
When presenting a token to the
PaxLock Pro the LEDs will ash green
once and it will not beep.
Presenting the Silent Operation card
to the reader again will re-enable
the sound, you will hear a beep and
the LEDs will ash green once.
Return the Silent Operation card to
the pack.
When presenting a valid token the
unit you will hear a beep and the
LEDs will ash green once.
Standalone
10

4
Paxton
3
2
Paxton
1
Paxton
FUNCTION CARD
Enrolmentcard
1.Atinstallation, present this card to the
readertovalidate the tokens in this pack
2.Tore-validate a user token present this
enrolmentcardto the reader followed by the
usertoken
1.At installati
readerto v
2.To re-v
usertoken
Moreinfo:
6
Paxton
5
6
Paxton
5
Paxton
4
3
Paxton
1
Paxton
FUNCTION CARD
Enrolmentcard
1.Atinstallation, present this card to the
readertovalidate the tokens in this pack
2.Tore-validate a user token present this
enrolmentcardto the reader followed by the
usertoken
1.At installati
readerto v
2.To re-v
usertoken
Moreinfo:
Paxton
2
The unit will beep and the LEDs will
ash green once every second.
Present the door open time card to
the PaxLock Pro, you will hear a beep
and the LEDs will ash green.
After the desired delay, present the
door open time card to the reader,
you will hear a beep and the LEDs
will ash green once.
Return the door open time card to
the pack.
Standalone
This card denes how long the door
will stay unlocked for after access is
granted.
To set the door open time, take out
the door open time card.
10 11

900-100WT
900-100BL
900-200WT
900-200BL
900-080
900 - 053 900 - 054
900 - 051 900 - 055 900 - 056
50mm-54mm
900-059
57mm-62mm
900-060
2
1
* * * * *
*http://paxton.info/3560
22
1
IP rating:
900-100WT - Not rated
900-100BL - Not rated
900-200WT - Reader side is IP55 rated
900-200BL - Reader side is IP55 rated
Accessories
1. Wide door kits:
900-059 PaxLock Pro 50-54mm door kit
900-060 PaxLock Pro 57-62mm door kit
2.Cover plates & escutcheons:
900-051 PaxLock Pro - Euro blank cover plate kit
900-053 PaxLock Pro - Euro prole cover plate kit, 70-72mm
900-054 PaxLock Pro - Euro prole cover plate kit, 90-92mm
900-055 PaxLock Pro - Scandinavian blank cover plate kit
900-056 PaxLock Pro - Scandinavian prole cover plate kit, 105mm
* For scale drawings of all cover plates refer to http://paxton.
info/3560
Installation jig
To help the preparation of doors before installing a Paxlock Pro an
installation jig is available to purchase via distribution or the Paxton
website.
900-080 PaxLock Pro - Euro DIN18251 door installation jig.
IP55
12

+44 (0)1273 811011
paxton.support
support@paxton.co.uk
877.438.7298
usapaxton.support
supportUS@paxton-access.com
+31 (0)76 3333 999
paxton.benelux.support
support@paxton-benelux.com
+32 (0) 78485147
paxton.benelux.support
support@paxton-benelux.com
+49 (0) 251 2080 6900
paxton.gmbh.support
+33 (0)1 57 32 93 56
support@paxtonaccess.fr
paxton.support
+27 (0) 21 4276691
support@paxtonaccess.co.za
paxton.support
8000 3570 3783
paxton.support
support@paxtonaccess.ae
+52 55 5351 3667
paxton.soporte
+57 1508 8198
paxton.soporte
+44 (0)1273 811011
paxton.support
support@paxton.co.uk
These products are not suitable for retail sale. All warranties are invalid if these products are not installed by a competent person.
Parts of this product are Copyright (c) 2013-2015 Atmel Corporation. All rights reserved. Redistribution and use in source and binary forms,
with or without modication, are permitted provided that the following conditions are met:
1. Redistributions of source code must retain the above copyright notice, this list of conditions and the following disclaimer.
2. Redistributions in binary form must reproduce the above copyright notice, this list of conditions and the following disclaimer in the docu-
mentation and/or other materials provided with the distribution.
3. The name of Atmel may not be used to endorse or promote products derived from this software without specic prior written permission.
4. This software may only be redistributed and used in connection with an Atmel microcontroller product.
THIS SOFTWARE IS PROVIDED BY ATMEL “AS IS” AND ANY EXPRESS OR IMPLIED WARRANTIES, INCLUDING, BUT NOT LIMITED TO, THE IMPLIED
WARRANTIES OF MERCHANTABILITY, FITNESS FOR A PARTICULAR PURPOSE AND NON-INFRINGEMENT ARE EXPRESSLY AND SPECIFICALLY
DISCLAIMED. IN NO EVENT SHALL ATMEL BE LIABLE FOR ANY DIRECT, INDIRECT, INCIDENTAL, SPECIAL, EXEMPLARY, OR CONSEQUENTIAL
DAMAGES (INCLUDING, BUT NOT LIMITED TO, PROCUREMENT OF SUBSTITUTE GOODS OR SERVICES; LOSS OF USE, DATA, OR PROFITS; OR
BUSINESS INTERRUPTION) HOWEVER CAUSED AND ON ANY THEORY OF LIABILITY, WHETHER IN CONTRACT, STRICT LIABILITY, OR TORT (IN-
CLUDING NEGLIGENCE OR OTHERWISE) ARISING IN ANY WAY OUT OF THE USE OF THIS SOFTWARE, EVEN IF ADVISED OF THE POSSIBILITY OF
SUCH DAMAGE.
The NET2 Paxlock is EN1634-1:2008 compliant up to FD60 Fire resistance.
Compliance is subject to the following conditions:
Paxlock shall be installed in conjunction with an appropriately rated mortice lock case. The re test and assessment reports are available on
request. For further details on the conditions of compliance Contact details are provided at:
http://paxton.info/596
Paxlock Pro is only EN179 compliant when used with the Paxton Access EN179 accessory kit (sales code 901-015).
http://paxton.info/1606
Paxton Access Ltd hereby declares that this product is in conformity with all the essential requirements of the Directive
2014/53/EU. https://www.paxton-access.co.uk/docs/Instructions/ins-181.pdf
The full declaration of conformity is provided at: http://paxton.info/3910
Contact details are provided at: http://paxton.info/596
12 13

© Paxton Ltd 1.0.0
Made in the UK
Other manuals for PaxLock Pro
3
This manual suits for next models
4
Other Paxton Door Lock manuals