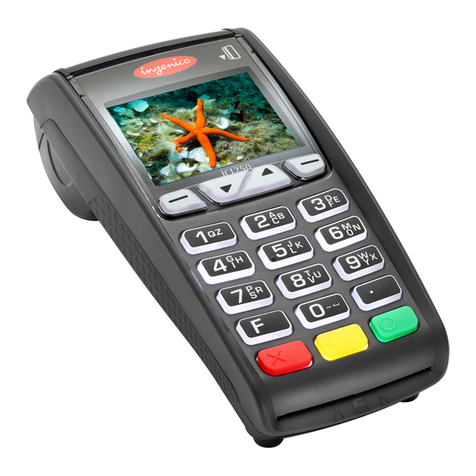
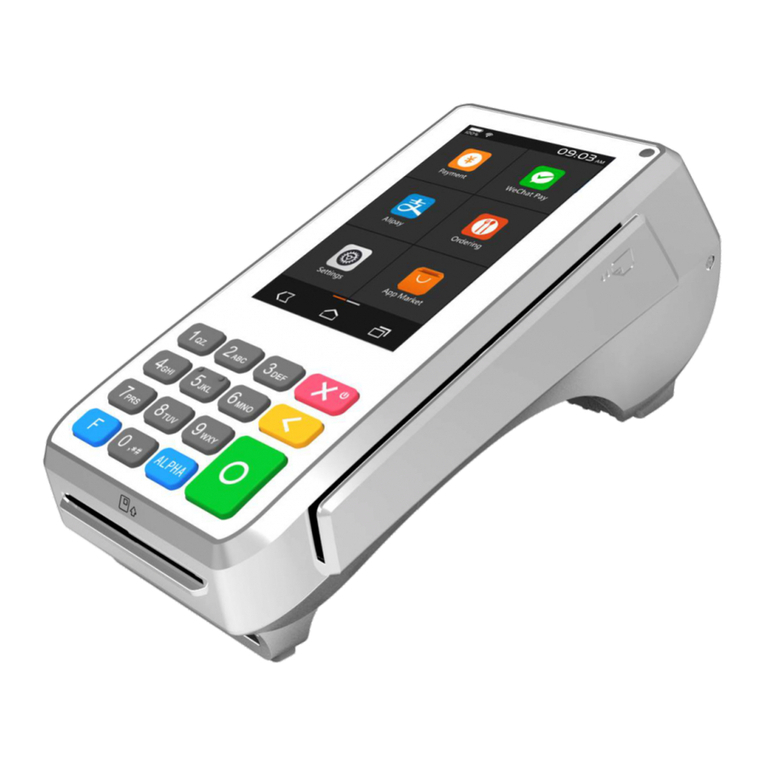
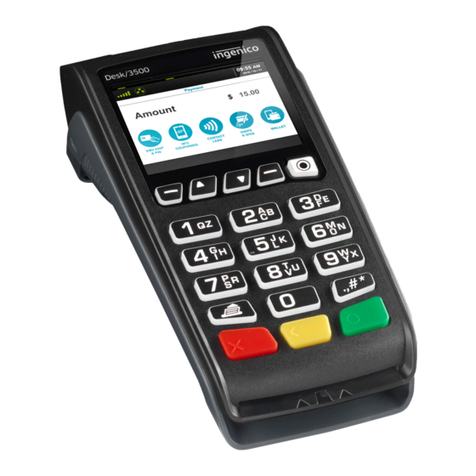
PayEx iPP350 User manual

Side 2av 20
Table of contents
1CHANGE LOG............................................................................................................... 3
2INTRODUCTION ........................................................................................................... 4
3CONTENT ...................................................................................................................... 5
3.1 Content in the package..............................................................................................5
3.2 Payment terminal iPP350 ..........................................................................................6
3.3Keyboard....................................................................................................................7
4INSTALLATION.............................................................................................................. 7
4.1 Connect cable .............................................................................................................7
4.2 Attach the safety screws (Optional) .........................................................................8
5GENERAL FEATURES..................................................................................................... 9
5.1 Different card payments ............................................................................................9
5.1.1 Chip card......................................................................................................................... 9
5.1.2 Contactless...................................................................................................................... 9
5.1.3 Magstripe card............................................................................................................... 9
6USAGE OF PAYMENT TERMINAL............................................................................... 10
6.1 Choose of Meny in Display .....................................................................................10
6.2 Purchase....................................................................................................................10
6.3 Reversal.....................................................................................................................12
6.4 Refund .......................................................................................................................13
6.5 Error Situations .........................................................................................................14
7PAYEX WEB REPORTS................................................................................................. 15
8CONFIGURATIONS .................................................................................................... 15
8.1 Change Security Code .............................................................................................15
8.1.1 New Operator Code....................................................................................................15
8.1.2 New Administrator Code ............................................................................................16
8.2 Update of PayEx Terminal Software or Configuration.........................................16
9CLEANING .................................................................................................................. 18
9.1 Cleaning of Chip Reader .........................................................................................18
9.2 Cleaning of Magstripe Reader................................................................................18
9.3 Cleaning of payment terminal ................................................................................18
10 RECYCLING.............................................................................................................. 19
11 CONTACT INFORMATION...................................................................................... 20

Side 3av 20
1 Change Log
Date
Change
Logged by
2016-02-25
Creating document
MR
© PayEx Group. All rights reserved. This interface manual is Copyright© 2020 by PayEx. This
document is the property of PayEx and the information contained herein is confidential. The
compositions and contents herein are not to be copied, reproduced, printed, published, posted,
displayed, incorporated, stored in or scanned into a retrieval system or database, transmitted,
broadcast, bartered or sold, in whole or in part without the prior express written permission of the
sole author, who is, unless otherwise denoted, PayEx. Unauthorized duplication is strictly prohibited
and is an infringement of National and International Copyright laws. Although the best efforts were
made to ensure that the information in the manual is complete and correct, PayEx makes no
warranty of any kind with regard to this material, including but not limited to the implied warranties
of marketability and fitness for a particular purpose. Information in this manual is subject to change
without notice. PayEx shall not be liable for errors contained herein or for incidental or consequential
damages in connection with the furnishing, performance, or use of this interface manual.

Side 4av 20
2Introduction
We congratulate you to choosing PayEx as a deliverer of your payment solution. We are
confident that you will be satisfied with your new payment terminal iPP350 and that it will bring
efficiency and prosperity to your company for a long time forward.
Read this user manual thoroughly and have it close to hands to maximize your terminal value.
3rd Party Support will help you with any questions you might have for your POS System,
Terminal, transactions etc. You are welcome to call or send an e-mail to us:
Opening Hours
Week Days: 08.00 - 23.30
Weekends: 08.00 - 19.00
Deviation can occur
Phone Number
+46
If you are calling from outside your country add +46 prior to our phone number
E-Mail
kundsupport@xxx.se
Address
xxx
Sincerely
PayEx POS
Team
Warning!
This symbol indicates a warning or an important message.
Tip!
This symbol represents a tip or advisement from PayEx.

Side 5av 20
3Content
3.1 Content in the package
Verify that your delivery from PayEx includes the following:
Payment terminal iPP350 USB Communications cable
Warning! The communications cable that is delivered together with the terminal is
specially designed for the Ingenico iPP350 PayEx terminal. Do not use any other
communication cables that are not provided by PayEx. Usage of 3rd Party communication
cables with the same characters can damage your payment terminal.
Tip! Save the package. The package has to be used when the terminal is transported.

Side 6av 20
3.2 Payment terminal iPP350
Weight
310g
Dimensions (L x W x H)
164,5 x 76 x 53,5mm
Power
In:100-240V/50-60Hz/150mA
Ut: 5V/1000mA
External connection
µUSB AB serial connection

Side 7av 20
3.3 Keyboard
4Installation
Follow these installations steps to connect your iPP350 payment terminal to your cash register.
4.1 Connect cable
1) Connect the communications cable on the backside of the payment terminal and put
down the safety barrier.

Side 8av 20
4.2 Attach the safety screws (Optional)
2) Attach the safety screws to the head of the communications cable so that it is attached to
the payment terminal.
The screws that will be used needs to use the M2.5x8.
PS!Screws are not part of the delivery from PayEx.
Warning! Chip card needs to be in the payment terminal during the whole transaction. A
message will appear on the display when you can remove the card.
Warning! Chip card needs to be in the payment terminal during the whole transaction. A
message will appear on the display when you can remove the card.

Side 9av 20
5General features
5.1 Different card payments
Payment terminal iPP350 is able to handle magstripe, chip and contactless cards.
5.1.1Chip card
Press in the chip card horizontally with the metal chip up in the card reader in the payment
terminal.
Follow the instructions on the payment terminal.
PS!! If a payment card has Chip then the Chip has to be used.
5.1.2Contactless
Contactless cards are added on the display of the terminal when the Contactless logo is
visible.
Follow the instructions on the payment terminal.
5.1.3Magstripe card
Magstripe cards are read when you swipe the magstripe track on the payment terminals right
side. The card is either swiped from up to down or down to up and the card is best processed if
it is used with the same consistent speed but not too slow.

Side 10 av 20
6Usage of payment terminal
Payment terminal iPP350 is delivered with a ready to use payment.
All the transactions are started from ECR as this is an integrated terminal.
This chapter will describe all the operations that needs to be performed to being able to for
example perform a transaction.
6.1 Choose of Meny in Display
When there are multiple choices in the display you can scroll to the desired option with the
navigations buttons or press the assigned number next to the choice.
6.2 Purchase
A purchase is started from ECR, after this a set of messages will be displayed on the terminal
which will inform the card owner what needs to be done and the results.
Customer dialogue will display the below steps
Card holder is asked to insert the chip, put the Contactless or
swipe their magstripe card.
The cards brand will be displayed.
Payment terminal is processing the card data and performs
verforms an authentisity check of the card.
PURCHASE
Insert card
25.00 SEK
Abort
PURCHASE
VISA
Purchase
PLEASE WAIT...

Side 11 av 20
Card holder will Enter Pin and Press OK
. O OK . Korrigera
To correct value, press the < button
PURCHASE
PURCHASE
PIN OK
WRONG CODE
Some of the above messages will be shown, depending if the PIN CODE was entered correctly
or not. When a wrong PIN Code is entered, the customer will be allowed a new chance as long
as the card allows it.
After the PIN Code is approved the payment terminal will
contact the card holders bank or institution to verify the
purchase.
PURCHASE
PURCHASE
APPROVED
DECLINED
Either display will be shown depending if the card holders bank or institution approved or
declined the purchase.
Tip! There are a large variety of reasons to why a purchase is declined and the reason is
almost always related between the card holder and card holders bank or institution. As
an operator you should not inform the card holder that their balance is too low.
VISA
25.00 SEK
Code: ****
Enter PIN + OK
PURCHASE
PLEASE WAIT...

Side 12 av 20
6.3 Reversal
A reversal is only possible to perform on the latest approved transaction. If a new purchase has
been performed then it is only possible to perform reversal for the latest transaction and not the
previous one. A reversal is always initiated from ECR and the following messages will be
displayed on the
The cards brand will be displayed.
Payment terminal is processing the card data.
The message will inform that the Reversal is performed and
approved.
REVERSAL
VISA
REVERSAL
PLEASE WAIT…
REVERSAL
APPROVED

Side 13 av 20
6.4 Refund
A refund is performed if for example the customer does want to return a product, the refund is
initiated from the ECR and the following messages will be displayed
Card holder is asked to insert the chip, put the Contactless or
swipe their magstripe card.
The cards brand will be displayed.
Payment terminal is processing the card data and performs
an authenticity check of the card.
The message will inform that the Reversal is performed and
approved. A receipt needs to be printed.
REFUND
INSERT CARD/SWIPE CARD
25.00 SEK
Abort
REFUND
VISA
RETUR
PLEASE WAIT...
RETUR
APPROVED

Side 14 av 20
6.5 Error Situations
This chapter will go through some situations that the card holder might go through
Chip card is unreadable or is not insert correctly in the
terminal. Remove the card, try again with the magnetic chip
up towards the card holder as shown on picture on page 9.
If the chip is not usable then this card cannot be used and
the card holder needs to use another card for payment.
The card has chip but has been read with the magstripe
instead. Use the chip on the card.
Contactless cards will ask the card holder to verify that they
are the owner by settings the card in by using chip and
verifying with PIN Code.
Card holder has entered the wrong PIN. Please try again.
This message will indicate two things:
1. Card holders bank or institution has declined the
purchase. Please choose another card to perform the
purchase.
2. Purchase is declined since the terminal is offline.
Card holder has removed the chip card too early from the
terminal. The transaction needs to be reperformed.
PURCHASE
REMOVE CARD
PURCHASE
USE CHIP
SEK 25.00
ABORT
PURCHASE
WRONG PIN
PURCHASE
DECLINED
PURCHASE
CARD REMOVED

Side 15 av 20
Warning! If a purchase is declined and the Response Code is not available (Two characters
on the receipt where it says “—“) then there might be connection issues. This might mean
that no other transactions will be approved.. Please contact your 1st Line to help you
troubleshoot this issue.
7PayEx Web Reports
If you wish to see an overview of all your transactions and history then you can use PayEx Web
Reports.
To access this site, please use the below URL:
https://pospay.payex.com/admin
If you need any help with accessing this site, contact PayEx Customer Operations at
support.pos@payex.com
Below is example of how the PayEx Web Reports looks like:
8Configurations
All configurations are normally set from your ECR. Here we will describe the settings that you
can change locally on your payment terminal through the Menu GUI.
8.1 Change Security Code
It is recommended that you immediately change the code after setting the payment terminal in
production or if you suspect that the code is.
8.1.1 New Operator Code
•Press to access the Menu and write the current Operator password (Default is
1234) and confirm with
•Press 2 (PayEx)
•Press 8 (Admin meny)
F3
O

Side 16 av 20
•Write the current Administrator password (Default is 1111) and confirm with
•Press 6 (Operator code)
•Press 1 (Change Code)
•Write the new password (4 siffror) and confirm with
•Rewrite the new password and confirm with
8.1.2 New Administrator Code
•Press to access the Menu and write the current Operator password (Default is
1234) and confirm with
•Press 2 (PayEx)
•Press 8 (Admin meny)
•Write the current Administrator password (Default is 1111) and confirm with
•Press 7 (Set admin code)
•Write the new password (4 siffror) and confirm with
•Rewrite the new password and confirm with
After a successful change of either Operator or Administrator password the below message will
be displayed as a confirmation:
CHANGE PASSWORD
CODE HAS BEEN CHANGED
8.2 Update of PayEx Terminal Software or Configuration
Payment terminal iPP350 is communicating to a central environment that will deliver actual
software, configuration and crypto keys. To perform a manual update of the payment terminal,
see the below steps in this :
•Press to access the Menu and write the current Operator password (Default is
1234) and confirm with
•Press 2 (PayEx)
•Press 7 (System Settings)
•Press 4 (Start TMS Update)
Paymen terminal will now download any new software or configuration that is available from
the central TMS system.
O
O
O
F3
O
O
O
O
F3
O

Side 17 av 20
The below pictures will show the progress of a terminal update during the different steps:
Payment terminal is establishing a connection to TMS
Payment terminal has established a connection to the
TMS and is uploading diagnostic files.
Payment terminal has started to download the new
configuration files. Actual file that is being download is
displayed and a percentage is also displayed.
CONNECTION
ACTIVITY.INF /
8294171201.AGN /
34 %
TERMINAL WILL NOW REBOOT
TO FINISH THE TERMINAL
UPDATE
Warning!
Do not disrupt the payment terminal while it is downloading new settings from TMS.

Side 18 av 20
9Cleaning
Always follow these intructions in this chapter to clean your paymen terminal iPP350.
9.1 Cleaning of Chip Reader
If the chip reader is dirty then it needs to be cleaned with special cleaning cards specially
designed for this. Use of any other type of cleaning might damage the chip reader.
9.2 Cleaning of Magstripe Reader
If the magstripe reader is dirty then it needs to be cleaned with special cleaning cards specially
designed for this. Use of any other type of cleaning might damage the magstripe reader.
9.3 Cleaning of payment terminal
•Always power the payment terminal down before cleaning (Remove the power supply).
•To remove dust from the payment terminal, use a slightly damp cloth.
•For more deep cleaning, combine a solution of soap and water or half water and rest
window cleaner.
•Apply the solution on a lint free cloth and clean the display and payment terminal
•If the solution does not dry within one minute, dry the terminal with a dry lint free cloth.
Warning! Never spray or spil any liquid directly on the payment terminal. If the payment
terminals electrical systems are exposed to liquids the equipment that result in serious
damage. Never use solutions that might damage the plastic or the electrical parts in the
terminal.

Side 19 av 20
10 Recycling
Payment terminal iPP350 from PayEx is subjest to EU-directive WEEE (Waste Electrical and
Electronic Equipment) and is showing the below symbol:

Side 20 av 20
11 Contact Information
Contact
Mail
Phone no.
Table of contents
Other PayEx Payment Terminal manuals

