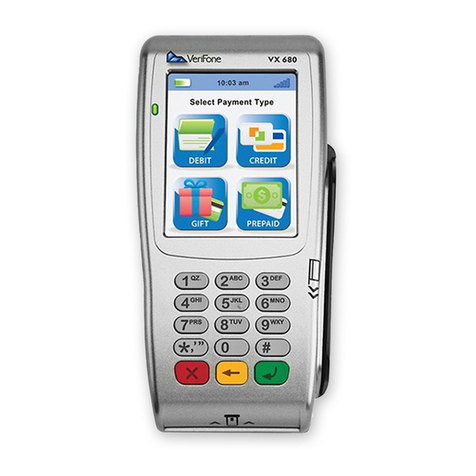
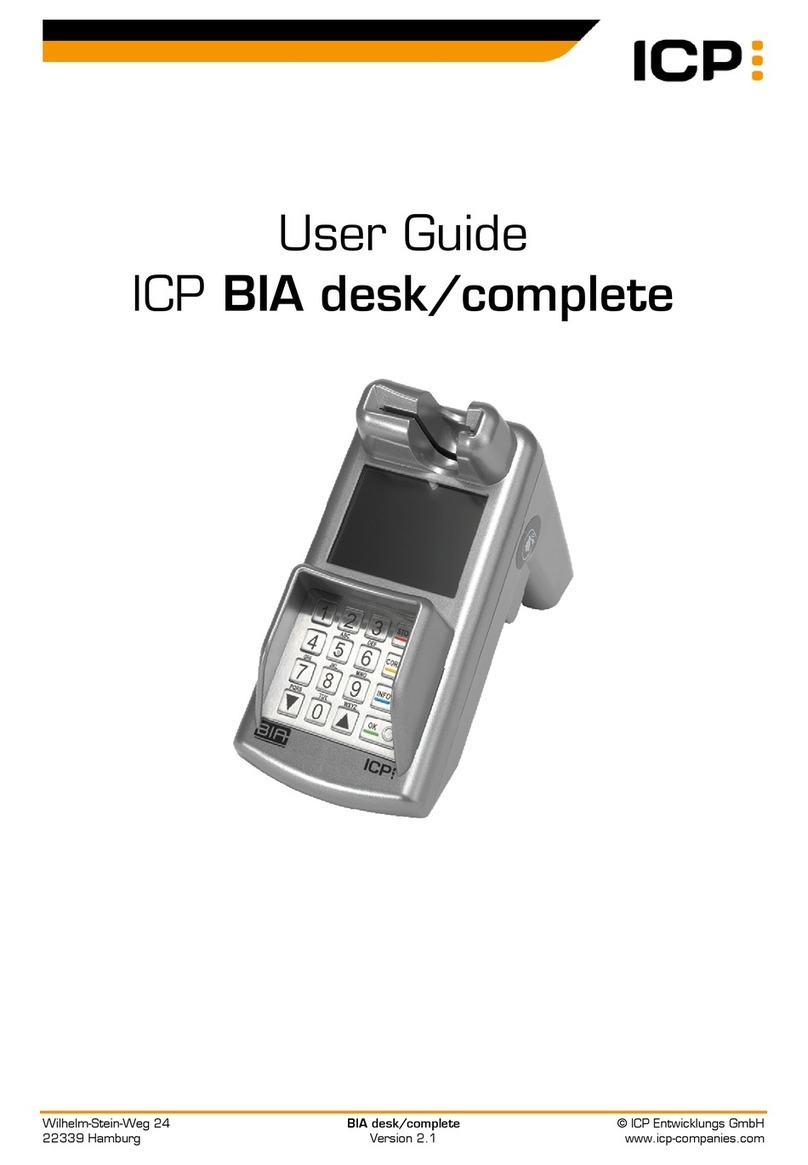
Paymate OnTheGo iCMP User manual

Quick Start Guide
F1 F2 F3 F4
1 2 3 F
4 5 6
7 8 9
ABC DEF
GHI JKL MNO
PQRS TUV WXYZ
0
+-
Mobile POS
iCMP Bluetooth Card Reader
v1.0
and are registered trademarks of Apple Inc.

Contents
Welcome to
For a detailed iCMP card reader guide, including maintenance
information, go to:
https://www.paymate.com/cms/images/stories/ptg-card-reader-user-guide.pdf
Helpdesk Support
In addition to step by step instructions on how to pair your device
with the card reader, be sure to read the help section of this guide:
• Frequently Asked Questions (page 14)
• Troubleshooting (pages 14 & 15)
If after reading the help section you still require technical assistance
you can contact our helpdesk on
1800 248 934
onthego@paymate.com
Mon - Fri / 9am - 5pm Sydney time
This quick start guide will take you through the basics of:
• activating your account
• pairing your card reader with your iOS device
• processing a basic transaction
For a full guide detailing advanced app features and the Paymate
OnTheGo web portal, including reporting, receipt customisation,
managing multiple card readers and more, go to:
https://www.paymate.com/cms/images/PDF/Paymate_OnTheGo_User_Guide.pdf
Copyright © 2000-2016 Paymate
The Paymate service is provided by Paymate Pty Ltd ABN 42 154 594 199, which holds Australian Financial Services
License N0 415833. Any general financial product advice provided in this document has not taken into account your
objectives, financial situation or needs. Paymate® is brought to you by Card Access Services Pty Ltd ABN 73 009 234 002.
Getting Started
Download the App
Activating your Account
The iCMP Card Reader
The iCMP Reader Overview
The iCMP Display
Pairing your Device to the iCMP
Turning on Bluetooth
Accessing the Managers Menu
Searching for your Device
Syncing the PIN between reader and device
The Paymate OnTheGo App
App Navigation Overview
Performing a Basic Transaction
Checking Active Connection
Enter a Purchase Amount
Reviewing the Order and Confirming the Tender
Customer Presenting their Card
Emailing the receipt
Adding Notes and/or Invoice Number to the Payment
Help & Support
Frequently Asked Questions
Troubleshooting
3
3
4
5

(i)
(ii)
Page 3
(iii)
Visit the Paymate OnTheGo web portal by clicking the LOGIN
link in the welcome email <https://paymateonthego.com>
Enter your Username and temporary password from your
welcome email
Follow the on screen instructions, you will be asked to accept
terms and conditions, change your password, setup
password recovery and finally activate your account.
(i) Visit the Apple®App Store and download the app to your
Apple device
Once your application is approved you will receive a WELCOME
email containing:
•A Link to the app from the Apple®App Store
•Your Username and Temporary Password
•A link to the Paymate OntheGo web portal
Step 1Step 2
Download the App & Activating your account

Left Right
Top
Bottom
Front
Power Button
Micro USB port
Wrist Strap Loop
LCD Display
Menu Navigation
[F] Soft Keys
Alpha Numeric
Keypad
[F] Function
Cancel
Clear / Back
Enter / Confirm
Green LED
(Contactless)
Magnetic Stripe Reader
Chip Insert Reader
The iCMP Reader - Overview
Page 4

3
BANK LOGIN
Page 5
1
23 4
5
6
The iCMP Display
1Battery Status
Fully Charged
Partially Charged / Charging in Process
No Charge
2Power Supply
Connected to supported Power Source
3iOS device Pairing Status
Bluetooth Connection ready & device
successfully paired
Bluetooth Connection ready but not paired
Bluetooth Status
4
Card Reader Bluetooth ON
5Bluetooth Connection Status
Solid Antenna Icon - 3rd Party device
connection established
Flashing Antenna Icon - Attempting Connection
6Security Keys Installed
Displays number of security keys installed
(3 is Default)
3

Page 6
Step 1Step 2
(i)
(ii)
(iii)
(iv)
Power on the iCMP terminal by pressing the POWER button on
the right side of the reader
Access the TERMINAL MENU by pressing the key
Enter your 6 digit MANAGER PASSWORD supplied by Paymate
Press the CONFIRM key to continue
(i)
(ii)
(iii)
Open the Bluetooth menu by tapping Bluetooth
Ensure Bluetooth is set to ON
Pairing your card reader and device
Open the SETTINGS menu on your Apple device (Cogs Icon)

(ii) You’ll see the message
(i) Press [Pair iOS]
Step 3Step 4
1. PAIR IOS
2. PAIR OTHER OS
3. EFTPOS
MORE
Page 7
SEARCH IN PROGRESS
PLEASE WAIT
SELECT DEVICE
[YOUR IOS DEVICE]
(ii) In the event that more than one device is found, use the
down and up buttons to scroll to the device you
wish to pair with the card reader
(i) Once the search is complete, a list of found devices will appear
on screen (e.g “Tom’s iPhone” / “David’s iPad”)
(iii) When the desired device is highlighted in the black bar,
press the CONFIRM key to continue
Note: Make sure the Bluetooth menu
is open on the iphone / ipad so it can
be found by the card reader.
Pairing your card reader and device

Page 8
Step
Final
(i)
(ii)
(iv)
The card reader will display a 4 digit PIN number
The iphone / ipad will automatically display a page prompting
you to enter the 4 digit PIN generated by the card reader
Tap Pair on the top right of the iphone/ipad screen
Step 5
Pairing your card reader and device
Start pairing with
[DEVICE NAME]
Name: iCMP- [SERIAL #]
PIN: XXXX
(i)
(ii)
If the pairing was successful, you will see “iCMP [Serial #]
listed under ”MY DEVICES” showing a “Connected” status
in the Bluetooth menu.
Press the back key on the card reader to return to the
home screen
3
BANK LOGIN
(iii) The following icons should display at the top of the card
reader screen
The card reader is ready to use
(iii) Carefully enter the displayed 4 digit PIN into your iOS device

Page 9
Page Navigation (Next Page)
Card Reader Connection Status Icons
Illuminated white = Connected
Greyed Out = Not Connected
1
2
3
4
5
6
7
8
9
10
11
Paymate OnTheGo App Overview
1
2
3
4
5
6
7
9
Menu (Transaction History / Settings / Troubleshooting / etc)
Sub Total (Of all line items added)
Add Product Image to Cart Item (Optional)
Delete Entered Numeric Character
Main screen / Inventory screen selection
Swipe left to enter Inventory List
Swipe right to return to main screen
8Clear all current cart items (Resets Sub Total to $0)
Cart Items added for current transaction
10 Numeric keypad for entering cart item value
11 Add new cart line item to current transaction

Page 10
(i)
(ii)
(iii)
Power on the iCMP card reader
Open the Paymate OnTheGo App on your Apple Device and
login using your assigned username and the password you
chose during account activation
Step 1Step 2
Perform a basic transaction
3
BANK LOGIN
Check the icon is illuminated in the top navigation bar
of the Paymate App.
(iv) Check the Bluetooth connection icons are displayed at the top
of the card reader screen
(i)
(iii) Press the button at the top right of the screen to proceed
Enter the purchase amount using the numeric keypad in the
Paymate App
Note: Decimal Points are added automatically,for example
$10.00 would be entered as 10 0 0
Next
Enter
Amount
Tap “Next”
when ready
(ii) After you have entered an amount, the icon should now
also be illuminated in the top navigation bar

Page 10
(i)
(ii) The “Choose Tender” screen will by default have “Credit”
selected. With “Credit” selected tap to proceed with
payment from the cardholder.
The “Review Order” screen will confirm the amount you are
about to charge, if correct, tap
Step 3Step 4
Perform a basic transaction
Next
Next
PURCHASE: $10.00
PRESENT CARD
(i)
(ii)
The Paymate App will display a red screen with the text
PRESENT CARD
Pass the iCMP card reader to the cardholder

(ii)
PURCHASE: $10.00
PRESENT CARD
Step 5
Perform a basic transaction
Page 12
PURCHASE: $101.00
PRESENT CARD
PURCHASE: $101.00
PRESENT CARD
OR OR
1
Option
Tap and Go
Option
Chip Insert and PIN
2Option
Magnetic Swipe and PIN
3
Under $100 - MasterCard PayPass and
Visa Paywave cards ONLY
Over $100 - MasterCard and Visa cards
with electronic chip
EFTPOS cards / foreign cards without
electronic chip / cards with damaged chip
™
™
Ask them to tap their card against the
card reader for 1 -2 seconds until the
reader beeps
(i) Ask them to insert their card, chip side
up into the slot in the bottom of the
card reader
(i) Ask them to swipe their card, with the
black magnetic strip facing towards the
front of the card reader
(iii) Use the numeric keypad on the card reader
to enter their PIN number when the screen
displays “ENTER PIN”
(iii) Use the numeric keypad on the card reader
to enter their PIN number when the screen
displays “ENTER PIN”
If the purchase amount is less than $100,
the icon will display on the iCMP
screen.
(i)
(ii) Ask them to select the account to pay from
(CHEQUE / SAVING / CREDIT) (ii) Ask them to select the account to pay from
(CHEQUE / SAVING / CREDIT if applicable)

(iii) Tap once you have finished entering additional details, or
to finish the transaction
(i)
(ii) Any details added in this screen can also be displayed on the
customer receipt by sliding the swipe button under the invoice
number field to
Finally, the Additional Details page allows you to add notes
and /or an Invoice number to the purchase which will display
against the transaction in the Paymate OnTheGo web portal.
Page 13
Step
Final
Perform a basic transaction
ON
Done
Skip
(ii) The receipt screen of the App allows you to send your customer
an email receipt whether the transaction was approved or not.
Tap after you enter an email or to proceed
If you decide to send a receipt, you have the option to save the
customers email to your Paymate account for future marketing
purposes. Simply slide the button under the email field to
6
Step
(i) The result of the payment (APPROVED / DECLINED) will display
on both the Paymate app and the card reader screens
Next Skip
ON
Tip

Page 14
FAQ’s & Troubleshooting
Frequently Asked Questions
Q. How do I process a Refund?
A. You will need to contact Paymate on 1800 248 934 and have the
following information to hand:
•Transaction Number
•Credit Card Number
•Card Expiry Date
•Amount to be Refunded
Q. Can I accept AMEX or DINERS cards?
A. At this stage, only VISA, MasterCard and EFTPOS cards can be accepted
Q. How do I turn the card reader OFF?
A. Press the and buttons simultaneously for 2 seconds until the reader
beeps.
Q. The Card Reader is asking me for my Managers Password, what is this?
A. It’s a 6 digit number that came with your card reader when it was delivered.
We typically set this as the telephone area code for the state where you live,
followed by the year of your birth.
For example if you live in NSW and where born in 1980, the password will be
021980. If you see the message “Invalid Password” Please contact us
Troubleshooting (1)
Q. The Paymate App is asking for my Username to login- where can I find this?
A. This is the username you entered during registration, if you cannot remember
your username, it will be at the bottom of your welcome email. Search
“paymateonthego” in your email and look for the email titled “Welcome”
Q. When I try to process a payment, the app displays the
message “Cannot Connect to Card Reader”
A. This can be due to a number of different reasons (It’s worth noting that
“Connected is different to ”Paired”)
Are the 2 icons in the top bar of the app illuminated white?
If not, then full connection has been lost.
Things to check:
1. Is Bluetooth on your iOS device turned on? If not turn on Bluetooth
See page 3 - Step (i) and restart the card reader
2. Is the iCMP listed in your iOS Bluetooth device menu?
If No, you need to pair the card reader See page 3 - 5
If Ye s , but shows as “Not Connected” - Restart the card reader. If after
restarting it is still “Not Connected” select the iCMP in the device listing
and select “Forget this Device” and pair the device again See page 3 - 5
3. If the iCMP is listed as “Connected” in your iOS Bluetooth device menu,
but both icons are not illuminated in the top bar of the app:
a. Shut down all active apps running on the iOS device (including the
Paymate app) and the re-open the Paymate app and log in again
b. Ensure you have the latest version of the Paymate app - to do this,
go to the Apple app store and select “Updates”
c. Ensure the card reader “Comms Mode” is set correctly, to do this:
(i) Press [Function] >Enter your Managers Password
(ii) Press [More] >Press [Terminal]
(iii) Press [More] >Press [Bluetooth]
(iv) Press [IOS Mode COMMS] > Press [ON]
(v) Log into the Paymate app >tap the menu button (top left)
(vi) In the menu, select “Troubleshoot” >tap the button
Initialize
Q. I’m getting “TMS” / “Busy” / “SAF” messages in the app - why is this?
A. The first thing to try if you are having trouble processing payments is to
manually “Initialize” the card reader. To do this:
(i) Log into the Paymate app >tap the menu button (top left)
(ii) In the menu, select “Troubleshoot” >tap the button
Initialize
If you are still having trouble finding it, please contact us on 1800 248 934
https://www.paymate.com/cms/help-and-support/faqs/faq-paymate-onthgo
Additional FAQs can be found on our website at

Troubleshooting (3) Page 15
FAQ’s & Troubleshooting
A. SAF stands for “Store and Forward” and means there is a transaction stored
in the terminal that needs to be sent to the Paymate system so we can
process the transaction.
Q. The card reader has “SAF” or “SAF Required” displayed
- What does this mean?
(i) Log into the Paymate app >tap the menu button (top left)
(ii) In the menu, select “Troubleshoot” >tap the button
Initialize
You need to manually send this transaction to our system, to do this you
need to “Initialize” the card reader via the Paymate app
Note. The Paymate app may automatically initialize the card reader when you log in,
watch for a “Initializing card reader” message when logging in.
Q. The app crashed / Froze whilst I was processing a payment?
A. If the app crashes or freezes during a payment, it is designed to attempt
to recover the transaction
(i) Force quit, restart and log into the app, the transaction recovery attempt
should begin automatically. Note any messages that appear on screen
(ii) Once any messages clear from the screen, tap the menu button (top left)
(iii) In the menu, select “Troubleshoot” >tap the button
Initialize
(iii) When Initialization has finished, you’ll be returned to the Troubleshoot menu
Last Transaction
(iv) Tap the button, a copy of the EFTPOS receipt will display
(v) If the receipt is for the payment you were processing when the app crashed
(check the amount /time) and shows APPROVED at the bottom of the
receipt, the payment was successfully recovered and processed and the
goods can be released.
Q. The card reader is displaying “Alert Irruption Error”?
A. This means the card reader thinks it has been tampered with, and can no
longer be used. Please contact us on 1800 248 934
Q. The card reader is displaying “TMS Required”?
A. This means you need to log into the Terminal Management System.
(i) Log into the Paymate app >tap the menu button (top left)
(ii) In the menu, select “Troubleshoot” >tap the button
Initialize
(ii) The app will force the card reader to log in and check for updates. If
successful, the app will display “APPROVED”
Alternatively, you may have to initiate this from the card reader instead:
(i) Press [Function] >Enter your Managers Password
(ii) Press [More] >Press [Terminal]
(iv) Press [TMS Logon] >Press [Proceed]
(iii) Press [Configure] >Press [More]
If you are still unable to transact, please contact us on 1800 248 934
Q. The card reader is displaying “RSA Required”?
A. This means you need to reset your RSA security keys. To do this:
(i) Log into the Paymate app >tap the menu button (top left)
(ii) In the menu, select “Troubleshoot” >tap the button
Initialize
(i) Press [Function] >Enter your Managers Password
(ii) Press [EFTPOS] >Press [Special Functions]
(iii) Press [Reset] >Press [Proceed]
Once complete, Initialize the card reader, To do this:
If you are still unable to transact, please contact us on 1800 248 934
For all other Technical support issues, please
contact us on 1800 248 934
First try and do this from within the app:
Troubleshooting (2)
Table of contents
