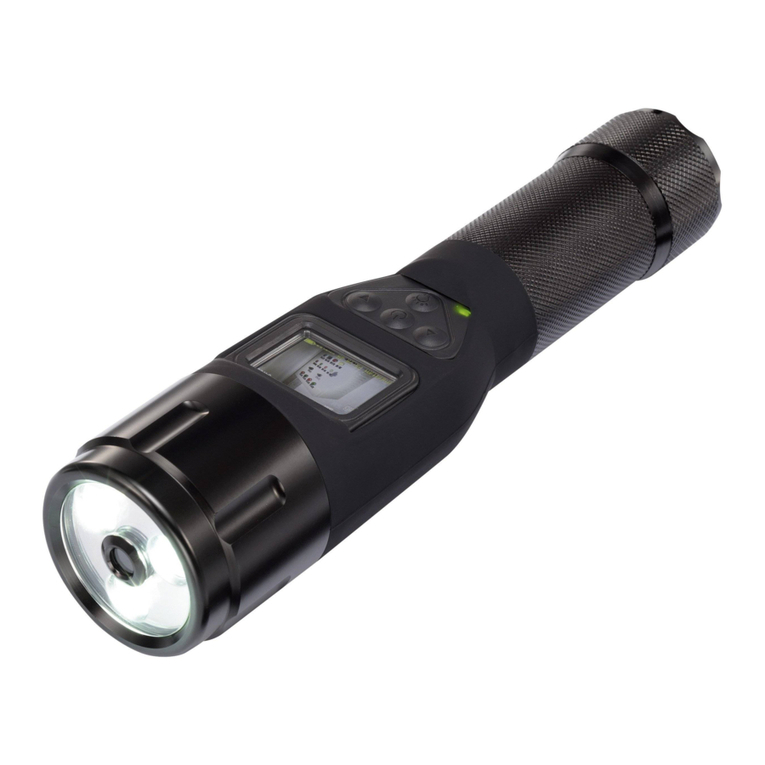
PCE Instruments PCE-VE 200 User manual

Manual
Videoscope PCE-VE 200
Version 1.0
Date of creation: 15.02.2016
Date of last change: 28.02.2018
PCE Americas Inc.
711 Commerce Way
Suite 8
Jupiter
FL-33458
USA
From outside US: +1
Tel: (561) 320-9162
Fax: (561) 320-9176
www.pce-instruments.com/english
www.pce-instruments.com
PCE Instruments UK Ltd.
Units 12/13
Southpoint Business Park
Ensign way
Hampshire / Southampton
United Kingdom, SO31 4RF
From outside UK: +44
Tel: (0) 2380 98703 0
Fax: (0) 2380 98703 9

Manual
2
Contents
1Introduction .............................................................................................................2
2Safety notes.............................................................................................................2
3Specifications..........................................................................................................3
4System description.................................................................................................4
5Instructions..............................................................................................................5
6Troubleshooting......................................................................................................5
7Disposal...................................................................................................................6
8Contact.....................................................................................................................6
8.1 PCE Instruments UK .................................................................................................................. 6
8.2 PCE Americas ............................................................................................................................ 6
1 Introduction
Thank you for purchasing a PCE-VE 200 from PCE Instruments.
This video endoscope is a useful tool for professionals for the non-destructive inspection of areas which
are difficult to access. It can be used in automotive repair, in the construction industry, in restoration,
plumbing, in HVAC/R inspection, etc.
2 Safety notes
Please read this manual carefully and completely before you use the device for the first time. The device
may only be used by qualified personnel and repaired by PCE Instruments personnel. There is no
warranty of damages or injuries caused by non-observance of the manual.
- The device may only be used in the approved temperature range.
- The case should only be opened by qualified personnel of PCE Instruments.
- The instrument should never be placed with the user interface facing an object (e. g. keyboard side on a
table).
- You must not make any technical changes to the device.
- The appliance should only be cleaned with a damp cloth / use only pH-neutral cleaner.
- Please keep the device clean, try to avoid direct contact with water, oil and other materials that can
cause corrosion.
- Do not overbend the probe.
- Charge only with the original mains adaptor / USB cable.
- Please note that the borescope is not intended for medical use.
Battery:
- Do not overcharge the battery in order not to reduce the battery life.
- Remove the battery whenever the device will not be used for a longer period of time.
- After battery leakage, unscrew the battery compartment cover and replace the battery by a new one.
Make sure that the polarity is correct. Attach the battery compartment cover again and tighten the screw.
This user's handbook is published by PCE Instruments without any guarantee.
We expressly point to our general guarantee terms which can be found in our general terms of business.
If you have any questions, please contact PCE Instruments.
Manual
3
3 Specifications
Console
Display
3.5” TFT LCD
Video resolution
AVI (640 x 480)
Image resolution
JPEG (1600 x 1200)
Image rotation
180 ° rotation / mirror image
Freeze frame
Possible
Zoom
4 x variable digital zoom
Menu languages
English, Simplified Chinese, French, German,
Spanish, Japanese, Russian
Interface
Micro USB 2.0 / TV out / card slot
TV out
PAL
Memory
Micro SD card
Power supply
18650 Li-Ion battery (2600 mAh)
Battery life
Typically 5 h
Insertion probe
Diameter of camera head
4.5 mm
CMOS sensor
1/8'' CMOS chip
Camera resolution
640 x 480 px
Camera illumination
intensity adjustment
6 white LEDs
Brightness level manual adjustment
possible
Field of View (FOV)
90 °
Camera depth of field
15 … 100 mm
Probe length
1 m
Probe material
Flexible soft metal
Insertion probe further versions
PCE-VE 200 –S
PCE-VE 200 –S3
PCE-VE 200 –SV1
PCE-VE 200 –SV3
Cable length
1 m
3 m
1 m
3 m
Diameter
3.7 mm
3.7 mm
9 mm
9 mm
Camera
Front
Front
Front / side
Front / side
* To switch the camera from front to side, use the control handle at the camera cable.
Environmental conditions
Operating temperature
Probe
In air: -10 … 50 °C
In water: 5 … 50 °C
Console
In air: -10 … 50 °C
Relative humidity
All parts
15 … 90 %
Liquid resistance
All parts
Machine oil, light oil or 5 % saline solution
Ingress protection
Probe
Water, oil and dust, in line with protection class IP67
Console
Blowing rain (battery compartment must be closed)
Not under water

Manual
4
4 System description
1 Power on / off
2 Down / image rotation
3 Up
4 Setting
5 OK
6 Preview / playback
7 Video recording
8 Photo taking
9 LED at tip of cable
10 Zoom
11 Frame freeze
12 LED at console
13 Tripod thread
14 Battery cover screw
15 Probe
16 Startup / shutdown indicator
17 Charging indicator
18 Micro SD card slot
19 TV out
20 Micro USB interface
21 Reset

Manual
5
5 Instructions
How to insert the micro SD card
- Remove the dust cover at the right side and insert the micro SD card.
- Please use a C4 micro SD card or above and make sure you format the card before use. To do so,
connect the device with a computer or laptop, using the USB cable that comes with the device.
Alternatively, you can format the SD card directly via the console, using the menu item for file
management, see below.
How to switch the borescope on / off
To turn the endoscope on / off, push and hold the Power on / off button for 2 seconds.
How to take pictures and record videos
- To take a picture, push the photo button. The images will be saved to the micro SD card as DCIM files.
- To record a video, push the video button. To finish video recording, push the button again. The videos
will be saved to the micro SD card as DCIM files.
Additional buttons
- LED button cable tip:
for adjustment of camera cable illumination (off / level 1 / level 2 / level 3)
- Zoom button:
for zooming (x 2 / x 3 / x 4)
- LED button console (torch function):
for illumination of the environment under inspection (off / level 1 / level 2 / level 3)
Settings
When you push the Setting button, you can set the language, date and time, and auto power off (Power
Save). You can navigate through the different setting options using the arrow keys. You will find some
more specific instructions on the display.
File management
Push the Playback button. Then push the Setting button to enter the file management screen where you
can enter the following options using the arrow keys:
Lock to protect image or video from unintended deletion
Delete to delete the image or video
Format to format the SD card (all saved data will be lost)
To execute these functions, please refer to the instructions in the display.
Charging
Charging via a 230 V outlet:
- Use the included mains adaptor / USB cable and connect it to a power outlet
Charging per USB
- Use the USB cable and connect it to a computer or power bank.
- The charging indicator will be red during charging. When charging via USB, the indicator will go off
when the battery is fully charged.
6 Troubleshooting
Problem
Solution
No image on LCD after powered on
Connect the mains adaptor to the borescope to
activate the battery.
No image but words on LCD after powered on
Remove the probe and insert it again.
No pictures / videos can be taken / recorded and
settings are not accepted
Insert a micro SD card.
Display keeps indicating “Please format the SD
card”
Insert another SD card with better quality.
Device crashed
Reset the device and power on again.

Manual
6
7 Disposal
For the disposal of batteries, the 2006/66/EC directive of the European Parliament applies. Due to the
contained pollutants, batteries must not be disposed of as household waste. They must be given to
collection points designed for that purpose.
In order to comply with the EU directive 2012/19/EU we take our devices back. We either re-use them or
give them to a recycling company which disposes of the devices in line with law.
If you have any questions, please contact PCE Instruments.
8 Contact
If you have any questions about our range of products or measuring instruments please contact PCE
Instruments.
8.1 PCE Instruments UK
By post:
PCE Instruments UK Ltd.
Units 12/13 Southpoint Business Park
Ensign Way, Southampton
Hampshire
United Kingdom, SO31 4RF
By phone:
02380 987 035
8.2 PCE Americas
By post:
PCE Americas Inc.
711 Commerce Way
Suite 8
Jupiter
33458 FL
USA
By phone:
561 320 9162
This manual suits for next models
4
Table of contents
Other PCE Instruments Analytical Instrument manuals

PCE Instruments
PCE Instruments PCE-LRF 600 User manual

PCE Instruments
PCE Instruments PCE-TLM300 User manual

PCE Instruments
PCE Instruments PCE-VE 270 Series User manual

PCE Instruments
PCE Instruments C2 Camera User manual

PCE Instruments
PCE Instruments PCE-VE 355N User manual

PCE Instruments
PCE Instruments PCE-VE 800 User manual

PCE Instruments
PCE Instruments PCE-VE 3 N Series User manual

PCE Instruments
PCE Instruments PCE-VE 320N User manual

PCE Instruments
PCE Instruments PCE-VE 650 User manual

PCE Instruments
PCE Instruments PCE-IVE 320N User manual