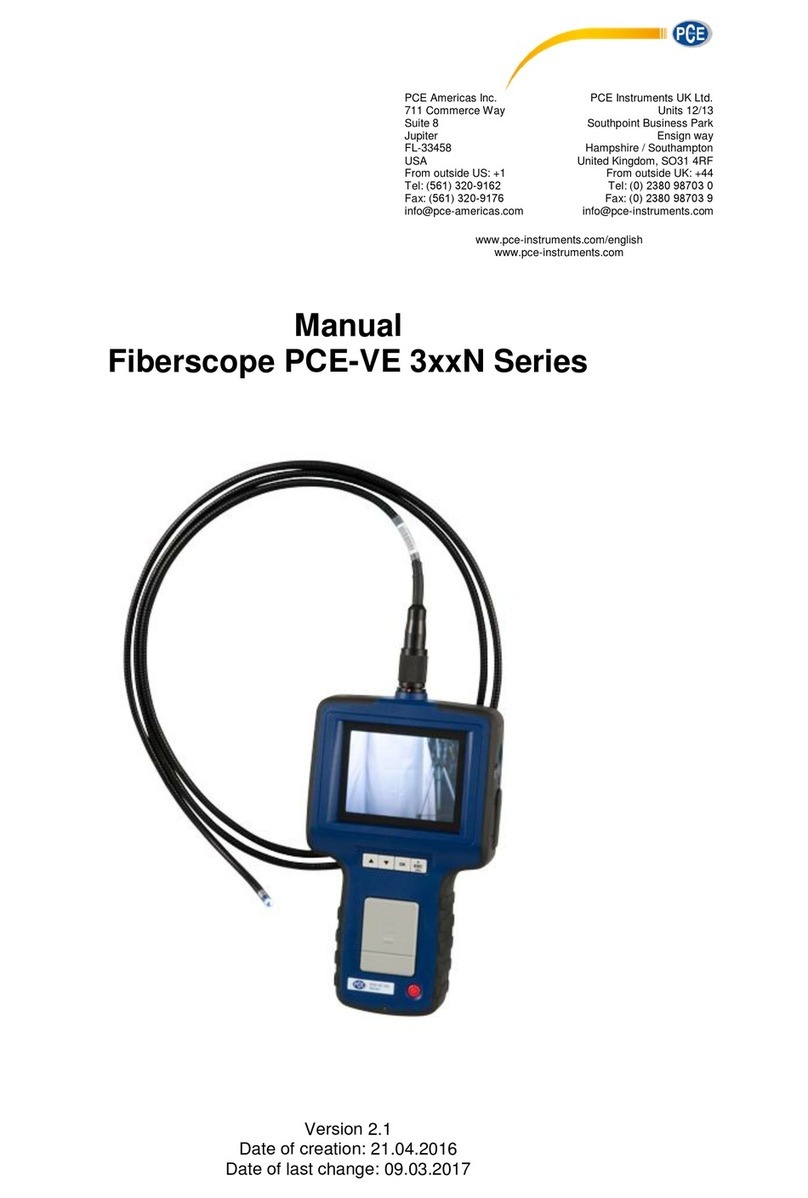
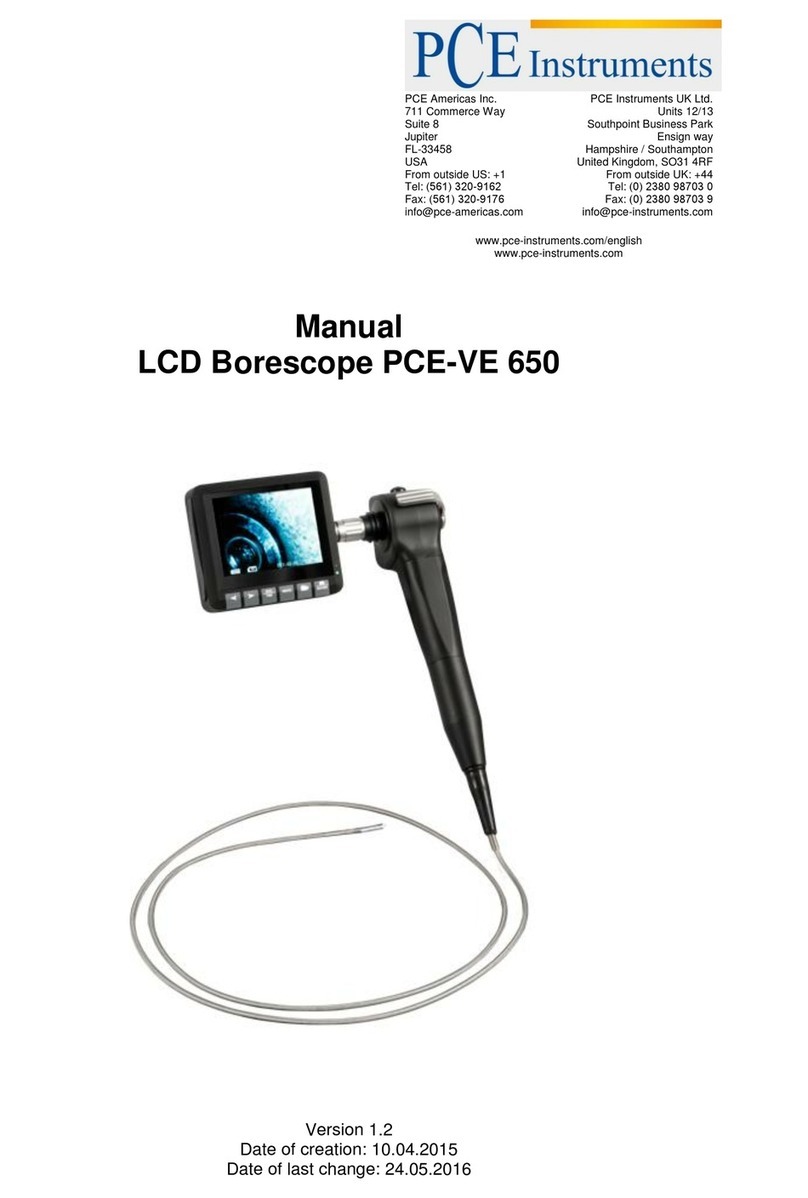
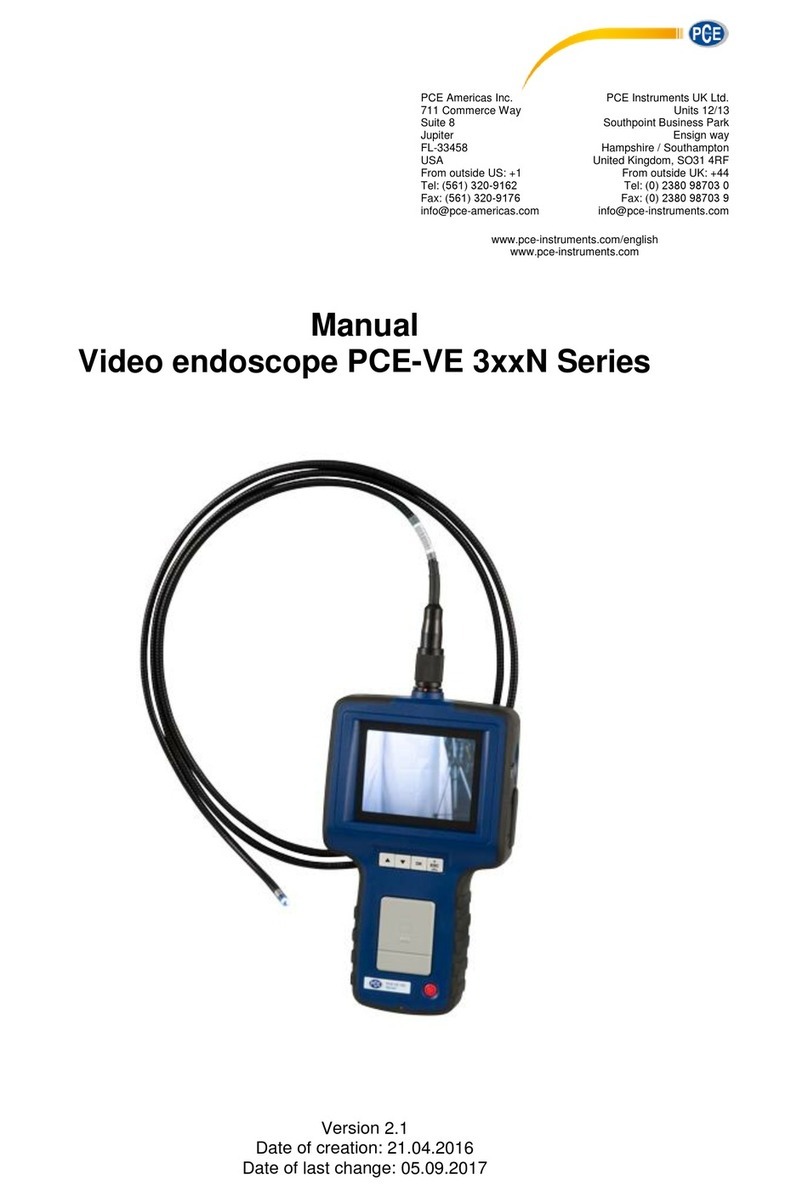
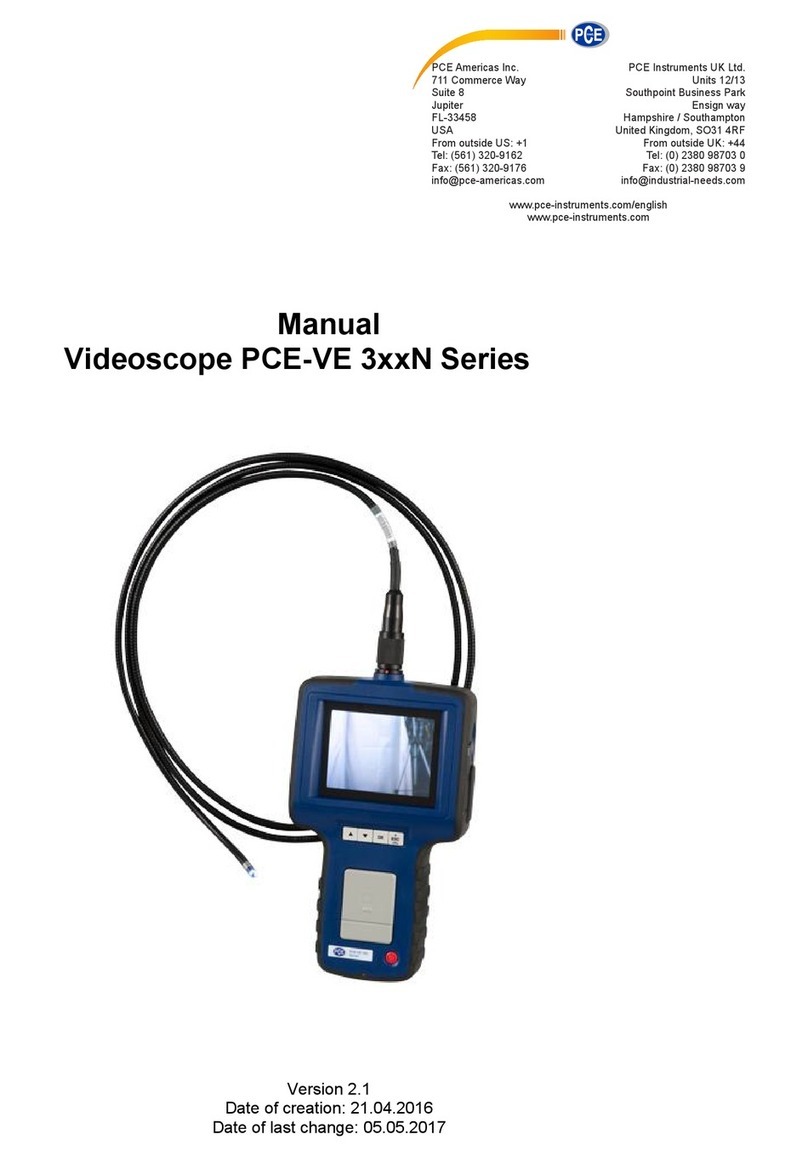
PCE Instruments PCE-VE 355N User manual

PCE Americas Inc.
711 Commerce Way
Suite 8
Jupiter
FL-33458
USA
From outside US: +1
Tel: (561) 320-9162
Fax: (561) 320-9176
info@pce-americas.com
PCE Instruments UK Ltd.
Unit 11
Southpoint Business Park
Ensign way
Hampshire / Southampton
United Kingdom, SO31 4RF
From outside UK: +44
Tel: (0) 2380 98703 0
Fax: (0) 2380 98703 9
info@pce-instruments.co.uk
www.pce-instruments.com/english
www.pce-instruments.com
Manual
Video endoscope PCE-VE 3xxN Series
Version 2.3
Date of creation: 21.04.2016
Date of last change: 09.08.2021

Manual
2
Contents
1Safety notes......................................................................................................................................... 3
2Specifications...................................................................................................................................... 4
2.1 Technical specifications.............................................................................................................. 4
2.2 Delivery contents........................................................................................................................ 6
3System description............................................................................................................................. 6
4Getting started .................................................................................................................................... 7
5Operation............................................................................................................................................. 7
5.1 Take a picture............................................................................................................................. 7
5.2 Record a video ........................................................................................................................... 7
5.3 View data.................................................................................................................................... 7
5.4 Settings....................................................................................................................................... 8
6HR camera cable (PCE-VE 3xxHR or optional)................................................................................ 9
7Articulating camera cable (PCE-VE 350N / HR / N3 / HR3 only or optional)............................... 15
8HR camera cable with 360° articulating camera head (PCE-VE 370HR3 or optional) ............... 18
9PCE-VE 380N..................................................................................................................................... 22
9.1 Safety notes.............................................................................................................................. 22
9.2 Technical specifications............................................................................................................ 22
9.3 System description ................................................................................................................... 23
9.4 Getting started.......................................................................................................................... 24
9.5 Operation.................................................................................................................................. 26
9.6 Locator PCE-VE-LOC (optional or PCE-VE 380N-LOC) ......................................................... 29
10 PCE-VE 390N..................................................................................................................................... 34
10.1 Safety instructions .................................................................................................................... 34
10.2 Technical specifications............................................................................................................ 35
10.3 System description ................................................................................................................... 36
10.4 Getting started.......................................................................................................................... 36
11 Disposal............................................................................................................................................. 38
12 Contact............................................................................................................................................... 38
12.1 PCE Instruments UK ................................................................................................................ 38
12.2 PCE Americas .......................................................................................................................... 38

Manual
3
Thank you for purchasing a video endoscope from PCE Instruments.
1 Safety notes
Please read this manual carefully and completely before you use the device for the first time. The device
may only be used by qualified personnel and repaired by PCE Instruments personnel. There is no
warranty of damages or injuries caused by non-observance of the manual.
•This device may only be used in the way specified in this manual. If used otherwise, this may
cause dangerous situations.
•Do not expose the device to extreme temperatures, direct sunlight, extreme air humidity or
moisture.
•The case should only be opened by qualified personnel of PCE Instruments.
•Do not touch the instrument with wet hands.
•Do not expose the device to shocks or strong vibrations.
•You should not make any technical changes to the device.
•The appliance should only be cleaned with a damp cloth / use only pH-neutral cleaner without
solvents or abrasives.
•The device must only be used with original PCE accessories or equivalent.
•Before each use, please inspect the case for damage. In case of any visible damage, please do
not use the device.
•The device must not be used be used when the environmental conditions (temperature, air
humidity,…) are outside the limit values stated in the specifications.
•Do not expose the instrument to explosive atmospheres.
•Do not use the endoscope near uninsulated current-carrying conductors.
•The instrument should never be placed with the user interface facing an object (e. g. keyboard
side on a table).
•This product has been produced for industrial use only. Do not use it for medical or any other
biological purposes.
This user's handbook is published by PCE Instruments without any guarantee.
We expressly point to our general guarantee terms which can be found in our general terms of business.
If you have any questions please contact PCE Instruments.

Manual
4
2 Specifications
2.1 Technical specifications
General specifications
Sensor
CMOS
Resolution videos / pictures
640 x 480
Frame rate
30 fps
Lighting
Automatic
White balance
Fixed
Field of view
67 °
PCE-VE 380N / PCE-VE 390N: 150.8 °
Depth of field
1.5 … 10 cm
PCE-VE 380N / PCE-VE 390N:10 … mm
Bending radius
90 mm
PCE-VE 380N / PCE-VE 390N: Ø 30 cm
Display
3.5 “ (88.9 mm) TFT display
Interface
Mini-USB 1.1
AV out
Memory
8 GB SD card
Compression format
MPEG4
Video format
ASF
Video output system
NTSC / PAL
Picture format
JPEG
Power supply
Rechargeable 3.7 V Li-ion battery
Environmental conditions
0 … +60 °C
PCE-VE 350N: -10 … +50 °C
PCE-VE 380N: -10 … +60 °C
Weight
450 g (incl. carrying case)

Manual
5
Camera cable specifications
Model
Cable
length
Cable type
Cable
Ø
Boost
function*
Lighting
Articulation
camera head
PCE-VE
320N
1000 mm
Semi-
flexible
5.5 mm
No
4 LEDs
Front view only
PCE-VE
320HR
1000 mm
Semi-
flexible
5.5 mm
Yes
4 LEDs on the
front
2 LEDs on the side
Front view only
PCE-VE
330N
2000 mm
Semi-
flexible
5.5 mm
No
4 LEDs
Front view only
PCE-VE
333HR
3000 mm
Semi-
flexible
5.5 mm
Yes
4 LEDs on the
front
2 LEDs on the side
Front view only
PCE-VE
340N
10000
mm
Flexible
5.5 mm
No
3 LEDs
Front view only
PCE-VE
350N
1000 mm
Flexible
6.0 mm
No
4 LEDs
2-way
articulation
PCE-VE
350N3**
3000 mm
Flexible
6.0 mm
No
4 LEDs
2-way
articulation
PCE-VE
350HR
1000 mm
Flexible
6.0 mm
Yes
4 LEDs on the
front
2 LEDs on the side
2-way
articulation
PCE-VE
350HR3
3000 mm
Flexible
6.0 mm
Yes
4 LEDs on the
front
2 LEDs on the side
2-way
articulation
PCE-VE
355N
1500 mm
Flexible
4.5 mm
No
5 LEDs
2-way
articulation
PCE-VE
355N3
3000 mm
Flexible
4.5 mm
No
5 LEDs
2-way
articulation
PCE-VE
360N
1000 mm
Semi-
flexible
3.9 mm
No
3 LEDs
Front view only
PCE-VE
370HR
1000 mm
Semi-
flexible
6.0 mm
Yes
3 LEDs
4-way
articulation
PCE-VE
370HR3
3000 mm
Flexible
6.0 mm
Yes
3 LEDs
4-way
articulation
PCE-VE
380N
30000
mm
Semi-
flexible
28 mm
No
8 LEDs
Front view only
PCE-VE
390N
10000
mm
Semi-
flexible
28 mm
No
8 LEDs
Front view only
*The boost function improves the quality of pictures and videos in dark environments.
**This model is no longer available.

Manual
6
2.2 Delivery contents
1 x endoscope PCE-VE 3xxN or HR (one of the models)
1 x 8 GB SD card
1 x USB cable
1 x mains adaptor
1 x carrying case (PCE-VE 390 N: + carrying belts)
1 x instruction manual
3 System description
Function keys
A power button
B photo button
C video button
D up button ▲
E down button ▼
F OK button OK
G escape button ESC
H illumination switch
I SD card slot
J AV out
K USB interface
L mains connection
M Display
N camera cable/tube
O reset button

Manual
7
4 Getting started
Connect the camera cable to the display unit and screw it tightly. Make sure that the indication on the
connector is on the upper side (see picture above).
After that, press and hold the power button for approx. 5 seconds to turn on the device.
Now the display shows the following:
SD card capacity
Battery status
To turn off the device, press and hold the power button for 3 to 5 seconds.
5 Operation
5.1 Take a picture
To take a picture of the current image on the display, simply press the photo button .
The picture is stored on the SD card. After saving the picture, the device returns to the standard viewing
mode.
You can press the escape button ESC to zoom in (2x digital zoom).
If you press and hold the escape button ESC for a few seconds, the image on the screens gets mirrored.
5.2 Record a video
To start recording a video, press the video button . An indication appears on the display showing that
video recording is in progress. Press the video button again to stop the recording. The video is stored
on the SD card automatically.
You can press the escape button ESC to zoom in (2x digital zoom).
If you press and hold the escape button ESC for a few seconds, the image on the screens gets mirrored.
5.3 View data
To view the stored pictures and videos, press the up ▲or down ▼button in standard viewing mode. Now
you can use these buttons to navigate through all pictures and videos. The data is sorted by date of
recording.
To delete a file, select it and press the OK button. A confirmation window appears on the display. Use the
up ▲or down ▼button to choose “Yes” if you want to delete the file or choose “No” to cancel. After
selecting the desired option, press the OK button to confirm.

Manual
8
5.4 Settings
Press the OK button in standard viewing mode to enter the settings menu. Here you have the following
options:
•DELETE ALL FILES
•AV OUTPUT
•DATE / TIME
•LANGUAGE
•TV SYSTEM
•AUTO POWER OFF
Reset
To set the device back to factory default settings, press the reset button on the back of the device.
Delete all files
To delete all files, select the “DELETE ALL FILES” option in the settings and press the OK button. After
that, use the up ▲and down ▼button to select “Yes” if you want to delete all files or select “No” to
cancel. After selecting the desired option, press the OK button to confirm.
AV output
Connect the AV out to an external display unit, choose the “AV OUTPUT” option and press the OK
button. The display of the endoscope turns black and the image is shown on the external display unit. To
exit this mode, press the OK button again.
Date / Time
To adjust the time and date settings, select the “DATE / TIME” option and press the OK button. Now you
can use the up ▲and down ▼button to move between the parameters year, month and day, as well as
hours, minutes and seconds. Move to the desired parameter and use the photo and video button
to adjust the value.
If you want the date and time to be displayed on each picture and video, move to the “Display” option and
choose “Yes”. Choose “no” if you do not want date and time to be shown on each picture and video.
Language
To change the language of the device, select the “LANGUAGE” option and press the OK button. Now you
are in the language selection screen. Use the up ▲and down ▼button to select the desired language
and press the OK button to confirm.
TV system
To change the TV system / video output format, select the “TV SYSTEM” option and press the OK button.
Here you can choose between “PAL” and “NTSC”. Use the up ▲ and down ▼button to select the
desired option and press the OK button to confirm.
Auto power off
To adjust the auto power off settings, select the “AUTO POWER OFF” option and press the OK button.
Now you can choose between different time settings. Select the desired option by using the up ▲and
down ▼button and press the OK button to confirm.

Manual
9
6 HR camera cable (PCE-VE 3xxHR or optional)
6.1 Safety notes
In addition to the general safety notes of the PCE-VE 3xxN device, please mind the following safety notes
to prevent damage and injuries when using the HR camera cable.
•To avoid dangerous situations, make sure that the probe does not get in touch with
inflammable liquids or gases.
•The HR cable includes various small cables which control the optics and electronics of the
camera tip. To ensure high reliability, do not bend the cable to an angle of more than 90 ° and
store the cable as little bent as possible.
•Do not disassemble the device as this can cause damage and electric shocks.
•Do not expose the device to direct sunlight and store it in a cool, dry, sufficiently ventilated
place.
•To protect the camera module, make sure the protection ring is on the camera head as long as
no accessories are in use.
•Do not apply force to the end of the cable and
do not bend it. This can deteriorate your vision
and even damage the probe.
•When you roll up the cable, the inner diameter
must be at least 15 cm.
•Put the protection ring back on and tighten it
when not using the device for a longer period
of time.

Manual
10
•Do not crash the probe head.
•Make sure that the camera does not get in
contact with the following liquids:
lead-free petrol, diesel oil, machine oil, brake
fluid, transmission oil and water.
•Do not screw the accessories on too tightly.
Only screw it slightly until it is fixed.
•To clean the camera head, use the
cleaning liquid and the swabs provided in
the cleaning kit.
6.2 Technical specifications
Length of camera head
20 mm
Diameter with protection ring
6 mm
Depth of field
10 … 60 mm
Field of view
60.7 °
Protection class
IP67

Manual
11
6.3 System description
1. Probe: to guide the camera
2. Camera head: for illumination and capturing
3. Assembly ring: to attach accessories
4. Protection ring: to protect the thread
5. Red cap: protects the camera when not in use
6. Boost key: for better illumination in dark environments
7. Rotation key: Press once to turn the display counter-clockwise by 90 °. The red LED will light up.
The LED will stop glowing when the original position has been reached.
8. Light key: This key activates a mirror which enables particle-free vision.
9. Connector

Manual
12
6.4 Getting started
Connection
Step 1: Connect the main unit with the connector and fix it with the screw mechanism.
Step 2: Switch on the system. You should now see a picture in the display.
Attachment of the accessories
Mirror
Step 1: Unscrew the thread protection ring.
Step 2: Screw the assembly ring down to the bottom.
Step 3: Screw the mirror attachment onto the thread until the thread is completely covered.
Step 4: Align the lateral LED opening of the mirror attachment in a way that the LEDs are uncovered.
Step 5: Turn the assembly ring upwards in order to fix the mirror attachment.
Step 6: Press the light key to activate the lateral light.
Step 7: Adjust the light intensity as required to ensure ideal vision to the side.
(Steps 4-5 must be repeated until the right position is reached)

Manual
13
Magnetic hook
Step 1: Turn the assembly ring down to the bottom.
Step 2: Screw the magnetic hook on until it snaps in.
Climbing ball
Step 1: Remove the assembly ring.
Step 2: Screw the climbing ball on until it snaps in.
6.5 Operation
Boost key
Use this key in a dark environment. The red LED indicates that the Boost function has been activated.
The image will be lightened up.
Note: Hold the probe steady.
Before “boosting”
After “boosting”

Manual
14
Rotation key
You can use this key to turn the image by 90 ° four times, for instance, when trying to read an inscription
completely.
Light key
When using the mirror attachment, this key improves the vision which will not be impeded by particles,
dust, etc.
Without “particle free” function
With “particle free” function

Manual
15
7 Articulating camera cable (PCE-VE 350N / HR / N3 / HR3 only or optional)
7.1 Safety notes
In addition to the general safety notes of the PCE-VE 3xxN device, please mind the following safety notes
to prevent damage and injuries when using the pivoting camera head.
•Do not bend the pivoting camera head by hand. Only use the rotary switch to adjust the angle.
•Do not try to rotate the rotary switch any further when it has already been rotated all the way to
the stop.
•Do not expose the device to extreme temperatures, direct sunlight, extreme air humidity or
moisture. Only use the pivoting camera head at temperatures between 0 and +55 °C.
•If you coil up the camera cable for storing, make sure the diameter is at least 15 cm and that the
camera head is in a straight position.
•Do not expose the camera head to mechanical strains and stresses.

Manual
16
7.2 System description
1. Camera cable
2. Camera head
3. Gooseneck
4. Operating unit
5. Rotary switch for gooseneck
6. Connecting cable
7. Connector
8. Locking lever
7.3 Getting started
Connect the connecting cable to the display unit of the endoscope and screw it tightly. Make sure that the
indication on the connector is on the upper side.

Manual
17
7.4 Operation
1. By using the rotary switch, you can pivot the camera head. Turn the switch in a clockwise motion
to pivot the camera head to the right or in a counter-clockwise motion to pivot the camera head to
the left.
2. You can lock the pivoting angle of the camera head by using the red locking lever. To lock the
camera head, carefully push the lever clockwise all the way to the stop. To unlock the camera
head carefully push the lever counter-clockwise, until it reaches its starting point.

Manual
18
8 HR camera cable with 360° articulating camera head (PCE-VE 370HR3 or
optional)
8.1 Safety notes
In addition to the general safety notes of the PCE-VE 3xxN device, please mind the following safety notes
to prevent damage and injuries when using the HR camera cable with 360° articulating camera head.
•To avoid dangerous situations, make sure that the probe does not get in touch with
inflammable liquids or gases.
•Do not disassemble the device as this can cause damage and electric shocks.
•To protect the camera module, make sure the protection ring is on the camera head as long as
no accessories are in use.
•Do not bend the articulating camera head by hand. Only use the joystick to adjust the angle.
•Do not expose the device to extreme temperatures, direct sunlight, extreme air humidity or
moisture. Only use the device at temperatures between 0 and +60 °C. Store it in a cool, dry,
sufficiently ventilated place.
•If you coil up the camera cable for storing, make sure the diameter is at least 15 cm and that
the camera head is in a straight position.
•Do not expose the camera head to mechanical strains and stresses.
8.2 Technical specifications
Camera head diameter
6 mm
Camera cable
Length: 3 m; water proof
Swivel mechanism
Camera head can be swivelled by 110° in all
directions
Illumination
3 LEDs
Operating and storing temperature
0 … +60 °C
Weight
800 g
8.3 System description
1. Joystick
2. Rotation key 3. Light key
4. Boost key

Manual
19
8.4 Getting started
Attachment of the accessories
Mirror
Step 1: Unscrew the thread protection ring.
Step 2: Screw the assembly ring down to the bottom.
Step 3: Screw the mirror attachment onto the thread until the thread is completely covered.
Step 4: Align the lateral LED opening of the mirror attachment in a way that the LEDs are uncovered.
Step 5: Turn the assembly ring upwards in order to fix the mirror attachment.
Step 6: Press the light key to activate the lateral light.
(Steps 4-5 must be repeated until the right position is reached)

Manual
20
8.5 Operation
Hold the device with one hand and use your thumb for operating the joystick and the function keys. With
your index finger, you can use the boost key.
Use the joystick to adjust the swivelling angle and direction of the camera head.
Boost key
Use this key in dark environments to lighten up the image.
Note: Hold the camera cable steady to get a clear image.
before “boosting” after “boosting”
This manual suits for next models
6
Table of contents
Other PCE Instruments Analytical Instrument manuals

PCE Instruments
PCE Instruments PCE-VE 650 User manual

PCE Instruments
PCE Instruments C2 Camera User manual

PCE Instruments
PCE Instruments PCE-VE 270 Series User manual

PCE Instruments
PCE Instruments PCE-LRF 500 User manual

PCE Instruments
PCE Instruments PCE-MM 800 User manual

PCE Instruments
PCE Instruments PCE-LRF 600 User manual

PCE Instruments
PCE Instruments PCE-VE 200 User manual

PCE Instruments
PCE Instruments PCE-IVE 320N User manual

PCE Instruments
PCE Instruments PCE-VE 320N User manual

PCE Instruments
PCE Instruments PCE-VE 3 N Series User manual