manuals.online logo
Brands
  1. Home
  2. •
  3. Brands
  4. •
  5. PCE Instruments
  6. •
  7. Test Equipment
  8. •
  9. PCE Instruments PCE-RT 1200 User manual

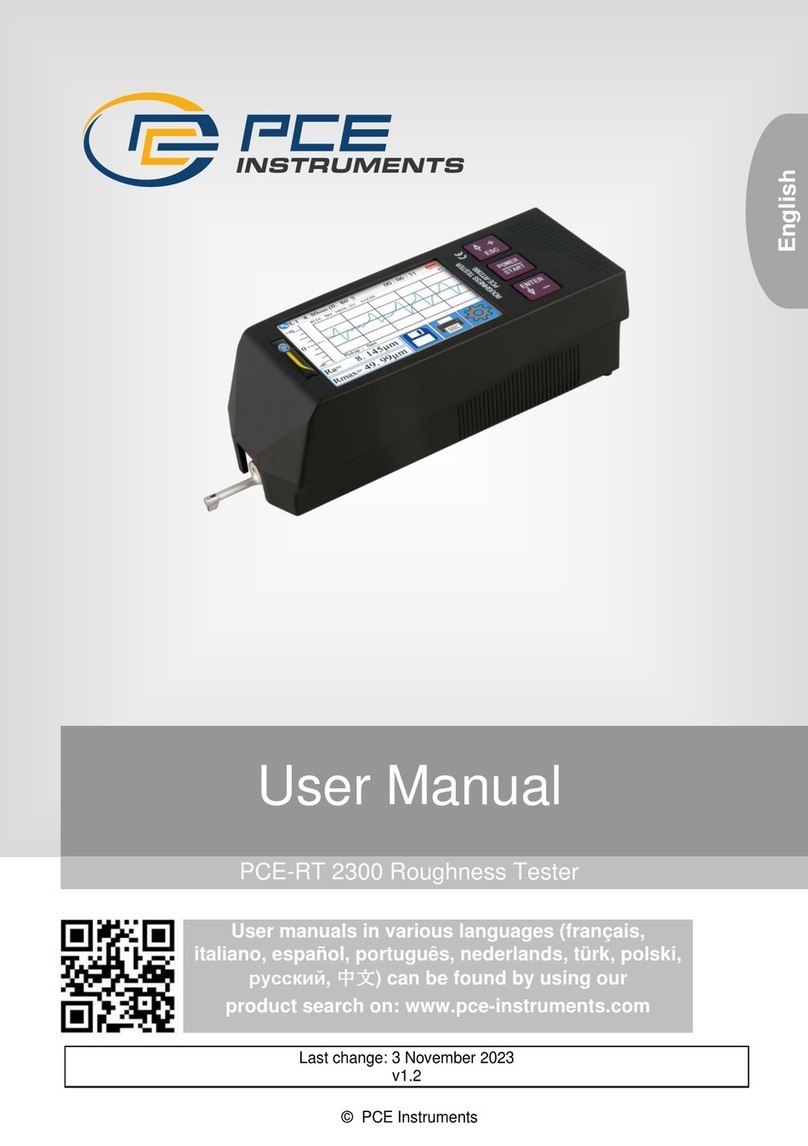
PCE Instruments PCE-RT 1200 User manual

This Surface Roughness Tester is small in
size, light in weight, easy to carry.
Although complex and advanced, it is
convenient to use and operate. Its
ruggedness will allow many years of use
if proper operating techniques are
followed. Please read the following
instructions carefully and always keep
this manual within easy reach.
SquareAlgorithm.
10.2 Central line
This tester adopts minimum centralline of Least
SquareAlgorithm.
10.3 Length of driving stroke
10.3.1 RC lter
ll 5
l
Driving Stroke
10.3.2 PC-RC lter
Driving Stroke
l l 5 l
l
10.3.3 GAUSS lter
l/2l 5
l/2
l
Driving Stroke
10.3.4 D-P lter
Driving Stroke
l 5
l
10.4 Denition ofroughness parameter
10.4.1 Ra arithmeticalmean deviation of prole
Arithmetic valueof mean deviation of prole
within sampling length.
13
*The tester can memorize 7 groups of measurement
results and measuring conditions for later use or
download to PC.
*Metric /conversion
2SPECIFICATIONS
Display 4 digits, 10 mm LCD, with blue backlight
Parameters: Ra, Rz, Rq, Rt
Measuring Range
Ra, Rq: 0.005-16.00um/0.020-62.99uinch
Rz,Rt: 0.020-160.0um/0.078-629.9uinch
Accuracy: Not morethan±10%
Fluctuation of display value: Not more than 6%
Sensor :
Test Principle: Inductance type
Radius of Probe Pin: 5 µm
Material of Probe Pin: Diamond
Dynamo-measurement of Probe: 4mN(0.4gf)
ProbeAngle: 90 °
Vertical Radius of Guiding Head: 48mm
Maximum driving stroke: 17.5mm/0.7inch
Cuto length (l): 0.25mm /0.8mm / 2.5mm optional
Driving speed:
sampling length =0.25mm Vt=0.135mm/s
sampling length =0.8mm Vt=0.5mm/s
sampling length =2.5mm Vt=1mm/s
returning Vt=1mm/s
Prole digital lter
Filtered Prole: RC
Filtered Prole: PC-RC
Filtered Prole: Gauss
Non-Filtered Prole: D-P
2
15
10.5 Fault information
Err1 no data stored for browsing
Err2
to be usedfor calibration
Err3 the valueis too small to continue to decrease.
10.6 Code StandardName
ISO 4287 International Standard
DIN 4768 GermanStandard
JIS B601 Japanese Industrial Standard
ANSI B46.1American Standard
the Ra value of the standard sample is too small
0.63~0.8
0.5~0.63
0.4~0.5
0.32~0.4
0.25~0.32
0.2~0.25
0.16~0.2
0.125~0.16
0.1~0.125
2.5
0.8
0.25
0.63~1.25
0.32~0.63
0.25~0.32
Ra
( m)
Rz
( m) Cuto length
(mm)
5~10
2.5~5
1.25~2.5
0.20~0.25
0.16~0.20
0.125~0.16
0.1~0.125
0.08~0.1
0.063~0.08
0.05~0.063
0.04~0.05
0.032~0.04
0.025~0.032
0.02~0.025
3.2~6.3
1.6~3.2
1.25~1.6
20~40
10~20
6.3~10
1.0~1.25
0.8~1.0
10.7 Cuto length recommended
PCE Americas Inc.
711 Commerce Way
Suite 8
Jupiter
FL-33458
USA
From outside US: +1
Tel: (561) 320-9162
Fax: (561) 320-9176
[email protected]
www.pce-instruments.com/english
www.pce-instruments.com
PCE Instruments UK Ltd.
Units 12/13
Southpoint Business Park
Ensign way
Hampshire / Southampton
United Kingdom, SO31 4RF
From outside UK: +44
Tel: (0) 2380 98703 0
Fax: (0) 2380 98703 9
[email protected]
1.FEATURES
This instrument is compatible with four standardsof
site to measure surface roughness of various
machinery-processed parts, calculate corresponding
and clearly displayall measurement parameter.
When measuring theroughness of asurface, the
sensor is placedon the surfaceand then uniformly
slides along thesurface by drivingthe mechanism
by the sharpbuilt-in probe. This roughness causes
displacement of the probe which results in change of
inductive amount ofinduction coils soas to generate
analogue signal, whichis in proportionto the surface
roughness at outputend of phase-sensitiverectifier.
The exclusive DSPprocesses and calculatesand then
outputs the measurement results on LCD.
*Multiple parameter measurement: Ra, Rz, Rq, Rt
*Highly sophisticated inductance sensor
*Four wave filtering methods : RC, PC-RC,
GAUSS and D-P
*Built-in lithium ion chargeable battery and control
circuit with highcapacity
*Small in size, light in weight and easy to use
*Can communicate withPC computer forstatistics,
print and analyz by the optional cable and the
software for RS232Cinterface.
*Manual or automatic shut down. The tester can be
switched off by pressing the Power key at any time.
On the otherhand, the tester will power itself off
about 5 minutes after the last key operation.
ISO, DIN, ANSI and JIS and is widely used in production
parameters according to selected measuring conditions
inside the tester. The sensor gets the surface roughness
1
a=
_
=
14
0
ll
Ra
y
i
z=
_
V
=+=
5
10.4.2 Rz tenpoint height ofirregularities
The average ofthe sum offive maximum profile
peaks and theaverage of fivemaximum profile valleys
within the samplinglength.
10.4.4 Rt totalpeak-to-valley height
Rt is thesum of maximumheight of theprofile peak
and maximum depthof the profilevalley for the
evaluation length.
=( )
_
=
_
10.4.3 Rq root-mean-squaredeviation of profile
Root-mean-square of profiledeviation within the
sampling length, shownas the followingfunction
0
Rt
l
y
imax
y
umax
12
8. COMMUNICATE WITH PC
8.1Install the optional RS232C software to the PC.
8.2Connect the tester to the COM port of the PC
with the optional RS232 cable.
8.3Run the software on the desktop and select the
COM port in the system settings.
8.4Click the button of data collection, then click the
button of Begin/Continue.
8.5 To download the groups stored in the Memory, just
press the key .
9. GENERAL MAINTENANCE
*Avoid crashes, intensive vibration, heavy dust,
humidity, grease stains and strong magnetic fields;
*The sensor is a precise part and should be protected
carefully. It is recommended to put it back in the box
after each operation;
* Protect the standard sample plate belonging to the
instrument carefully to avoid calibration faults
caused by scratches.
10.REFERENCES
10.1 Filter
a. RC filter: traditional 2-stage filter with phase
difference;
b. PC-RC filter: RC filter with phase-correction;
c. Gauss filter: DIN4777
7.2.4 Repeat 7.2.2 to 7.2.3 till the result is satisfactory.
Movement of theprobe.
7.2.3 Use the screwdriver enclosed to adjust the
resistance and letthe reading onthe display closeto
the value ofStandard sample plate.
The above procedures restore the factory settings.
7.2.5After the factorysettings, you haveto
calibrate the tester again. Please refer the part 6.
d. D-P non-filtered profile: adopt central line of Least
READ
Resolution :
Evaluation length : 5 cut-off
Power Li-ion battery rechargeable
Operating condition: Temp. 0~50
Humidity <80%
Size 140x52x48 mm (5.5x2.0x1.9 inch)
Weight: about 420 g
Standard Accessories
Carrying case
Main unit
Standard sensor
Standard sample plate
Power adapter
Operation manual
Screwdriver
1 pc.
1 pc.
1 pc.
1 pc.
1 pc.
1 pc.
1 pc.
Fig. 3.1
SURFACE ROUGHNESS TESTER
READREAD
SAVESAVE
RANGERANGE
DEL
MENU
DEL
MENU
CUTOFFCUTOFF
STARTSTART
RaRz...RaRz...
CALCAL
PC RCPC RC
GAUSSGAUSS
D PD P
R
RR
aa
RRRRRR
zz
qq
tt
¡À¡À
20um20um
¡À¡À
40um40um 80um80um
¡À
umum
uinuin
L/minL/min
L/HRL/HR
2.5mm2.5mm
0.8mm0.8mm
0.25mm0.25mm
3.1
3.2
3.3
3.4
3.5
3.6
3.7
3.8
3.9
3.1 Cutoff
3.2 Parameter
3.3 Display
3.4 Power
3.5 Start
3.6 Range
3.7 Up/Save
3.8 Down/Read
3.9 Delete/Menu
3
Optional accessories
Cable & software for RS232C
3.FRONT PANEL DESCRIPTIONS AND
NAMES OF EACH PARTS
3.1Key descriptions
1 pc.
1 pc.
Adjustable leg
Sheath of sensor
0.001 m if reading 10 m
0.01 m if 10 m reading 100 m
0.1 m if reading 100 m
CALCAL
PC RCPC RC
GAUSSGAUSS
D PD P
R
RR
aa
RRRRRR
zz
qq
tt
¡À¡À
20um20um
¡À¡À
40um40um 80um80um
¡À
umum
uinuin
2.5mm2.5mm
0.8mm0.8mm
0.25mm0.25mm
3.19
3.20
Fig. 3.5
3.23
3.21
3.22
3.24
3.25
3.26
3.19 Filter
3.20 Calibration
3.21 Measurement
3.22 Position pointer
3.23 Browsing
3.24 Memory
3.25 Parameters
3.26 Battery
3.3installation and unloading of sensor
Toinstall, hold the main part of the sensor by hand,
push it into connection sheath at the bottom of the
pull it out.
a.The probe of the sensor is the main part of this
instrument and requires close attention
not be touched in order to avoid damage which can
affect measurement results.
c. Connection of the sensor should be reliable during
installation.
b. During installation and unloading, the probe should
of sensor or the root of protective sheath andslowly
push to the end ofsheath. To unload, hold the main part
5
3.29
3.28
3.27
3.27 Unit
3.28 Cutoff
3.29 Ranges
instrument as shown in Figure 3.4 and then slightly
8
Length, please see the table in 10.7on page 15.
E. To check if the profile filter selected is right. if not,
or key.
F. To check if the measurement unit selected is right.
To switch between the metric system and the
British system. To quit, just press the any key other
than key or key.
G. To clear the surface of the part to be measured;
H. Refer to Figure 3.7 and Figure 3.8 to place the
surface to be measured. Adjust
I. Refer to Figure 3.8: the sliding trail of the sensor
must be vertical to the direction of process line of the
measured surface.
J. Adjustable leg and sheath of sensor
Instrument correctly, stable and reliably on the
the bottom surface of the instrument, the sheath of sensor
complete measurement (as shown in 3.9).
if not, depressing the key and not releasing it till
starting depressing key . and then pressing or
'UNIT' on the Display. It takes about 8 seconds from
and not releasing it till 'FILT'
on the Display . It takes about 4 seconds from starting
Depressing . and then pressing key or key
to cycle between RC,PC-RC,Gauss,D-P or vice
versa. To quit, just press the any key other than key
depressing the
and adjustable leg can be used for auxiliary support to
When the measured surface of the part is smaller than
DEL
MENU
DEL
MENU
READ
SAVE
SAVE
READ
READ
READ
DEL
MENU
DEL
MENU
SAVE
SAVE
After preparations is done, just press Start key to measure
probe stop sliding and move backward. The measurement
result shows on the display after the probe stop moving.
4.2 Measuring
4.2.1 Save the measurement results to the tester for
later use
4.2.2 How to browse the different parameters
In state, you can browse different parameters.
The corresponding parameter and its value show on
the display once depressing the key
4.2.3 Delete the measurement results
to automatically. On the other hand, the new
measurement results will replace the old ones if
pressing the Start key in state.
5.HOW TO BROWSE THE MEMORIZED DATA
No matter in state or state, you can browse
the memorized data by depressing the key . The
browsing state is marked in on display. When in
the key or key . The serial number of the group
depressing the key . Then the symbol changes
state, you can browse different groups by depressing
10
After measuring, you will see the original becomes
the key .
Then the symbol M changes to M
if measuring conditions are not to be changed. Firstly,
you will see the on the display and the probe is
moving forward and sampling. Then you will see the
the M . in such a state, you can save this group of
results including Ra,Rz,Rq,Rt and measurement
conditions to the memory of the tester by depressing
automatically while the number of memorized groups
increases 1.
In state, you can delete this group of results by
SAVE
RaRz...
DEL
MENU
READ
READ
SAVE
MM
M
R
R
M
M
M
M
M
---
7
measurement, preparations have to be made and checked.
to select.For the recommended cutoff
4.MEASURING PROCEDURES
4.1 Preparations for measurement
A. Switch onto test ifthe battery voltageis normal.
B. The instrument automatically restores conditions
of the lastmeasurement before it is turned off since
these conditions are automatically stored.
Meanwhile, the secondline of 2 digits on display
C. To check ifthe range selectedis right. ifnot,
depress the key to select.
D. To check ifthe cutoff length selected isright. if not,
shows the groups stored in the memory. Before taking
depress the key
Part while charging.
B. The meanings of battery indicators are:
Indicates normal voltage and measurement can be
carried out;
should be charged as soon as possible;
A. Layout of connection lines shouldn t affect measuring
The black part inside prompt shows capacity of
Battery; Indicates too-low voltage and battery
charging so that it is not necessary to turn it off. The
indicates that batteryis full.
C. Relative highnoises of thepower source canaffect
measurement to weaksignal to someextent when
battery is being charged;
D. The instrument needs to monitor the process of
instrument will turnon automatically evenwhen
switched off.
RANGE
CUTOFF
3.2 Names of eachparts
3.10 3.11 3.12
Fig. 3.2
3.10 Sheath of probe
3.11 Front panel
3.12 Adjustable leg
3.13 Stylus
Fig. 3.3
3.16
3.15 Main bady
3.14 Protection sleeve
3.13 3.14 3.15
3.16 Socket
3.18
3.17 Fig. 3.4
3.17 Connection sheath
3.18 probe
4
SURFACE ROUGHNESS TESTER
READ
SAVE
RANGE
DEL
MENU
CUTOFF
START
RaRz...
PC RCPC RC
RR
zz
¡À¡À
40um40um
umum
0.8mm0.8mm
90
Fig.3.8
Fig.3.9
3.38
3.37
3.36
3.35
3.35 Roughness tester
3.36 Sheath of probe
3.37 Item tobe measured
3.39 Adjustable leg
9
Fig.3.7
3.38 Working table
3.39
indications shown in Figure 3.6: the power adapter
should be plugged into the power socket of the
220V 50Hz and charging of the battery will begin.
current, charging time of up to 2.5 hours. This
instrument uses a lithium ion chargeable battery.
the normal operation of the
Figure 3.6 Connection of Power Adapter
3.4 Power adapter and charging of battery
When the battery voltage is too low (which is indicated
by the battery symbol on the screen), the instrument
Should be charged as soon as possible. Follow the
Input voltage for power adapter is AC 220V with DC
instrument.
3.30
3.31
3.32
3.33 3.30 Computer
3.31 RS-232 port to PC COM
3.32 Power adaptor
3.33 DC powersocket
Fig.3.6
6
instrument. The power adapter should be connected to
6V of output, about 500mA of maximum charge
3.34
3.34 RS-232 socket
NOTES:
See next page
Charging can be fulfilled at any time without affecting
6.2Take a measurement basedon the Standardsample
standard sample platebased on thesame parameter.
6.3Depress the key or to adjust thereading to
the standard value.
6.4Just repeat 6.1to 6.3 tillthe accuracy isok.
6.5To quit, just press any key otherthan START
key.
6.6 The instrument has beenthoroughly tested before
Calibration function toooften.
7.
7.1 When to restore
any more.
7.2How to restore
7.2.1 Just depressingthe key and not releasing it
by ' CAL' , pleasesee the Fig.6-1.
7.2.2 press theSTART key on the Standard sample
. Thecalibration state is marked by 'CAL'.
shows on thedisplay. For each group,you can still
browse different parameters. The corresponding
parameter and itsvalue show onthe display once
depressing the key .
6.HOW TO CALIBRATE THE TESTER
6.1 To enter the calibration state, just depressing the
plate. During the probe moves forward, you will see
the different reading on the display varying with the
till 'FAC' on the Display . It is about 16 seconds from
starting depressing key . This state is also marked
It is necessary to restore the factory settings when a
new probe is installed or the tester could not measure
delivery to ensure that the display value error is less
than ±10%. The user is recommended not to use the
11
plate.Contrast the measuring value with the value of
Key and not releasing it till 'CAL' on the Display .
It takes about 12 seconds from starting depressing
HOW TO RESTORE THE FACTORY SETTINGS.
RaRz...
DEL
MENU
READ
SAVE
DEL
MENU
DEL
MENU
DEL
MENU

Other PCE Instruments Test Equipment manuals

PCE Instruments PCE-310 User manual

PCE Instruments

PCE Instruments PCE-310 User manual

PCE Instruments PCE-SC 42 User manual

PCE Instruments

PCE Instruments PCE-SC 42 User manual

PCE Instruments PCE-SC 09 User manual

PCE Instruments

PCE Instruments PCE-SC 09 User manual

PCE Instruments PCE-UT81B User manual

PCE Instruments

PCE Instruments PCE-UT81B User manual

PCE Instruments PCE-IT100 User manual

PCE Instruments

PCE Instruments PCE-IT100 User manual

PCE Instruments PCE-IT 120 User manual

PCE Instruments

PCE Instruments PCE-IT 120 User manual

PCE Instruments PCE-RTD 20 User manual

PCE Instruments

PCE Instruments PCE-RTD 20 User manual

PCE Instruments PCE-CT 65 User manual

PCE Instruments

PCE Instruments PCE-CT 65 User manual

PCE Instruments PCE-VC20 User manual

PCE Instruments

PCE Instruments PCE-VC20 User manual

PCE Instruments PCE-GM 60 User manual

PCE Instruments

PCE Instruments PCE-GM 60 User manual

PCE Instruments PCE-VTS 50 User manual

PCE Instruments

PCE Instruments PCE-VTS 50 User manual

PCE Instruments PCE-SC 43 User manual

PCE Instruments

PCE Instruments PCE-SC 43 User manual

PCE Instruments PCE-WMM 50 User manual

PCE Instruments

PCE Instruments PCE-WMM 50 User manual

PCE Instruments PCE-RT 2300 User manual

PCE Instruments

PCE Instruments PCE-RT 2300 User manual

PCE Instruments PCE-VT 2700 User manual

PCE Instruments

PCE Instruments PCE-VT 2700 User manual

PCE Instruments PCE-HVAC 4 User manual

PCE Instruments

PCE Instruments PCE-HVAC 4 User manual

PCE Instruments PCE-MCA 50 User manual

PCE Instruments

PCE Instruments PCE-MCA 50 User manual

PCE Instruments PCE-IT111 User manual

PCE Instruments

PCE Instruments PCE-IT111 User manual

PCE Instruments PCE-CRC 10 User manual

PCE Instruments

PCE Instruments PCE-CRC 10 User manual

PCE Instruments ERICHSEN CUPTIMER 243 T User manual

PCE Instruments

PCE Instruments ERICHSEN CUPTIMER 243 T User manual

PCE Instruments PCE-VC 21 User manual

PCE Instruments

PCE Instruments PCE-VC 21 User manual

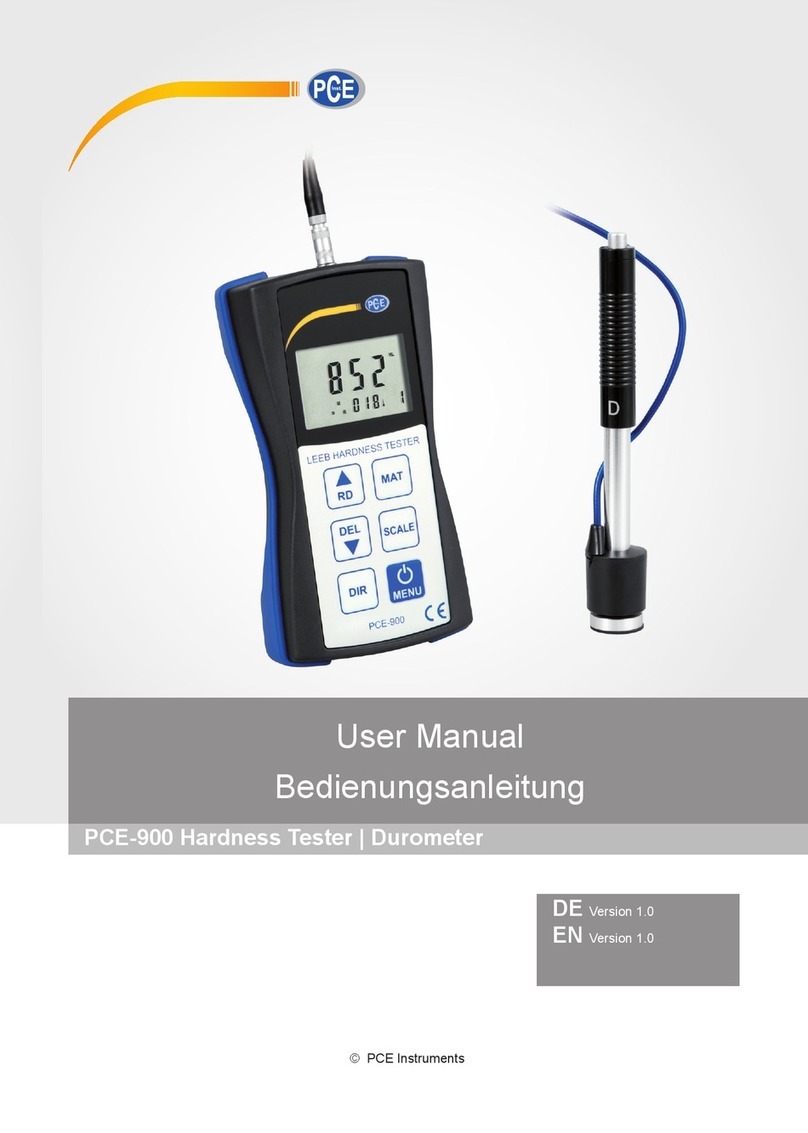
PCE Instruments PCE-900 User manual

PCE Instruments

PCE Instruments PCE-900 User manual

PCE Instruments PCE-HDM 7 User manual

PCE Instruments

PCE Instruments PCE-HDM 7 User manual

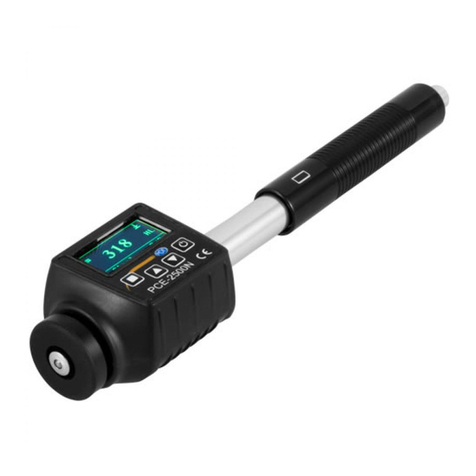
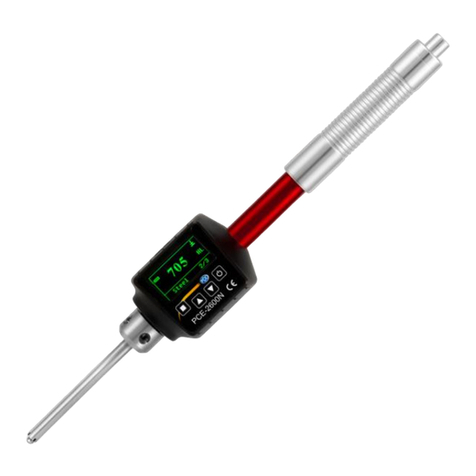
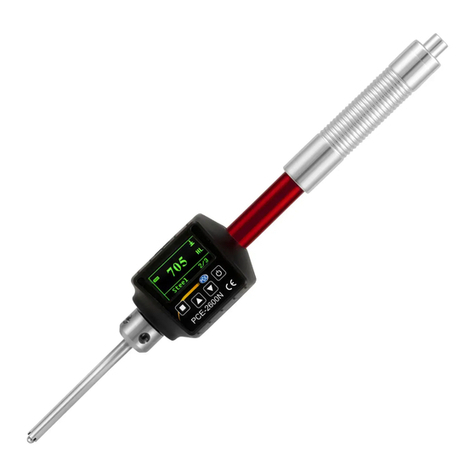
PCE Instruments PCE-2600N User manual

PCE Instruments

PCE Instruments PCE-2600N User manual

Popular Test Equipment manuals by other brands

YOKOGAWA 720930 user manual

YOKOGAWA

YOKOGAWA 720930 user manual

Ponovo POM2-3333 user manual

Ponovo

Ponovo POM2-3333 user manual

Power Probe INT500 user manual

Power Probe

Power Probe INT500 user manual

Bowmonk BrakeCheck Series 2 operating guide

Bowmonk

Bowmonk BrakeCheck Series 2 operating guide

Retsch PM400 operating instructions

Retsch

Retsch PM400 operating instructions

Grason-Stadler GSI Corti user manual

Grason-Stadler

Grason-Stadler GSI Corti user manual

Circassia NIOX VERO user manual

Circassia

Circassia NIOX VERO user manual

Fnirsi DSO-TC2 manual

Fnirsi

Fnirsi DSO-TC2 manual

SandSun VA08 manual

SandSun

SandSun VA08 manual

Softing NetXpert XG2 PLUS quick start guide

Softing

Softing NetXpert XG2 PLUS quick start guide

Sealey pp6 instructions

Sealey

Sealey pp6 instructions

Topdon BT MOBILE user manual

Topdon

Topdon BT MOBILE user manual

Jinhan JDS6052S user manual

Jinhan

Jinhan JDS6052S user manual

Aeroflex 8800 Series RCI Manual

Aeroflex

Aeroflex 8800 Series RCI Manual

SIGLENT SDS-2000X-LA user manual

SIGLENT

SIGLENT SDS-2000X-LA user manual

AVL AVL DiGas 4000 Service manual

AVL

AVL AVL DiGas 4000 Service manual

Hantek DSO2000 Series user manual

Hantek

Hantek DSO2000 Series user manual

Wiltron Site Master S110 user guide

Wiltron

Wiltron Site Master S110 user guide

manuals.online logo
manuals.online logoBrands
  • About & Mission
  • Contact us
  • Privacy Policy
  • Terms and Conditions

Copyright 2025 Manuals.Online. All Rights Reserved.