Pedal Power Generators HPG-75 User manual

OWNERS MANUAL Ver. 1.1
Human Powered Generator
Light Display
Owner's Manual
HUMAN POWERED LIGHT DISPLAY OWNER'S MANUAL Revision 1.1 © 2018

TABLE OF CONTENTS
Introduction 3
Unpacking Error! Bookmark not defined.
Installing the handle 4
Install The Power Cable As Shown 5
Light Box Cover 6
Installation of Cover 6
Verify Your Generator is Working 7
Recommended spare parts 7
Maintenance 8
Check that hand pegs are tight 8
Troubleshooting 10
Sales & Support 11
HUMAN POWERED LIGHT DISPLAY OWNER'S MANUAL Revision 1.1 © 2018

Introduction
This educational / interactive human powered light display is extremely effective at teaching
people about energy. More specifically it actually allows people to associate a physical level of
exertion to a numeric value of “Watts” (a power load provided in the form of a light bulb).
The HPG-75 generator is constructed with industrial grade heavy duty components such as
genuine bicycle foot cranks, sprockets, and bike chain. It is made sturdy as a bike is made
sturdy to last a very long time. The estimated number of usable hours is over 50,000 hours.
Below is the Voltage curve for the generator along with the power curve. The horizontal axis
for each graph represents how fast you are turning the hand cranks. This speed is measured in
“RPMs” which stands for revolutions per minute.
The hand crank generator is setup on a table or on the floor if small children are participating.
If desired regular bike pedals can be installed so that people can use this generator as a pedal
power generator by putting it on the floor and pedaling with their feet. A cable connects the
generator to the light box.
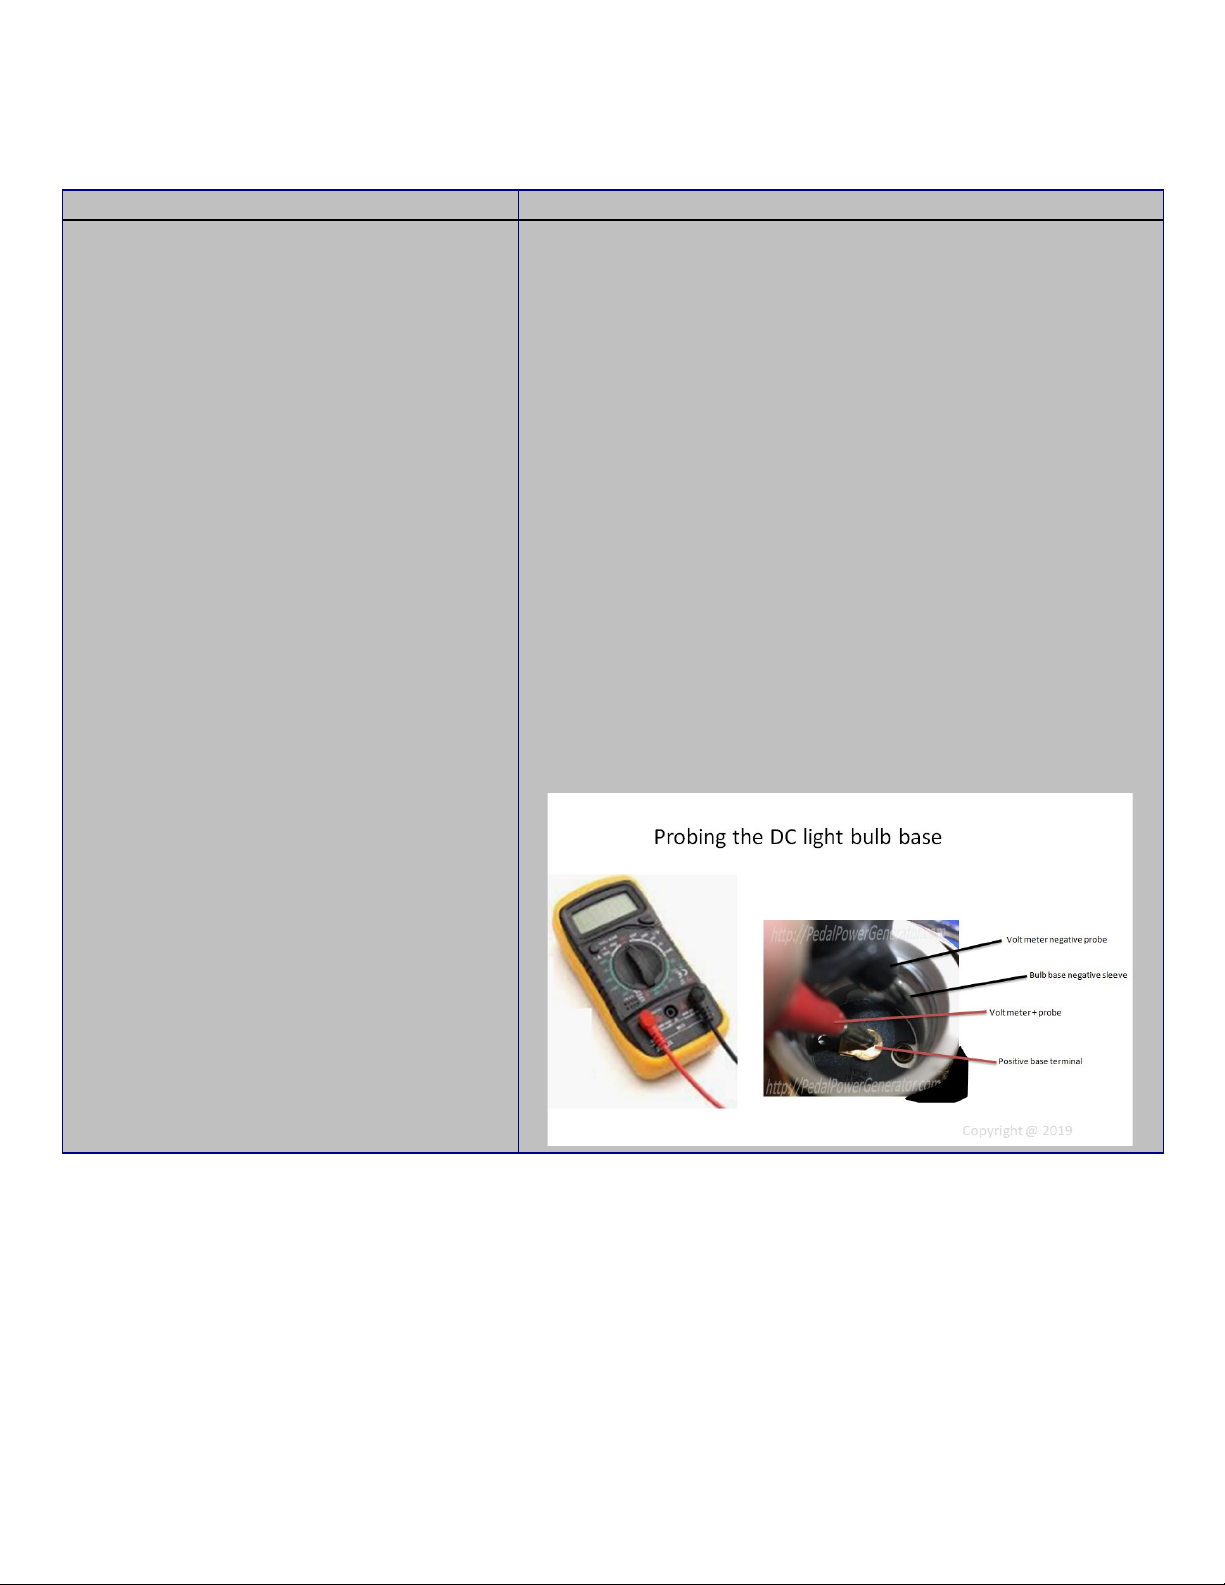
Details on the recommended bulbs to install in this education display are shown below. Note:
The total power of all three bulbs turned on at once should not exceed 75 Watts are the display
could be damaged or will not work as designed.
Recommended Bulb Configuration
1) 12V LED bulb consuming about 7 Watts
2) 12V CFL bulb (AKA compact fluorescent) consuming about 15 Watts
3) 12V Incandescent bulb consuming 25 Watts if small children are participating, install a
50 Watt bulb if teenagers and adults are participating.
Note: It does not matter what order these bulbs are put in.
HUMAN POWERED LIGHT DISPLAY OWNER'S MANUAL Revision 1.1 © 2018

Installing the handle
Once the packaging is removed then install the
handle on the hand crank using the included
wrench to do the tightening. Do not worry about
over tightening. It is important to start the threads
carefully. If the pedal simply does not want to
screw in, then back it out and put a little oil on the
threads and try again gently. Once it is in all the
way, use the wrench to apply 20lbs of force on it.
HUMAN POWERED LIGHT DISPLAY OWNER'S MANUAL Revision 1.1 © 2018

Install The Power Cable As Shown
HUMAN POWERED LIGHT DISPLAY OWNER'S MANUAL Revision 1.1 © 2018

Light Box Cover
When the light box display is not supervised by an adult it is necessary to install a cover over the light bulbs.
This will prevent children from tampering with the bulbs and possibly hurting themselves.
Installation of Cover
Place the clear cover on the top of the box
as shown
Install 4 thumb screws as shown
When finished it should look like this
HUMAN POWERED LIGHT DISPLAY OWNER'S MANUAL Revision 1.1 © 2018

Verify Your Generator is Working
With the light switches turned off turn the cranks
of the human powered generator and verify that
the power meter lights up on the front of the light
box. In this case one can see that the generator is
putting out 10.71 Volt. The current is the second
number measured in “Amps” which will always be
close to zero when the light switches are left off.
Now turn on an LED bulb and generate power
from the human powered generator. At this point
the light will turn on once you read a Voltage level
of 13 Volts or so. The current will then show a
value greater than zero. The power will be around
7 Watts depending on what type of LED bulb is
being used.
If a person goes extremely fast and generates a
Voltage in the 50 Volt range there is no reason to
be concerned. The light box has built in over
voltage protection to handle this high voltage.
Recommended spare parts
The following items are recommended spare parts for the system:
●Bike chain – estimated life 50,000 hours
●Handles – estimated life 50,000 hours
●Generator – estimated life 100,000 hours
HUMAN POWERED LIGHT DISPLAY OWNER'S MANUAL Revision 1.1 © 2018

Maintenance
The following maintenance items are to be performed as specified:
Check that hand pegs are tight
Frequency
Details
Weekly
Check each hand peg with wrench to make sure each one is snug. The
proper torque to put on this wrench is approximately 10 foot-lbs.
If a hand peg is loose, then it is important to put Loctite on the threads
before tightening. This is a type of glue that will keep the hand peg
from loosening up again. It can be found here:
https://amzn.to/2OUqfJv
HUMAN POWERED LIGHT DISPLAY OWNER'S MANUAL Revision 1.1 © 2018

Check Outer Chain Shroud on Generator For Rubbing
Frequency
Details
Weekly
It is possible that if the outer shroud is pushed on too hard that it could
become misaligned and start rubbing on the hand crank arm.
This can be easily detected by seeing movement of the outer shroud or
hearing additional rubbing noises.
At this point it will be necessary to loosen the 4 screws shown below
on each side of the shroud of the hand crank generator. Then
realignment with the aid of a 2nd person, then tighten the 8 screws back
up. (4 screws on each side).
HUMAN POWERED LIGHT DISPLAY OWNER'S MANUAL Revision 1.1 © 2018

Troubleshooting
It may be necessary to perform some trouble shooting on this generator / light box system. Here is some trouble
shooting scenarios.
PROBLEM DESCRIPTION
STEPS TO TAKE
Power meter on light box does not light up
1) Verify that the power cable connector at the generator is
properly inserted and locked into place. The silver
locking tab will making a clicking noise when it moves
and locks into place.
2) Verify that other end of the power cable is properly
inserted into the back of the light box display and locked
into place.
3) If steps 1 and 2 do not solve the problem then use the
Volt meter test leads to probe the Voltage at the light
bulb base (the bulb must be removed to expose the test
points to probe)
4) Put the meter into DC Volts mode.
5) Turn off or remove the bulbs from the box.
6) Turn the light switch in the up position corresponding to
the bulb base that you are going to measure.
7) Have someone turn the hand crank generator at a 50%
speed. The Voltage at the light bulb base should be
between 11.5 to 15 Volts DC.
8) If there is no Voltage at the bulb base then contact
technical support for further troubleshooting steps.
HUMAN POWERED LIGHT DISPLAY OWNER'S MANUAL Revision 1.1 © 2018

PROBLEM DESCRIPTION
STEPS TO TAKE
Bulb does not light up
If a bulb does not light up then follow this example:
For this example bulb 2 is a CFL bulb and bulb 1 is an LED
bulb. Assume that the bulb 2 CFL bulb stops working.
Swap bulbs in locations 1 and 2. Have someone turn the
hand crank generator at 50% speed. Now if the CFL bulb
still does not turn on, and the LED bulb does come on in
position 2 then that proves that the CFL bulb is blown. A
new one will need to be ordered.
PROBLEM DESCRIPTION
STEPS TO TAKE
Generator is not turning
If no sound of the generator turning is heard when turning
the hand cranks, then it can be assumed that one of the
following scenarios has occurred:
1) The bicycle chain became too slack and the chain fell
off. Steps need to be taken to put it back on and tighten
it up properly.
2) The master link of the bike chain came off
3) The chain has too many hours of use and needs to be
replaced
PUTTING THE CHAIN BACK ON
1) Remove the outer shroud (8 screws with a screwdriver)
2) Loosen the 4 bolts of the generator can be slid up and
down in the adjustment slots
3) Remove the master link off the chain
4) Wrap the chain around the lower sprocket of the dc
generator and the upper sprocket such that there is only .
5) Use a pair of needle nosed pliers to put the clip on the
master link as shown
6) Gently slide the DC generator down in the slots until the
chain is snug but not too tight. If it is too tight it will
make the DC generator hand crank way too noisy.
7) After the chain tension is adjusted then tighten the 4
mounting bolts up on the generator and put the outer
shroud back on.
Sales & Support
Email: [email protected]
Website: Pedalpowergenerator.com
BDW Enterprises LLC
1293 E. Parkview Dr.
Gilbert, AZ 85295
HUMAN POWERED LIGHT DISPLAY OWNER'S MANUAL Revision 1.1 © 2018

Phone: 480-489-4111
HUMAN POWERED LIGHT DISPLAY OWNER'S MANUAL Revision 1.1 © 2018
Table of contents