7
Using the Wax Piece:
The bones have been designed so all four
sides can sustain multiple punctures.
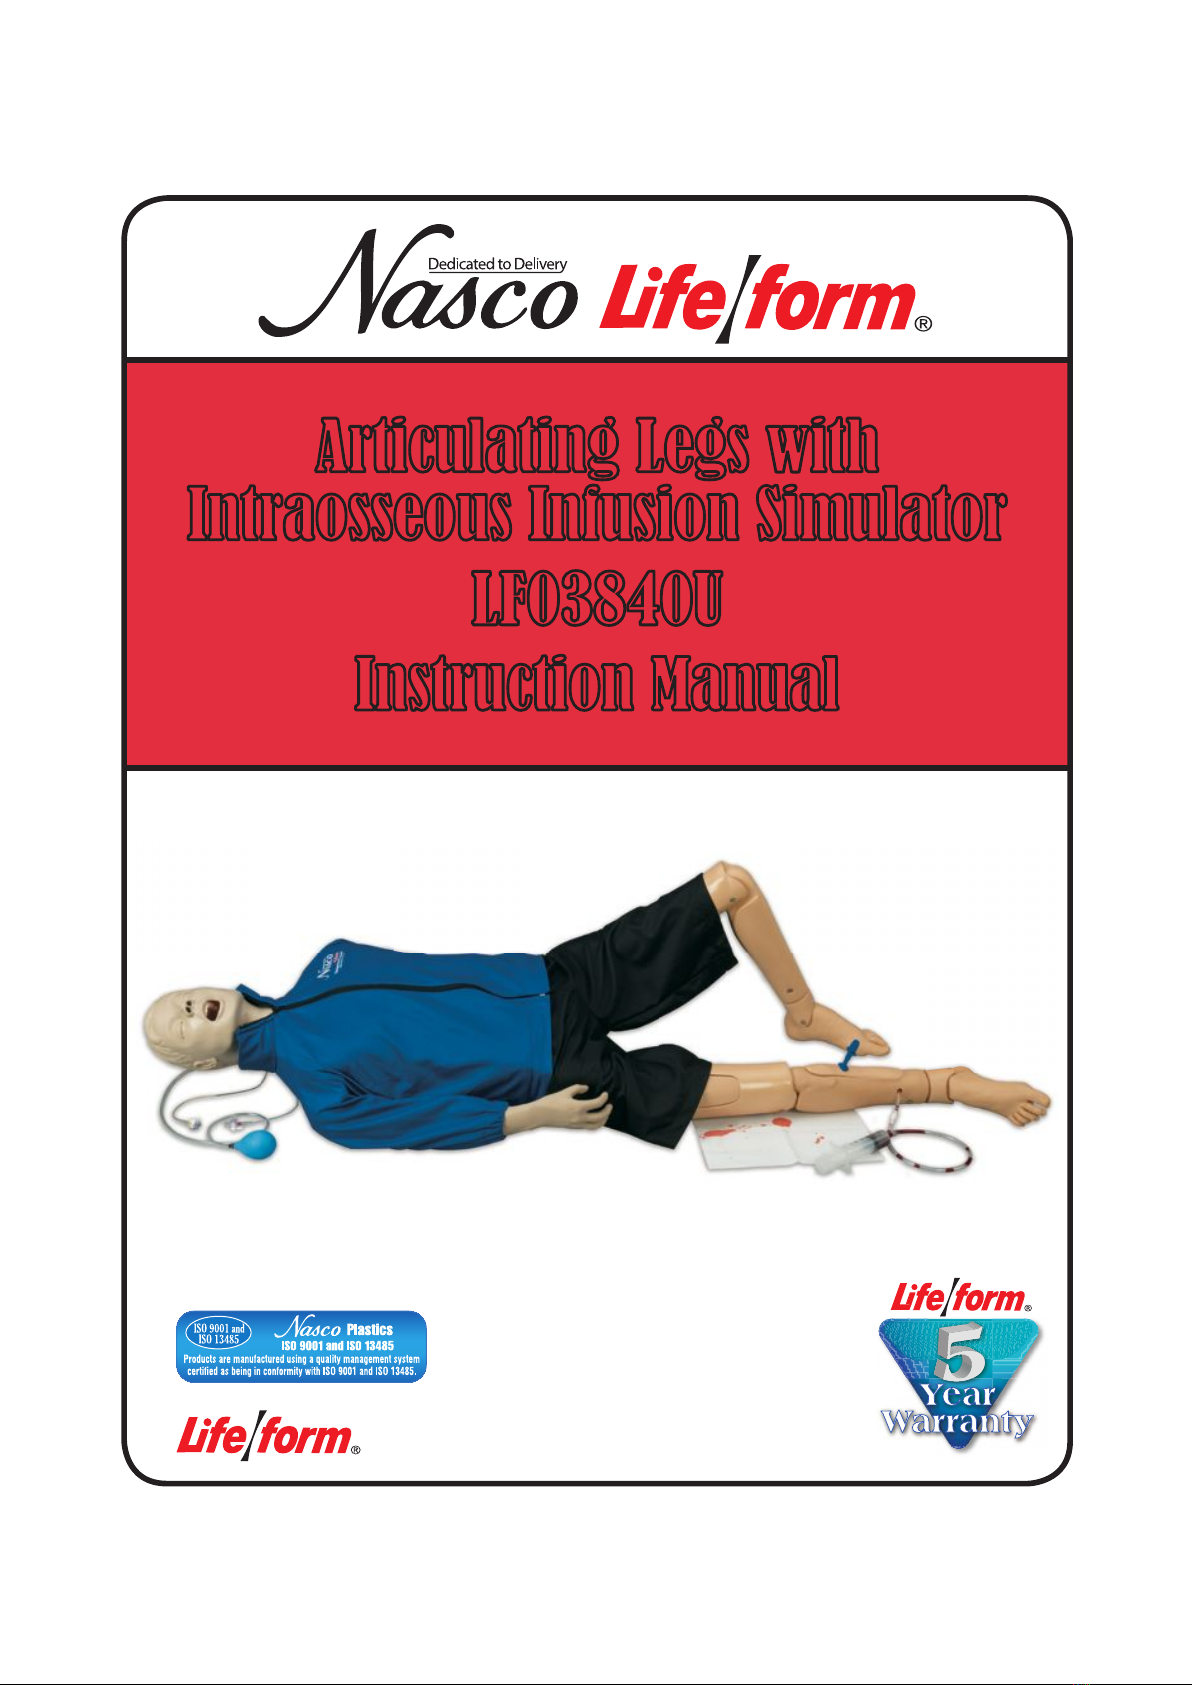
1. To change sides, remove the skin pad.
2. Pull back slightly to retain any remaining
blood mixture in the syringe.
3. Remove the bone from the right IO lower
leg wipe clean and dry.
4. Remove a small piece of the wax and
work with your fingers until soft.
5. Rub the softened piece of wax back and
forth across the bone holes until they are sealed. (See figure 14.)
6. A thin layer of wax left on the bone surface over the holes will help in sealing. The bone structure
may be punctured until four sides have been completely punctured, then the bone may be dis-
carded.
Special Note
The right IO lower leg duplicates a procedure that requires a great deal of pressure to be placed
on both the simulator and the needle or device being used. Extreme caution should be taken to
avoid pushing the needle or device completely through the simulated bone, injuring the person
performing the procedure or damaging equipment. Nasco cannot be responsible for injuries or
equipment damages resulting from improper use of the simulator.
Care and Maintenance
Nasco recommends the use of Nasco Cleaner LF09919U for cleaning the articulating legs, pelvic piece,
and pelvic cap.
CAUTION: Soap and water may be used to clean the pelvic region, legs, right IO lower leg, and feet.
DETACH the articulating legs from the torso to clean with soap and water. Soap and water will damage
electronics inside of the torso. Make sure legs and pelvic area are completely dry before re-attaching
to a torso; water or moisture may damage even basic torsos.
Ink, ball-point pen, and other printed paper or plastic will leave an indelible stain when in contact with
the simulator. Blood mixture will stain clothing and some surfaces.
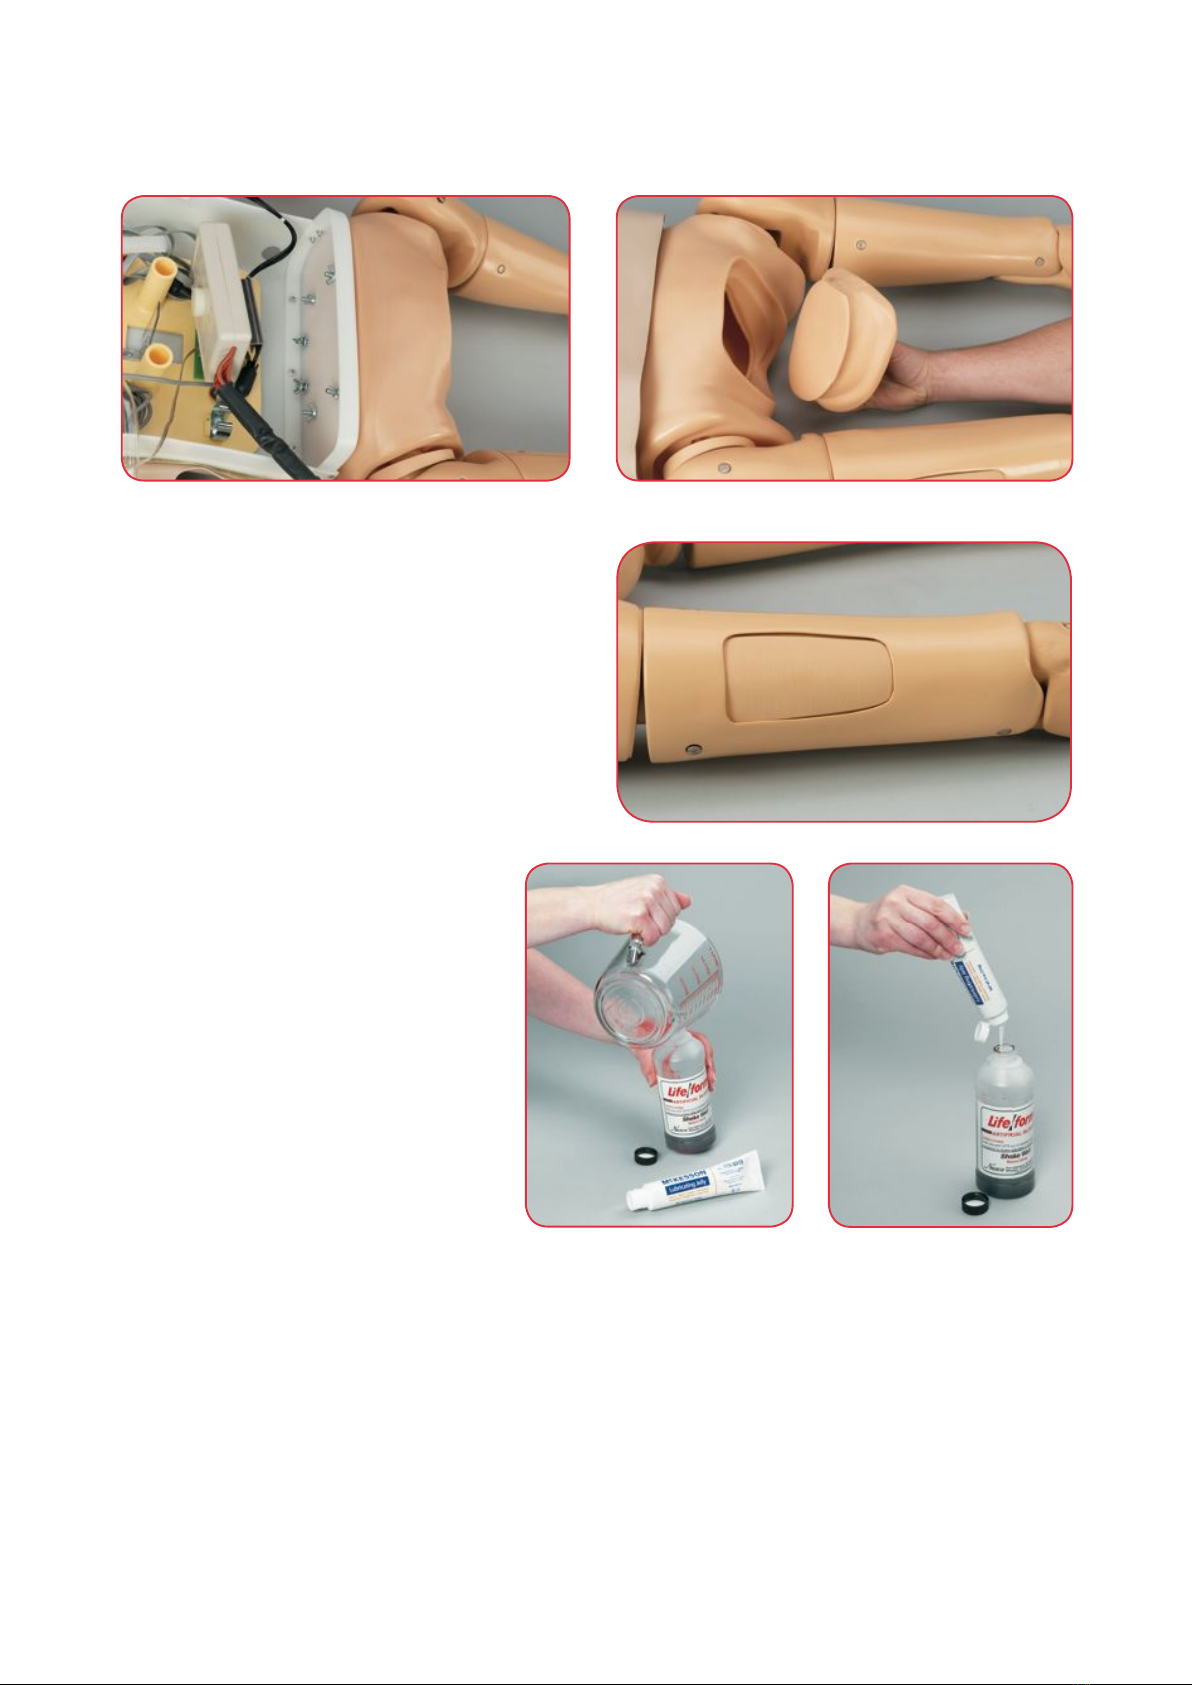
Intraossious Infusion Cleanup Procedures:
1. Remove leg skin pad and use paper towels to completely wipe the skin pad and right IO lower leg,
removing any blood mixture or lubricating agent.
2. Remove and discard any simulated bones that have been charged with blood mixture.
3. Depress the syringe and any remaining blood mixture back into the pint bottle.
4. Recap the blood mixture bottle tightly to save for future use.
5. Use clean tap water to flush and clean syringe and tubing.
6. Allow to dry completely prior to storing.
Figure 14
NP182_14_LF03840_ArticulatingLegs.indd 7 9/30/15 9:01 AM