i
Great White Installation and User’s Guide
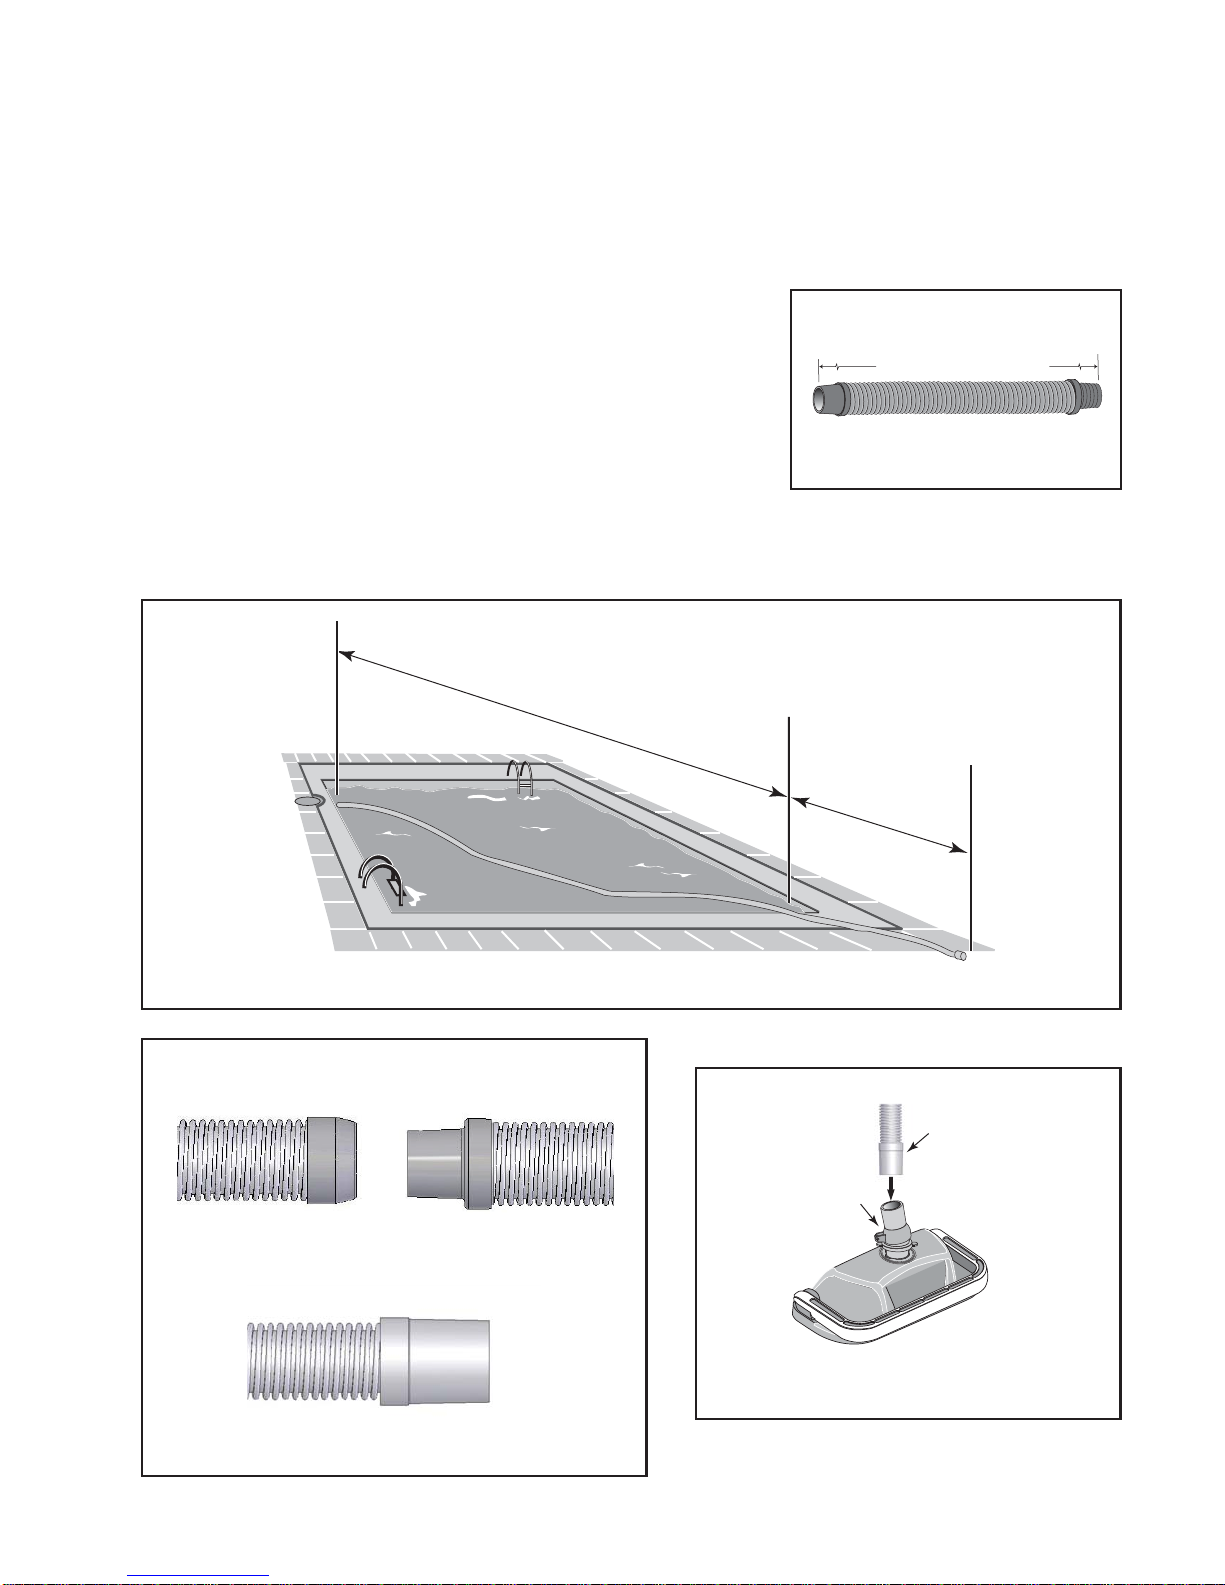
Contents
Important Safety Precautions ..............................................................................ii
Section 1: Overview ............................................................................................1
Preparation of your pool ............................................................................... 2
Cleaner assembly ............................................................................ 2
Hose Assembly ................................................................................ 3
Section 2: Installation ..........................................................................................5
Standard Installation..................................................................................... 5
Optional Installation...................................................................................... 8
Section 3: Operation............................................................................................11
Cleaner Operation and Movement ............................................................... 11
Clicking sound ................................................................................ 11
Movement around the pool ............................................................... 11
Picks up “big stuff” ....................................................................................... 11
Fine-tuning valves and connections ............................................................ 12
Valves (pump, skimmer, and main drain) and vacuum adjustments 12
Too much vacuum? ......................................................................... 12
Not enough vacuum? ....................................................................... 12
In-Line leaf canisters ........................................................................ 13
Skimmer connection ........................................................................ 13
Skimmer vac plates ......................................................................... 13
Skimmer vac plate vacuum control adjusters .................................. 13
Section 4: User Maintenance ............................................................................. 15
Hose Storage ............................................................................................... 15
Disassembly................................................................................................ 16
Reassembly ................................................................................................ 17
Illustrated Parts List ..................................................................................... 18
Section 5: Troubleshooting ................................................................................19