2
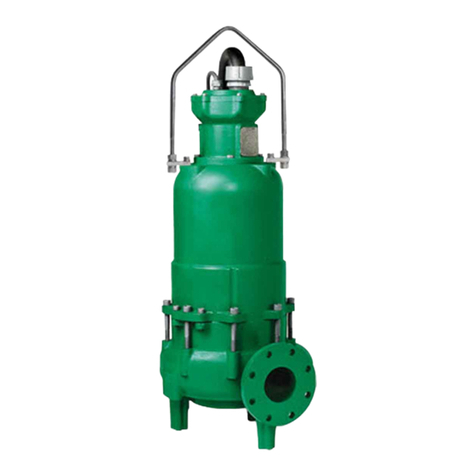
Thank you for purchasing your
Hydromatic®HRS. To help ensure
years of trouble-free operation,
please read the following manual
carefully.
Before Operation:
Read the following instruc-
tions carefully. Reasonable care
and safe methods should be
practiced. Check local codes and
requirements before installation.
Attention:
This manual contains important
information for the safe use of
this product. Read this manual
completely before using this
product and refer to it often
for continued safe product use.
DO NOT THROW AWAY OR
LOSE THIS MANUAL. Keep
it in a safe place so that you may
refer to it often.
WARNING: Before handling
these pumps and controls, always
disconnect the power first. Do
not smoke or use sparkable
electrical devices or flames in
a septic (gaseous) or possible
septic sump.
CALIFORNIA PROPOSITION
65 WARNING:
This product and
related accessories contain
chemicals known to the State of
California to cause cancer, birth
defects or other reproductive
harm.
Electrical Connections:
The contractor must conform
to the latest requirements of the
National Electrical Code and
any local codes. All conduit and
cables shall be in accordance with
NEC code NFPA#70. To maintain
UL type 4X and CSA ENCL 4
rating, use UL type 4 and CSA
weatherproof conduit hubs when
connecting to this enclosure. Prior
to conducting any installation,
repair or service with regard to
the control panel, refer to the
schematic appropriate for that
panel. The schematic will provide
guidance with regard to the
terminal block connections.
CAUTION: Nonmetallic
enclosure does not provide
grounding conduit connections.
Use grounding bushing and
jumper wires.
Make the following Electrical
Connections:
a. Connect the pump leads
to the control panel. When
connecting the pump leads it
is very critical that the proper
sequence be maintained.
On single phase pumps,
the color coded pump leads
black, white, red, must be
connected to the appropriate
terminals as directed by the
control schematic.
b. Connect all the float control
leads to the appropriate panel
terminal blocks. Contrac-
tor must be very careful in
locating the floats at the proper
elevations.
General
Information
Installation
Instructions
c. Before connecting power
to the control panel, make
sure all control switches
(e.g. H-O-A switch) and
protective devices (e.g.
breakers) are in the off
position. Now connect power
to the circuit breaker as
directed by the schematic.
d. Power must be the correct
voltage for the pump model.
Power must have neutral to
supply 120 volts to control
circuit.
e. Control panel must be
grounded properly per NEC
and / or local codes. To
facilitate this, a ground lug
is provided on the control
panel.
Start-up
Checklist
WARNING: Before handling
these pumps and controls,
always disconnect power first.
Do not smoke or use sparkable
electrical devices or flames in
a septic (gaseous) or possible
septic sump.
Check List:
1. Check junction box for
moisture.
2. Check wiring of pump black,
white, red power wires.
3. Check wiring of heat sensor
and seal failure wires if
supplied.
4. Energize control panel. (Turn
on power to panel.)
5. Check overload relay and
verify it has reset.
6. WARNING! Live voltage
can kill! Check voltage to the
panel and to the control circuit
using a voltmeter.

