i
USAGE
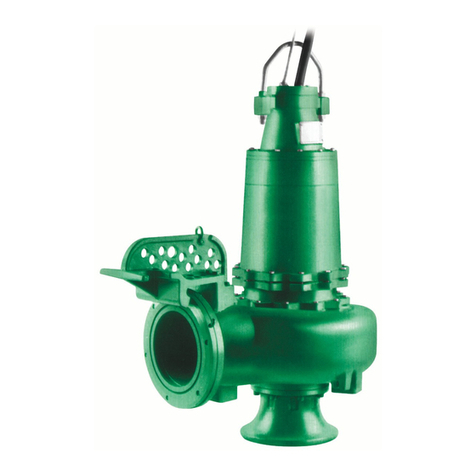
The
VR2
Series is a submersible wastewater grinder
pump designed specifically
for
individual residential
and
pressure sewer applications. The pumps are to
be
used
for
domestic
sewage only and are not to
be
used for
pumping commercial
or
industrial sewage such
as
from
motels, schools, apartments, factories, etc.
THIS
PUMP
IS
NOT
FOR
USE
IN
HAZARDOUS
LOCATIONS!
INSPECTING
PUMP
Before making any piping or electrical connections,
check the pump
for
shipping damage or cracks. Using a
flat
screwdriver placed
in
the slot
on
the shaft end, turn
shaft
and
impellers to
be
sure they are free.
DO
NOT
TURN
IMPELLER
WITH
FINGERS
AS
EDGES
ARE
SHARP.
POWER
SUPPLY
The
VR2
Series grinderpump should
be
connected only
to
a 230 volt, single-phase,
60
Hz
power source.
The
pump
will draw approximately 10.7 amperes at minimum flow
and
15.0
full load amperes. The pump mustbe connected
to a grounded power socket.
DO
NOT
cut
off
the ground
pin from the power cord plug. ·
POWER
CORD
A 20
foot
power cord
is
attached to
the
grinder pump
via
two
i'nsulated quick-disconnect terminals and a ground
terminal.
To
replace a cord, begin
by
slightly loosening
cord nut in
the
cord cap plate. Remove cord cap plate
from
the
motor
housing and carefully pull the power
leads up out of
the
motor
housing and disconnect them
from
the
motor
leads. Disconnect the ground wire from
the cap plate and continue to completely loosen the cord
nut
from the cap.
To
install new cord, feed terminals through cord cap
plate and reconnect power terminals. Reconnect ground
terminal to the
bottom
side
of
the
cap plate. Carefullyfeed
wires bad~
into
the
motor
housing and fasten the cord
cap plate
to
the
motor
housing. Lastly, tighten the cord
nut into the cap plate. Tighten firm, do not overtighten.
The powercord should
be
replaced
ifit
has been damaged
in any way or the cord jacket has become brittle.
MOTOR
TYPE
The
VR2
Series grinder pump contains a 3/4 frame, 2 hp,
single-phase,
60
Hz,
3L150
rpm, capacitor start, capacitor
r·ur,
motor
with Class F insulation
and
built-in, on-winding
overload protection. Motor has upper
and
lower ball
bearings
and
is
oil-cooled
and
lubricated.
7
A
CAUTION!
THE
VR2
SERIES
GRINDER
PUMP
SHOULD
NEVER
BE
WORKED
ON
WITHOUT
FIRST
DISCONNECTING
THE
POWER
CORD.
OIL
TYPE
The
motor
housing contains dielectric transformer oil
to
provide good heat transfer and lubrication
of
ball
bearings; no other lubrication
is
required.
Oil
level may
be
checked
by
removing the plug from the top
of
the
motor
housing.
The
oil level should
be
filled
to
the
bottom
of the end shield.
Do
not overfill with oil.
Only
dielectric
transformeroil obtained from aMyers• authorized service
center should
be
used.
PUMP
SWITCH
INSTALLATION
INSTRUCTIONS
NOTE:
In
accordance with third party approval, pump
must
be
submerged a minimum of 10-9/16" from
bottom
of the legs
on
volute case during operation.
Mounting
the Switch
1.
Determine pumping range for installation.
Do
not
tether
less than 3-1/2"
from
pipe.
2.
Tighten strap around discharge pipe keeping switch
cable between strap and pipe to prevent slippage.
3.
Space small ties at least
1"
apart.
To
readjust ties,
press small tie tabs down.
4.
To
lock releasable tab, run remaining strap between
tab
and
head. Tuck strap back through head.
Piggyback
Plug
Install
A Electrical outlet must not
be
located
in
pump
chamber.
A Electrical outlet voltage, piggyback plug voltage, and
pump voltage must match.
1.
Follow steps 1through 4
of
"Mounting the Switch."
2.
Insert switch's piggyback plug into outlet.
3.
Plug pump into piggyback plug.
4.
Check installation. Allow system to cycle to ensure
proper operation.
Direct
Wire
Install
1.
Follow steps 1through 4 of "Mounting the Switch."
2.
Further wiring of switch should
be
done
by
qualified
professionals only.
3.
Check i!'Stallation. Allow system to cycle to ensure
proper operation.

