2
Preparations before Starting the Engine
1. Fuel: Check fuel level in tank. Do not over fill tank. Use
fresh, clean automotive fuel. Note: DO NOT FILL FUEL
TANK WHEN ENGINE IS RUNNING.
2. Engine Oil: Before checking or refilling with engine oil,
make sure the engine is stopped and placed on a sta-
ble, level surface. Use oil recommended for ambient
air temperatures that the engine will be running at. See
chart below. Change oil according to manufacturer’s
recommendation. (Once after the first 20 hours and ev-
ery 100 hours thereafter.)
Air Temperature Single-grade Oil
85° F #40W
60° F #30W
32° F #20W
3. Priming Water: IMPORTANT: PUMP MUST NOT BE
RUN DRY. On self-priming pumps, only the chamber
needs to be filled with liquid. The pump must not run un-
less the priming chamber is completely filled with liquid
because there is a danger of damaging the mechanical
seal, which depends on the liquid for its lubrication.
Self-priming models can be primed by removing the filler
cap, located at the top of the pump where the discharge
line is mounted to the pump, and filling the priming cham-
ber with liquid. The priming chamber will fill to the level
of the inlet port. After use, the priming chamber should
be flushed and drained to avoid chemical corrosion and
damage from freezing. Drain by removing the lower drain
plug located at the bottom of the casing.
Starting the Pump
IMPORTANT: Before starting engine, be
sure the priming chamber is filled with
liquid and the discharge hose is secure.
1. Turn engine switch located by recoil starter to ON
position.
2. Turn the fuel cock to ON.
3. Push the throttle lever to a slightly open position.
4. Operation of choke lever.
When engine is cold:
In cold weather, start engine with choke in fully
closed position.
In warm weather, start engine with choke in half-
closed position.
When engine is warm:
Start engine with choke in fully open position.
5. Start engine by pulling recoil starter out quickly and
forcefully. Repeat pulling until the engine starts.
Operation of the Pump
1. Idle the engine for 3 to 5 minutes to warm it up.
2. Open the throttle lever to the upper zone after engine
has warmed up.
3. Once the pump has primed, you will note a load on the
engine; adjust rpms to proper speed for your pumping
application.
Hazardous Substance Alert
Please Note: It is illegal to ship or transport any
hazardous chemicals without United States
Environmental Protection Agency Licensing.
1. Always drain and flush pumps before servicing or
disassembling for any reason.
2. Before returning unit for repair, drain out all liquids and
flush unit with neutralizing liquid. Then, drain the pump.
Attach a tag or include a written notice certifying that
this has been done.
3. Never store pumps containing hazardous chemicals.
Plumbing Installation
Preliminary to Mounting
Before setting up the pump for operation, check to see
that the motor and pump turn freely by hand. If it cannot
be turned over by pulling on the recoil starter, open cas-
ing to check for obstructions lodged in pump.
Selecting the Suction Line
To get full capacity of the pump, the suction line should be the
same size as the pump suction port. If suction hose is longer
than approximately 6 feet, use next size larger hose. The suc-
tion line must be free of air leaks. All joints and connections
of the suction line must be tightened securely so that no addi-
tional air may enter the suction side through a loose connec-
tion. Use a good grade of suction hose that will not collapse.
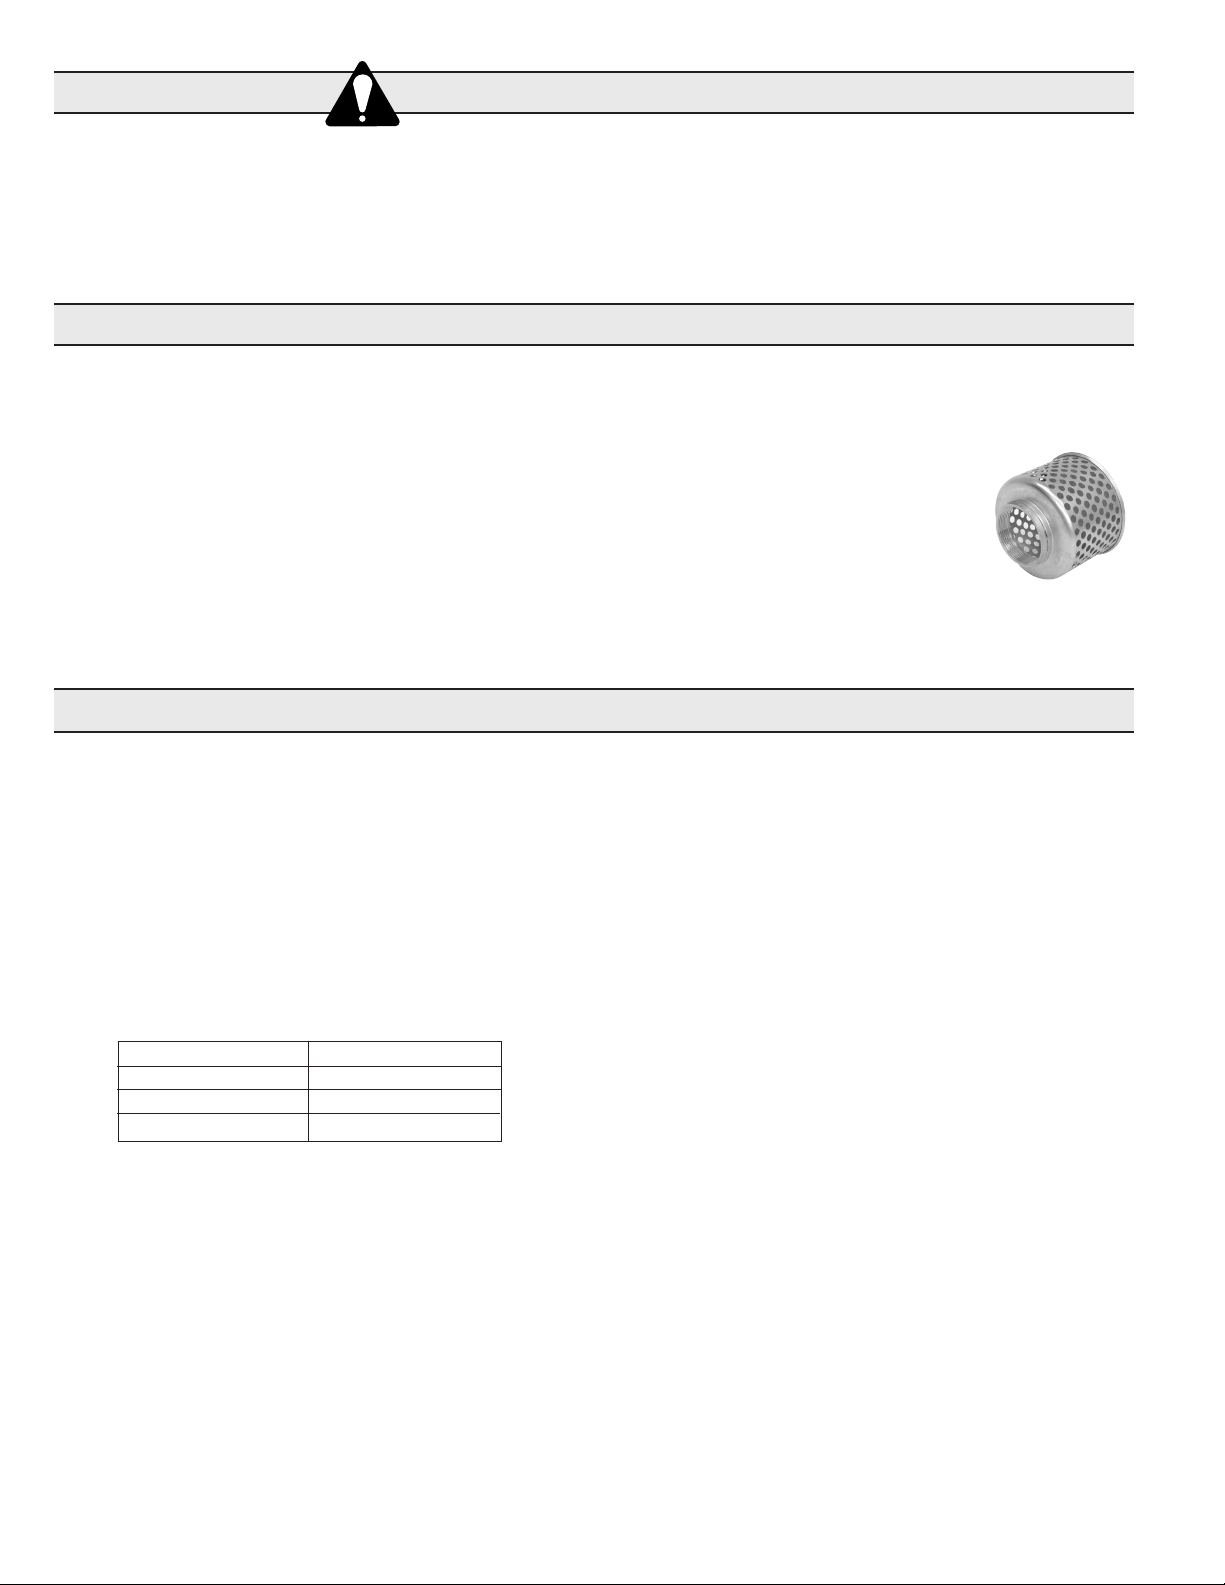
Basket Strainer
The basket strainer supplied with this pump is to be used
when transferring solutions that may contain debris and
solids which could become lodged in the
pump or damage the impeller. Because
of the high flow capacity of this pump,
unknown debris could be siphoned off the
bottom of the tank. Install the strainer on
the suction side of the pump whenever
possible to avoid pump damage.
Operation and Maintenance
L-1474 (12/12)


 User manual")


