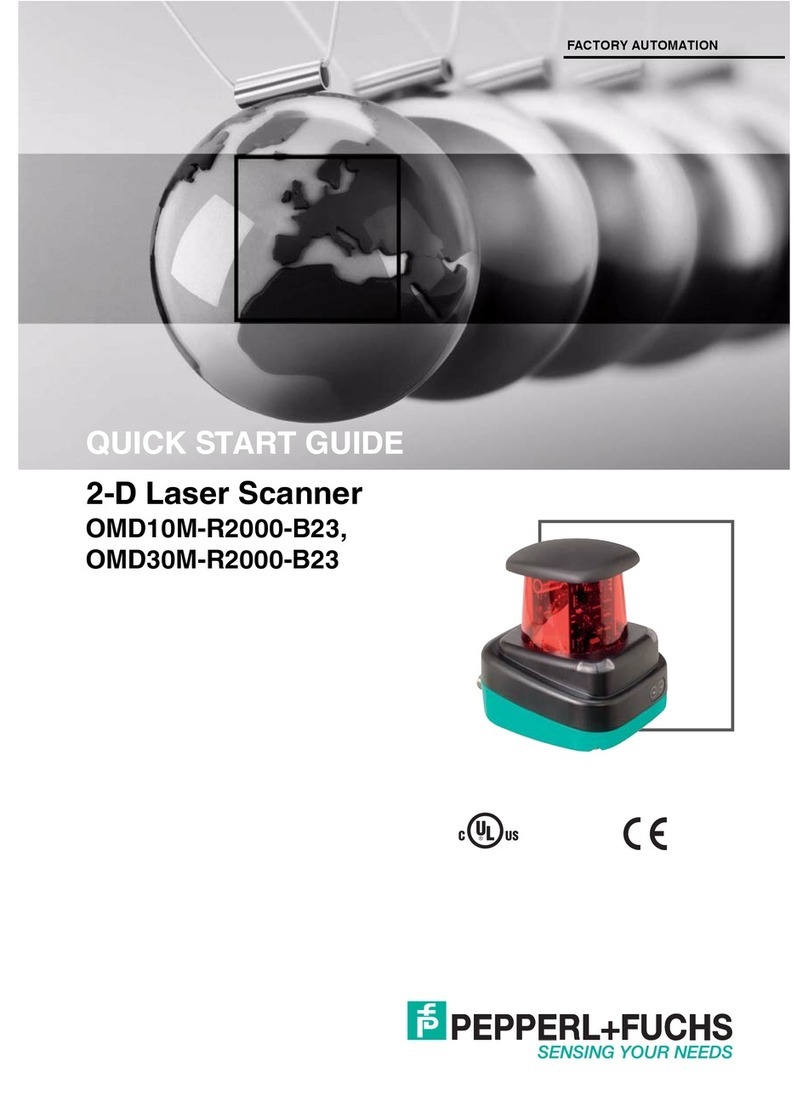
Pepperl+Fuchs OMD10M-R2000-B23 User manual

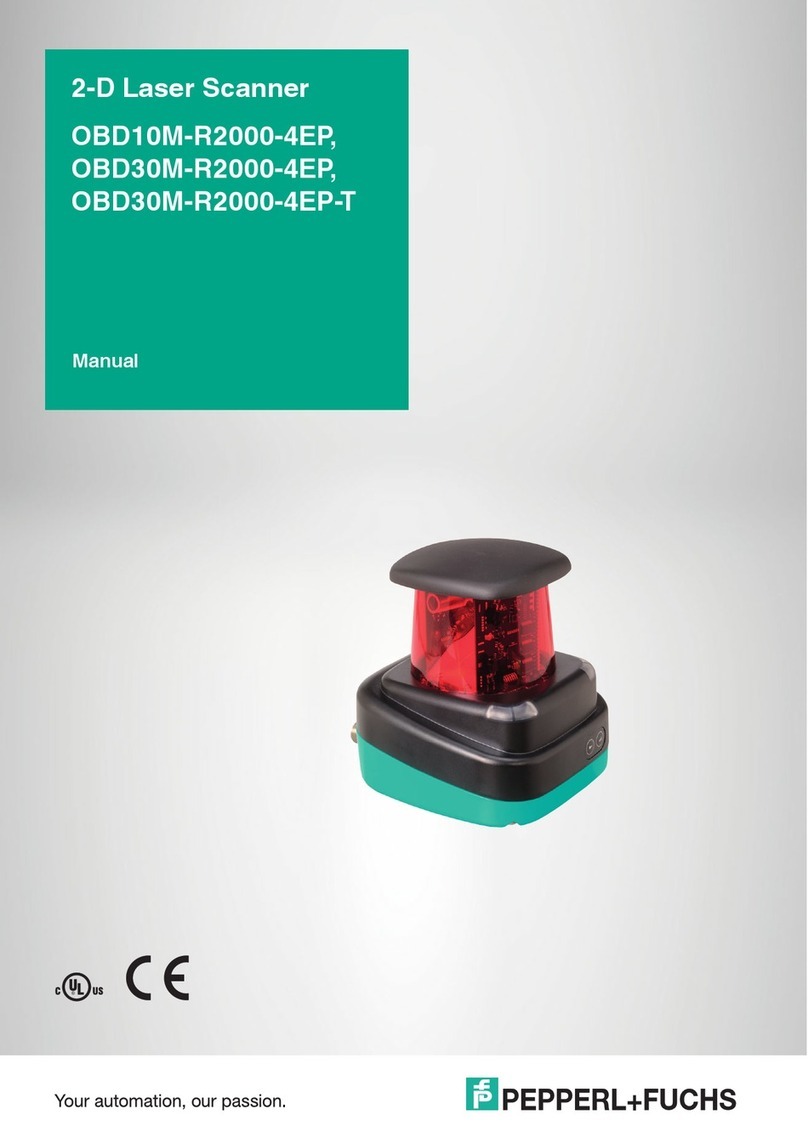
2-D Laser Scanner
OMD10M-R2000-B23,
OMD30M-R2000-B23,
OMD12M-R2000-B23
FACTORY AUTOMATION
MANUAL

With regard to the supply of products, the current issue of the following document is applicable: The
General Terms of Delivery for Products and Services of the Electrical ndustry, published by the
Central Association of the Electrical ndustry (Zentralverband Elektrotechnik und Elektroindustrie
(ZVE ) e.V.) in its most recent version as well as the supplementary clause: "Expanded reservation
of proprietorship"
2-D Laser Scanner

2-D Laser Scanner
Contents
2016-01
3
1 Introd ction......................................................................... 5
1.1 ntroduction...................................................................................................5
1.2 Validity ..........................................................................................................5
2 Declaration of Conformity ................................................. 6
3 Safety................................................................................... 7
3.1 Symbols Relevant to Safety ..........................................................................7
3.2 General Safety nformation ............................................................................7
3.3 Laser Class 1 ................................................................................................8
3.4 ntended Use ................................................................................................8
4 Prod ct Description ........................................................... 9
4.1 R2000 Laser Scanner...................................................................................9
4.2 Functional Principle.....................................................................................10
4.3 ndicators and Controls ...............................................................................10
4.4 nterfaces and Connections ........................................................................ 11
4.5 Scope of Delivery........................................................................................12
4.6 Accessories ................................................................................................12
5 Installation......................................................................... 14
5.1 Storage and Transport.................................................................................14
5.2 Unpacking...................................................................................................14
5.3 Mounting.....................................................................................................14
5.4 Device Connection...................................................................................... 16
6 Commissioning................................................................. 17
6.1 Ethernet Configuration ................................................................................17
7 Operation........................................................................... 19
7.1 Menu Structure ........................................................................................... 19
7.2 Operation ....................................................................................................21
7.3 Description of Menu tems ..........................................................................24
7.3.1 Ethernet nfo Menu tem .........................................................................24
7.3.2 Ethernet Setup Menu tem ......................................................................24
7.3.3 Sensor Setup Menu tem ........................................................................25
7.3.4 Demos Menu tem .................................................................................. 26
7.3.5 Tools Menu tem .....................................................................................26
7.3.6 End Menu tem .......................................................................................26
8 Maintenance and Repair .................................................. 27
8.1 Maintenance ...............................................................................................27
8.2 Repairs .......................................................................................................27

2016-01
4
2-D Laser Scanner
Contents
9 Tro bleshooting ............................................................... 28
9.1 Troubleshooting.......................................................................................... 28
10 Appendix........................................................................... 29
10.1 Technical Data Daten "Ultra High Density" Models ..................................... 29
10.2 Technical Data "High Density" Variants ...................................................... 32
10.3 Amplitude Characteristics .......................................................................... 35
10.4 Pulse Ranging Technology (PRT) Glossary................................................ 37
10.5 Using Open Source Programs.................................................................... 37

2-D Laser Scanner
ntroduction
2016-01
5
1 ntroduction
1.1 ntroduction
Congrat lations
You have chosen a device manufactured by Pepperl+Fuchs. Pepperl+Fuchs
develops, produces and distributes electronic sensors and interface modules for
the market of automation technology on a worldwide scale.
Read these instructions carefully before you install this device and put it into
operation. nstructions and hints included in this manual lead you step by step
through the installation and commissioning and provide a trouble-free use of this
product. This is for your benefit, since this helps you to:
■ensures the safe operation of the device
■exploit the full functionality of the device
■avoid operating errors and related disturbances
■avoid costs due to disruptions and repair work
■increase the effectiveness and efficiency of your system.
Keep these instructions for reference for later work on the equipment.
Please check after opening the package, that the device isn't damaged and the
completeness of the delivered goods.
Symbols sed
The following symbols are used in this manual:
Handling instructions
You will find handling instructions beside this symbol
Contact
f you have any questions about the device, its functions, or accessories, please
contact us at:
Pepperl+Fuchs GmbH
Lilienthalstraße 200
68307 Mannheim
Telephone: +49 621 776-4411
Fax: +49 621 776-274411
E-Mail: fa-info@pepperl-fuchs.com
1.2 Validity
This manual applies to devices from firmware 1.20 and hardware 1.00 onward.
The versions can be found in the device menu; see chapter 7.3.3.
For devices with older versions, documentation is available on request.
Note!
This symbol draws your attention to important information.

2016-01
6
2-D Laser Scanner
Declaration of Conformity
2 Declaration of Conformity
All products were developed and manufactured under observance of the
applicable European standards and guidelines.
The product manufacturer, Pepperl+Fuchs GmbH, 68307 Mannheim, has a
certified quality assurance system that conforms to SO 9001.
Note!
A Declaration of Conformity can be requested from the manufacturer.
ISO9001

2-D Laser Scanner
Safety
2016-01
7
3 Safety
3.1 Symbols Relevant to Safety
3.2 General Safety nformation
The following basic instructions must be observed at all times:
■The device must not be commissioned until the manual has been read and
understood
■The power supply to produce the supply voltage must have a safe electrical
isolation by means of double insulation and a safety transformer according
to D N VDE 0551 (corresponds to EC 742)
■The device must not be used outside of its specification without suitable
protective measures
■Modifying the device is not permitted
■Do not point the devices in direct sunlight and do not take measurements in
sunlight
■Do not remove the warnings or rating plates
nstallation and commissioning of all devices must be performed only by
personnel specially trained for that purpose.
Protection of operating personnel and the system is not ensured if the product is
not used in accordance with its intended use.
The laws and guidelines applicable for the use or the intended purpose must be
observed. Devices are approved only for proper usage in accordance with
intended use. gnoring these instructions will void any warranty and absolve the
manufacturer from any liability.
Use only recommended original accessories.
Danger!
This symbol indicates an imminent danger.
Non-observance will result in personal injury or death.
Warning!
This symbol indicates a possible fault or danger.
Non-observance may cause personal injury or serious property damage.
Caution!
This symbol indicates a possible fault.
Non-observance could interrupt the device and any connected systems and
plants, or result in their complete failure.

2016-01
8
2-D Laser Scanner
Safety
f you are unable to resolve faults, switch the device off. Make sure that the device
cannot be switched back on accidentally. f the device needs to be repaired,
return it to Pepperl+Fuchs. f you open or modify the device yourself, not only are
you endangering yourself and others but you will void any warranty and absolve
the manufacturer from any liability.
Dispose of unusable devices in accordance with the applicable national statutory
regulations.
For instance, you can take the sensor to a designated collection point for
electronic waste.
3.3 Laser Class 1
Class 1 Laser Prod ct
This sensor is certified according to laser protection class 1.
3.4 ntended Use
The R2000 laser scanners are measuring devices that are used on automated
transport systems or other movable machinery in intralogistics. They are also
used on stationary equipment in the area of factory and building automation.
Make sure that the devices are used only for their intended purpose.
Danger!
n applications involving stock feeders and moving carriages, care must be taken
to ensure that the applicable safety regulations are observed at all times.
Failure to do so may result in serious or fatal injury!
Warning!
Class 1 laser light
The laser light can be an irritant, especially in a dark environment. Do not point
lasers at people!
Maintenance and repairs should only be carried out by authorized service
personnel!
nstall the device so that the warning is clearly visible and readable.
Caution: Use of controls, adjustments, or performance of procedures other than
those specified herein may result in harmful laser beam exposure.

2-D Laser Scanner
Product Description
2016-01
9
4 Product Description
4.1 R2000 Laser Scanner
The two-dimensional R2000 laser scanner is made up of a static body, on which a
continuously turning measurement module with an emitter laser and receiver
element is located. The laser scanner uses Pulse Ranging Technology (PRT).
The implementation of this innovative operating principle permits unbroken
scanning of the surroundings through a full 360°.
As a compact 360° scanner with high measuring frequency, small angular
resolution, precise light spot, visible measurement beam (OMD10M-R2000-B23),
and an integrated all-round display, the system can be used in numerous
applications in factory automation. n addition to completing familiar tasks from
industrial areas such as logistics, transportation, and material handling, the
system can be used for innovative applications in buildings automation, automatic
navigation of autonomous vehicles, or for monitoring rooms.
One particular highlight of the laser scanner is the row of LEDs arranged on the
back of the measurement module. Rotating the scanner produces a cylinder-
shaped projection surface, which is suitable for displaying text-based as well as
graphical information. n this way, commissioning and operations can be carried
out without aids such as a PC or Notebook. Operating and diagnostic information
can be seen directly during ongoing operation.
The laser scanner from the R2000 series fulfills the safety requirements of laser
class 1 in measurement mode. The low amount of laser light emitted guarantees
that operating personnel are neither injured nor harmed.

2016-01
10
2-D Laser Scanner
Product Description
4.2 Functional Principle
The laser scanner works according to the principle of Pulse Ranging Technology
(PRT). As part of this principle, the time between sending a light pulse and
receiving the reflected pulse from an object is measured in the device. Due to the
constancy of the speed of light, this time is a measurement of distance.
n comparison with other distance measurement processes, runtime
measurement is affected very little by any disturbances in the measuring
environment. As a result, this measurement process can be used with a high level
of accuracy even under tough everyday industrial conditions. The light source and
light receiver are located in the rotating sensor head.
4.3 ndicators and Controls
Figure 4.1 ndicators and Controls
Note!
Influence of ambient conditions
The speed of light depends on the air temperature and barometric pressure.
The influence of the air temperature amounts to 1 ppm/K.
The influence of the barometric pressure amounts to -0.3 ppm/hPa.
These faults must be taken into consideration by the user in the case of longer
distances.
n the operating range (-10 °C ... +50 °C) this fault amounts to 0.6 mm at a
distance of 10 m.
No. Designation Color
1 Operating status indicator Green
2 Error indicator Red
3 "Next" menu button
4 "Return" menu button
5 Q2 - no function
6 Q1 - no function
7 Laser face
8 Ethernet link indicator Green
9 Ethernet activity indicator Yellow
Table 4.1 ndicators and Controls
2
6
1
4
3
5
7
9
8

2-D Laser Scanner
Product Description
2016-01
11
4.4 nterfaces and Connections
The following connections are found on all devices:
Power s pply
There is a 4-pin M12 connector on the rear of the housing to connect the power
supply. The following diagram shows the pinning:
Figure 4.2 Power supply connection layout
M ltiPort
The 8-pin M12 connector on the rear of the housing is for service purposes.
Interface:
There is a 4-pin M12 socket on the back of the housing to connect the Ethernet
interface. The following diagram shows the pinning:
Figure 4.3 Ethernet connection layout
The connector housing is located on the shield.
124 V power supply
2Not used
3Ground (GND)
4Not used
1TD+
2RD+
3TD-
4RD-
1
3
4
2
1
4
6
7
8
53
2
1
3
42

2016-01
12
2-D Laser Scanner
Product Description
4.5 Scope of Delivery
The scope of delivery includes:
■R2000
■Quick start guide
■Protective cover
■3 x socket cap screws, M5 x 10
■3 x washers, size 5
4.6 Accessories
The following products are available as accessories.
Note!
Installation Instructions for North America
f a connection is made to the M12 multi-pin connector, the product shall be used
with a UL-listed cable/connector (CYJV) assembly rated minimum 30 VDC,
minimum 1.0 A, in the final installation for power supply.
Designation Description
V1SD-G-2M-PUR-ABG-V45-G Patch cable M12 to RJ45, length 2 m
V1SD-G-5M-PUR-ABG-V45-G Patch cable M12 to RJ45, length 5 m
V1SD-G-ABG-PG9 Single-ended male cordset, M12 D-coded, 4-pin for
bus cable
V1-G-2M-PUR Single-ended female cordset, straight, M12, 4-pin,
PUR cable
V1-W-2M-PUR Single-ended female cordset, angled, M12, 4-pin,
PUR cable
MH-R2000 Mounting bracket, quick-lock and adjustment aid
Note!
Installation Information for North America
f a connection is made with the M12 multi-pin connector, then in the final
installation of the power supply, the product must be used with a UL-listed
cable/connector assembly (CYJV) that is designed for at least 30 VDC and at least
1.0 A.
Designation Description
V1-G-BK-2M-PUR-U Single-ended female cordset, straight, M12, 4-pin,
PUR cable, length 2 m, "UL recognized"
V1-G-BK-5M-PUR-U Single-ended female cordset, straight, M12, 4-pin,
PUR cable, length 5 m, "UL recognized"
V1-G-BK-10M-PUR-U Single-ended female cordset, straight, M12, 4-pin,
PUR cable, length 10 m, "UL recognized"

2-D Laser Scanner
Product Description
2016-01
13
To parameterize the 2-D laser scanner conveniently via a software interface, you
need the corresponding device type manager (DTM) in addition to the FDT
framework program (PACTware 4.x). Both PACTware and the DTM are available at
www.pepperl-fuchs.com.

2016-01
14
2-D Laser Scanner
nstallation
5 nstallation
5.1 Storage and Transport
Package the device for storage and transport such that it is protected from impact
and moisture. The original packaging provides optimum protection. Also take note
of the permitted ambient conditions.
5.2 Unpacking
Check the product for damage while unpacking. n the event of damage to the
product, inform the post office or parcel service and notify the supplier.
Retain the original packaging in case the device must be stored or shipped again
at a later date.
Should you have any questions, please direct them to Pepperl+Fuchs.
5.3 Mounting
The device can be fitted with the supplied socket head screws with washers on
the underside of the device.
Note!
f the temperature is subject to major fluctuations during transport, the device
must be allowed to acclimatize for around two hours prior to installation and use.
During this acclimatization period, avoid subjecting the device to condensation at
all costs, as this could have an effect on internal parts and cause damage.
Caution!
Safety information
Do not point the sensor into the sun.
Protect the sensor against direct and prolonged sunlight.
Prevent condensation from forming by ensuring that the sensor is not subjected to
any major temperature fluctuations.
Do not subject the sensor to aggressive chemicals.
Keep the glass on the device clean.
For cleaning, use only water (if necessary with a little detergent) and a soft
microfiber cloth! The use of other detergents is not permitted! The glass must
never be cleaned when dry!
Caution!
Screw-in depth
The maximum screw-in depth in the base must not exceed 8 mm, otherwise the
device will be mechanically destroyed! The minimum screw-in depth is 5 mm.

2-D Laser Scanner
nstallation
2016-01
15
Figure 5.1 Dimensional drawing R2000
70
(40)20
60
20
53
106
117.5
4658
116.5
106
16
97.1
3 x M5
20
45
Emitter range and receiver range
Complies with 21 CFR
1040.10 and 1040.11 except
for deviations pursuant to
Laser Notice No. 50,
dated June 24, 2007
CLASS 1
LASER PRODUCT
IEC 60825-1: 2007 certified.
Note!
Keep the emitting/receiving area clear
During assembly, make sure that the emitting/receiving area is kept clear. f the
emitting/receiving area is covered, this reduces the performance of the 2D laser
scanner.

2016-01
16
2-D Laser Scanner
nstallation
5.4 Device Connection
Electrical connection in line with P65
Put protective covers on unused M12 connectors.
The P65 protection class is achieved. The protective covers can be ordered
as accessories see chapter 4.6.
The device conforms to protection class . This means that the power has to be
supplied as a low protective voltage (PELV).
The power supply of the device is 10 VDC ... 30 VDC. Due to the integrated motor,
an increased level of startup current is required compared with normal operation.
t is recommended that power supplies with 1 A (at 24 V) or with 2 A (at 12 V) are
used.
The maximum cable length is 30 m.
The pin assignment is as follows:
Figure 5.2 R2000 pin assignment
PowerMultiportLAN
4
1
2
3
TD+
TD-
RD-
Shield
4
1
2
3
24 V DC
0 V
RD+
Shield
1
3
4
2
1
3
42

2-D Laser Scanner
Commissioning
2016-01
17
6 Commissioning
1. Connect the device to the power supply.
The initialization phase lasts approx. 15 seconds. This phase is shown by
circles moving down the display.
2. After the initialization phase, the Pepperl+Fuchs logo will appear.
The device is now ready for operation.
To achieve the best measurement accuracy, allow the device to warm up for 30
minutes.
The sensor has been tested and calibrated before delivery. t can be put into
operation immediately.
n general, it is recommended to use a dedicated network card for the connection
to the device.
6.1 Ethernet Configuration
The device has three different address modes. Select your preferred mode from
the modes described below. The setting is configured directly on the device using
the menu interface.
A to IP
n this mode, the device independently selects a "Link-Local" P address in the
169.254.0.0/16 range. t is ensured that the selected address is not already being
used by another device.
The device is configured to Auto P by default. The Auto P setting is the ideal way
to establish a direct connection to a PC. Set the DHCP mode (Dynamic Host
Configuration Protocol) on the PC. To do this, select the TCP/ P protocol in the
network card properties and select the "Obtain an P address automatically"
setting there. After approx. 30 seconds, Windows assigns an Auto P for the PC.

2016-01
18
2-D Laser Scanner
Commissioning
DHCP
Set the device to DHCP under the "Address mode" menu item. The DHCP
configuration requires a DHCP server in the local network, e.g., a router. See the
"Auto P" item for information on this.
Man al IP
Set the device to manual under the "Address mode" menu item. The P address is
set to 10.0.10.9 and the subnet mask to 255.0.0.0 by default. To connect the
device to the PC, the network card must be configured as follows. Set the required
P address in the network card menu. Select the TCP/ P protocol in the network
card properties and select the "Use the following P address" setting there. Enter
the required P address and subnet mask in these fields.
Note!
Device restart
You must restart the device after changing the Ethernet configuration.

2-D Laser Scanner
Operation
2016-01
19
7 Operation
7.1 Menu Structure
Menu
Adress Mode
IP Address
Gateway
MAC Address
Back
Ethernet Info
Adress Mode
IP Address
Gateway
Reboot
Back
Ethernet Setup
Manuel
DHCP
Back
Auto IP
Subnet Mask
Subnet Mask

2016-01
20
2-D Laser Scanner
Operation
Language
Display mode
Version Info
Factory Defaults
Sensor Setup
Firmware
Hardware
PFSDP
Back
English
German
Back
Display Off
Static Logo
Bargraph distance
Bargraph reflector
Static Text
Application bitmap
Application text
Back
Bargraph echo
Load
Back
Other manuals for OMD10M-R2000-B23
1
This manual suits for next models
2
Table of contents
Other Pepperl+Fuchs Scanner manuals

Pepperl+Fuchs
Pepperl+Fuchs IDENTControl IQH3-FP-V1 User manual

Pepperl+Fuchs
Pepperl+Fuchs IDM-Z1-164-D-1D-J1-SU-P-N0 User manual

Pepperl+Fuchs
Pepperl+Fuchs IDM-Z2-160-D-1D-J2-SU-N-N0 User manual

Pepperl+Fuchs
Pepperl+Fuchs OBD10M-R2000-4EP User manual

Pepperl+Fuchs
Pepperl+Fuchs IDM161-M-1D-J1-BT-N-N0 User manual

Pepperl+Fuchs
Pepperl+Fuchs IDM-Z1-161-M-1D-J1-BT-N-N0 User manual

Pepperl+Fuchs
Pepperl+Fuchs ODT-HH-MAH300 User manual

Pepperl+Fuchs
Pepperl+Fuchs OBD10M-R2000-4EPV1V17 Reference guide

Pepperl+Fuchs
Pepperl+Fuchs PROSCAN/38a User manual

Pepperl+Fuchs
Pepperl+Fuchs IDM-Z2-164-D-1D-J2-SU-P-N0 User manual