258858 2015-04
10
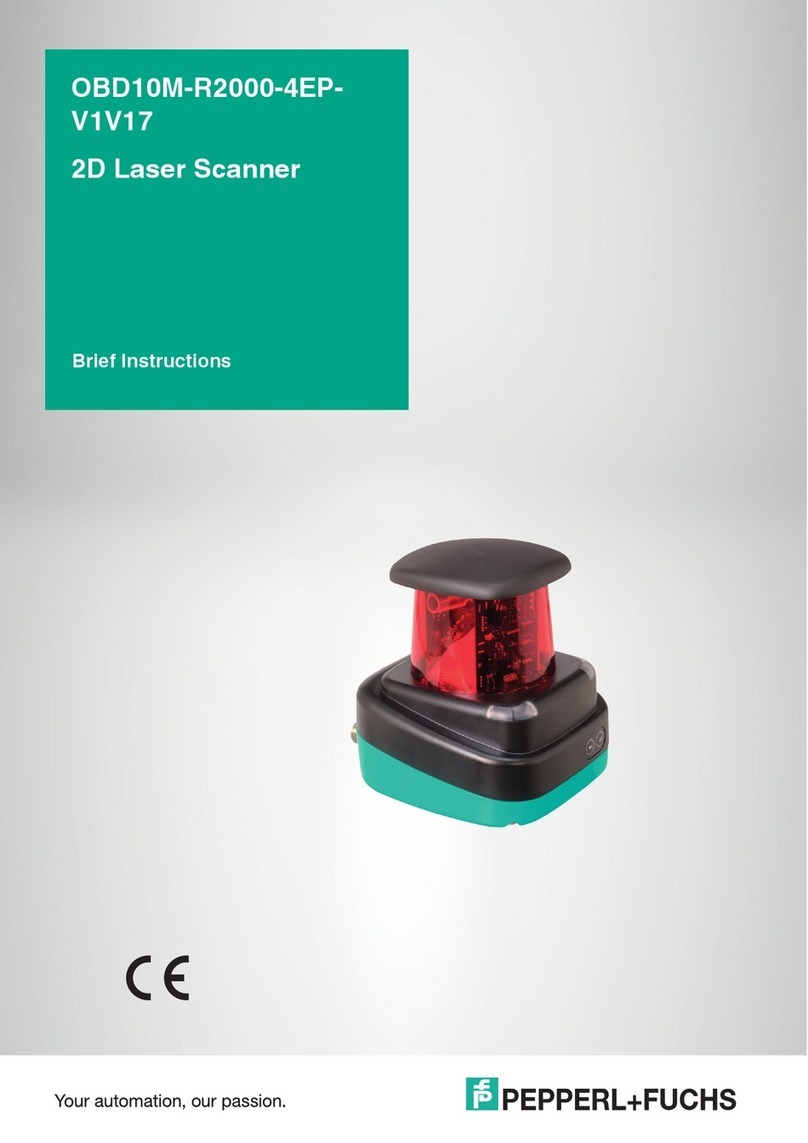
2-D Laser Scanner
Commissioning
5 Commissioning
1. Connect the device to the power supply.
The initialization phase lasts approx. 15 seconds. This phase is shown by
circles moving down the display.
2. After the initialization phase, the Pepperl+Fuchs logo will appear.
The device is now ready for operation.
To achieve the best measurement accuracy, allow the device to warm up for 30
minutes.
The sensor has been tested and calibrated before delivery. It can be put into
operation immediately.
In general, it is recommended to use a dedicated network card for the connection
to the device.
5.1 Ethernet Configuration
The device has three different address modes. Select your preferred mode from
the modes described below. The setting is configured directly on the device using
the menu interface.
Auto IP
In this mode, the device independently selects a "Link-Local" IP address in the
169.254.0.0/16 range. It is ensured that the selected address is not already being
used by another device.
The device is configured to Auto IP by default. The Auto IP setting is the ideal way
to establish a direct connection to a PC. Set the DHCP mode (Dynamic Host
Configuration Protocol) on the PC. To do this, select the TCP/IP protocol in the
network card properties and select the "Obtain an IP address automatically"
setting there. After approx. 30 seconds, Windows assigns an Auto IP for the PC.
