Retain these instructions. They are useful if contacting
Perrycraft for information, parts, or service.
ITEMS NEEDED (NOT INCLUDED)
Measuring Tape
Masking Tape
Marker
Drill
1/8” Drill Bit
Phillips Screwdriver
Rag and Cleaner for roof
CONTENTS:
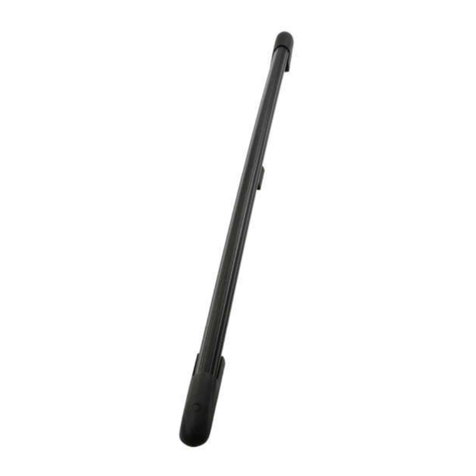
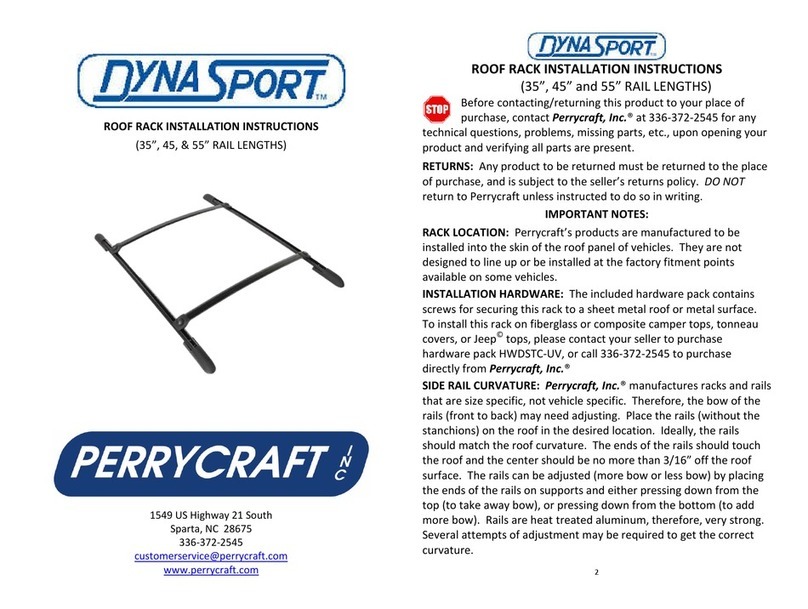
2 – Side Rails (Rails will be 14” shorter than last two
numbers of part number (ex. AV3648-B, rails are 34”)
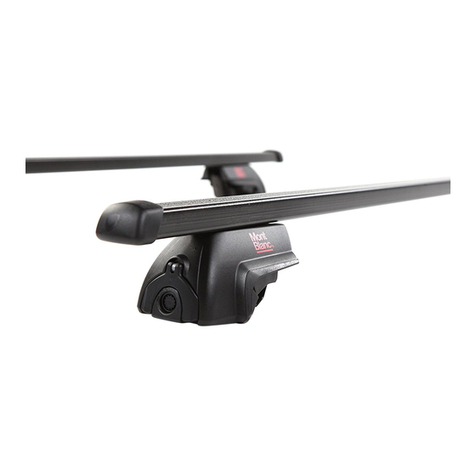
2 – Left Stanchions
2 – Left Stanchion Covers
2 – Right Stanchions
2 – Right Stanchion Covers
1 – Hardware pack
o 4 – 1/4” Flat Washer
o 1 – 5/32” Allen Wrench
o 4 – #8 x 5/8” Truss Phillips A-B
o 12 – #10 x 3/4” Pan Phillips Screw – Waxed
o 4 – Neoprene Stanchion Pads (Universal)
ASSEMBLY AND INSTALLATION:
Installation will include assembling the rails, placing them on
the roof and marking the hole locations, removing the rails
and drilling pilot holes at the marked locations, cleaning the
roof, and securing the rails to the roof.
3
1. Insert stanchions into rails. The open screw hole on the
upper portion of the stanchion will be on the open side of the
rail. Line up the holes and loosely install the #8 x 5/8” screws.
2. Place assembled rails onto roof in desired location
(approximately 2-3 inches forward of the back hatch joint)
and adjust as necessary to get the rails as parallel to the
body seams and/or ribs or drain channels as possible. Open
hatch to insure it does not come in contact with stanchions.
4. Secure the rails in the desired position using masking
tape, insuring not to cover the hole locations. Mark the
three hole locations in each stanchion and remove rails.
5. Drill pilot holes where marked using 1/8” drill bit going
no deeper than 1/2”, being careful not to penetrate interior
headliner. Clean roof, removing all drill chips.
6. Place rails back onto roof, lining up with drilled holes.
Place neoprene pads under each stanchion, flipping them
as necessary to line up with the stanchion profile.
7. Put one 1/4” washer over the hole that is closest to the
“toe” of the stanchions.
8. Using hand screwdriver, secure stanchions to roof using
supplied #10 x 3/4” pan head waxed screws. Do not
overtighten. Snug is enough.
9. Insert covers to matching stanchions (A-L cover to A-L
stanchion, A-R cover to A-R stanchion). The vertical blade
will insert at the rail/stanchion connection, with the cutout
going around the screw shank. Press the toe of the cover
downward until the cover snaps into the tab slots on the
stanchion.
10. Tighten the rail/stanchion connection screws at all four
locations.
4

