manuals.online logo
Brands
  1. Home
  2. •
  3. Brands
  4. •
  5. Perrycraft
  6. •
  7. Automobile Accessories
  8. •
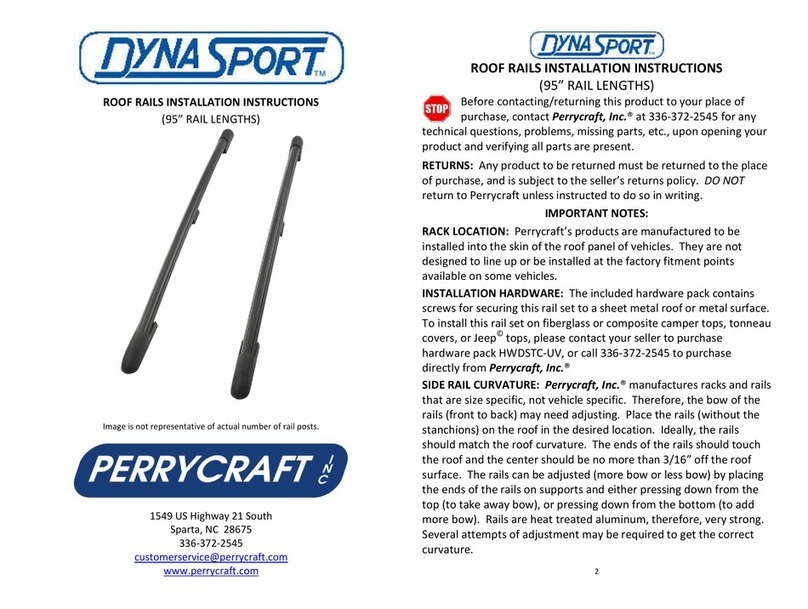
  9. Perrycraft DynaSport DSXX85-B User manual

Perrycraft DynaSport DSXX85-B User manual

ROOF RAILS INSTALLATION INSTRUCTIONS
(85” RAIL LENGTHS)
Image is not representative of actual number of rail posts.
1549 US Highway 21 South
Sparta, NC 28675
336-372-2545
[email protected]
www.perrycraft.com
ROOF RAILS INSTALLATION INSTRUCTIONS
(85” RAIL LENGTHS)
Before contacting/returning this product to your place of
purchase, contact Perrycraft, Inc.® at 336-372-2545 for any
technical questions, problems, missing parts, etc., upon opening your
product and verifying all parts are present.
RETURNS: Any product to be returned must be returned to the place
of purchase, and is subject to the seller’s returns policy. DO NOT
return to Perrycraft unless instructed to do so in writing.
IMPORTANT NOTES:
RACK LOCATION: Perrycraft’s products are manufactured to be
installed into the skin of the roof panel of vehicles. They are not
designed to line up or be installed at the factory fitment points
available on some vehicles.
INSTALLATION HARDWARE: The included hardware pack contains
screws for securing this rail set to a sheet metal roof or metal surface.
To install this rail set on fiberglass or composite camper tops, tonneau
covers, or Jeep
©
tops, please contact your seller to purchase
hardware pack HWDSTC-UV, or call 336-372-2545 to purchase
directly from Perrycraft, Inc.®
SIDE RAIL CURVATURE: Perrycraft, Inc.® manufactures racks and rails
that are size specific, not vehicle specific. Therefore, the bow of the
rails (front to back) may need adjusting. Place the rails (without the
stanchions) on the roof in the desired location. Ideally, the rails
should match the roof curvature. The ends of the rails should touch
the roof and the center should be no more than 3/16” off the roof
surface. The rails can be adjusted (more bow or less bow) by placing
the ends of the rails on supports and either pressing down from the
top (to take away bow), or pressing down from the bottom (to add
more bow). Rails are heat
treated aluminum, therefore, very strong.
Several attempts of adjustment may be required to get the correct
curvature.
2
Retain these instructions. They are useful if contacting
Perrycraft for information, parts, or service.
ITEMS NEEDED (NOT INCLUDED)
 Measuring Tape
 Masking Tape
 Marker
 Drill
 1/8” Drill Bit
 Phillips Screwdriver
 Rag and Cleaner for roof
CONTENTS:
 2 – Side Rails (Rails will be 10” shorter than last two
numbers of part number (ex. DSXX85-B, rails are 75”)
 4 – Stanchions
 2 – Vinyl rail strips
 1 – Hardware pack
o 16 – #10 x 1-1/2” Pan Phillips Screw – Stainless
Steel – Waxed
o 4 – Center Posts
o 4 – Stanchion Plug
ASSEMBLY AND INSTALLATION:
Installation will include assembling the rails, placing them
on the roof and marking the hole locations, removing the
rails and drilling holes at the marked locations, cleaning the
roof, and securing the rack to the roof.
1. Insert stanchions into rails. Use masking tape to secure
the
stanchions to the rails, being careful not to cover the
screw holes.
3
2. Place center posts in balance along the rails, aligning the
grooves and pre-drilled screw holes. Tape the posts to the
rails, being careful not to cover the screw holes.
3. Place assembled rails onto roof in desired location
(approximately 2-3 inches forward of the back hatch joint)
and adjust as necessary to get the rails as parallel to the
body seams and/or ribs or drain channels as possible. Open
hatch to insure it does not come in contact with stanchions.
4. Mark the three hole locations in each stanchion and one
hole location in each post. It will be necessary to have a
very thin marker or trim a pencil skinny enough to reach the
roof through the screw holes.
5. Remove rails from roof and tape from stanchions and
posts.
6. Lightly center punch and drill pilot holes where marked
using 1/8” drill bit going no deeper than 1/2”, being careful
not to penetrate interior headliner. Clean roof, removing
all drill chips.
7. Place rails back onto roof, lining up with drilled holes.
8. Using hand screwdriver, secure rails to roof using
supplied #10 x 1-1/2”” pan head waxed screws. Do not
overtighten. Snug is enough. Additional sealant/silicone
isn’t necessary, but can be applied to hole locations if
desired.
9. Insert plugs into stanchion ends. Plugs have tabs that
line up with grooves in the stanchions.
10 Snap vinyl rail strips into tops of rails.
4
NOTES AND WARNINGS:
 Do not use rails if a part is cracked or broken.
Contact Perrycraft, Inc.® by phone at 336-372-2545
or e-mail to [email protected] for
assistance with purchasing a new component.
 Large or flat items such as plywood, ladders, lumber,
hang gliders, canoes, kayaks, etc., can trap air and
create wind lift. Secure the ends of long objects
directly to the front and back bumpers or tie-down
positions.
 Bulky or tall loads can create tremendous horizontal
wind resistance from headwinds and crosswinds.
Extreme caution should be used when transporting
such loads.
5
ENHANCE YOUR ROOF RAILS:
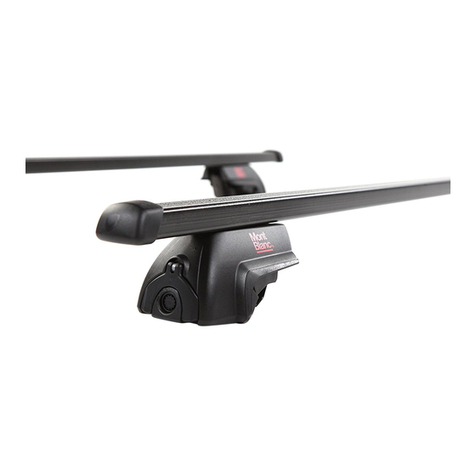
Add our Mont Blanc Gripper® Load Bars to these roof rails,
providing:
 220-Pound Load Capacity for carrying most any load
type!
 Rectangular bars available in 47" and 62" crossbar
lengths, galvanized steel with black vinyl cover.

AeroWing Bars available in 47" lengths, Satin anodized
aluminum extrusion with black vinyl insert in top of
crossbar
.
Square Bar AeroWing Bar
Quick Installation/Removal Key-locked Security
 Theft-Proof, Locking clamp assemblies adjust for variable
spacing between roof rails, as well as:
 Full front-to-rear adjustability allows for spacing
between crossbars to accommodate various load types
 Rubber-padded clamps protect roof rails from damage.

3-Year Manufacturer's Limited Warranty
6
FITMENT RANGES:
Note: Last 2 digits in Part #'s below indicate crossbar length in
inches. Measure the spacing between the side rails.
Rectangular Bars (22x32mm Black):
MB3747-B Fits side rails spaced 31-45 inches apart
MB3762-B Fits side rails spaced 41-61 inches apart
AeroWing Bars (25x62mm aerodynamic Satin-Gray)
MB3747-AW Fits side rails spaced 30-45 inches apart
Perrycraft, Inc.® offers a wide range of Sports Equipment
Carriers for both crossbar styles.
See our website at http://www.perrycraft.com for more
information.
7
Perrycraft, Inc.® Warranty Agreement
Three Year Limited Warranty
Perrycraft, Inc.® warrants this product against defective materials
and workmanship to the original owner for a period of three (3) years
from purchase/install date. This warranty is not valid if product is
transferred to another person. Perrycraft, Inc.® provides no warranty
and accepts no liability for normal wear and tear, incorrect
installation, damage to vehicles, property, and/or equipment, nor
damage arising from improper use. The sole remedy under this
warranty agreement is replacement of component parts during the
warranty period. You may be required to send in the component in
question (at your expense) to have the part evaluated for a warranty
claim.
If you have a warranty issue, and for faster service, please email a
digital photo of the product/component in question, a brief
description of the situation, and a copy of your purchase receipt to
techsupp[email protected]. Our staff will contact you as soon as
possible to resolve the issue.
Registering Your Perrycraft Product
Thank you for your purchase of our product. Our goal is to
manufacture quality products that meet or exceed your expectations.
We want to make sure the product you have is registered with us in
case there are any issues that may arise. Please register your product
by sending an email to customerservice@perrycraft.com with your
name, product purchased, purchase date, install date (if different
than purchase date), phone number, and a scanned copy of your
receipt. We promise not to send spam emails, but may contact you
periodically with updated product information, questions about your
usage for research purposes, or safety information.
Perrycraft, Inc.® does not assume responsibility for style or size of
rails installed, improper installation, load securing methods, vehicle
roof strength, wind lift, or any other factors beyond its control.
INDS-RL-XL 8 170226

Other Perrycraft Automobile Accessories manuals

Perrycraft DynaSport Series User manual

Perrycraft

Perrycraft DynaSport Series User manual

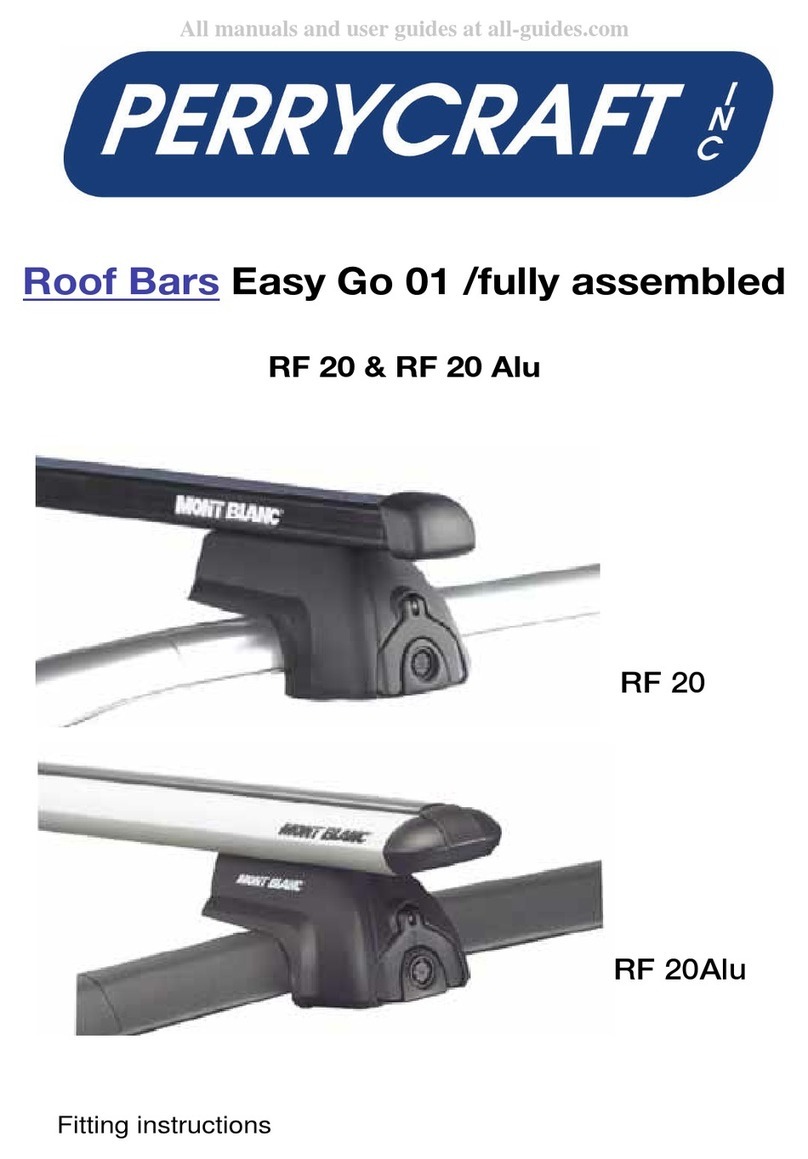
Perrycraft RF 20 User manual

Perrycraft

Perrycraft RF 20 User manual

Perrycraft SportQuest Series User manual

Perrycraft

Perrycraft SportQuest Series User manual

Perrycraft DynaSport Roof Rack User manual

Perrycraft

Perrycraft DynaSport Roof Rack User manual

Perrycraft Sportrek User manual

Perrycraft

Perrycraft Sportrek User manual

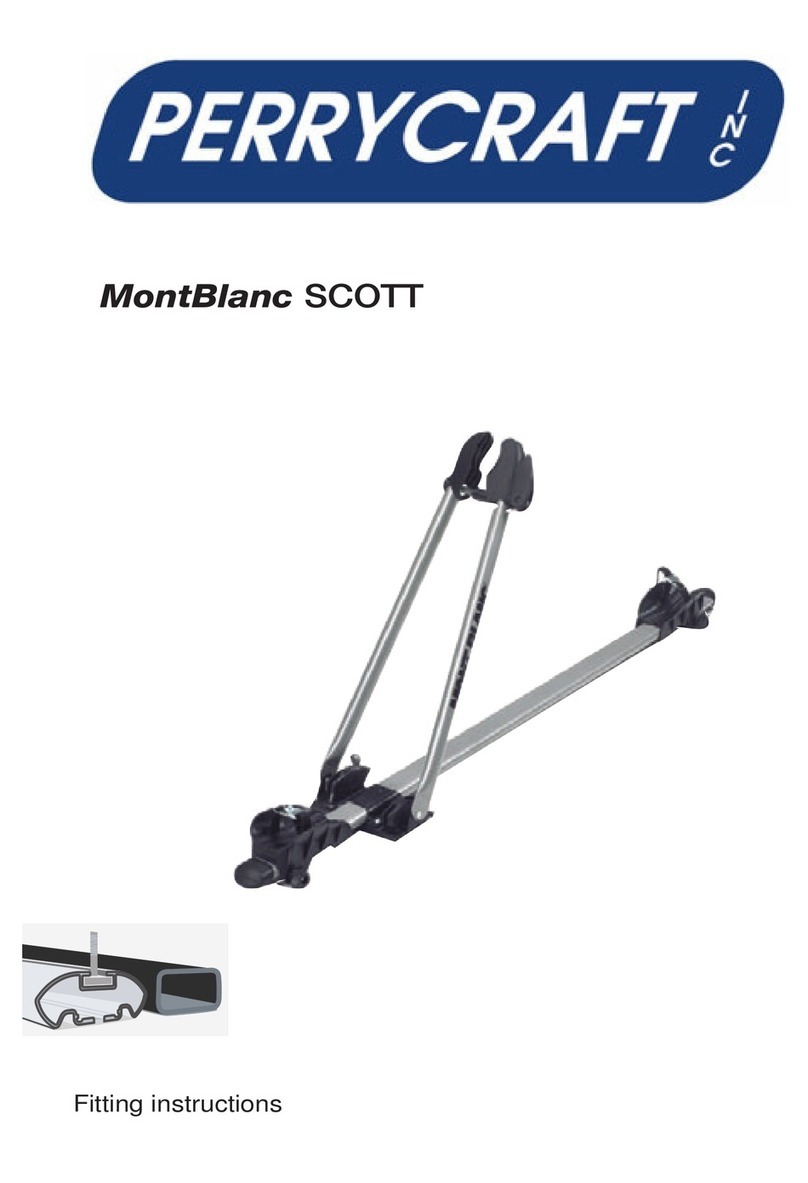
Perrycraft MontBlanc SCOTT User manual

Perrycraft

Perrycraft MontBlanc SCOTT User manual

Perrycraft MontBlanc BARRACUDA User manual

Perrycraft

Perrycraft MontBlanc BARRACUDA User manual

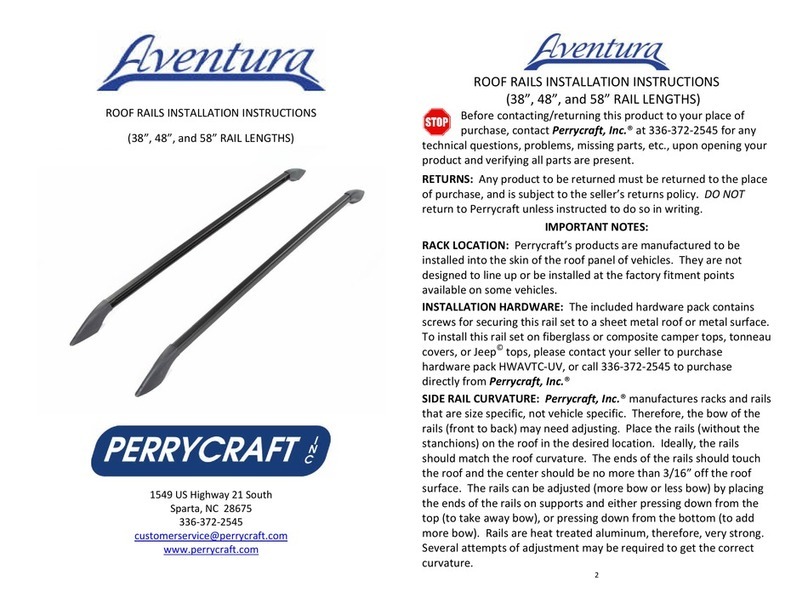
Perrycraft Aventura User manual

Perrycraft

Perrycraft Aventura User manual

Perrycraft SportQuest User manual

Perrycraft

Perrycraft SportQuest User manual

Perrycraft Easy Go 01 User manual

Perrycraft

Perrycraft Easy Go 01 User manual

Popular Automobile Accessories manuals by other brands

Xhorse SK283 user manual

Xhorse

Xhorse SK283 user manual

Rightline Gear PackRight Edge Car Top Carrier Setup guide

Rightline Gear

Rightline Gear PackRight Edge Car Top Carrier Setup guide

Hirschmann Car Communication AUTA 4000 F 410 L installation instructions

Hirschmann Car Communication

Hirschmann Car Communication AUTA 4000 F 410 L installation instructions

iArmor EDGE manual

iArmor

iArmor EDGE manual

Front Runner KRTT001T manual

Front Runner

Front Runner KRTT001T manual

TeraHop Networks KeyZone KZV-290 Vault installation guide

TeraHop Networks

TeraHop Networks KeyZone KZV-290 Vault installation guide

Arkon GPS-MV5003G3 quick start guide

Arkon

Arkon GPS-MV5003G3 quick start guide

Westin 25-0560 instructions

Westin

Westin 25-0560 instructions

Toyota HILUX 'A' DECK Fitting instructions

Toyota

Toyota HILUX 'A' DECK Fitting instructions

Perrin BRZ quick start guide

Perrin

Perrin BRZ quick start guide

IFZ 1648298680 manual

IFZ

IFZ 1648298680 manual

ECS Electronics HY-046-DG Fitting instructions electric wiring

ECS Electronics

ECS Electronics HY-046-DG Fitting instructions electric wiring

Thule Motion XT 6292 instructions

Thule

Thule Motion XT 6292 instructions

Prorack K1027 manual

Prorack

Prorack K1027 manual

HKS 70019-AF011 manual

HKS

HKS 70019-AF011 manual

SMARTFLOOR Dryback Installation and Maintenance

SMARTFLOOR

SMARTFLOOR Dryback Installation and Maintenance

gdw 1018 manual

gdw

gdw 1018 manual

Mont Blanc CFK18 Fitting instructions

Mont Blanc

Mont Blanc CFK18 Fitting instructions

manuals.online logo
manuals.online logoBrands
  • About & Mission
  • Contact us
  • Privacy Policy
  • Terms and Conditions

Copyright 2025 Manuals.Online. All Rights Reserved.