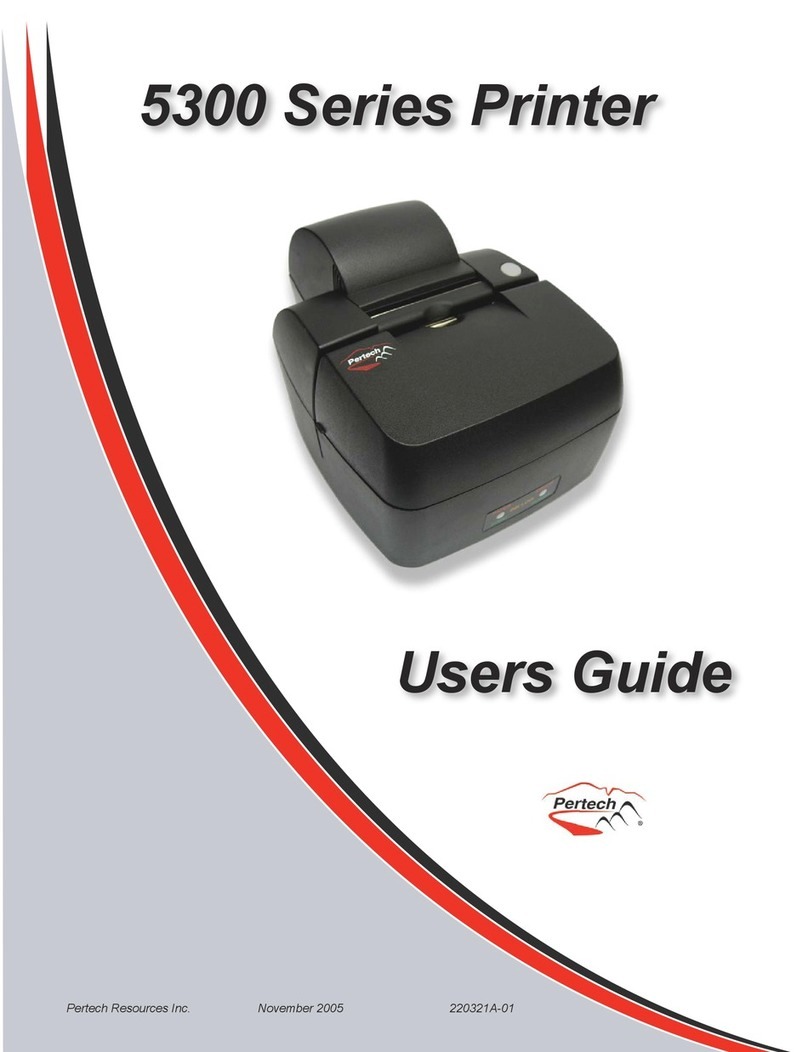
Pertech 5300 Series User manual

5300 Transaction Printer:
Setup Guide
220322A 5350 7/05 Rev. 01
220322A 5300 11/05 Rev. 04
Pertech
�

1
2
Unpacking the Printer
Save all packing materials in case you need to repack the printer.
To report a printer that was damaged during shipping, see “Contact
Information” on the last page of this Guide.
To repack the printer, consult the above illustration and use the origi-
nal packing materials.
Ink Jet Packaging
Choosing a Location
Place the printer on a level surface on or near the host computer.
Leave space to open the cover, change the paper, Ink Cartridge,
and to insert a form.
The maximum distance from the printer to the host and the power
supply is: 20 feet (RS-232 serial interface).

3
Connecting the Cables
Caution: Be sure the power switch is turned off before
connecting cables.
The 5300 comes with two communication interfaces, RS-232 Serial
and USB. Additionally, the printer has a cash drawer port and a three
pin mini din power coupling. The RS-232 interface connector is a
DB9M connector and requires a Null Modem Serial cable for stan-
dard PC to printer connections. The USB Interface uses a standard
USB 2.0 cable for standard PC to printer connections. A single tele-
jack port provides a cash drawer interface capable of running two
cash drawers. Ink Jet model uses an external limited power source
that provides 15 Watts Min output to the printer. Impact models use a
60 watt auto ranging power supply. All connectors are located on the
back of the printer in the order listed below.
Warning: use of incompatible cables can damage the printer and will void
the warranty.
When purchasing a cash drawer for this product please make sure the vendor is
aware of the product specications.
Printer Computer
DB-9M DB-9M
Pin
1 N/C 1 N/C
2.RXD ← 3
3 TXD → 2
4 DTR → 6
5 SIG. GND. ← 5
6 DSR ← 4
(TTL FORM IN) →
7 RTS → 8
8 CTS ← 7
(TTL OPTION) →
9. N/C N/C
RS-232 Interface Connection
Power USB Serial Cash Drawer
123456
Pin # Signal Name Signal Source Description
1 Ground Ground
2 Cash Drawer drive #1 Printer Drive for Cash Drawer 1
3 Cash Drawer Sense Cash Drawer Cash Draw Switch
4 Cash Drawer +24V Printer Drawer supply side.
5 Cash Drawer drive #2 Printer Drive for Cash Drawer 2
6 COM Cash Drawer Cash Sense Return (Gnd)

4
5
Printer Controls
1. Press the Power Switch to turn on the printer.
2. Open the top cover. The cradle moves to an accessible position.
3. Lift the print cartridge out and discard if replacing print cartridge.
Skip this step if no print cartridge is installed.
Note: Replacement ink jet print cartridge for your printer 108541001
Replacement impact print cartridge for your printer 100629011 Black
100629012 Purple.
Ink Jet Specic Directions
4. Remove the protective vinyl tape from
replacement print cartridge.
Do not touch the Ink nozzles.
Do not touch or remove the copper contacts
5. Push the print cartridge rmly, angled down
into the print cartridge cradle, cradle
latch will latch automatically.
6. Close the top cover
Installing the Print Cartridge
Warning: Printer is shipped without the print cartridge installed. When
shipping or transporting printer remove the ink cartridge to prevent
damage to the printer. Ink cartridges should be shipped in original
packaging only.
To reset the Ink Status - Close
and Re-Open the Cover after
Step 3
(See INK STATUS RESET on the
following page for available options.)
Impact Specic Directions
4. Remove the cartridge from its protective
plastic bag.
5. Angle the exposed ribbon
end over the printhead carriage
In front of the two ribbon guides.
6. Lightly push the ribbon
case down until it is
engaged into the ribbon
advance gear on the right
side and the ribbon cartridge is ush in the ribbon carrier.
The 5300 printer includes the following controls :
•Paper feed button used to advance paper.
•Power switch used to turn the printer on and off.

6
Loading Paper
53X1 Printer Roll paper must be 3 inches wide with a maximum diameter of
3.5 inches. Ink Jet printers can accommodate 1 paper ply. Impact printers can
accommodate 1 or two paper plys. Paper and other printer consumables may
be purchased from Pertech by calling 1-800-800-6614.
Ink Jet Paper - Part Number: 103292057
Impact Paper - Part Number: 2 Ply-103292061, 1 Ply-103292062
To load paper the power must be turned ON. Refer to the pictorial paper
loading instructions in the Paper Roll Cover or follow the instructions on this
page.
Failure to load paper correctly may result in a paper jam. To remove paper that
has jammed:
1. Open the Front Cover.
2. Pull the paper backwards out of the mechanism. if the paper will not
remove pull the paper forwards out of the mechanism. If needed,
cycle power to the printer and wait 5 seconds.
Drop roll into paper bucket so that paper comes off the bottom of the paper roll.
Insert the paper end into the paper feed actuator assembly. The paper feed
actuator will automatically feed the paper through the mechanism . Close the
paper cover lid, paper loading is complete.
7LED Indicators
The 5300 series printers are equipped with two color led indicators that
identify Paper, Error, Ink Low, Form In, and Power On conditions.
Status Left LED Right LED
Power On Off Green
Insert form Blink Green Current Status
Form is in Green Current Status
Error Off Red
Ink Low Current Status Blink Amber
Ink Cartridge Out Current Status Amber
Paper Out Blink Red Current Status
Cover Open Current status Blink Green

8
After the printer is set up, you can run two print diagnostic reports / tests and
enter the conguration menu. Below is an example of the conguration report,
1 Press and hold the Paper Feed Button and then press the Power
Switch to turn the printer on and start the rst test.
For Validation printers, the form can be inserted while holding the paper
feed button down.
Release the Paper Feed Button after 4 seconds for the printing to begin.
The 5300 completes a test of RAM , a checksum test of program memory,
homing and maintenance of the print head and then prints the conguration
settings.
2 To change the conguration settings, press the Paper Feed Button, when
prompted, to enter the Conguration Mode.
Note: Validation only printers do not have this feature.
3 Otherwise, wait 10 seconds and you can choose to enter an Extended
Print Test that checks the printers vertical line alignment, character fonts,
and pitches. After this test, or Ignoring this option will return the printer to
normal operation after 10 seconds.
4 In Conguration Mode, the printer prints the current setting for each option.
To change an option, press the Paper Feed Button.
5 If you don’t want to change an option, wait for the next option to print.
6 After completing the Conguration Mode, the printer prints and stores the
new conguration settings in non-volatile memory.
Note: Exiting setup early by turning the printer off will erase any changes
made to the conguration. You must complete setup for changes to take
effect.
Testing and Conguring the Printer

Serial Number: ********
Main Firmware
Revision: * ** ***
CRC: ****
Boot Firmware
Revision: * ** ***
CRC: ****
Printer Control Language
PCL: ACL Language
Diag Mode: Standard Print
Auto LF: CR = CR
Soft Fault Recover: Automatic
Font:
Font: Standard
Font Quality: Draft
Intl Char set: USA
Code Page: 437 USA
Receipt LPI: 6 Lines Per Inch
Validation LPI: 6 Lines Per Inch
RS232 Serial (when used)
Baud Rate: 57.6K
Data Bits: 8-bits
Stop Bits: 1-bit
Parity: None
Flow Control: Hardware
USB (when used)
Descriptor: Model Number
Hardware
Mechanism Model: JRNL/VAL
Form Insert Wait: 1 Min
Paper Low Stop Print: Disabled
Ink Status Reset: Automatic
Document Stop: 1.75 Inches
Column Alignment
Half Speed: 3
Full Speed: 10
Memory
Installed RAM: 128K
Installed ROM: 512K
Total User Flash: 64K
Flash Logos: 32K
Flash Fonts: 0K
Flash Macros: 0K
Flash Raw Data: 32K
Total User Ram: 24560
Ram Logos: 24560
Ram Fonts: 0K
Ram Macros: 0K
Tallies
Printed Lines: 0
Dot Count: 0
Validation Opens: 0
Feed Distance: 0
Hours On: 0
Flash Updates: 0
Cover Opens: 0
Diagnostic:
0 0 0
====================================
Press paper feed to change configuration
Press paper feed to enter print test
Different Models and Compatibility
Modes may have additional
options not listed.
Options for 5351 ACL Compatibility
Mode listed below.
There are two options for the INK
STATUS RESET setting.
1.Automatic (Default Setting) - Al-
lows for the user to automatically
reset the ink cartridge Dot Count
Tally, LOW INK LED and Com-
mand Status Notication for a
new cartridge. The cover must be
opened and closed an additional
time after the old Ink Cartridge is
removed and before a new Car-
tridge is installed for the Status
to clear.
2. Manual - LOW INK LED Status
Notication will occur when the
Dot Count exceeds it preset limit
for the cartridge. The Dot Count
Tally must be reset via Congura-
tion Menu to clear LOW INK LED
Status.
5351 Ink jet Conguration Report

9Preventive Maintance
There is no customer maintenance required for the 5300 printers. However,
printers gather paper dust and other debris through normal use, continued
accumulation can eventually lead to printer issues. A general preventive
maintenance program can help reduce unnecessary failures and downtime.
Pertech recommends that you occasionally clean lint and paper dust out of
the mechanism using low pressure canned air. It is recommended that this
be done on a regular basis, such as after every Ink Cartridge change. Clean
the cabinet as needed to remove nger marks and dust. Use any household
cleaner designed for plastics, but test it rst on a small, unseen area.
Caution: Do not spray or try to clean the print head or the inside of the printer
with any kind of cleaner. This may damage the print head or the electronics.

Federal Communications Commission (FCC) Radio
Frequency Interference Statement
Warning
Changes or modications to this unit not expressly approved by the party responsible for compliance could void the user’s authority to operate
the equipment.
Note
This equipment has been tested and found to comply with the limits for a Class A digital device, pursuant to Part 15 of the FCC rules. These limits
are designed to provide reasonable protection against harmful interference when the equipment is operated in a commercial environment. This
equipment generates, uses, and can radiate radio frequency energy and , if not installed and used in accordance with the instruction manual,
may cause harmful interference to radio communications. Operation of this equipment in a residential area is likely to cause harmful interference
in which case the user will be required to correct the interference at his own expense.
Information to the User
This equipment must be installed and used in strict accordance with the manufacturer’s instructions. However, there is no guarantee that interfer-
ence of radio communications will not occur in a particular commercial installation. If this equipment does cause interference, which can be
determined by turning the equipment off and on , the user is encouraged to contact Pertech immediately.
Pertech is not responsible for any radio of television interference caused by unauthorized modication of this equipment, or the substitution of
attachment or connection cables and equipment other than those specied by Pertech. The correction of interferences caused by such unauthor-
ized modication, substitution or attachment will be the responsibility of the user.
Important Information to the User
In order to ensure compliance with the Product Safety, FCC and CE marking requirements. you must use the power supply, power cord, and
interface cable which were shipped with this product or which meet the following parameters:
Power Supply
Input power to this product must be provided by one of the following:
(1) A NRTL Certied power source with a Limited Power Source
(LPS) output for use in North America, input rated 100 - 240 Vac, 1.5 A, 50/60 Hz, Output rated 24Vdc, 2.5 A Maximum and 60W Maximum. or
(2) A power source with a Limited Power Source (LPS) output Certied by an agency recognized in the country of installation, input rated 100
- 240 Vac, 1.5 A, 50/60 Hz, Output rated 24Vdc, 2.5 A Maximum and 60W Maximum. Use of this product with a power supply other than the
Pertech power supply will require you to test this power supply and the Pertech printer for FCC and CE mark certication.
Interface Cable
A shielded (360 degree) interface cable must be used with this product. The shield must be connected to the frame or earth ground reference at
each end of the cable.
Use of a cable other than the described here will require that you test this cable with the Pertech printer and your system for FCC and CE mark
certication.
Power cord
For North America a NRTL Recognized detachable power cord must be used. For applications where the power supply module may be located
on the oor, a power cord with Type SJT marking must be used.
For applications outside of North America, Power cords which meet the country of installation’s certication and application requirements must
be used.
Use of a power cord other than described here may result in a violation of safety certications which are in force in the country of use.
Disclaimer
Information in this document is subject to change without notice. Consult your Pertech sales representative for information that is applicable and
current. Pertech reserves the right to improve products as new technology, components, software and rmware become available.
No part of this document may be reproduced or transmitted in any form or by any means, electronic or mechanical, for any purpose with out the
express written permission of Pertech.
Industry Canada
This Class A digital apparatus complies with Industry Canada Standard ICES-003.
Cet appareil numérique de la classe A est conforme à la norme NMB-003 d’Industrie Canada.
Copyright
Copyright © 2005 by Pertech Resources Inc.
Riverton, Wyoming USA
All rights reserved. Printed in USA. Condential,
Unpublished. Property of Pertech® Inc..
Trademarks
Pertech® is a trademark of Pertech Resources, Inc. Other trademarks
and registered trademarks are the property of their respective holders.
220322A 5300 11/05 Rev. 04
Contact Information:
Documentation, Warranty
& Technical Support
Call: 800-800-6614
www.pertechresources.com
Pertech
�
Other manuals for 5300 Series
2
Table of contents
Other Pertech Printer manuals
Popular Printer manuals by other brands
Sony
Sony DPP FP70 - Picture Station Photo Printer Specifications
Magtek
Magtek ExpressCard 500p Quick installation guide
Custom Audio Electronics
Custom Audio Electronics KPM180H user manual
Konica Minolta
Konica Minolta PagePro 1300W quick start guide
Seiko Precision
Seiko Precision BX-900 owner's manual
Xerox
Xerox Phaser 7800 System administrator guide
