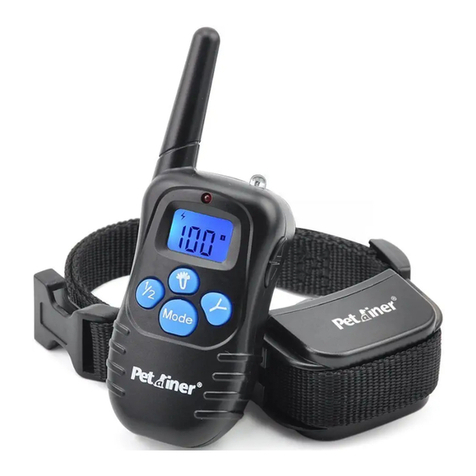
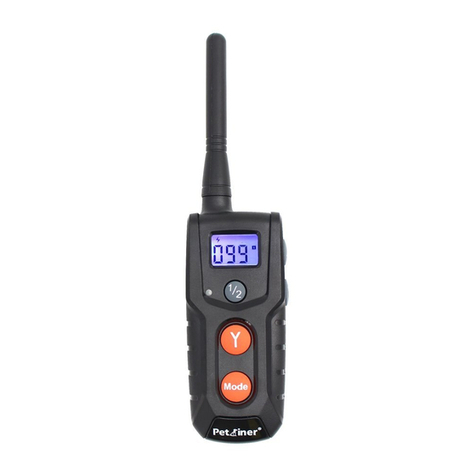
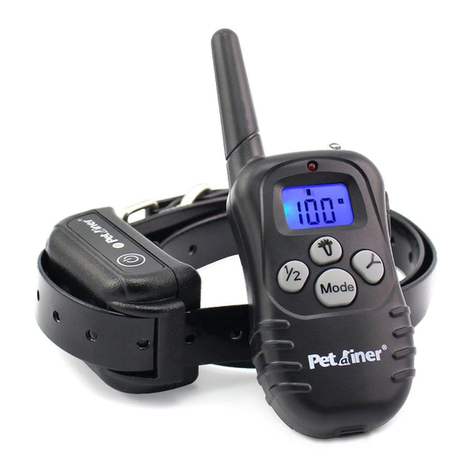
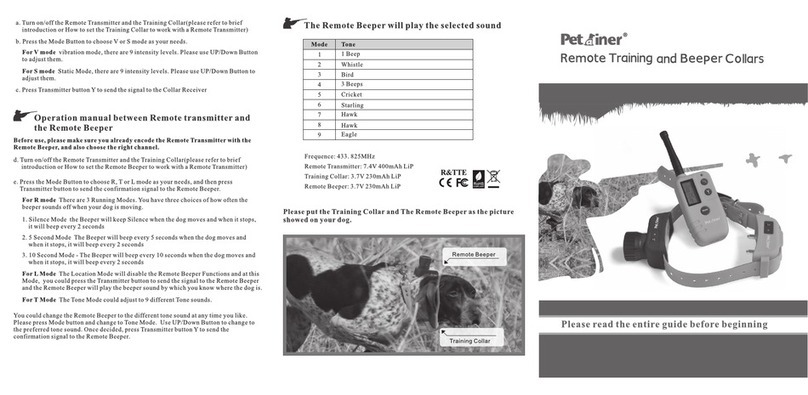
Petainer IS-PET998DB User manual

Rechargeable and Waterproof LCD Remote Pet
Training System Operating Guide
Please read this entire guide before beginning
Model Number:
IS-PET998DB 1 for 1
Model Number:
IS-PET998DB 1 for 2

WARNING
CAUTION
2 3
Table of Contents
Compments
Key Definition
Features
6
5
5
How the Petrainer Rechargeable and Waterproof Training Collar Works
Operating Guide
Prepare the Remote Transmitter
Prepare the Receiver Collar
Encode between Remote Transmitter and Receiver Collar
To Test Petrainer Rechargeable and Waterproof Training Collar
Fit the Receiver Collar
Re-Thread the Collar
Frequently Asked Questions
Troubleshooting
9
12
14
15
17
20
Important Safety Information
Not for use with aggressive d o g s . Do n o t use t h i s product if your dog is
aggressive, or if y o u r dog is prone to aggressive behavior. Aggressive dogs
can cause severe injury and even death to their owner an d others. If you are
unsure w hether this produc t is appropr i a t e for you r dog, plea s e consult yo u r
veterinarian or certified trainer.
Avoid leaving the collar on the dog for more than 12 hours per day.
When possible reposition the collar on the pet’s neck every 1 to 2 hours.
Check the fit to prevent excessive pressure; follow the instructions in this
manual.
Never connect a lead to the electronic collar; it will cause excessive pressure
on the contacts.
When using a separate collar for a lead, don’t put pressure on the electronic collar.
Wash the dog’s neck area and the contacts of the collar weekly with a damp cloth.
Examine the contact area daily for signs of a rash or a sore.
If a rash or sore is found, discontinue use of the collar until the skin has healed.
If the condition persists beyond 48 hours, see your veterinarian.
These steps will help keep your pet safe and comfortable. Millions of pets are
comfortable while they wear stainless steel contacts. Some pets are sensitive
to contact pressure. You may find after some time that your pet is very tolerant
of the collar. If so, you may relax some of these precautions. It is important to
continue daily checks of the contact area. If redness or sores are found,
discontinue use until the skin has fully healed.
Thank you for choosing Petrainer Rechargeable and Waterproof LCD Remote
Pet Tr a in ing Sy s tem. Ou r m i ssion is to ensur e your pet’s safety by pr oviding
you the tools and techniques to successfully train your pet.
Warning
Please charge before using the product!
If putting the transmitter and receiver collar in storage for a long
t i m e , p l e a s e c h a r g e b o t h f ul l y b e f o r e l ea v i n g t h e m i dl e a n d
continue c harging once ev ery month.
8
8
10
9
Risk of Skin damage. Please read and follow the instructions in this manual.
Proper fit of the collar is important. A collar worn for too long or made too tight
on the pet's neck may cause skin damage. Ranging from redness to pressure
ulcers, this condition is commonly known as bedsores. These collars can cause
pressure necrosis if used incorrectly and is often misidentified as burns.
4
General Training Tips 18
Common size of different dogs 20
LIMITED 90 DAYS WARRANTY
20
Petrainer CUSTOMER SERVICE

4 5
Components
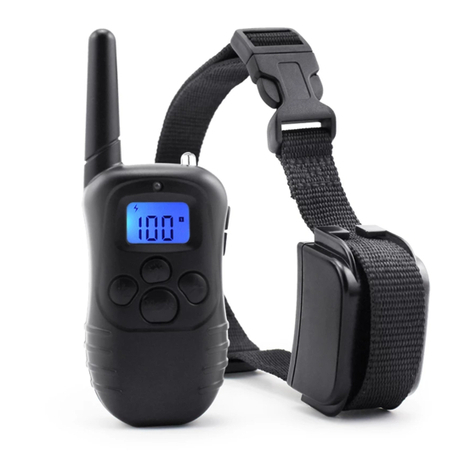
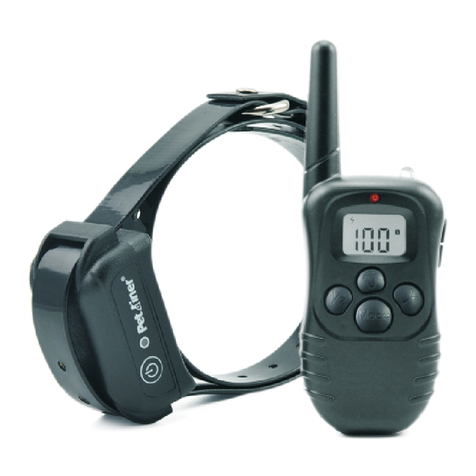
IS-PET998DB 1 for 1
Charger Testing Bulb 2 sets Contact Points
Adjustable TPU Belt
Receiver Collar
Remote Transmitter
Charger 4 sets Contact Points
IS-PET998DB 1 for 2
Remote Transmitter Receiver Collar
Adjustable TPU Belt Testing Bulb
USB Cable and
Resembling splitter cable
USB Cable and
Resembling splitter cable
Petrainer Rechargeable and Waterproof LCD Remote Pet Training System has
been proven safe, comfortable, and effective for a l l pets over 8 p o u n d s . This
system assists you in controlling your pet without a leash in a range up to 328
yards (300m). At the push of a button, the Remote Transmitter sends a signal,
ac tiv at in g the R ec eiv er C ol l ar. U si ng th e Re mot e Tra ine r co ns i st en tl y a nd
cor rect ly, m any mi sbeh avi ors t hat yo ur pet ex hib its wi l l be cor rect ed or an y
basic obedience commands can be taught.
Impor t ant: The Remo te Tra iner has a ra nge up to 32 8 y ards. Depe nding on
the way you hold the Remote Transmitter, the range may vary. Hold the Remote
Transmitter in a horizontal position away from your body to achieve optimum
range. Terrai n, wea th er, ve g etation , tra ns mission from othe r r a dio de vices,
and other factors will affect the range of your Remote Trainer.
How the Petrainer Rechargeable and Waterproof LCD
Remote Pet Training System Works
Features
3. 100 levels of vibration.
4. 100 levels of static shock (optional).
7. Power save:
1. Rechargeable Remote Transmitter and Receiver collar.
2. Waterproof Receiver Collar, allowing your pet to swim in water.
5. Alter stimulation levels by pressing the Up & down buttons.
6. Tone button activates a tone on the receiver collar.
The receiver collar will go into deep sleep if there is no operation for 4
minutes and any dog movement will activate the receiver.
The transmitter will go into STANDBY MODE if there is no operation after 20
seconds and go into deepsleep after 2 minutes, press any button except the
LED l i g h t button to activate the transmitter from Standby mode and press
the Mode button for 5 seconds to a w a k e n the transmitter from deep sleep
mode.
8. The system can be used for 1 or 2 Receiver Collars.
9. Two pairs of metal prongs (short/long) to be suitable for dogs with different fur
lengths.

6 7
Key Definition
1. Antenna
2. Led light
3. LED Indicator
4. LCD Screen
Light mode
Static shock mode
1-100 level
Vibration mode
Beep mode
5. U
6. Led light button
7. Channel button
8. Launch button
9. Mode button
10. Lithium battery
11. Charging hole
p/down button
Channel 1
Channel 2
Low Battery Indicator
Y
1. Antenna: Transmits the signal from the Transmitter to the Receiver Collar.
2. Led light: This light will be on when pressing the LED light button.
3. Indication light: This light will flash when the “Y” button is pressed. The
will be activate when charging as well.
light
4. LCD display:
Static mode: With this mode selected, pressing the “Y” button will cause the
receiver to emit shock.
Vibration mode: With this mode selected, pressing the “Y” button will cause
the receiver to vibrate.
Beep mode: With this mode selected, pressing the “Y” button will cause the
receiver to emit a beep sound.
Light mode: With this mode selected, pressing the “Y” button will cause the
LED light on the receiver to flash green once every second. Its primary purpose
is to help locate your pet.
Channel 1: Indicates the selection of the first collar receiver.
Channel 2: Indicates the selection of the second collar receiver.
5. Up/down button: Selects intensity level for Vibration and Static Shock.
6. Led light button: When pressing the LED light button, the LED light on the
transmitter will be on.
7. Channel button: Pressing this button will swap between the first and second
receiver.
collar
8. Lau nch bu tto nSen ds the s i gna l from t r ans mit ter to re cei v er, res ult i ng in
stim ula tio n , beep o r li ght , depe ndi ng on you r mode s e lec tio n.
9. Mode button: Press this button to switch between modes. There are 4 modes:
Static, Vibration, Beep and light mode.
10. Lithium Battery: 3.7V 240 mAhLiP.
11. Charging hole: Insert charging connector into charging hole to charge the
Transmitter.
Contact Points: Deliver
the safe static correction.
Charging holes: Charge
for Receiver Collar.
Rubber Cover: Seal
charging hole to keep
from dust.
On/ Off/Encode Button:
turn on/off the Receiver
Collar and hold it to enter
encoding status.
A. When charging the battery, the red LED light
shows up and changes to green LED after fully
charged.
B. In LED Light mode, press the launch button, the
green LED in the Receiver Collar will flash every
one second.
C. W he n St and by, th e Re ce ive r Co ll ar w ill fla sh g re e n LED li gh t every four
seconds.
D. Af te r t ur n o n th e R e c e i v e r C ol la r, p r e s s a n d h ol d t h e O n / O ff / En c o d e
b ut t o n f o r 5 seconds to enter encoding period The green LED light will keep
flashing for 10 seconds to indicate the encoding time.
A B C D

8 9
A B
Note: Please check whether the battery needs recharging before you
use the device. When you turn on the receiver, if there are beeps for
20 seconds, you need to recharge the receiver collar before using the
unit.
3. Press up/Down buttons on right hand side of the transmitter to set
Vibration or Static Shock level.
4. Press the ½ button to swap between channel 1 or 2, depending on
which receiver you wish to select.
5. The Remote Transmitter will go into STANDBY MODE if no operation
for 20 seconds and will TURN OFF if no operation for 2 minutes.
6. In STANDBY MODE, press any button (except LED light button) to wake
up the transmitter. When the transmitter is powered off, hold the Mode
button on the Transmitter for 5secconds to TURN ON.
Operating Guide
How to use the Remote Transmitter
2. Se t to th e diff e ren t mod e s by p r ess ing t h e Mod e But ton- The L CD
images will change from .
Prepare the Remote Transmitter:
Charge the Remote Transmitter
1. Connect the charger connector to the charging jack.
2. Plug the charger into a standard outlet.
3. The red light on the Transmitter will be on.
4. Charge the Transmitter at least 6 hours when charging for the first
time or until the light indicates charging is complete.
5. After fully charged, the red led will turn off automatically.
Low battery indicator: the symbol will show up on the right side of
screen when recharging is necessary.
LCD
1. To turn on/off the Transmitter, hold the Mode button for 5 seconds.
Step
1
Prepare the Receiver Collar:
Charge the Receiver Collar
1. To TURN ON the Receiver Collar, press the on/off button, a beep
and the green LED will turn on and begin to flash every 4 seconds.
will sound,
2. Open the rubber cover and insert the charger connector into the
hole.
charging
3. Plug the charger into a standard outlet.
4. The red LED will be on. (A)
5. Charge the Receiver Collar for at least 6 hours when charging for
first time or until the light indicates charging is complete.
the
6. After the unit is fully charged, the red LED light will turn to a green LED
light automatically. (B)
7. Put the rubber cover back in place.
8. If the battery needs recharging, the receiver collar will beep for 20
seconds.
Step
Pairing the Remote Transmitter and Receiver
Collar:
1. Turn on the Remote Transmitter by pressing the Mode Button.
2. Select channel 1 or 2 by pressing the ½ button.
3. Turn on the Receiver Collar by pressing the on/off button.
4. Press and hold the on/off button for 5 seconds, the LED light will
to flash.
begin
Step
2
3
Table of contents
Other Petainer Pet Care Product manuals

Petainer
Petainer IS-PET900-B 1 User manual

Petainer
Petainer PET853 User manual

Petainer
Petainer IS-PET998DR-B 1 for 2 User manual

Petainer
Petainer PET851 User manual

Petainer
Petainer IS-PET998DRU-1 Installation guide

Petainer
Petainer PET910 User manual

Petainer
Petainer PET916 User manual

Petainer
Petainer PET916N User manual

Petainer
Petainer IS-PET998DBB User manual

Petainer
Petainer IS-PET998DR-B 1 for 2 User manual