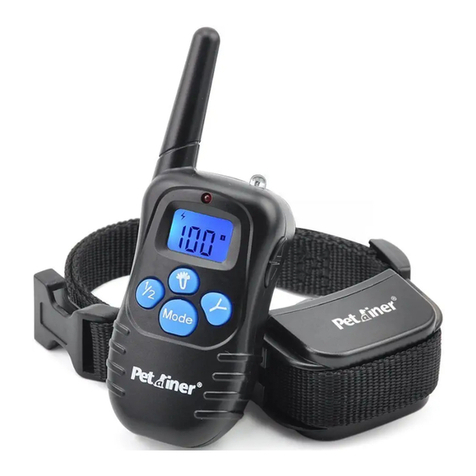
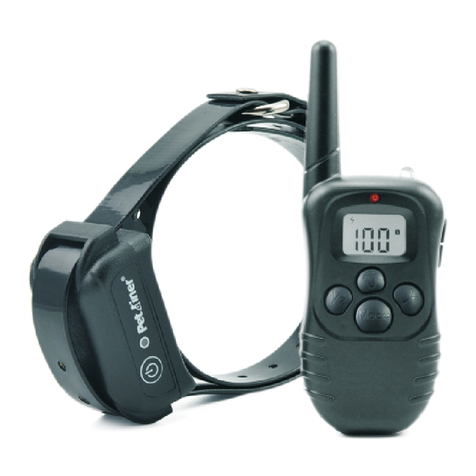
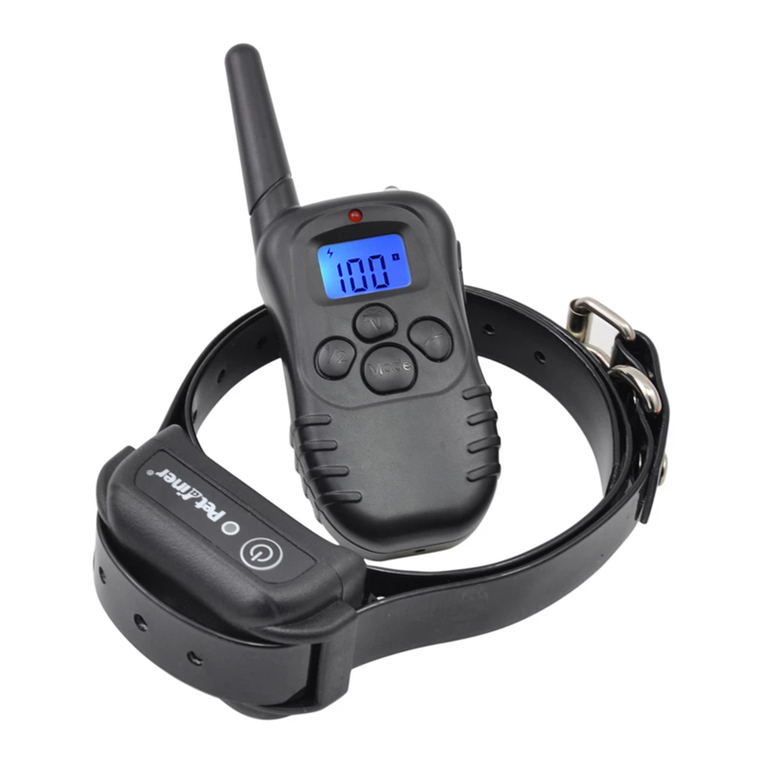
Petainer IS-PET998DR-B 1 for 2 User manual

300M Remote Dog Training Collar
with 0-100lvs static and vibration modes
Model Number:
IS-PET998DR-1
IS-PET998DRB-1
Model Number:
IS-PET998DR-2
IS-PET998DRB-2
Please read this entire guide before beginning
WARNING
CAUTION
Avoid leaving the collar on the dog for more than 12 hours per day.
If possible, reposition the collar on the pet's neck every 1 to 2 hours.
Check the fit of the collar to prevent excessive pressure; follow the
in this manual.
instructions
Never connect a lead to the electronic collar; it will cause excessive
on the contacts.
pressure
When using a separate collar for a lead, don't put pressure on
collar.
the electronic
Wash the dog's neck area and the contacts of the collar weekly with
cloth.
a damp
Examine the contact area daily for signs of a rash or a sore.
If a rash or sore is found, discontinue use of the collar until the skin has
healed.
If the condition persists beyond 48 hours, see your veterinarian.
Important Safety Information
-1- -2-
Not for aggressive dogs. Do not use this product if your dog is aggressive, or if
your dog is prone to aggressive behavior. Aggressive dogs can cause severe injury
and even death to their owner and others. If you are unsure whether this product is
appropriate for your dog, please consult your veterinarian or certified trainer.
Risk of skin damage. Please rea d and follow the instructions in this manual.
Proper fit of the collar is important. A collar worn for too long or made too tight
on the pet's neck may cause skin damage. Ranging fro m redness to pressure
ulcers; this condition is commonly known as bed sores. These collars can cause
pressure necrosis if used incorrectly and is often misidentified as burns.
These steps will help keep your pet safe and comfortable. Millions of pets are
comfortable while they wear stainless steel contacts. Some pets are sensitive
to contact pressure. You may find after some time that your pet is very tolerant
of the collar. If so, you may relax some of these precautions. It Is important to
c o n t i n u e d a i l y c h e c k s o f t h e c o n t a c t a r e a . I f r e d n e s s o r so r e s a r e f o u n d ,
discontinue use until the skin has fully healed.
Y
Y

-3- -4-
DESCRIPTION
Y
5. U
6. Led light button
7. Channel button
8. Launch button
9. Mode button
10. Charging hole
11.Contact Points
12. Reset hole
13. DV-5V hole
p/down button
Channel 1
Channel 2
Low Battery Indicator
1. Antenna
2. Led light
3. LED Indicator
4. LCD Screen
Light mode
Static shock mode
1-100 level
Vibration mode
Beep mode
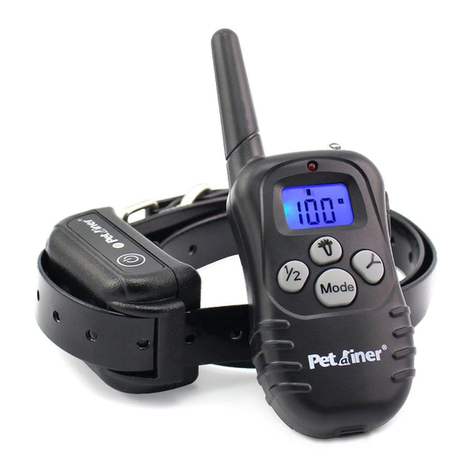
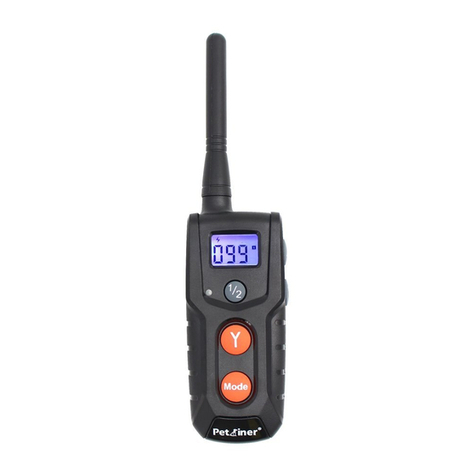
1. Antenna: Transmits the signal from the Transmitter to the Receiver Collar.
2.Led light: This light will be on when pressing the LED light button.
3. LED Indicator: This light will flash when the “Y” button is pressed. The light
will be activate when charging as well.
4. LCD Screen:
Static mode: With this mode selected, pressing the “Y” button will cause the
receiver to emit shock.
Vibration mode: With this mode selected, pressing the “Y” button will cause
the receiver to vibrate.
Beep Mode: With this mode selected, pressing the “Y” button will cause the
receiver to emit a beep sound.
MAIN FEATURES
1. Easy-to-use, ergonomic transmitter.
2. Rainproof receiver for bad weather training.
3. Rechargeable collar and transmitter.
4. Rheostat dial that allows for gradual increases in stimulation intensity between
0-100 levels.
5. 4 training modes: static shock/ vibration/ beep/ light.
6. The Petrainer Element 998DR has a 300 meters range.
7. Two-dog model allows the trainer to control two dogs from one transmitter.
8. Power saving design with automatic standby and memory function.
9. No external antenna on the collar receiver.
10. Small receiver/collar is ideal for small and medium size dogs. Light Mode: With this mode selected, pressing the “Y” button will cause the
LED light on the receiver to flash red once every second. Its primary purpose
is to help locate your pet.
Channel 1: Indicates the selection of the first collar receiver.
Channel 2: Indicates the selection of the second collar receiver.
5. Up/down buttons: Selects intensity level for Vibration and Static Shock.
6. Led light button: When pressing the LED light button, the LED light on the
transmitter will be on.
7. Channel button: Pressing this button will swap between the first and second
collar receiver.
8. Launc h button: Send s the signal from t ransmitter to receiver, resulti ng in
stimu lation, b eep or light, depending on y our mode selection .
9. M od e b ut to n: Pr e s s t h i s b u t t o n to sw i t c h b e t w e e n m o d es . Th er e a re 4
m od es : S ta t i c , Vib ra t i o n , B e e p a n d li gh t m o d e.
10. Charging hole : I n s e r t c h a rging connect o r i n t o c h a r ging hole to charge
the Transmitter.
11. Contact Points: Helps deliver safe static correction.
12. Reset hole: Turn the receiver on/off.
13. DV-5V hole: Insert charging connector into DV-5V hole to charge the receiver.

Important Notice:
1. The transmi t t er will go i n to Standby M o de if there i s no operati o n after 20
sec o n d s and will t urn off after 20 min u t e s.
The receiver will go into Standby Mode if unused for 4 minutes. Any movement
from the dog will activate the receiver.
2. “1/2” button to choose channel for connection. Channel 1 can only
the first receiver and Channel 2 can only operate the second receiver.
operate
-5- -6-
4) Charge the transmitter for at least 6 hours for the first charge or until the
light indicates charging is complete.
5)After charging is complete, the red light will turn off automatically.
2. Charge the collar receiver:
1) Connect the charger connector to the DV-5V hole.
2) Plug the charger into a standard outlet.
3) The red light will appear on the receiver.
4) Charge the receiver for at least 6 hours for the first charge or until the light
indicates charging is complete.
5) After charging is complete, the red light will turn off automatically.
3. Connect transmitter and receiver:
1) Turn on the transmitter by pressing any button on the transmitter.
2) Press “1/2” button to choose channel for pairing, choose channel
first receiver.
1 for the
3) Lift the Rubber cover of the reset hole on the receiver. Press the Reset button
inside of the receiver with a pen or paper clip, and the red LED light will turn on.
4) After a beep from the receiver, press the “Y” button on the transmitter within 10
seconds.
5) The collar receiver will beep if connected successfully.
6) To encode the second receiver, press the “1/2” button and select
for the second receiver and follow the same procedure.
channel 2
HOW TO USE
Note: Please charge before using the product!
1. Charge the remote transmitter:
2) Plug the charger into a standard outlet.
3) The red light on the transmitter will light up.
1) Connect the charger connector to the charging jack.
4. Test static shock function:
1) Place the test light to the metal screws (ensure contact points are not attached
when attempting to test the shock function).
2) Select Static Mode by pressing the “Mode” button.
3) Select static stimulation level by pressing UP/DOWN button and choose
between 1-100 stimulation levels.
4) Press “Y” button, and the LED will flash on.
Important:
If the transmitter is in sleep mode (the LCD display is turned off) you must press
the “Y” button once to wake up the unit, then press the “Y” button again to send
Please see diagram below on how to attach the test light:
3. In working mode, if you want to reconnect the receiver to the transmitter,
press the reset button with a pen or paper clip, there will be a beep sound to
indicate that it is ready to encode.
simply
4. The design of the receiver is to be rainproof. The rubber cover has to put in the
right position to ensure rainproof.
Important Notice:
If wishing to test the static function on yourself, remember to place your
hand against both contact points. Otherwise, the connection won't be completed
and no stimulation will be felt.
finger or

General Training Tips
-7- -8-
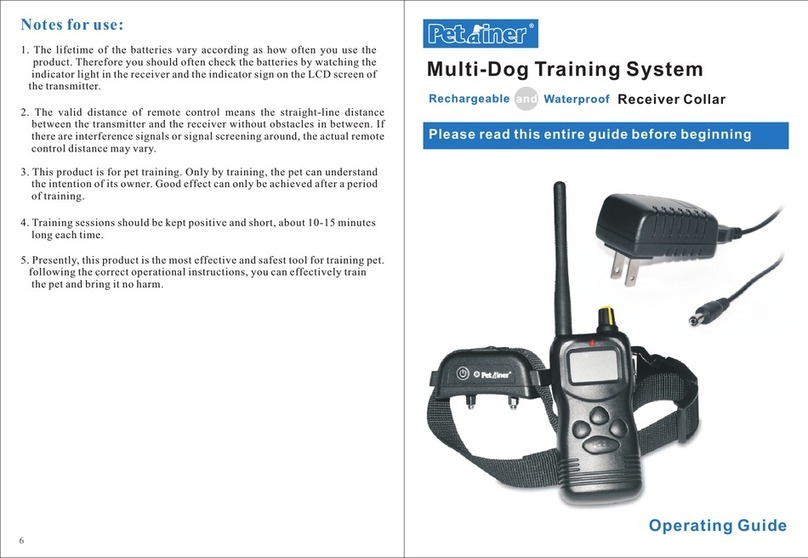
Notes for use
1. The lifetime of the batteries, vary according to how often you use the
Therefore, you should often check the batteries, by testing the beep function,
and watching the indicator sign on the LCD screen of the Transmitter.
product.
2. The valid distance of the remote means, the straight-line distance between
the Transmitter and the Collar Receiver without obstacles in between. If there
a r e i nt e r f er e n c e s i g n al s o r ot h er d is ru p t i on s, t he a c t ua l re m o t e c o n t ro l
distance may vary.
3. Thi s p rod u c t is f o r pet t r ain i ng. O n ly by t r ain i ng, t h e can u n d ers t and t h e
intention of its owner. Positiv e effects will occur aft e r p e r i o d s o f t r a i ning.
4. Training sessions should be kept posi tive and short, ab o ut 10-15 minutes
lo n g each s e ssion.
5. Presently, this product is most e ffective and safest tool f o r t r a i n i n g a pet.
Follow the correct operational instructions and you can effectively training the
pet without any harm.
The following tips o n h o w t o get the best out of your D o g Train i n g Collar.
(1) Make training sessions short and positive (between 10-15 minutes long for each
session.) This will enable the dog to keep its attention focused on the trainer.
(2) Train one dog at a time.
(3) During the first initial training sessions, keep the dog in a familiar outdoor
e n v i ro nm e n t . Tr ai ni n g i n n e w l oc a t i on s m a y c a u s e t h e d og t o b e c o me
distra c t e d , causing you to r e i n f o r c e commands with the C o l l ar Receiver
mo r e th a n ne c ess a ry.
(4) Use a long leash fastened to a non-metallic collar to help the dog's learning.
Ensure the additional collar and lash does not interfere with the Contact Points
of the Collar Receiver. Do not use the remote training collar without a long
leash until your dog if fully trained.
(5) More success will occur by teaching the dog a command first before
reinforce the command with the Remote Transmitter.
trying to
(6) For basic obedience training, vibration is more useful.
(7) Issue one obedience command at a time, this will reduce confusion and allow
the dog to remain focused. Do not use the training system for commands that
the dog has not learned.
(8) During training, look for all the positive changes in the dog's behavior
remember to reinforce them promptly with ample praise and reward.
and
(9) Avoid over-correcting your dog. Use as little remote correction as possible
during the training process.
(10) Wh e n t he dog has b e c o me appar e n tly perp l e x ed, shi f t t h e focus of t h e
training by drawing the dog's attention to a command they have familiarity.
Example: Tell the dog to sit and give abundant praise and encouragement
on successful completion of the sit command.
(11) Do not use the training system to correct or eliminate forms of aggression
or biting behavior. When the dog is showing signs of aggressive behavior,
im m ediately c ontact a profession al dog tr a iner in y o ur local area.
(12) Please keep in mind, that you should keep training sessions short and end
every session on a high note. Stop Training and play with the dog as soon the
dog has accomplished a new level of proficiency.
If needing more t raining tips, p lease v isit us at o r www.ipets- mall.co m www.
facebook.com/ipetsmall for plenty of resources.
LIMITED 90 DAYS WARRANTY
Petrainer warrants this product to be free of d e f e cts in p a r t s, m a terials and
workmanship for a period of 90 days, from date of purchase.
Should any repairs or servicing under this warranty be required, contact Customer
Service by phone or email for instructions on how to pack and ship the product to
Petrainer.
Petrainer CUSTOMER SERVICE
Telephone: 1-866-877-7949
Email: service@ipets-mall.com
Hours: Weekdays 9:00 AM- 5:00 PM EST
This warranty gives you specific legal rights and you may also have other rights
which vary from state to state.
Other manuals for IS-PET998DR-B 1 for 2
1
This manual suits for next models
3
Table of contents
Other Petainer Pet Care Product manuals

Petainer
Petainer IS-PET998DBB User manual

Petainer
Petainer PET851 User manual

Petainer
Petainer PET916 User manual

Petainer
Petainer IS-PET900-B 1 User manual

Petainer
Petainer PET853 User manual

Petainer
Petainer IS-PET998DBU User manual

Petainer
Petainer PET916N User manual

Petainer
Petainer PET916N User manual

Petainer
Petainer IS-PET998DRU-1 Installation guide

Petainer
Petainer PET910 User manual