6
MODE D’EMPLOI
Merci d'avoir acheté le kit tente pour ton
Petromax Loki ! Grâce ce kit, tu peux utiliser en
toute sécurité le conduit de ton Loki à travers
la paroi de la tente. Nous sommes convaincus
que tu apprécieras ce kit tente, car cela te per-
mettra de placer le Loki dans ta tente de façon
permanente et en toute sécurité.
INSTRUCTIONS IMPORTANTES
Lis attentivement ce manuel avant de
l'utiliser pour la première fois. Tu dois
particulièrement respecter les consignes
de sécurité. Au cas où tu as l’intention de
donner ce kit tente à une tierce personne ou
à un nouvel acquereur, tu dois lui remettre
tous les documents.
CONSEILS DE SÉCURITÉ
Après avoir monté ta tente, place ton Loki à
l’endroit souhaité. Assure-toi que la sortie de
la tente ne doit pas être ajustée.
• Il est plus facile d’installer le kit tente pour
Loki à deux ; cependant, il t’es aussi possible
de le faire seul.
• Pour installer le kit tente, tu as besoin des
outils suivants : D'un couteau, d'une alène,
d'une clé.
• Nous recommandons de finir depuis la
maison les préparations comme par exemple
la coupure des trous dans le tissu de la tente
ou autres choses avant de faire des excursi-
ons de camping. Le diamètre du conduit de
Loki a une longueur de 6 cm. Ainsi, le niveau
supérieur du manchon en silicone doit être
découpé à l'aided'un cutter.
• Pense soigneusement à localiser ta Loki
avant de monter la tente. La position des
Lokis dépend de l'interface pour le kit tente
à travers la paroi de la tente. Note que pour
des raisons de sécurité, la sortie de la tente
ne doit jamais être ajustée.
• Il est fondamental que le kit tente soit installé
à au moins 1 m du Loki (minimum de trois
conduits), car sinon la température élevée
ne corrode pas le silicone. À une plus petite
distance, le silicone pourrait être décompo-
sée à cause de la haute température du four.
• Ne jamais utiliser le Loki sans tube complet
du four.
• Si c’est la première fois que tu allumes ton
Loki, fais bien attention à ce que ton abri
soit bien ventilé, car le Loki dégagera des
fumées en brûlant les résidus de fabrication.
Ces émanations disparaissent rapidement
lorsque la température augmente. Pour cela,
tu devrais lire le mode d'emploi de ton Loki.
CONTENU DE LA LIVRAISON
1. 1 manchette en silicone
2. 2 anneaux de pression ( anneau extérieure et
anneau intérieure)
3. 12 rondelles
4. 6 vis
5. 6 écrous
DONNÉES TECHNIQUES
• Diamètre du conduit : 4-8 cm
• Angle d'inclinaison : 0 ° - 45 °
• L x H x P (en cm) : 16,5 x 16,5 x 10
• Poids : 350 g
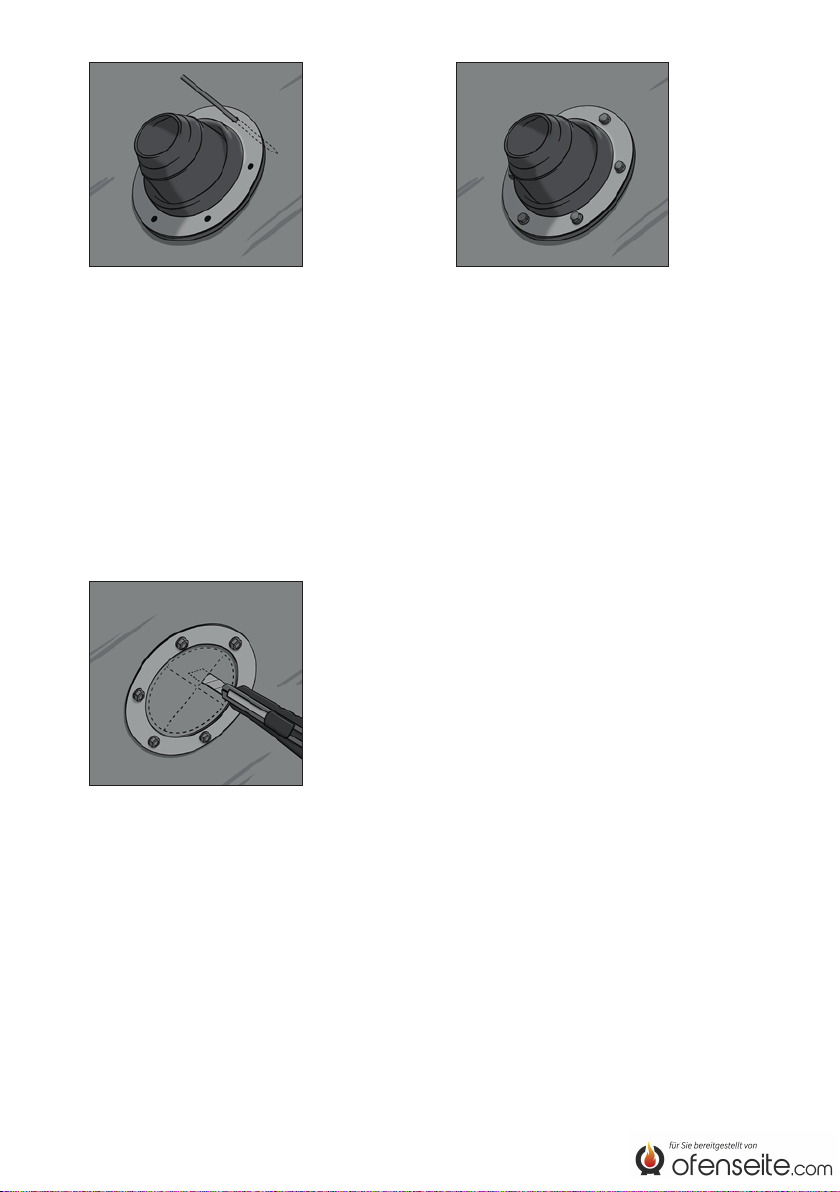
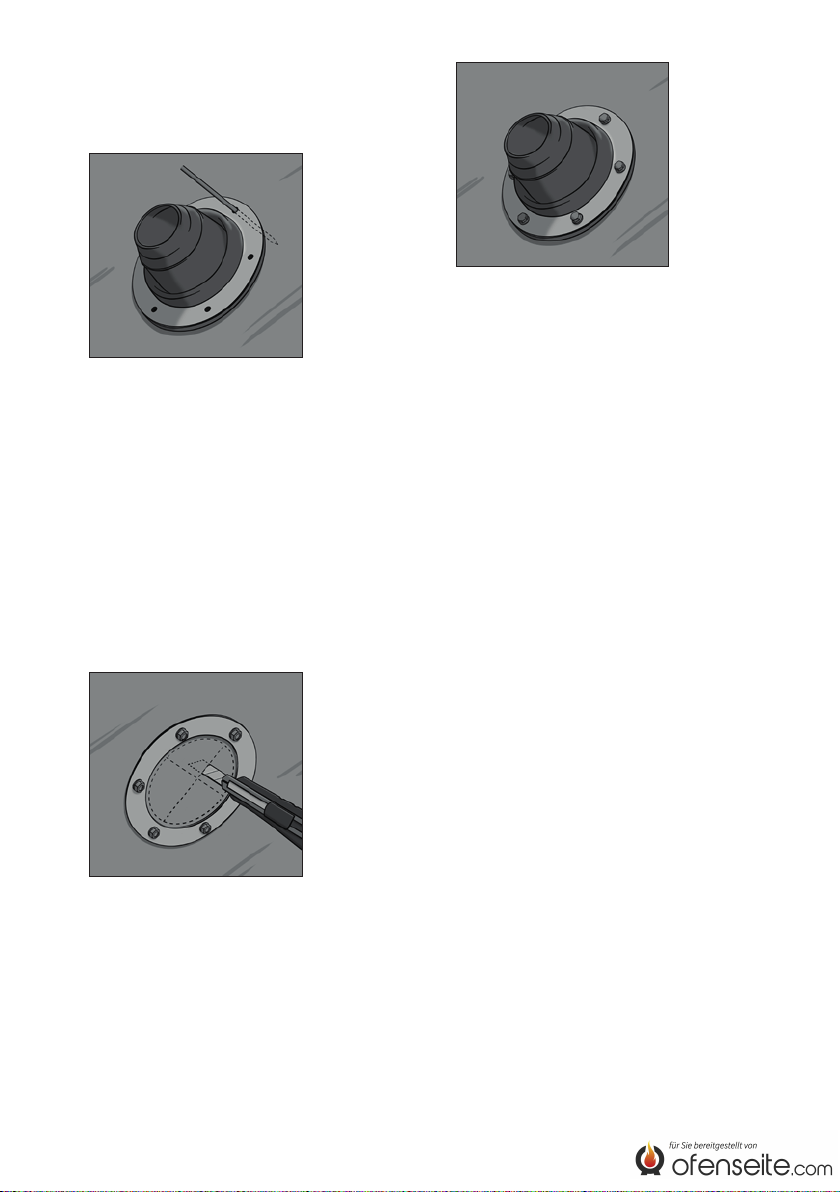
GUIDE
1. Aligne le conduit et l‘anneau interne, puis
positionne le joint externe à l’extérieur de ta
tente ou de ta yourte. Fixe ensuite l’anneau
interne avec une rondelle et un écrou.
Enfonce une alène ou autre objet similaire
à travers les trous de l’anneau de serrage
Figure 1
4
5
1
2
3