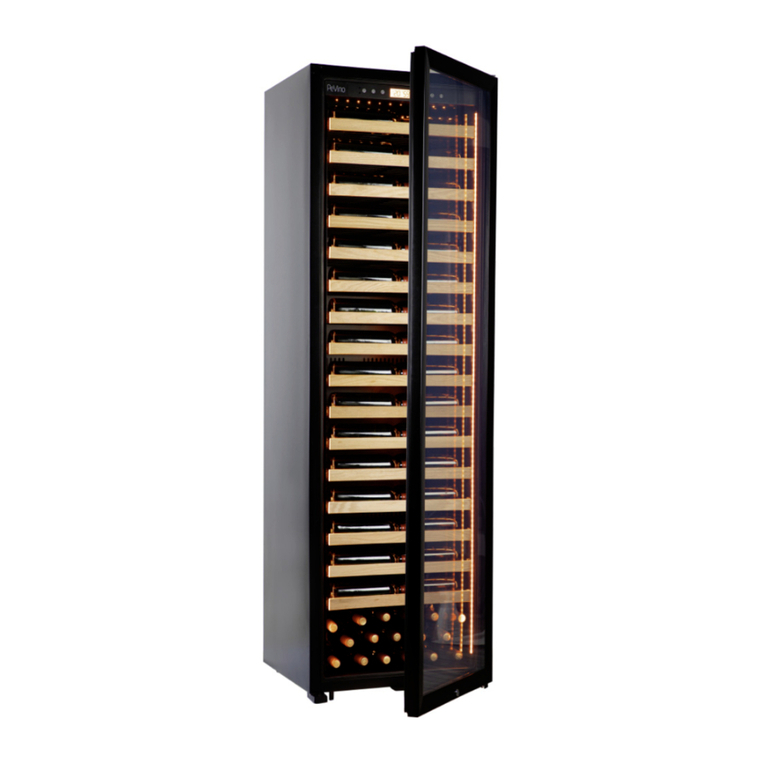
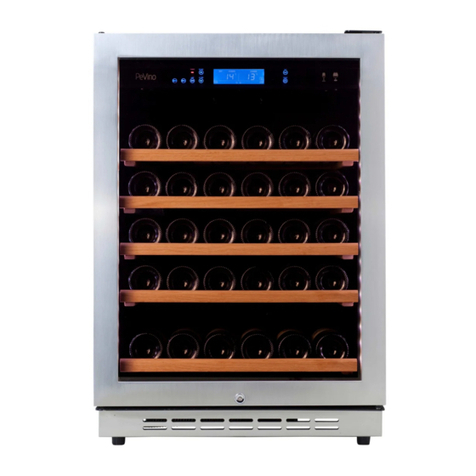
Pevino PN7S User manual

1
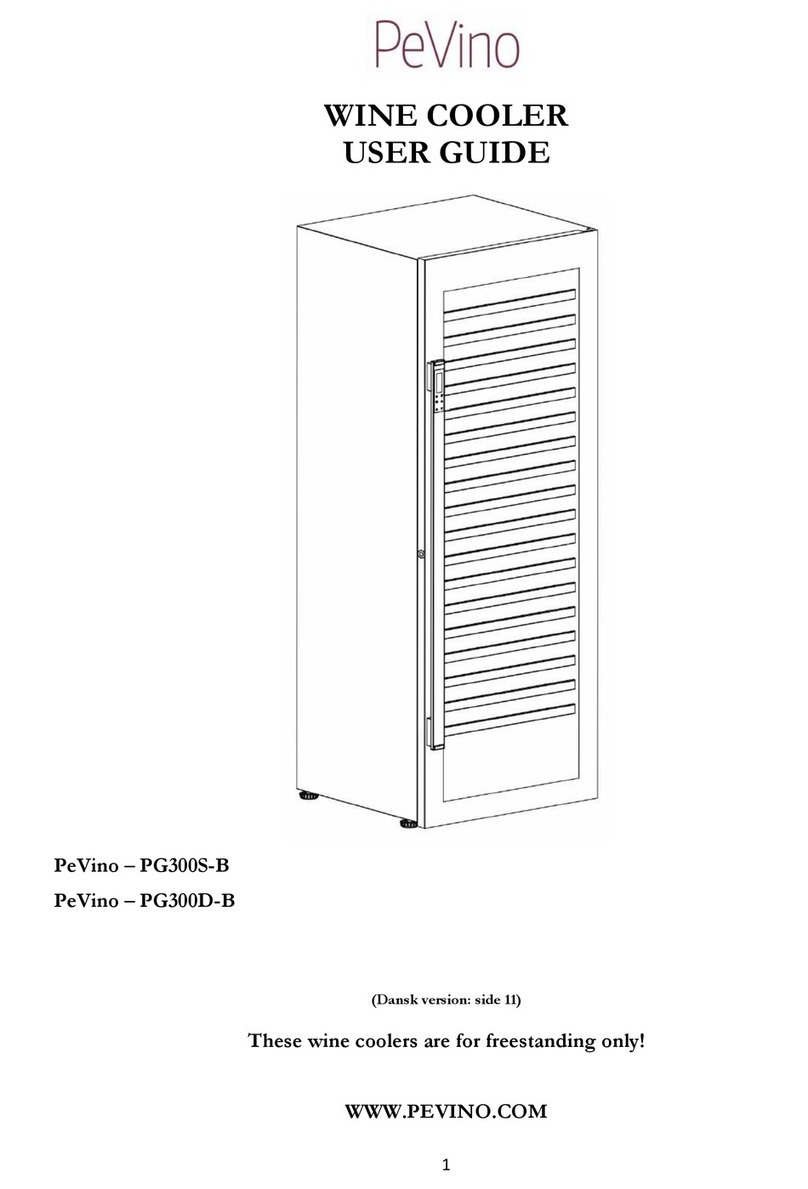
WINE COOLER
USER GUIDE
PN7S PN45S PN45D PN166S PN166D
(Dansk version s. 22, Deutsch s. 43)
www.pevino.com
BEFORE USE, PLEASE READ AND FOLLOW ALL SAFETY RULES AND OPERATING
INSTRUCTIONS.

2
WARNING!
⚫To prevent damaging the door gasket, make sure to have the door all the way opened
when pulling shelves out of the rail compartment.
⚫The appliance must be positioned so that the plug is accessible. Release the electric
cord. Move your cabinet to its final location. Do not move your Cabinet while
loaded with wine. You might distort the body. The wine cellar should be installed in
a suitable place in order to avoid Touching the compressor with the hand.
⚫This appliance is not intended for use by persons (including children) with reduced
physical, sensory, or mental capabilities, or lack of experience and knowledge, unless they
have been given supervision or instruction concerning use of the appliance by a person
responsible for their safety.
⚫Children should be supervised to ensure that they do not play with the appliance.
⚫If the supply cord is damaged, it must be replaced by manufacturer of its Service agent or a
similarly qualified person in order to avoid a hazard.
This appliance can be used by children aged from 8 years and above and persons with reduced
physical, sensory, or mental capabilities or lack of experience and knowledge if they have been
given supervision or not play with the appliance. Cleaning and user maintenance shall not be
made by children without supervision.
–WARNING: Keep ventilation openings, in the appliance enclosure or in the built-in
structure, clear of obstruction.
–WARNING: Do not use mechanical devices or other means to accelerate the defrosting
process, other than those recommended by the manufacturer.
–WARNING: Do not damage the refrigerant circuit.
–WARNING: Do not use electrical appliances inside the food storage compartments of the
appliance, unless they are of the type recommended by the manufacturer.
This refrigerating appliance is not suitable for freezing foodstuffs.
Do not store explosive substances such as aerosol cans with a flammable propellant in
this appliance.
This appliance is intended to be used in household and similar applications such as
–staff kitchen areas in shops, offices, and other working environments.
–farmhouses and by clients in hotels, motels, and other residential type environments.
–bed and breakfast type environments.
–catering and similar non-retail applications.
–WARNING: To avoid a hazard due to instability of the appliance, it must be fixed in
accordance with the instructions.
To avoid contamination of wine, please respect the following instructions:
–Opening the door for long periods can cause a significant increase of the temperature in the
compartments of the appliance.
–Clean regularly surfaces that can come in contact with bottles and accessible drainage
systems.
–Clean water tanks if they have not been used for 48 h; flush the water system connected to a
water supply if water has not been drawn for 5 days.
–If the refrigerating appliance is left empty for long periods, switch off, defrost, clean, dry, and
leave the door open to prevent mold developing within the appliance.
PLEASE DON’T TRY TO PLUG INTO OR EXTENSION THE CABLE IN ANY CASE.

3
IMPORTANT SAFETY INSTRUCTIONS
WARNING
To reduce the risk of fire, electrical shock, or
injury when using your appliance, follow these
basic precautions:
•Read all instructions before using the Wine cooler.
•DANGER or WARNING: Risk of child entrapment.
Child entrapment and suffocation are not problems of the past. Junked or
abandoned appliances are still dangerous . . . even if they will “just sit in the garage
a few days”.
•Before you throw away your old Wine cooler: Take off the door. Leave the
shelves in place so that children may not easily climb inside.
•Never allow children to operate, play with, or crawl inside the appliance.
•Never clean appliance parts with flammable fluids. The fumes can create a fire
hazard or explosion.
•Do not store or use gasoline or any other flammable vapors and liquids in the vicinity
of this or any other appliance. The fumes can create a fire hazard or explosion. Do
not store explosive substances such as aerosol cans with a flammable propellant in
this appliance.
•WARNING: keep ventilation openings, in the appliance enclosure or in the built-in
structure, clear of obstruction.
•Do not use mechanical devices or other means to accelerate the defrosting process,
other than those Recommended by the manufacturer.
•WARNING: To avoid a hazard due to instability of the appliance, it must be fixed in
accordance with the instructions.
•WARNING: Do not damage the refrigerant circuit.
•WARNING: Do not use electrical appliances inside the food storage compartments
of the appliance, unless they are the type recommended by the manufacturer.
•The refrigerant of these appliances is R600a, Flammable and explosive articles
should not be put in or near the cabinet, to avoid the fire or explode caused.
-Save these instructions-

4
INSTALLATION INSTRUCTIONS
➢Before Using Your Wine cooler
•Remove the exterior and interior packing.
•Before connecting the Wine cooler to the power source, let it stand upright for
approximately 2 hours. This will reduce the possibility of a malfunction in the cooling system
from handling during transportation.
•Clean the interior surface with lukewarm water using a soft cloth.
•This appliance is intended to be used in household and similar applications such as
–staff kitchen areas in shops, offices, and other working environments.
–farmhouses and by clients in hotels, motels, and other residential type environments.
–bed and breakfast type environments.
–catering and similar non-retail applications.
•When disposing your appliance, please choose an authorized disposal site.
➢Installation of Your Wine cooler
•This appliance is designed to be for free standing installation or built-in (fully recessed)
(Refer to sticker location the back of this appliance). PN7 is only for built in.
•This appliance is intended to be used exclusively for the storage of wine.
•Place your Wine cooler on a floor that is strong enough to support it when it is fully loaded.
To level your Wine cooler, adjust the front leveling leg at the bottom of the Wine cooler/
cooler.
•This appliance is using flammability refrigerant. So never damage the cooling pipework
during the transportation. Locate the Wine cooler away from direct sunlight and sources of
heat (stove, heater, radiator, etc.). Direct sunlight may affect the acrylic coating and heat
sources may increase electrical consumption. Extreme cold ambient temperatures may also
cause the unit not to perform properly.
•Avoid locating the unit in moist areas.
•Plug the Wine cooler into an exclusive, properly installed-grounded wall outlet. Do not
under any circumstances cut or remove the third (ground) prong from the power cord. Any
questions concerning power and/or grounding should be directed toward a certified
electrician or an authorized Products service center.
•Door handles, door hinges, trays, and baskets for a minimum period of seven years and
door gaskets for a minimum period of 10 year, after placing the last unit of the model on the
market.
•Thermostats, temperature sensors, printed circuit boards and light sources are available for
a minimum period of seven years after placing the last unit of the model on the market.
➢Attention
•Store wine in sealed bottles.
•Do not overload the cabinet.
•Do not open the door unless necessary.
•Do not cover shelves with aluminum foil or any other shelf material which may prevent air
circulation.
•Should the Wine cooler be stored without use for long periods it is suggested, after a
careful cleaning, to leave the door ajar to allow air to circulate inside the cabinet in order to
avoid possible formations of condensation, mold, or odors.

5
➢Ambient Room Temperature Limits
This appliance is designed to operate in ambient temperatures specified by its temperature class
marked on the rating plate.
Class
Symbol
Ambient Temperatures range (℃)
Extended Temperate
SN
﹢10 to﹢32
Temperate
N
﹢16 to﹢32
Subtropical
ST
﹢16 to﹢38
Tropical
T
﹢16 to﹢43
OPERATING YOUR WINE COOLER
The Wine Cooler should be placed in where the ambient temperature is below 35°C. If the ambient
temperature is above this range, the performance of the unit may be affected and may cause
interior temperatures to fluctuate. The range of setting temperatures may not be reached.
➢The controls of your Wine Cooler
FOR PN45S/PN166S
The temperature setting can be adjusted from 5℃to 18℃.
⚫LIGHT
Control the interior light ON/OFF.
⚫RUN
When it’s ON, the cooling system runs.
⚫Power
control this appliance turn on/off. (Press and hold this button for approximately 3 seconds);
⚫“UP” BUTTON
Press once the “UP” button, the temperature will raise 1 ℃.
⚫“DOWN” BUTTON
Press once the “DOWN” button, the temperature will lower 1 ℃.
⚫“DISPLAY”
Display the set temperature indoor.
Note:
Press "UP" or "DOWN" button for 3 seconds. The actual temperature will be showed on
DISPLAY.
It will return to the set temperature by pressing any button.

6
FOR PN45D/PN166D
Upper compartment: The temperature setting can be adjusted from 5℃to 18℃.
Lower compartment: The temperature setting can be adjusted from 5℃to 18℃.
⚫Light
Control the interior light ON/OFF.
⚫RUN
When it’s ON, the cooling system runs.
⚫Power
control this appliance turn on/off. (Press and hold this button for approximately
3 seconds).
⚫“Set Upper” Button
To set the temperature of the upper chamber.
⚫“Set Lower” Button
To set the temperature of the lower chamber.
⚫“Upper Chamber”
Display the set temperature in upper compartment.
⚫“Lower Chamber”
Display the set temperature in lower compartment.
⚫Note: Press “Set Upper” or “Set Lower” button for 3 seconds, the actual temperature Will be
display in the zone. It will return to the set temperature by pressing any button.
➢Internal light (For PN45S/PN45D/PN166S/PN166D)
This wine cooler is equipped with top and side internal lights that can be set to a blue, white, or
amber color. You can choose to display each color of light in two different modes. Automatic
mode and display mode.
Automatic mode
The internal light will illuminate each time the door is opened and fade off once the door is
closed. With each press of the light button to change the light color.
Display mode
Press and hold the light button for three seconds to enter Display mode. The internal lights will
stay constantly illuminated whether the door is open or closed. With each press of the light
button to change the light color. Press and hold the light button for three seconds will return to
Automatic mode.
The brightness with three levels for the internal light. Press the light button and UP/Set Upper
button at the same time for two seconds to adjust the brightness.

7
FOR PN7S
The temperature setting can be adjusted from 5℃to 18℃.
①” Power”: control this appliance turn on/off. (Press and hold this button for approximately
②“UP”: Press once the “UP” button, the temperature will raise 1 ℃.
③“DOWN”: Press once the “DOWN” button, the temperature will lower 1 ℃.
④“LIGHT “: Control the interior light ON/OFF.
In order to reduce energy consumption. This cabinet will automatically switch off the internal
light after 10 minutes. If you want the internal light to remain on continuously. Press and hold
this button for 5 seconds until display show “LP”. To revert to normal mode. Press and hold
this button for 5 seconds until display show “LF”.
⑤“DISPLAY”: Display the set temperature indoor.
⑥”RUN”: When it’s ON, the cooling system runs.
Note: Press "UP" or "DOWN" button for 3 seconds. The actual temperature will be showed on
DISPLAY. It will return to the set temperature by pressing any button.
➢Setting The Temperature Controls
Press once the button, the temperature will decrease or increase 1 ℃. When exceeding the
minimum value that can be established, it will jump to the highest adjustable temperature
value automatically.
NOTE:
•If the unit is unplugged, power lost, or turned off, you must wait 3 to 5 minutes before restarting
the unit. If you attempt to restart before this time delay, the Wine Cooler will not start.
•When you use the wine Cooler for the first time or restart the wine Cooler after having been
shut off for a long time, there could be a few degrees variance between the temperature you
select and the one indicated on the LED readout. This is normal and it is due to the length of
the activation time. Once the wine Cooler is running for a few hours everything will be back to
normal.

8
➢Temperature Memory Function
If the power is suddenly lost, the set temperature will be saved by the unit. Once the power is
back on, the unit will be at the same actual temperature.
➢Temperature Alarm Function
If the interior temperature is higher than 23°C (73°F), “HI” is shown on the display panel and
the buzzer alarm sounds continuously after one hour. This indicates that the inner temperature
is too high, please look for the reason. If the inner temperature is lower than 0°C (32°F), “LO”
is shown on the display panel; the alarm sounds continuously after fifteen minutes.
➢How to remove the shelf
For PN45S/PN45D/PN166S/PN166D)
•To prevent damaging the door gasket, make sure to have the door all the way opened when
pulling shelves out of the rail compartment.
•To Remove Shelves:
1. Fully extend the shelf you wish to remove (Fig. A)
2. Pull the shelf towards you until the buckle is released. (Fig. B)
3. Holding the shelf track with both hands, push the shelf up horizontally (Fig. C)

9
For PN7S
Remove two screws and the Integrated style wood shelf can be draw out.
➢LOADING
The maximum number of bottles that can be loaded into the cabinet are for information only;
this information is not contractual; it provides a means for rapidly estimating the size of the
device.
Loading for PN45S

10
Loading for PN45D
Loading for PN166S

11
Loading for PN166D
Loading for PN7S

12
➢Foot sliders (For PN45S, PN45D, PN7S)
Two-foot sliders are provided with your appliance, allowing you to move it easily. The foot sliders
have to be installed in parallel under the feet in accordance with the location for the front and for
the back.
➢INSTALLING THE TOP FIXING BRACKET (for PN7S)
After installing the wine cabinet, please open the door, adjust the fixing bracket (a) and fix
this in position with three screws (c) using a screwdriver (d) into the work surface (b).
a: Top fixing bracket
b: Work surface
c: Screw
d: Screwdriver
This bracket will keep the product secure and help prevent it moving when in use

13
Reversing the Door Swing
To Reverse the Door from Right Swing to Left Swing
For PN45S, PN45D
1.Open the door and using a screwdriver, remove the bottom screws from the right
lower hinge.
2.. Carefully slide the bottom of the door and down and place it on a padded surface to
prevent damaging it.
3.Remove the screws and hinge from the upper right hinge. Remove the plastic caps from
the upper left hinge corner.
Install the new upper left hinge that from the hardware package that includes the
installation manual, fastening the screws through the left hinge to the cabinet. Insert the
plastic caps to the upper right corner.
4.Remove the lower hinge and washer from the right lower bracket.

14
5.Install the new lower left hinge and washer in the hardware package containing the
installation manual to the bottom bracket.
6.Carefully insert the door into the upper right corner hinge, then slide the door on button
of the lower hinge and secure the door by installing the lower screws.
For PN166S, PN166D
1.Open the door and using a screwdriver, remove the bottom screws from the right
lower hinge.
2.Carefully slide the bottom of the door and down and place it on a padded surface to
prevent damaging it.
3.Remove the screws and hinge from the upper right hinge. Remove the plastic caps from
the upper left hinge corner.
Install the new upper left hinge that from the hardware package that includes the
installation manual, fastening the screws through the left hinge to the cabinet. Insert the
plastic caps to the upper right corner.

15
4.Remove the lower hinge and washer from the bottom right support bracket.
5.Remove the right lower hinge and screws. remove the screws from the lower left corner
and install them to right. Install the new lower left hinge that from the hardware package
that includes the installation manual by fastening the screws to the cabinet.
6.Install the washer, and new left lower hinge that from the hardware package that
includes the installation manual on the bottom support bracket.
7.Carefully insert the door into the upper right corner hinge, then slide the door on button
of the lower hinge and secure the door by installing the lower screws.

16
For PN7S
1.Open the door and using a screwdriver, remove the bottom screws from the right lower hinge.
2. Carefully slide the bottom of the door and down and place it on a padded surface to prevent
damaging it.
3. Remove the screws and hinge from the upper right hinge. Remove the plastic caps from the
upper left hinge corner. Install the new upper left hinge that from the hardware package that
includes the installation manual, Insert the plastic caps to the upper right corner.
4. Remove the screws and hinge from the lower right hinge. Install the new lower left hinge that
from the hardware package that includes the installation manual.
5.Rotate the door 180 degrees, remove the door stopper and install it on the opposite side of the
door frame.
6.Carefully insert the door into the upper right corner hinge, then slide the door on button of the
lower hinge and secure the door by installing the lower screws.

17
➢Installation specifications for built-in purposes
PN45S, PN45D
PN166S, PN166D

18
PN7S (This wine cellar has been designed for built-under installation. )

19
➢Recommended temperature SETTINGS
For keeping ALL TYPES OF WINES
12 oc to 14 oc
Champagne NV, Sparkling
6oc
Champagne Vintage
10 oc
Dry White Semillon, Sauvignon Blanc
8oc
Dry White Gewurstraminer, Riesling
10 oc
Dry White Chardonnay
10 oc
Vintage chardonnay
14 oc
Sweet White Sauternes Monbazillac, Late Harvest ice wine
10 oc
Sweet whites vintage Sauternes
14 oc
Beaujolais
13 oc
Red Pinot Noir
16 oc
Vintage Pinot noir red
20 oc
Red Cabernet, Merlot, French, Australian, New Zealand, Chilean,
Argentinean, Italian, Spanish, Californian
20 oc
Red Grenache, Syrah
16 oc

20
CARE AND MAINTENANCE
➢CLEAN YOUR WINE COOLER
⚫Turn off the power, unplug the appliance, and remove all items including shelves and rack.
⚫Wash the inside surfaces with a warm water and mild solution.
⚫Wash the shelves with a mild detergent solution.
⚫Wring excess water out of the sponge or cloth when cleaning area of the controls, or any
electrical parts.
⚫Wash the outside cabinet with warm water and mild liquid detergent. Rinse well and wipe dry
with a clean, soft cloth.
➢POWER FAILURE
⚫Most power failures are corrected within a few hours and should not affect the temperature of
your appliance if you minimize the number of times the door is opened. If the power is going to
be off for a long period of time, you need to take the proper steps to protect your contents.
➢VACATION TIME
⚫Short vacations: Leave the Wine cooler operating during vacations of less than three weeks.
⚫If the appliance will not be used for several months, remove all items, and turn off the
appliance. Clean and dry the interior thoroughly. To prevent odor and mold growth, leave the
door open slightly: blocking it open if necessary.
➢MOVE YOUR WINE COOLER
⚫Remove all items.
⚫Take out the loose items inside the wine cooler (such as shelf) or fix the loose items with the
foam.
⚫Turn the adjustable leg up to the base to avoid damage.
⚫Tape the door shut.
⚫Be sure the appliance stays secure in the upright position during transportation. Also protect
outside of appliance with a blanket or similar items.
➢ENERGY SAVING TIPS
⚫The Wine cooler should be located in the coolest area of the room, away from producing
appliances, and out of the direct sunlight.
ALL THE APPLIANCES ARE DESIGNED QITH LED LIGHE, IF LED LIGHT DAMAGE,
PLEASE CONTACT WITH AFTER-SALE SERVICE TO REPLACE IT.
This manual suits for next models
4
Table of contents
Languages:
Other Pevino Wine Cooler manuals

Pevino
Pevino P80S User manual

Pevino
Pevino P168S User manual

Pevino
Pevino PM248D-HHB Operating and maintenance manual

Pevino
Pevino PI106SK User manual

Pevino
Pevino P22S User manual

Pevino
Pevino P168S User manual

Pevino
Pevino PM248S-HHB-1 User manual

Pevino
Pevino PBI58S-EE User manual

Pevino
Pevino PG300S-B User manual

Pevino
Pevino EVO PE46S User manual
Popular Wine Cooler manuals by other brands

Brandt
Brandt BUW20BA manual

U-Line
U-Line Echelon 2015WC Wine Captain Features & benefits

Vintage Keeper
Vintage Keeper Tuscany 250 Assembly & operation manual

Vinotemp
Vinotemp VT-15 TS owner's manual

Avanti
Avanti WCR534WDZD E instruction manual

Miele
Miele KWT 6312 UGS Operating and installation instructions