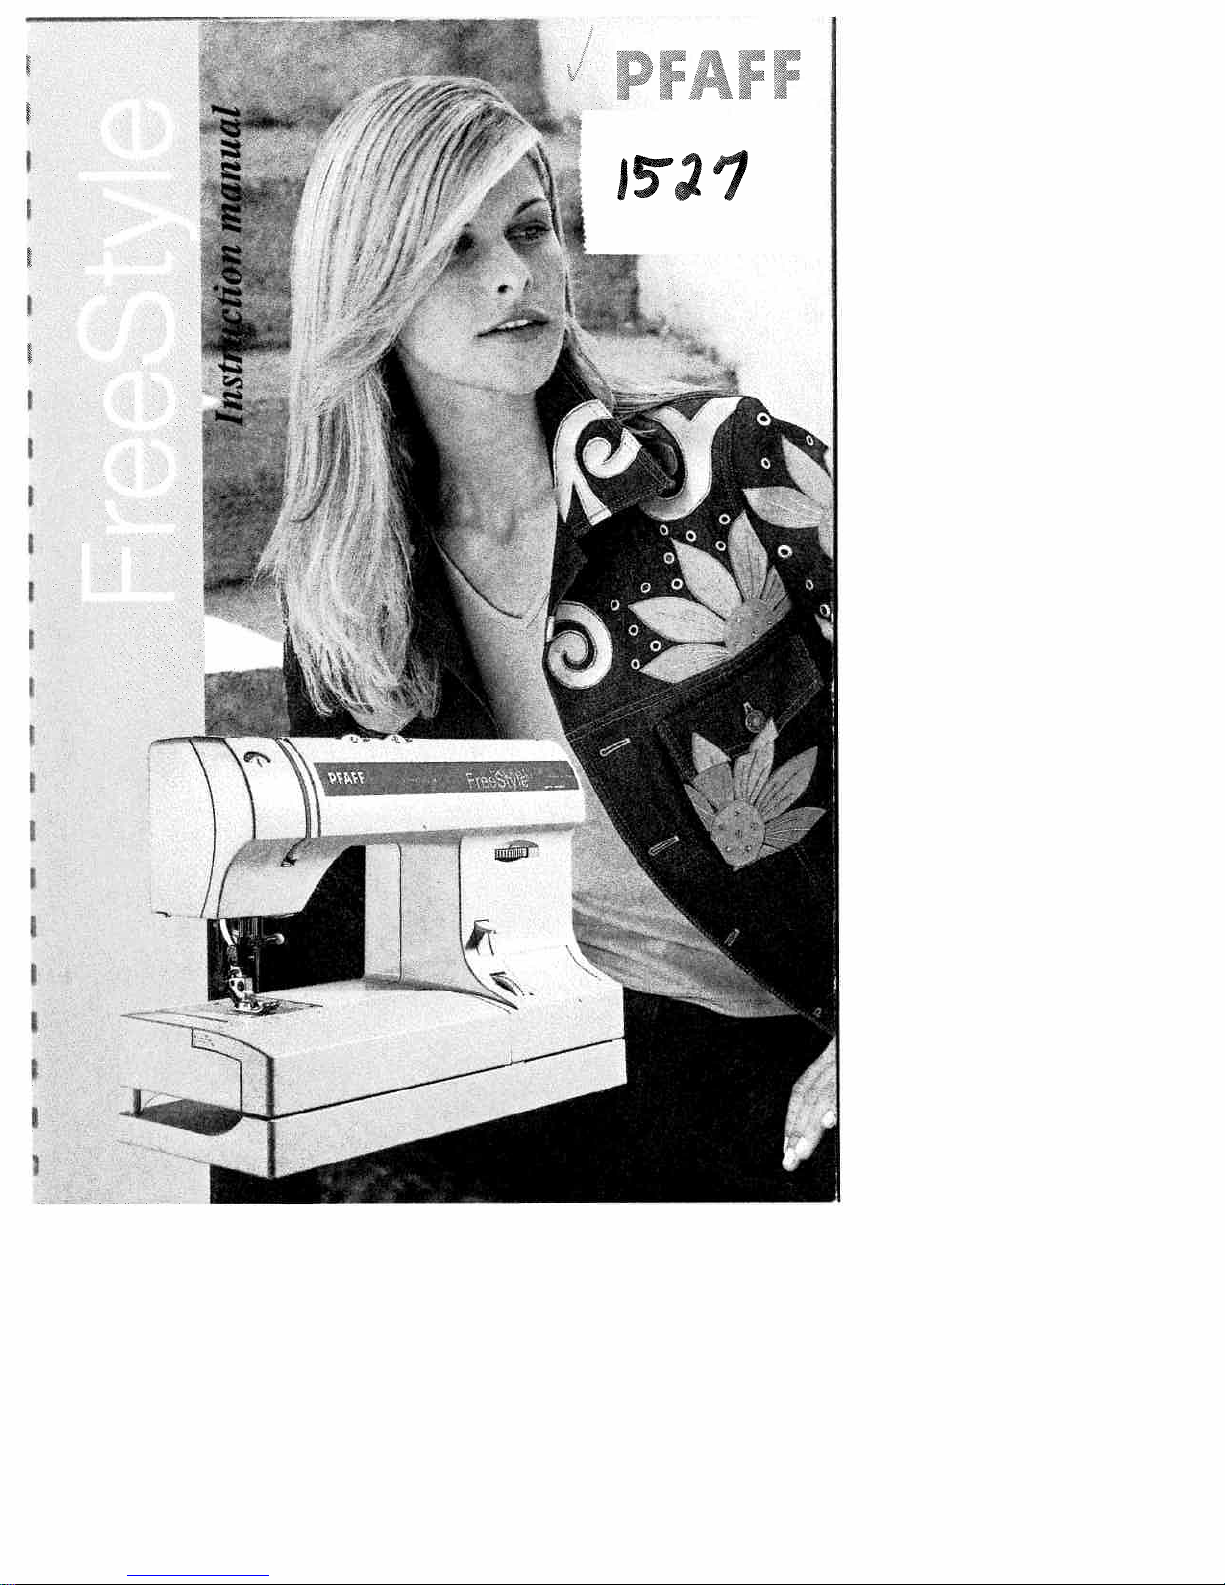
Pfaff FREESTYLE 1527 User manual
Other Pfaff Sewing Machine manuals

Pfaff
Pfaff Quilt Expressions 4.0 User manual

Pfaff
Pfaff 1193 User manual

Pfaff
Pfaff 2481-980/30 PLUSLINE Guide

Pfaff
Pfaff 114 User manual

Pfaff
Pfaff 8301 User manual

Pfaff
Pfaff Coverstyle User manual

Pfaff
Pfaff hobbymatic 935 User manual

Pfaff
Pfaff 8304-040 User manual

Pfaff
Pfaff POWERLINE 2571 ME PLUS User manual

Pfaff
Pfaff 234 User manual

Pfaff
Pfaff 481 A User manual

Pfaff
Pfaff CREATIVE 4.0 - User manual

Pfaff
Pfaff dorina 72 User manual

Pfaff
Pfaff 3371-1 series Guide

Pfaff
Pfaff 245 User manual

Pfaff
Pfaff 3822-1/32 User manual

Pfaff
Pfaff 1216 User manual

Pfaff
Pfaff 433 User manual

Pfaff
Pfaff POWERLINE 2571 ME PLUS User manual

Pfaff
Pfaff CREATIVE 4.0 - User manual