HB595/A
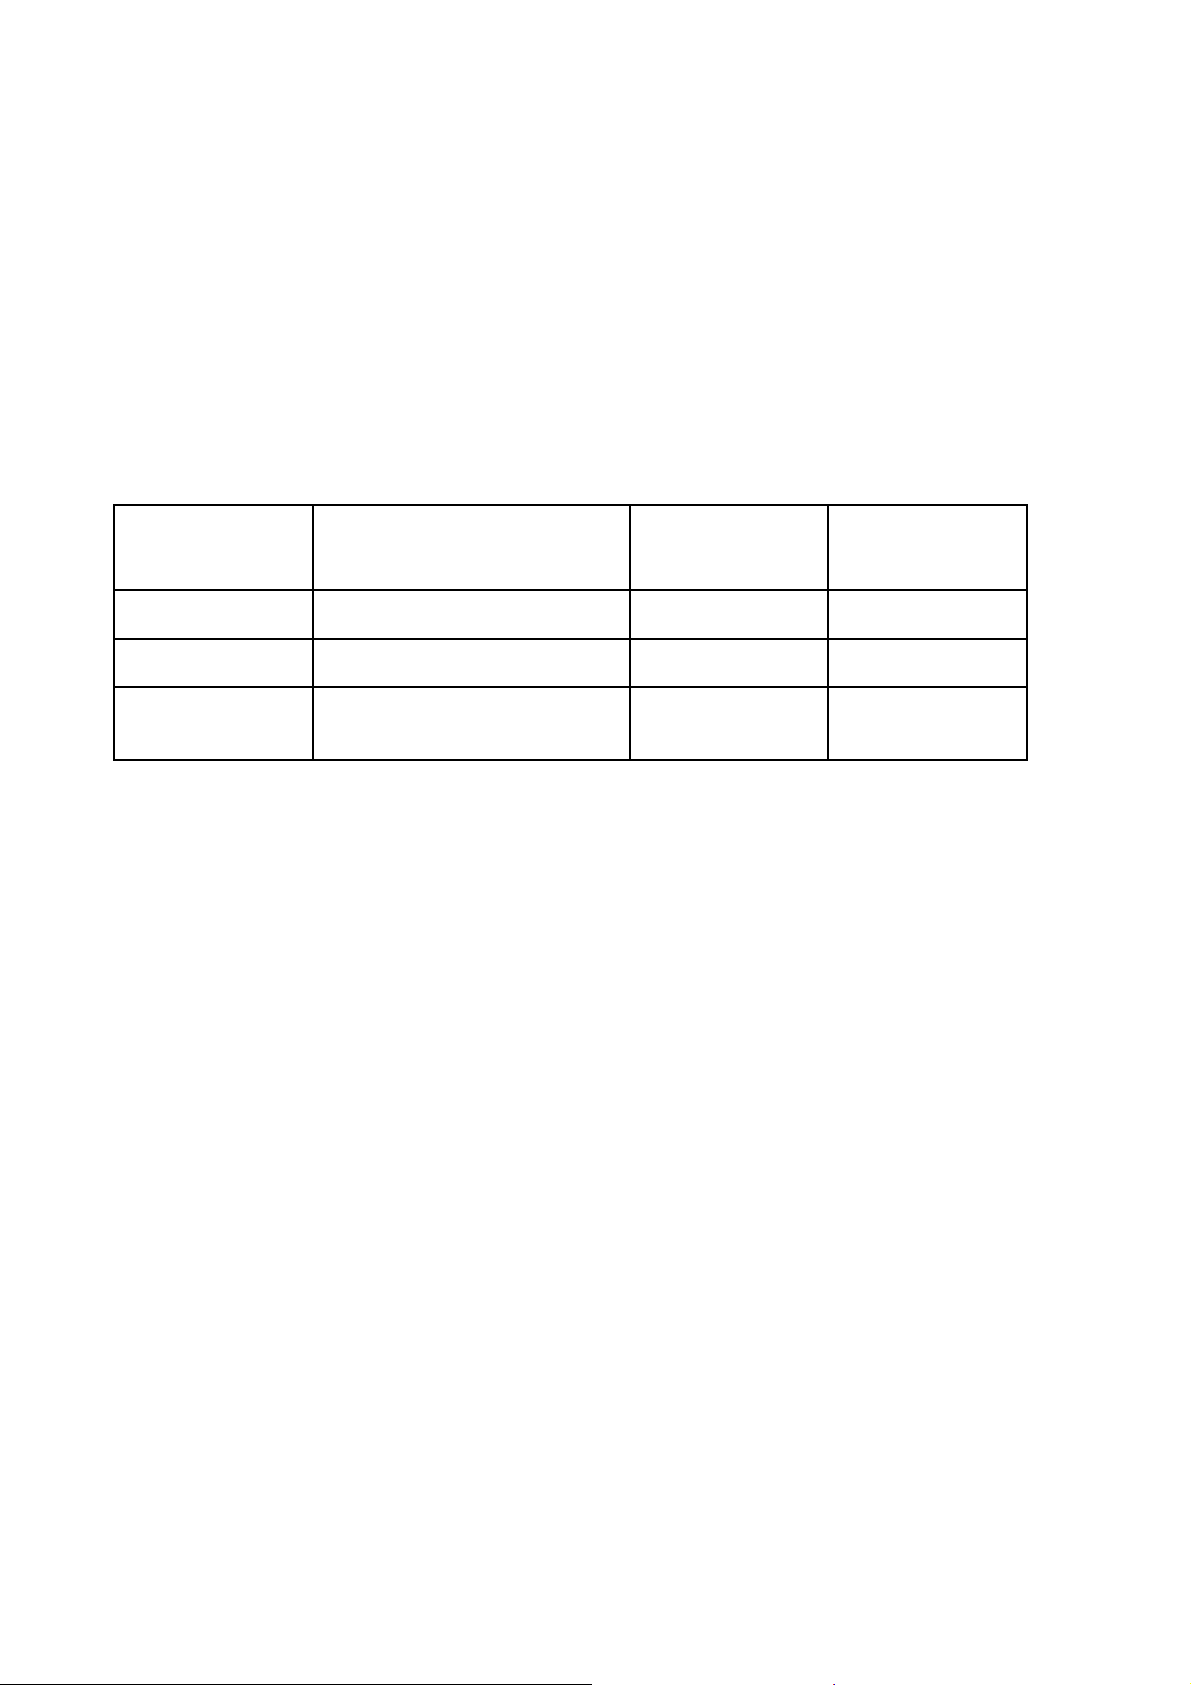
- Operating voltage : 230 V, 50 Hz
- Power consumption : approx. 3150 W
- Lamp canopy : 8 x TL Cleo
Performance 100 W-S-R
: 5 x TL Cleo
Performance 80 W-S-R
: 1 x HPA HP400SH
- Lamp couch : 11 x TL Cleo
Performance 100 W-S-R
- Ballast canopy : 8 x TL + 1 x HPA - 100W
: 5 x TL + 2 x HPA - 80 W
- Ballast couch : 11 x 100 W
- Starter canopy : 13 x S12 / Cleo sunstarter
: 1 x Magnetek ZG 4,5
- Starter couch : 11 x S12 / Cleo sunstarter
- Timer : 30 min. (digital)
- Safety : , Cenelec, UV-type III
- Mains cord : 3 m, 2 x 1.5 mm², class II plug
- Tanning field : 195 x 80 cm
- Dimensions : 214 x 100 x 92 cm (L x W x H)
- Weight canopy : approx. 65 kg
- Weight couch : approx. 64 kg
- Protecting goggles : 2 x HB072
TECHNICAL INFORMATION
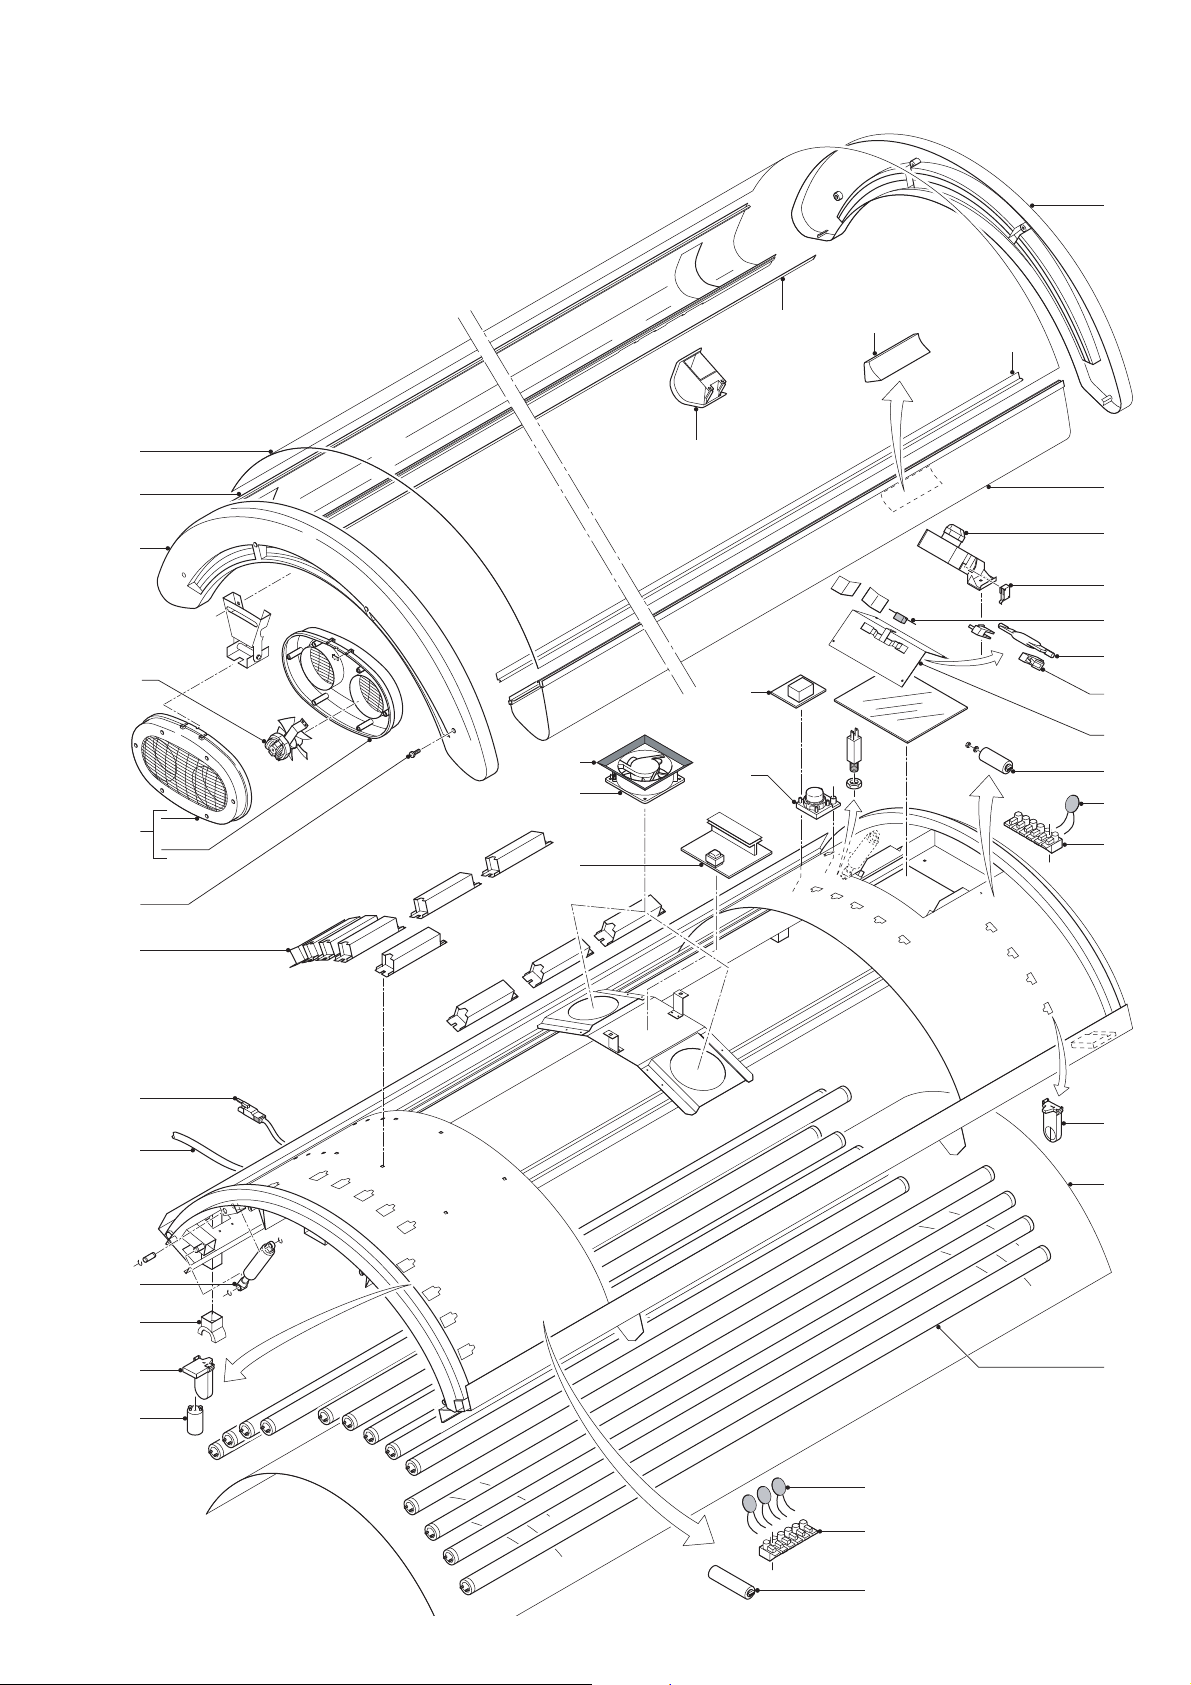
DISASSEMBLY & REPAIR INSTRUCTION
- Remove the mains plug from the wall socket.
Replacement of lamps/starters
- Remove the end cover at the head of the canopy by undoing
the screws.
- First pull the acrylic sheet approx. 10 cm out of the
appliance. Then undo the snap strip on the rear side of the
canopy. Do the same with the snap strip on the front side.
- Remove the acrylic sheet.
- Now the tube lamps and starters can be removed.
- The lamps and starters of the couch can in principle be
replaced in the same way.
Check on internal wiring
- Remove the push rivets in the top cover with an appropriate
knife or screwdriver.
- Remove the end cover at the head of the canopy by undoing
the screws.
- Pull the top cover approx. 10 cm out of the appliance.
- Pull the top cover on both sides out of the groove of the
side panel and place it on a soft surface.
- Now the ballasts, lamp holders and internal wiring can be
checked.
- The internal wiring of the couch can be checked in the
same way.
- However, the canopy must be removed first with help of a
second person.
- Do not forget to pull the connecting cable out of the socket.
Replacement of gas spring
- Remove the acrylic sheet as described under ‘replacement of
lamps/starters’.
- Remove the top cover as described under ‘check on internal
wiring’.
- Loosen the connecting wires of the body cooler and remove
the end cover by undoing the screws.
- Fold the canopy up and have a second person lock it in this
position.
- Now the gas springs can be removed.
Replacement of timer
- Remove the end cover on the side where the timer is
located.
- Pull the top cover on this side out of the groove of the side
panel.
- Now the timer panel with timer can be taken out.
3-11