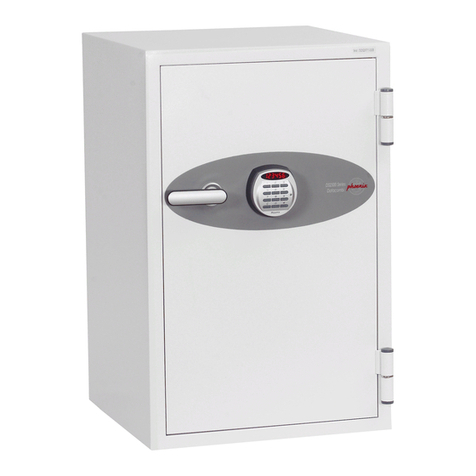
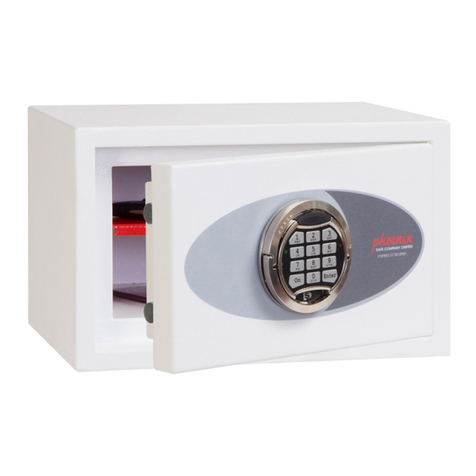
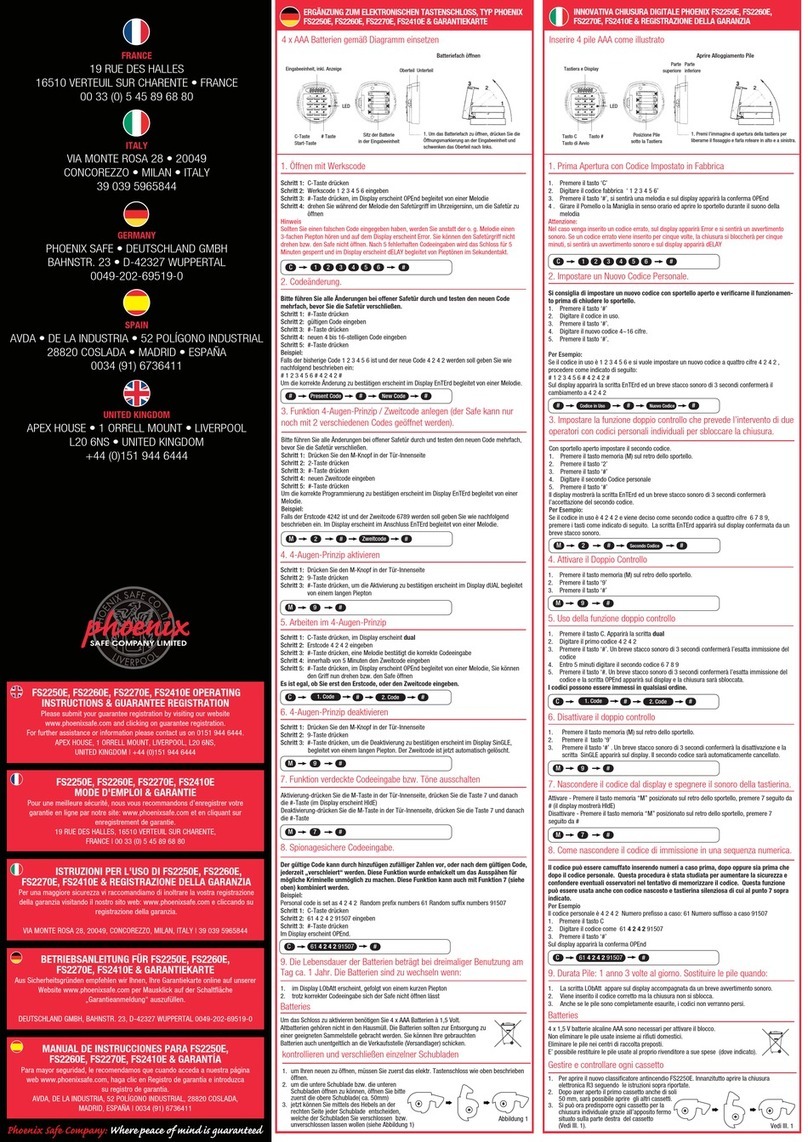
manuals.online logo
Brands
  1. Home
  2. •
  3. Brands
  4. •
  5. Phoenix
  6. •
  7. Lock
  8. •
  9. Phoenix PS210 User manual

Phoenix PS210 User manual

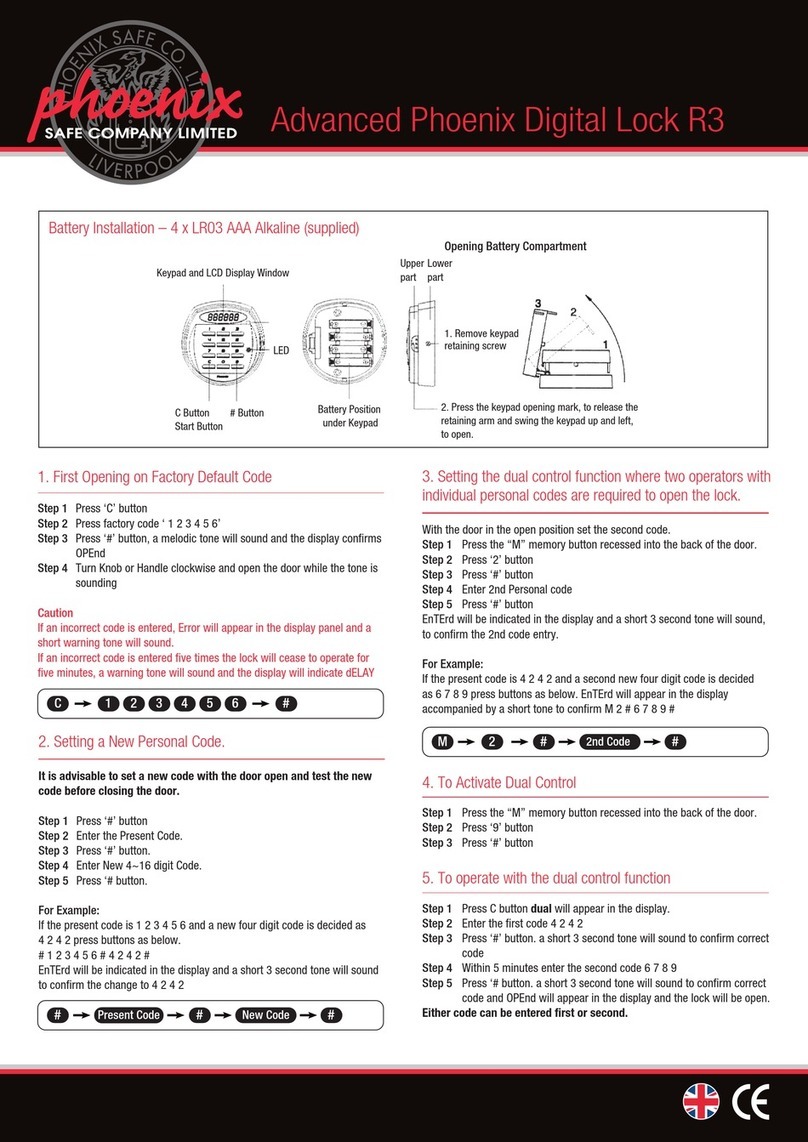
Ph Sf Cpny Wr eac  n s gurte
KEY LOCK
OPENING THE SAFE
Please insert one of the two keys supplied into the key hole and turn
clockwise. Then turn handle and pull the door to open. Note: We recom-
mend that the spare key is not kept in the safe.
PS210 ELECTRONIC LOCK
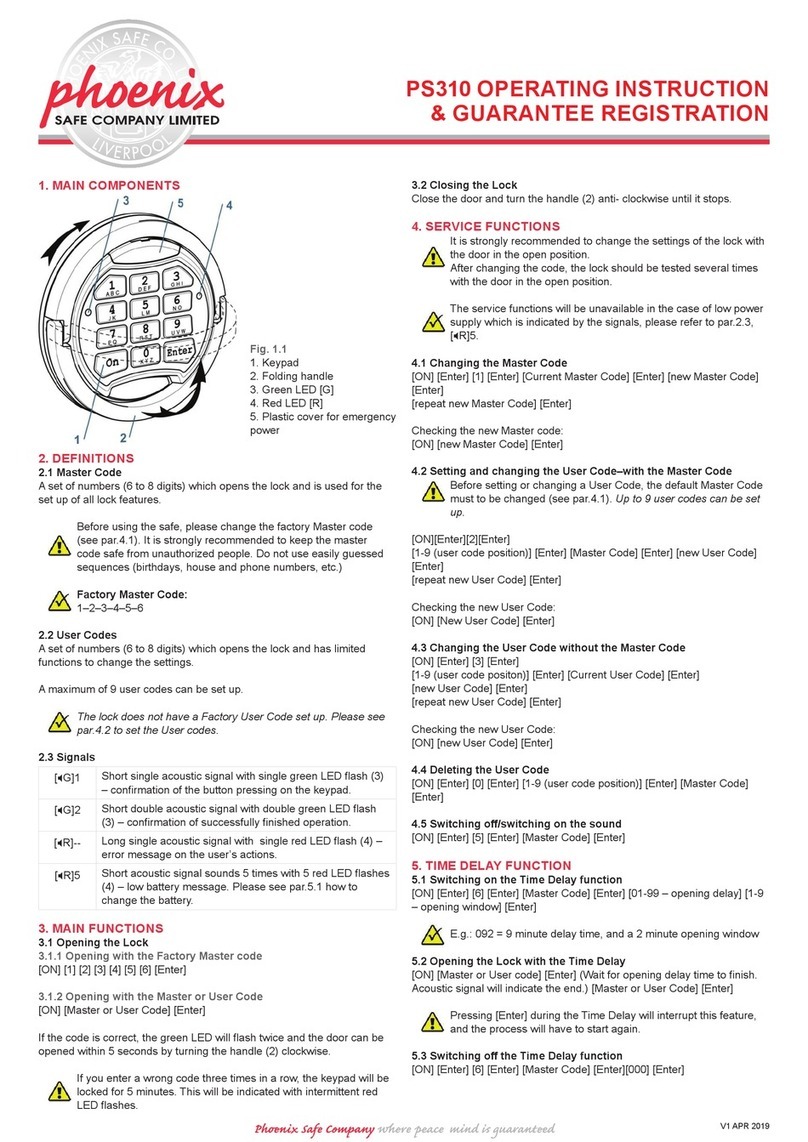
1. Main Components
Fig. 1.1
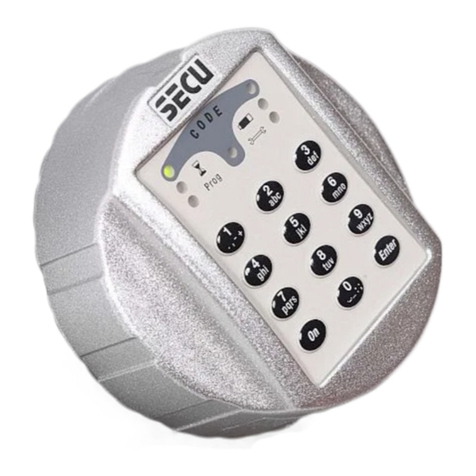
1. Keypad
2. Handle
3. LED Ring Indicator - Green
LED [G] and Red LED [R]
4. Locking Catch
5. Black realease handle
2. Servicing
2.1 Changing the Battery
• Slide the locking catch (4) towards the door of the safe to access the
battery compartment (Fig.2.1a)
Fig. 2.1 a. b.
• Squeeze the black release handle (5) (Fig.2.1b) and turn the handle
(2) anti-clockwise until the markers are aligned, and remove the
handle (2) (Fig.2.2a)
• Replace the battery with a new alkaline battery (9V, type 6LF22)
(Fig.2.2b)
Fig. 2.2a. b.
• Reinstall the handle (2) and engage the lock button (4) in the reverse
order. To do this, make sure the tongue of the drive plate is in the 3
o’clock position of the keypad (Fig.2.3), and the locking catch is still
in the down position.
Fig.2.3
• Squeeze and hold the black release handle (5), and place it onto
the keypad aligning the markers on the handle and the keypad
(Fig.2.2.a). Keeping the black release handle depressed, turn the
handle (2) clockwise until it stops. Let go of the release handle, and
turn the handle anti clockwise until it clicks.
• Slide the locking catch (4) back up, to lock the handle onto the
keypad.
OPERATING INSTRUCTIONS
1. Denitions
1.1 Master Code
A set of numbers (6 to 8 digits) which opens the lock and is used for the
set up of all lock features.
Before using the safe, please change the factory Master code
(see par.3.1). It is strongly
recommended to keep the master code safe from unauthorized
people. Do not use easily
guessed sequences (birthdays, house and phone numbers, etc.)
Factory Master Code:
1–2–3–4–5–6
1.2 User Codes
A set of numbers (6 to 8 digits) which opens the lock and has limited func-
tions to change the settings.
A maximum of 9 user codes can be set up.
The lock does not have a Factory User Code set up. Please see
par.3.2 to set the User codes.
1.3 Signals
[G]1 Short single acoustic signal with single green LED ash (3) –
conrmation of the button
pressing on the keypad.
[G]2 Short double acoustic signal with double green LED ash (3) –
conrmation of successfully nished operation.
[R]-- Long single acoustic signal with single red LED ash (4) – er-
ror message on the user’s actions.
[R]5 Short acoustic signal sounds 5 times with 5 red LED ashes
(4) – low battery message. Please see Servicing par 2.1 how
to change the battery.
2. Main Functions
2.1 Opening the Lock
2.1.1 Opening with the Factory Master code
[ON] [1] [2] [3] [4] [5] [6] [Enter]
2.1.2 Opening with the Master or User Code
[ON] [Master or User Code] [Enter]
If the code is correct, the green LED will ash twice and the door can be
opened within 5 seconds by turning the handle (2) clockwise.
V1 06 2022
PS210 ELECTRONIC LOCK
INSTRUCTIONS
Ph Sf Cpny Wr eac  n s gurte
If you enter a wrong code three times in a row, the keypad will be
locked for 5 minutes. This will be indicated with intermittent red
LED ashes.
2.2 Closing the Lock
Close the door and turn the handle (2) anti- clockwise until it stops.
3. Service Functions
It is strongly recommended to change the settings of the lock with
the door in the open position.
After changing the code, the lock should be tested several times
with the door in the open position.
The service functions will be unavailable in the case of low power
supply which is indicated by the signals, please refer to par.1.3,
[R]5.
3.1 Changing the Master Code
[ON] [Enter] [1] [Enter] [Current Master Code] [Enter] [new Master Code]
[Enter]
[repeat new Master Code] [Enter]
Checking the new Master code: [ON] [new Master Code] [Enter]
3.2 Setting and changing the User Code–with the Master Code
Before setting or changing a User Code, the default Master Code
must to be changed (see par.3.1).
Up to 9 user codes can be set up.
[ON][Enter][2][Enter]
[1-9 (user code position)] [Enter] [Master Code] [Enter] [new User Code]
[Enter][repeat new User Code] [Enter]
Checking the new User Code: [ON] [New User Code] [Enter]
3.3 Changing the User Code without the Master Code
[ON] [Enter] [3] [Enter]
[1-9 (user code positon)] [Enter] [Current User Code] [Enter]
[new User Code] [Enter]
[repeat new User Code] [Enter]
Checking the new User Code:
[ON] [new User Code] [Enter]
3.4 Deleting the User Code
[ON] [Enter] [0] [Enter] [1-9 (user code position)] [Enter] [Master Code]
[Enter]
3.5 Switching off/switching on the sound
[ON] [Enter] [5] [Enter] [Master Code] [Enter]
4. Time Delay Function
4.1 Switching on the Time Delay function
[ON] [Enter] [6] [Enter] [Master Code] [Enter] [01-99 – opening delay] [1-9
– opening window] [Enter]
E.g.: 092 = 9 minute delay time, and a 2 minute opening window
4.2 Opening the Lock with the Time Delay
[ON] [Master or User code] [Enter] (Wait for opening delay time to nish.
Acoustic signal will indicate the end.) [Master or User Code] [Enter]
Pressing [Enter] during the Time Delay will interrupt this feature,
and the process will have to start again.
4.3 Switching off the Time Delay function
[ON] [Enter] [6] [Enter] [Master Code] [Enter][000] [Enter]
5. Dual Code Function
5.1 Switching on the Dual Code function
Before switching on the function, make sure you have set up a
User Code see par.3.2.
The Dual Code function has priority over other lock functions.
[ON] [Enter] [7] [Enter] [Master Code] [Enter]
When the [ON] button is pressed with the Dual Code function switched on,
the lock will respond with [G]2 (see par.1.3).
5.2 Opening with the Dual Code function
1st code:- [ON] [0-9 (user code position)] [Enter] [User / Master Code]
[Enter]
2nd code:- [0-9 (user code position)] [Enter] [User or Master Code] [Enter]
The User Code Position of Master Code is [0].
After entering the rst Code there is a 1 minute window to enter
the 2nd code. This is indicated by [G]1 (see par.1.3) every 5
seconds.
5.3 Switching off the Dual Code function
[ON] [Enter] [8] [Enter] [Master Code] [Enter]
REGISTER SAFE
Please submit your guarantee registration by visiting our website
www.phoenixsafe.com and clicking on guarantee registration.
For further assistance or information please
contact us on 0151 944 6444.
APEX HOUSE, 1 ORRELL MOUNT, LIVERPOOL, L20 6NS,
UNITED KINGDOM | +44 (0)151 944 6444
PS210 ELECTRONIC LOCK
INSTRUCTIONS
This manual suits for next models

1

Other Phoenix Lock manuals

Phoenix PS310 User manual

Phoenix

Phoenix PS310 User manual

Phoenix FS 2250E User manual

Phoenix

Phoenix FS 2250E User manual

Phoenix R3 User manual

Phoenix

Phoenix R3 User manual

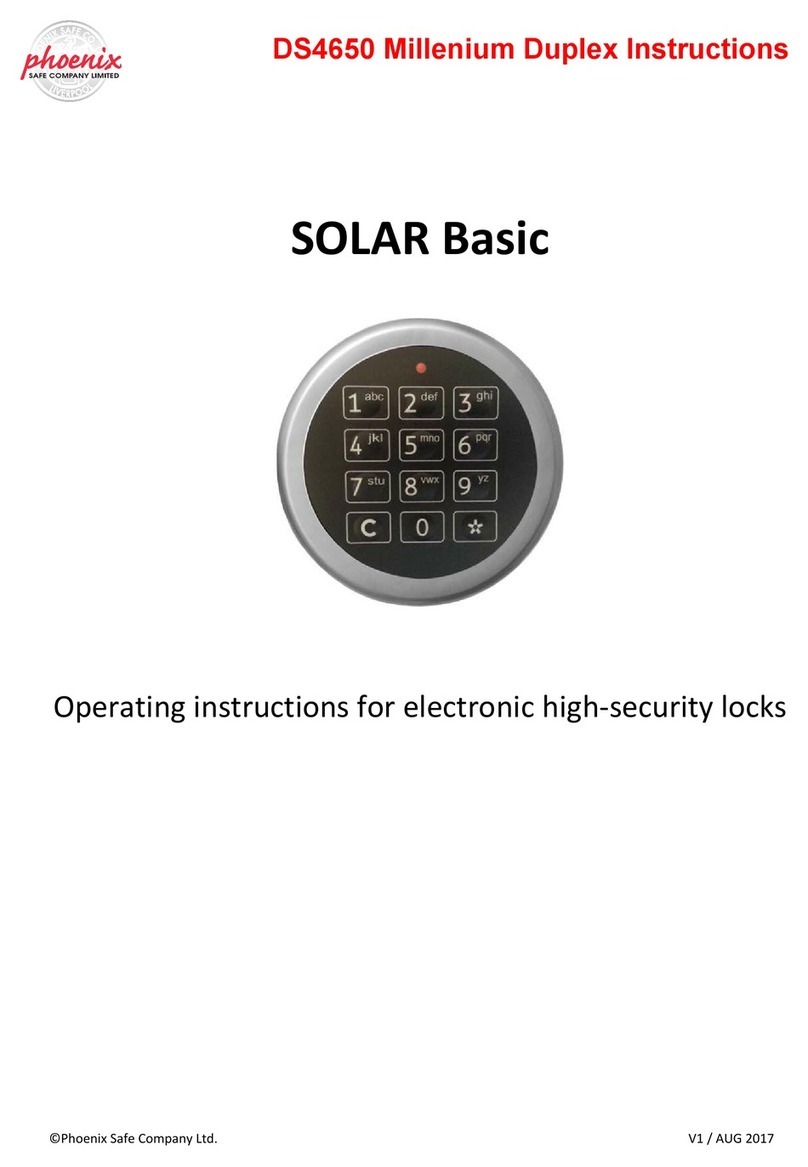
Phoenix Solar User manual

Phoenix

Phoenix Solar User manual

Phoenix FS1300 Product information sheet

Phoenix

Phoenix FS1300 Product information sheet

Phoenix FS0440E Series User manual

Phoenix

Phoenix FS0440E Series User manual

Phoenix SELO-A User manual

Phoenix

Phoenix SELO-A User manual

Phoenix DS2500E Series User manual

Phoenix

Phoenix DS2500E Series User manual

Phoenix FS0352C Product information sheet

Phoenix

Phoenix FS0352C Product information sheet

Phoenix DS4620E User manual

Phoenix

Phoenix DS4620E User manual

Phoenix KS0002C Series User manual

Phoenix

Phoenix KS0002C Series User manual

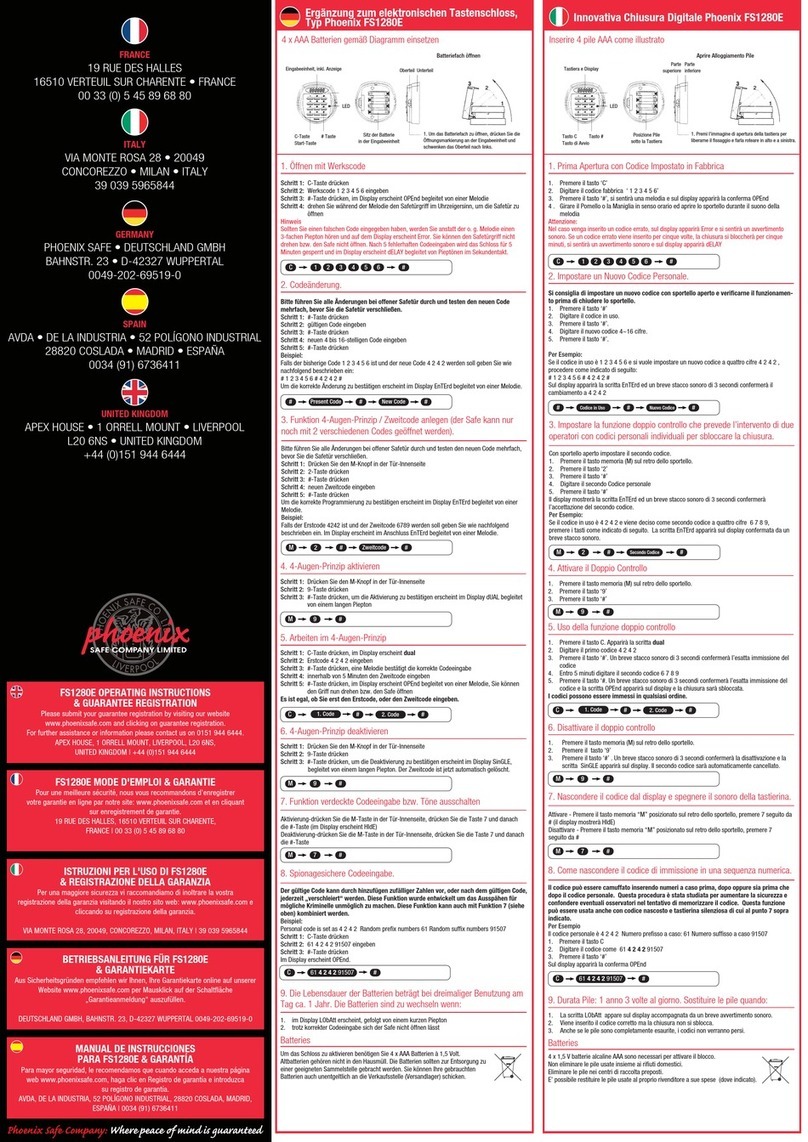
Phoenix FS1280E User manual

Phoenix

Phoenix FS1280E User manual

Phoenix FS1290 Series User manual

Phoenix

Phoenix FS1290 Series User manual

Phoenix SS0990E Series User manual

Phoenix

Phoenix SS0990E Series User manual

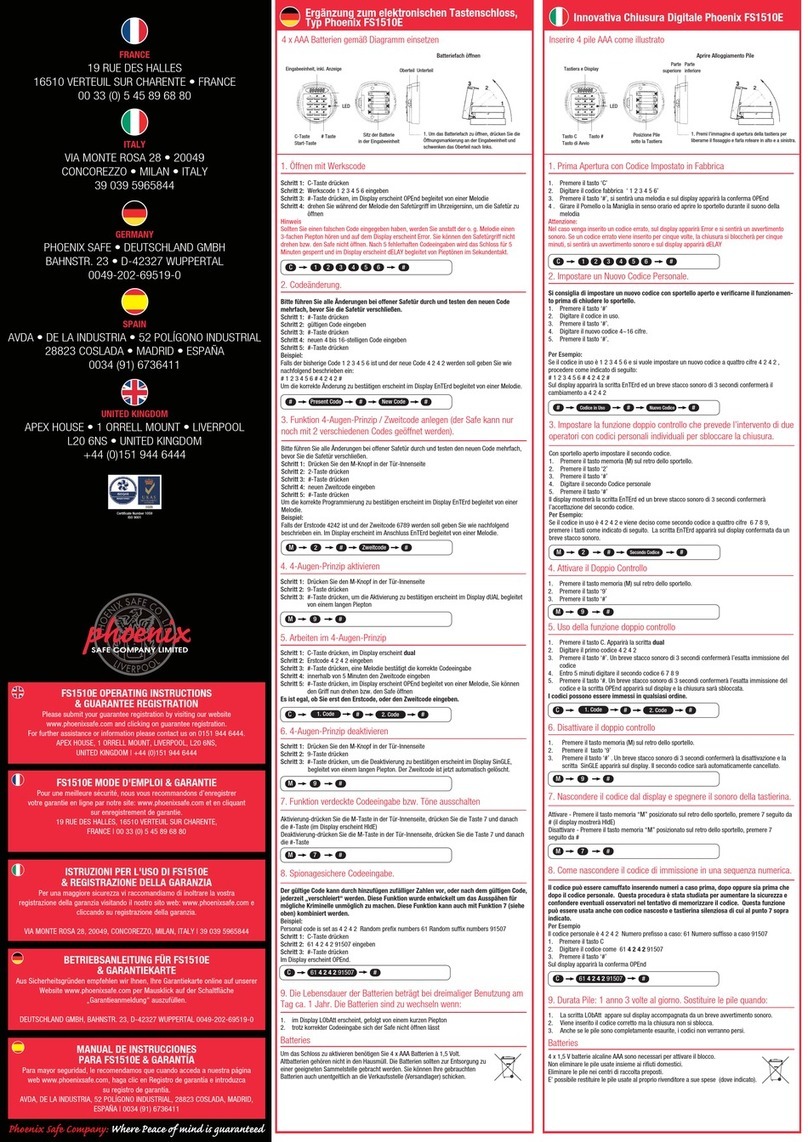
Phoenix FS1510E User manual

Phoenix

Phoenix FS1510E User manual

Phoenix Titan Aqua FS1290 Series User manual

Phoenix

Phoenix Titan Aqua FS1290 Series User manual

Phoenix SS1180 User manual

Phoenix

Phoenix SS1180 User manual

Phoenix SELO-B User manual

Phoenix

Phoenix SELO-B User manual

Phoenix FS1900E Series User manual

Phoenix

Phoenix FS1900E Series User manual

Phoenix FS1510E Series User manual

Phoenix

Phoenix FS1510E Series User manual

Phoenix R3 User manual

Phoenix

Phoenix R3 User manual

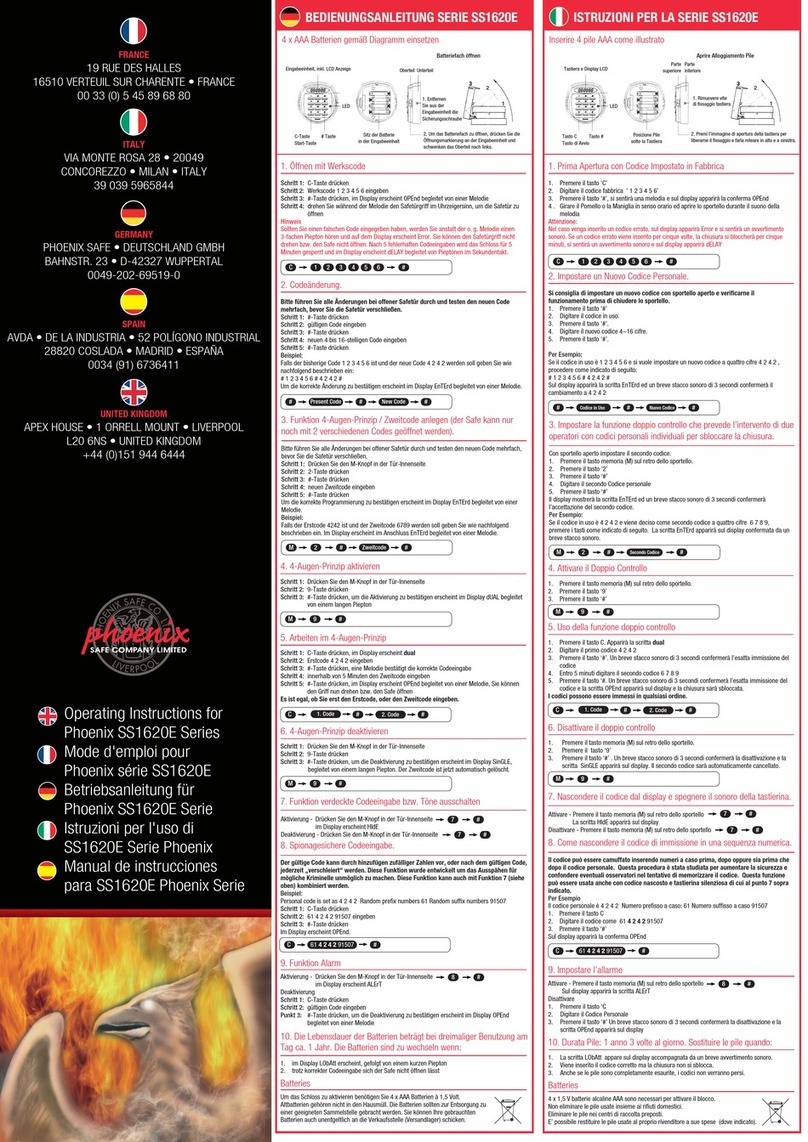
Phoenix SS1620E Series User manual

Phoenix

Phoenix SS1620E Series User manual

Popular Lock manuals by other brands

CISA eSIGNO user manual

CISA

CISA eSIGNO user manual

ZKTeco DL30B user manual

ZKTeco

ZKTeco DL30B user manual

Burg Wächter ENTRY Home 5001 PIN Initial setup

Burg Wächter

Burg Wächter ENTRY Home 5001 PIN Initial setup

Schlage CONNECT Homeowner's guide

Schlage

Schlage CONNECT Homeowner's guide

Bewator K44 Duo Technical manual

Bewator

Bewator K44 Duo Technical manual

Kaba Combi B 30 operating instructions

Kaba

Kaba Combi B 30 operating instructions

Sargent and Greenleaf 6123 operating instructions

Sargent and Greenleaf

Sargent and Greenleaf 6123 operating instructions

Allegion Falcon 25-WDC installation instructions

Allegion

Allegion Falcon 25-WDC installation instructions

Gianni Industries 10020 specification

Gianni Industries

Gianni Industries 10020 specification

LOCKEY E-DIGITAL E910 user manual

LOCKEY

LOCKEY E-DIGITAL E910 user manual

UCS E-LOCK BMSline user manual

UCS

UCS E-LOCK BMSline user manual

Windsor 1331 Fitting instructions

Windsor

Windsor 1331 Fitting instructions

Nabco GT1175 U19 instruction sheet

Nabco

Nabco GT1175 U19 instruction sheet

Gerda TYTAB ZE-1 Fitting instructions

Gerda

Gerda TYTAB ZE-1 Fitting instructions

Aumuller OFV1 M-COM Assembly and commissioning instructions

Aumuller

Aumuller OFV1 M-COM Assembly and commissioning instructions

Stanley OmniLock Illustrated parts catalog

Stanley

Stanley OmniLock Illustrated parts catalog

Kaba Mas X-10 installation instructions

Kaba Mas

Kaba Mas X-10 installation instructions

Primera 1-86-729C Fittings guide

Primera

Primera 1-86-729C Fittings guide

manuals.online logo
manuals.online logoBrands
  • About & Mission
  • Contact us
  • Privacy Policy
  • Terms and Conditions

Copyright 2025 Manuals.Online. All Rights Reserved.